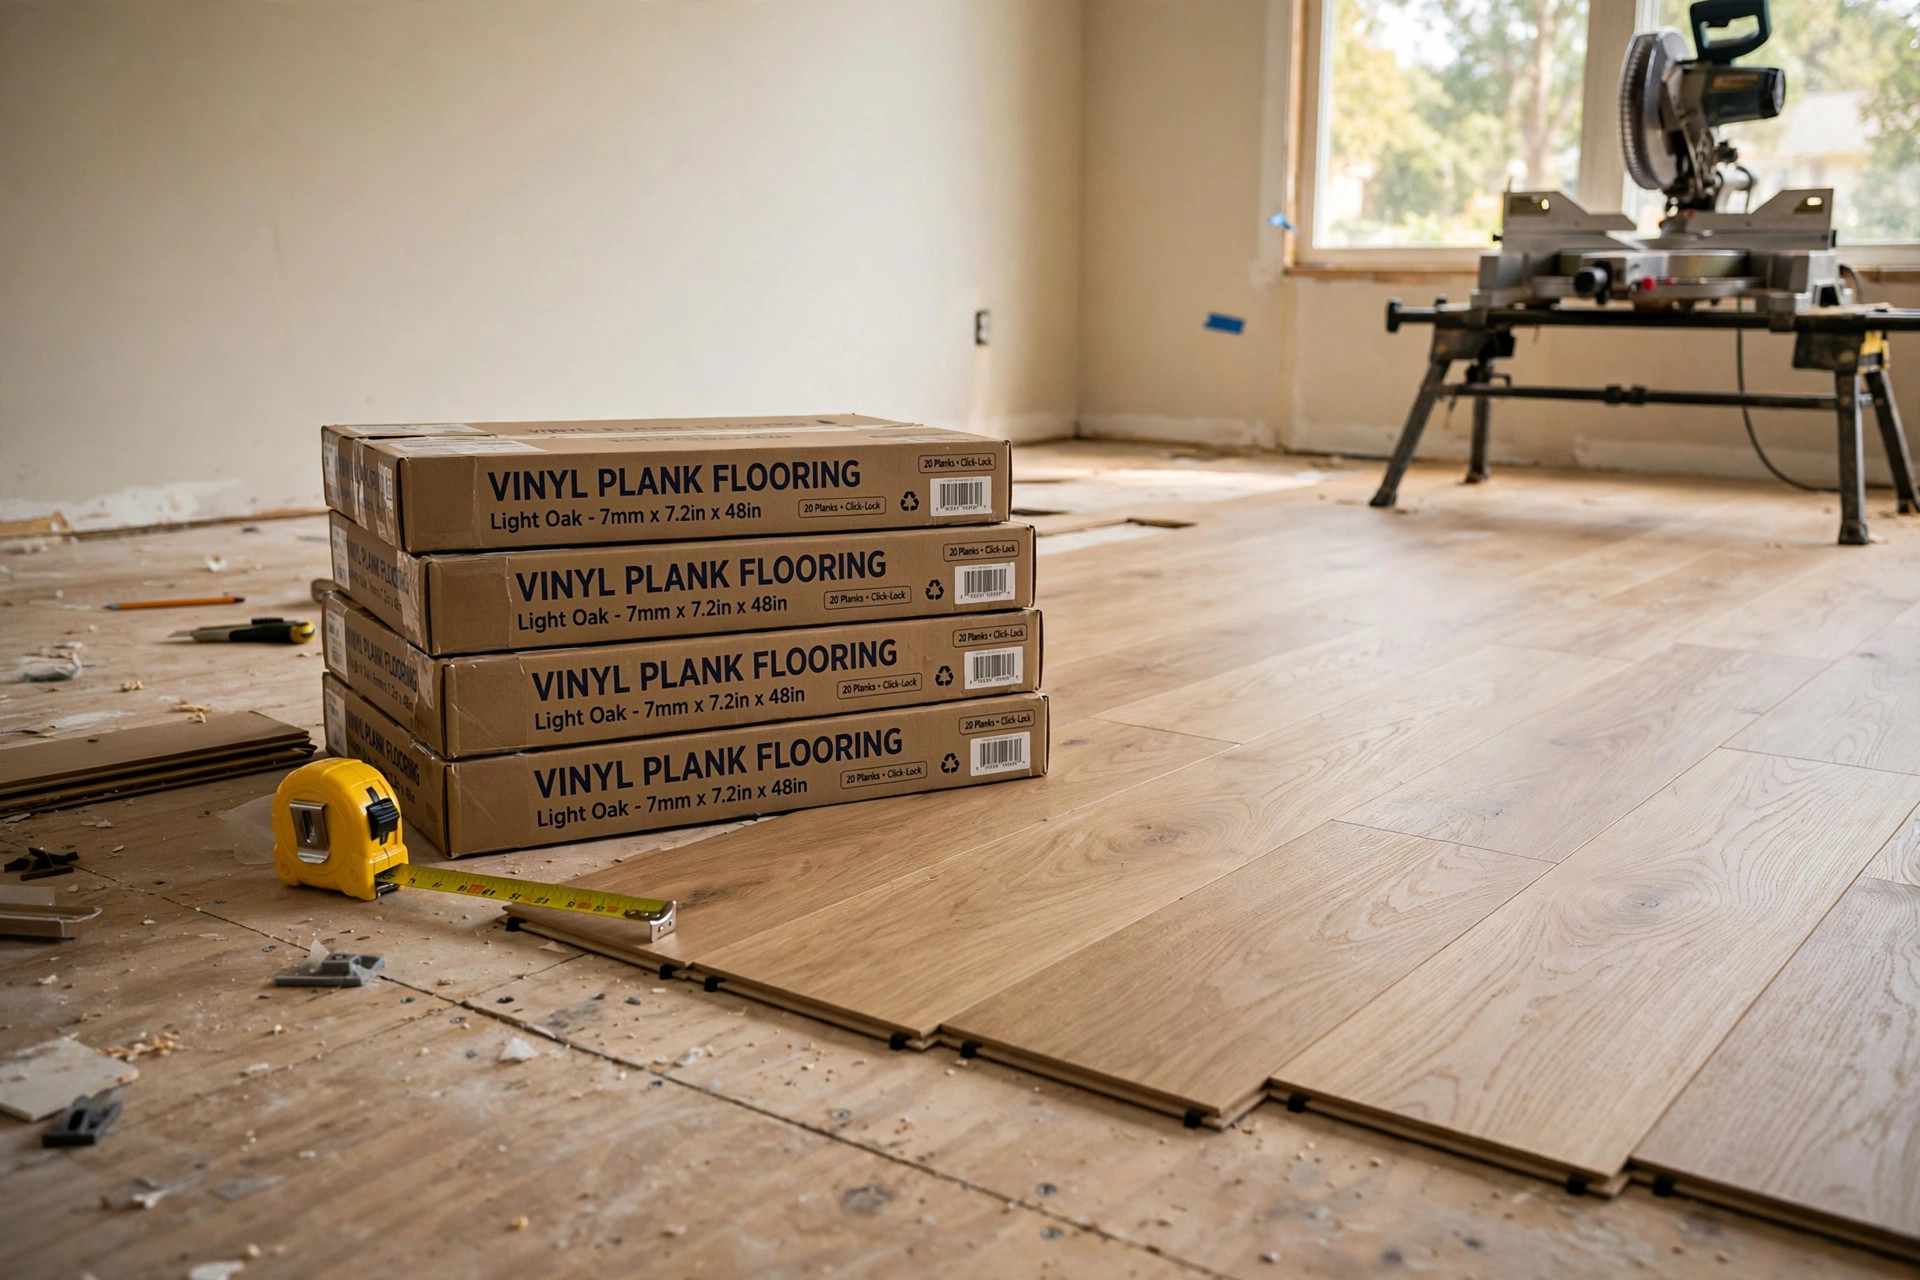

Almost every do-it-yourselfer learns the same hard lesson once. You measure the room, buy exactly that many boxes of flooring, and halfway through the last row you run out. A board cracks the wrong way. A tile chips on the wet saw. An angle at the doorway eats two full planks to make one short piece. This is why a flooring waste factor calculator for diyers is such a useful tool. It takes your room measurement and adds a sensible extra amount for cuts, mistakes, and future repairs.
The idea behind the calculator is plain. No floor goes down without cuts. Every cut produces a scrap, and every scrap is material you paid for but cannot use. A waste factor is simply a percentage added on top of your net square footage to cover those scraps. Get the percentage right, and you finish the job with a small stack left over for repairs instead of a half-finished room.
Why the Waste Factor Matters
New flooring is one of the largest single purchases in a home project. Order too little, and the whole job stalls. Most flooring is sold in batches called dye lots or production runs. Two lots of the same product can differ slightly in color. If you return to the store six weeks later, the new boxes may not match the floor you already laid.
Order too much, on the other hand, and you spend real money on boxes that sit in the garage for years. A well-chosen waste factor threads the needle between these two risks. It keeps the job moving, keeps the color consistent, and keeps your wallet intact.
Many homeowners also want to keep a few spare planks or tiles for later. A guide to replacing a single cracked floor tile shows how often one tile fails long before the rest of the floor wears out. Without a spare on hand, a small repair can turn into a search for a discontinued product.
What a Waste Factor Calculator Actually Is: Flooring Waste Factor Calculator for Diyers
At its core, a flooring waste factor calculator for diyers is a short piece of arithmetic. You enter three things: the length and width of your room, the size of each piece of flooring, and the waste percentage you choose. The calculator multiplies length by width to get the net area, then adds the waste percentage to get the gross area you should buy.
In plain math, it works like this. Suppose your room is 12 feet by 14 feet. That is 168 square feet. If you choose a 10 percent waste factor, you multiply 168 by 1.10. The answer is 184.8 square feet. You then round up to the next whole box, because stores sell flooring by the box, not by the square foot.
Some calculators also divide the gross area by the coverage printed on the box to tell you how many boxes to buy. That extra step matters, because box coverage is rarely a round number. A box of plank flooring might cover 23.77 square feet. Trying to do that division by hand invites error, and the calculator removes the guesswork.
You can, of course, do the same math on a scrap of paper or with a phone calculator. The advantage of a calculator is not magic. It is simply speed and consistency. When you are in the store aisle, you want an answer you trust, and you want it quickly.
How to Measure Your Room First
A calculator is only as good as the numbers you feed it. Sloppy measuring is the most common reason a DIY project runs short, even when the waste factor was generous. Take your time here.
Gather Your Tools
You need a tape measure, a notepad, and a pencil. A 25-foot tape measure suits most rooms. A helper makes the work easier, but one person can manage alone by hooking the tape on a baseboard and walking it across the floor.
Measure the Space
Measure the length and width of the room at the widest points. Write both numbers down in feet and inches. Rooms in older houses are often not perfectly square, so measure at two or three spots and use the largest number. When in doubt, round up to the next inch.
Do not subtract closets or small nooks from your total unless they are truly separate spaces you will not floor. Flooring flows through doorways, and the pieces you cut to fit around a toilet or a hearth come out of your total. Resources on home improvement from This Old House regularly remind readers that small irregularities add up to real material.
Work Out the Net Square Footage
For a rectangular room, multiply length by width. For an L-shaped room, split it into two rectangles, work out each area, and add them together. For an angled wall, divide the shape into rectangles and triangles. A triangle is one half of base times height.
Write the net square footage down clearly. This is the number the calculator starts from. Keep this figure and your room sketch in one folder for later.
How to Use a Flooring Waste Factor Calculator
With your net area in hand, the calculator needs one more input: the waste percentage. The right factor depends on the type of flooring, the shape of the room, and your own skill level.
The basic formula is:
Gross area = Net area x (1 + waste percentage / 100)
So a 168-square-foot room at 10 percent waste gives 168 x 1.10 = 184.8 square feet.
The final step is to convert square feet into boxes. Divide the gross area by the coverage per box, and round UP, never down. If the math says 7.7 boxes, you buy 8 boxes. Flooring stores do not sell partial boxes, and rounding down defeats the whole purpose of the calculation. A retail guide from LL Flooring offers buying tools that follow the same logic.
Standard Waste Factors by Floor Type
Different materials cut differently, break differently, and come in different sizes. The flooring industry has settled on standard waste factors that serve as good starting points. Think of these as floors, not ceilings: a difficult room or an ambitious pattern calls for more.
Ceramic and Porcelain Tile: 10 to 15 Percent
Tile breaks and chips, especially around the edges of cuts. A wet saw helps, but every angled cut around a corner or a toilet flange risks a cracked tile. Simple square rooms land near 10 percent. Rooms with many cuts, diagonal layouts, or mixed sizes push toward 15 percent or beyond. Tile makers such as Daltile publish layout guidance that assumes generous cutting margins for this very reason.
Solid and Engineered Hardwood: 7 to 12 Percent
Wood planks are forgiving. A miscut board can often be reused as a shorter piece at the end of another row. Straightforward rooms with long plank runs sit near 7 percent. Rooms with closets, angled walls, or herringbone patterns climb toward 12 percent or more. Manufacturers like Mohawk and Shaw print recommended overage figures on their installation guides.
Laminate and Vinyl Plank: 5 to 10 Percent
Click-lock planks waste the least of the hard surfaces. The tongue-and-groove system lets you reuse offcuts easily, and the material cuts cleanly with a utility knife or saw. A plain rectangular room often needs only 5 to 7 percent. Add hallways or a diagonal layout and plan for 10 percent. Large home centers such as Home Depot and Lowe’s stock these products in depth, but matching dye lots still matters.
Carpet: 5 to 10 Percent
Carpet waste comes from seams and pattern matching rather than cuts. A patterned carpet that must align across a seam wastes far more than a solid color. Small rooms waste a higher percentage than large rooms because seams fall more often relative to the area. Always buy carpet in one piece when the room allows it.
Natural Stone: 15 to 20 Percent
Stone tile is brittle, heavy, and expensive, which is a painful combination. A higher waste factor here is cheap insurance. Vein matching across tiles can also consume material, since you may skip pieces whose veining clashes with its neighbors. For marble, slate, or travertine, 15 percent is the minimum a careful DIYer should plan for. Guides at The Spruce note that natural stone rewards generous ordering for exactly this reason. If you are considering slate tile flooring for an entryway, remember that entryways have heavy foot traffic and benefit from a few extra tiles kept as spares.
Cost and Price: What Extra Material Means for Your Budget
A waste factor is not free. At 10 percent on a 200-square-foot room, you buy 20 extra square feet. If your flooring costs 4 dollars per square foot, that is 80 dollars of insurance.
Running short costs you in several ways. There is the second delivery fee or the second drive to the store. There is the delay: most DIYers lose a weekend waiting for more material. And there is the risk of a dye lot mismatch, which can force you to buy far more than the missing few boxes.
There is one more cost to count. Most projects need underlayment, transition strips, and quarter-round molding, and those items have their own waste. Underlayment overlaps and trimming consume 5 to 10 percent. Molding comes in fixed lengths, and corners eat length fast.
Price per square foot also affects which waste factor you can afford to be generous with. With an inexpensive vinyl plank, the difference between 7 percent and 12 percent waste might be 40 dollars. Let the math guide you, but let the material guide the math: cheap, forgiving materials forgive a generous factor, while costly, brittle ones demand care at the saw instead.
How to Keep Waste Low on the Job
A good waste factor protects you, but good technique shrinks the waste you actually produce. Start by dry-laying the first few rows. Lay planks or tiles without adhesive, and look at how the pattern falls at the walls. Shifting the starting line by half a plank can turn two sliver cuts into two generous pieces.
Save your offcuts in a labeled pile. A piece cut from the end of one row often starts the next row. This simple habit, row staggering, can cut real waste by several percentage points. It also improves the look of the floor, since staggered joints are stronger.
Cut once, measure twice. Mark every cut with a pencil line before the saw touches the material. For tile, keep the wet saw blade wet and feed the tile slowly; rushing is how tiles chip. For wood, support long boards fully so they do not splinter at the end of a cut.
Plan your layout on paper before you open the first box. Sketch the room, mark the doorways and fixed objects, and decide where the full pieces will run. An hour with a pencil saves a box of material.
Safety Notes for Floor Installation
Floor installation is physical work with real hazards. A wet saw throws water and chips; wear safety glasses and keep your hands well clear of the blade. Table saws and miter saws demand the same respect: glasses, hearing protection, and no loose clothing. Dust from cutting laminate, engineered wood, or stone is unhealthy to breathe, so work in a ventilated space and wear a dust mask rated for fine particles.
Knees take a beating during flooring work. A pair of knee pads is one of the best small investments a DIYer can make. Take breaks, lift boxes with your legs, and keep the work area clear of cords and offcuts so nobody trips. If your project includes a finish coat, note that products reviewed in water-based polyurethane reviews for floors carry their own ventilation and drying-time safety notes.
Keep children and pets out of the work zone until the floor is fully installed and any adhesives or finishes have cured. Store spare boxes flat in a dry place, so they stay straight for future repairs.
Frequently Asked Questions
What waste factor should a first-time DIYer use?
If you have never laid a floor before, add 5 percentage points to whatever the standard factor suggests for your material. A beginner cuts slower and miscuts more often. A 10 percent standard factor becomes 15 percent for a first-timer.
Does the waste factor change for diagonal or patterned layouts?
Yes, and sharply. A diagonal layout can nearly double the cutting at the walls, because every edge piece is an angled cut. Herringbone, chevron, and basketweave patterns are the most demanding of all. For these layouts, start at 15 percent and consider 20 percent if the room is small or irregular.
Should I include closets and pantries in the measurement?
Include any space the flooring will run through without a break. Small closets add little area but produce awkward cuts, so they raise your waste percentage rather than your net area.
What do I do with the leftover flooring?
Store spare planks or tiles flat in a dry, temperature-stable place such as an interior closet. Keep the product name, color code, and purchase date with them. Do not store flooring in a damp garage or an uninsulated attic, where heat and moisture can warp it.
Can I return unopened boxes?
Most large retailers accept returns of unopened boxes within a set window, often 90 days. Check the store policy before you buy, and keep your receipt. Some specialty products and clearance items are final sale, so confirm at the counter.
A Final Word
A flooring waste factor calculator for diyers is a small tool that prevents large problems. Measure the room with care, choose a waste percentage that fits your material and your skill level, round up to whole boxes, and keep the spares for the day a tile cracks or a plank scratches. The math takes five minutes. The peace of mind lasts for the life of the floor. Plan the numbers before you buy, cut with patience while you work, and your new floor will go down smoothly from the first box to the last.
References
Daltile. (n.d.). Ceramic and porcelain tile. https://www.daltile.com LL Flooring. (n.d.). Hardwood, vinyl, and tile flooring. https://www.llflooring.com Lowe’s. (n.d.). Home improvement products. https://www.lowes.com Mohawk Flooring. (n.d.). Flooring products. https://www.mohawkflooring.com Shaw Floors. (n.d.). Flooring products. https://www.shawfloors.com The Home Depot. (n.d.). Home improvement products. https://www.homedepot.com The Spruce. (n.d.). Home and garden advice. https://www.thespruce.com This Old House. (n.d.). Home renovation guidance. https://www.thisoldhouse.com
Was this guide helpful?

About Jennifer Lee
The My Garden US editorial team writes practical, in-depth home and garden guides for American homeowners — tested advice, no fluff.
You May Also Like

The Best Carpet for High Traffic Areas in USA Homes
August 20, 2026 0 views
Installing Tile Backsplash for Beginners Guide: A Plain Path to a New Kitchen Wall
August 31, 2026 0 views
Best Washable Area Rugs for Living Room Use: A Plain Buying Guide
May 14, 2026 0 views