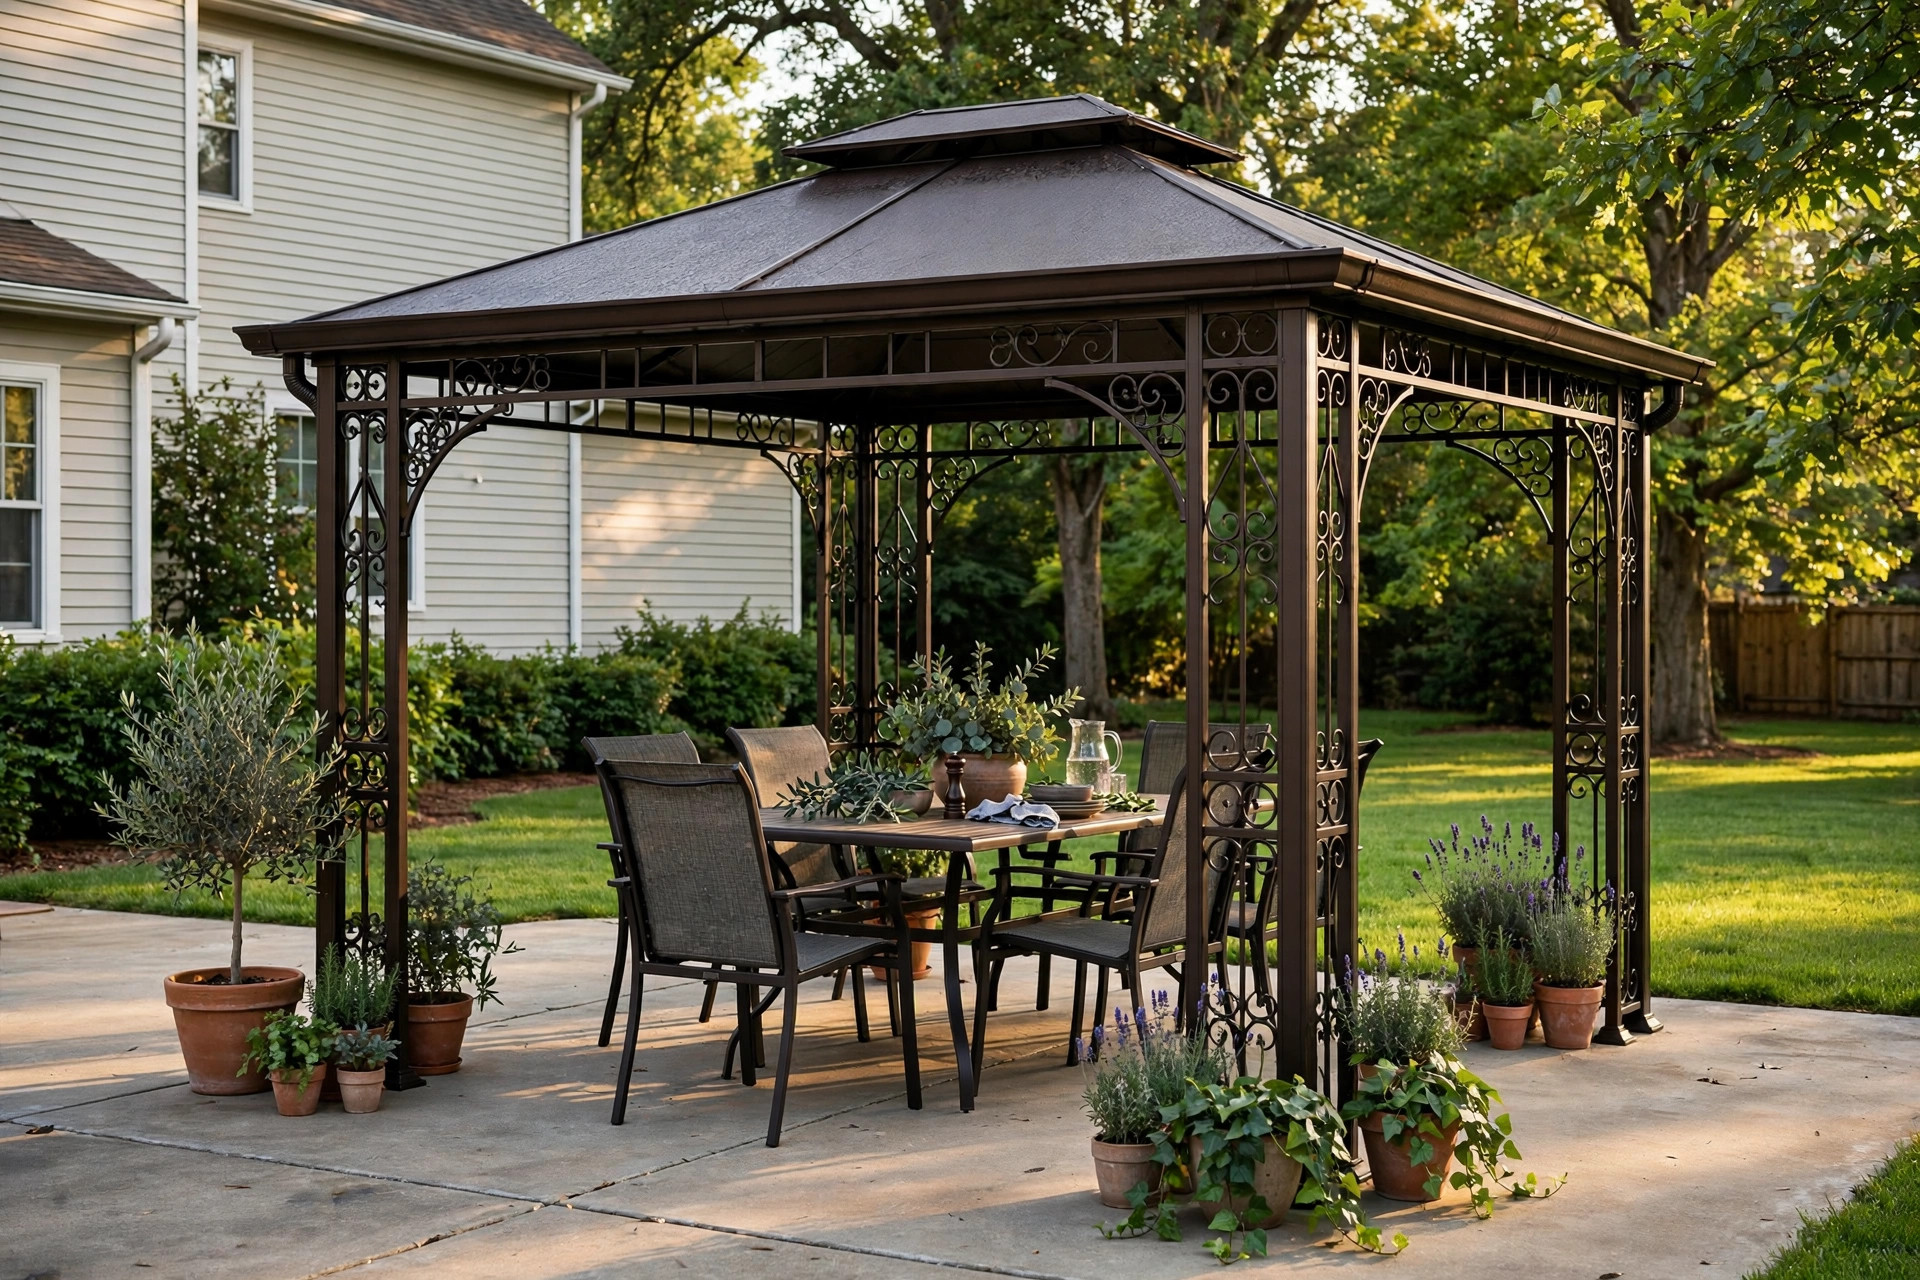

Many families want a shaded corner in the yard where they can sit, eat, and talk on warm days. A metal gazebo kit gives you that shade at a fair price. It arrives in a few long boxes. It includes posts, beams, roof panels, and a bag of screws and bolts. Learning how to assemble a metal gazebo kit is not hard. It takes planning, a few common tools, and one free day. This guide walks you through the whole job in plain steps.
Why a Metal Gazebo Is Worth the Effort
A metal gazebo adds real value to a yard. It gives shade on hot days and shelter when light rain falls. It marks a clear space for meals, parties, or quiet rest.
Metal kits beat wooden frames in one key way. They need less work over the years. Wood must be sealed and stained again and again. Steel or aluminum frames hold up with little more than washing and touch-up paint. The kits also cost less than hiring a carpenter to build a custom frame. If you are weighing brands and sizes before you buy, start with a roundup of the best metal gazebo for backyard reviews. It helps you see which models owners praise for strong frames and easy parts.
A gazebo also helps your home sell better one day. Buyers see an outdoor room and picture their own summers there. For the cost of one weekend, you gain a feature you can use for years.
Before You Begin: What to Look For in a Kit: How to Assemble Metal Gazebo Kit
Not all kits are built the same. Read the box or the product page with care before you order. A few checks now save hard work later.
How to Choose the Right Size
Gazebo kits come in sizes from 8 by 8 feet up to 14 by 18 feet. A 10-by-10 kit fits a small table and four chairs. A 12-by-14 kit fits a full dining set. Measure your patio or yard first. Leave at least two feet of clear space on each side of the frame. You need room to walk around it and to reach each post during the build.
Think about height too. Most kits stand 9 to 11 feet tall at the peak. If you live under trees, check that branches do not hang over the spot. If you want curtains or screens, see that the kit includes tracks for them. Some kits sell these parts as extras.
Steel or Aluminum Frames
Most metal gazebo kits use either steel or aluminum. Steel frames are heavy and strong. They stand firm in wind. They can rust if the paint coat fails, so check that the maker uses powder-coated steel. Aluminum frames are light and never rust. They are easier to lift during assembly. But they can bend in very strong wind if they are not anchored well.
For most yards, either metal works. Pick steel if you live in a windy area. Pick aluminum if you want the lightest possible build day. In both cases, anchoring matters most. You can read more in our guide on how to anchor a gazebo to a patio, which covers bolts, straps, and ground screws.
What Comes in the Box
Open the list of parts on the product page. A good kit lists every post, beam, roof panel, screw, bolt, and bracket by number. It should also list what tools you must supply. The manual should be a full booklet, not a single sheet. Reviews often say whether the holes line up well and whether the manual is clear. Sites like Consumer Reports rate outdoor products on quality and ease of use. Retailers such as Wayfair and IKEA carry many gazebo kits with buyer reviews you can read for free.
Tools and Parts You Will Need
Gather your tools before you open the boxes. You will save many trips back and forth. You will need a stepladder, two adjustable wrenches or socket sets, a rubber mallet, a tape measure, a level, a power drill with bits, and work gloves. A second pair of hands is the best tool of all. Three people are even better when you lift the roof.
From the kit you will use posts, crossbeams, corner brackets, roof frame pieces, roof panels, screws, bolts, washers, and anchor hardware. Lay everything out on a tarp in groups. Check each piece against the parts list. Count the screws and bolts. If anything is missing, call the maker before you start. Most brands ship missing parts at no cost.
Step-by-Step Assembly
Now the main work begins. Follow the manual for your model, but these steps match nearly every metal gazebo kit on the market.
Step 1: Prepare the Site
Pick a flat, level spot. Concrete patios and wooden decks are best. Packed gravel also works. Soft soil is risky because posts can sink over time. Clean the area of leaves and dirt. Mark the four corners of the frame with chalk or tape. Measure corner to corner to check that the frame will be square. If the two diagonal lines are not equal, shift your marks until they are.
Do not start on a windy day. Wind makes large roof panels hard to hold. A calm, dry morning is ideal.
Step 2: Lay Out and Check Parts
Open every box and lay the parts in order. Group posts together, beams together, and roof pieces together. Put small hardware in cups or trays so nothing rolls away. Read the whole manual once before you pick up a wrench. Many mistakes come from skipping ahead. Notice how each part is labeled. Letters or numbers on the parts match the drawings.
Step 3: Build the Frame on the Ground
Most kits have you build the top frame on the ground first. Join the crossbeams to the corner brackets with the given bolts. Tighten them snug but not fully. You will tighten them fully at the end when everything is straight. Use the level and tape measure to check that the frame is flat and square. This step is the heart of learning how to assemble a metal gazebo kit well. A square frame means every later piece fits right.
Step 4: Raise the Posts
With a helper, lift the frame and set the posts into the corner brackets. Some kits want the posts attached to the frame before you stand it up. Others want the posts set first and the frame lowered on top. Follow your manual. Keep one person on each post as you lift. Hold the frame steady while your partner tightens the post bolts. Check each post with a level. All four posts must stand straight up and down. A lean of even one inch at the base grows to several inches at the top.
Step 5: Attach the Roof
The roof goes on next. Start with the roof frame pieces. These are the long bars that run from the corners to the peak. Bolt them in place from your stepladder. Then lay the roof panels one by one. Panels often slide into channels or screw down through pre-drilled holes. Work around the frame in order. Do not skip from one side to the far side. Keep your weight on the ladder, never on the frame itself.
Once all panels are on, add the peak cap and any trim pieces. Then go back and tighten every bolt in the whole gazebo. Work in a circle so the frame stays even. This final tightening is what makes the structure solid.
Step 6: Add Curtains, Screens, or Rails
Many kits include curtains or bug screens. Slide them into the tracks now. Hang curtain rods or valances if your model has them. Add any side rails or decorative brackets. These small parts give the gazebo its finished look. They also add shade and privacy.
Step 7: Anchor the Gazebo
Do not skip this step. An unanchored gazebo can lift in a storm. On concrete, drill holes and set expansion bolts through the post feet. On a wooden deck, use lag bolts into the deck joists, not just the deck boards. On soil or gravel, drive ground anchors deep and strap them to the posts. For full detail, see our guide on how to anchor a gazebo to a patio.
After anchoring, give the whole gazebo a firm shake. It should feel like one solid piece. If anything wobbles, find the loose joint and tighten it.
Types of Metal Gazebo Kits
Shoppers face a few common styles. Each has its strengths.
Hardtop gazebos have solid metal or polycarbonate roof panels. They last longest and handle rain and snow best. They are heavier and take more time to build. Soft-top gazebos use fabric canopies. They are cheaper and lighter. The fabric wears out in a few years and must be replaced. Louvered roof kits have slats you can tilt open or shut. They cost more but give fine control over sun and rain.
Square and rectangle kits are the most common. Round or hexagon kits look pretty but have more parts and a harder build. For a first build, a square hardtop kit in a 10-by-10 or 12-by-12 size is the safest pick.
Cost and Price
Prices vary widely. A basic 10-by-10 soft-top steel kit sells for about 300 to 500 dollars. A mid-range 12-by-12 hardtop kit costs 800 to 1,500 dollars. Large louvered or premium aluminum kits run 2,000 dollars or more. Watch for seasonal sales in spring and fall. Retailers clear stock in late summer.
Add to the price the cost of tools you do not own, anchor hardware, and any permits your town may require. Some towns ask for a permit for structures over a set size. A short call to your local building office clears this up.
Do not pick on price alone. A cheap kit with thin panels and vague instructions costs you time and repair money later. Buyer reviews tell the true story. Shoppers compare models on sites such as Wayfair and IKEA before they buy.
Care and Upkeep
A metal gazebo needs little care, but a small yearly routine keeps it strong. Wash the frame each spring with mild soap and water. Rinse well and let it dry. Look for chips in the paint. Sand small chips and dab on touch-up paint. This stops rust before it starts. Our metal patio furniture rust prevention tips cover the same steps for chairs and tables.
Tighten all bolts once a year. Weather and wind loosen joints slowly. Check roof panels for dents after hail. In heavy snow areas, brush snow off the roof before it piles deep. Even strong roofs have weight limits. Remove fabric curtains in winter where storms are fierce.
Safety Tips
Build with care and the gazebo will serve you well. Wear gloves when you handle metal edges. Panels can have sharp cut edges. Keep children and pets away from the work area while you build. Small screws are a choking risk.
Never climb on the frame or roof. The frame is strong when fully bolted, but it is not made to hold a person. If you must reach the peak, use a tall stepladder on firm ground. Turn off and store any grill at least three feet from fabric curtains. Open flame and fabric do not mix.
In a forecast of severe storms or hurricanes, remove fabric canopies. Tie down or bring in loose furniture. A gazebo that is well anchored can take normal wind, but no kit is built for a hurricane.
Frequently Asked Questions
How long does it take to assemble a metal gazebo kit? Most two-person teams finish a 10-by-10 kit in four to six hours. Larger or louvered kits can take a full day. Working slowly and checking the manual saves time in the end.
Do I need special skills or tools? No. Basic hand tool skills are enough. If you can turn a wrench and read a diagram, you can do this job. A power drill speeds the work, but hand tools do fine.
Can I build a gazebo on grass? You can, but it is not the best choice. Grass and soft soil shift with rain. Posts can sink and the frame can twist. A concrete pad, pavers, or a deck are far better. If grass is your only option, set each post on a concrete block footing and anchor well.
Do I need a permit for a metal gazebo? It depends on your town. Many towns require no permit for small kits under a set size, often 10 by 12 feet or less. Larger kits or kits with wiring for lights may need one. Call your local building office before you buy.
How long will a metal gazebo last? A well-kept steel or aluminum gazebo lasts 10 to 20 years. Hardtop models last longest. Soft-top models need a new canopy every three to five years. Yearly cleaning, paint touch-ups, and bolt checks add years of life.
Can I move the gazebo after it is built? Yes, but it is awkward. Unbolt the anchors, take off the roof panels, and carry the frame in parts. Moving a full frame without taking it apart risks bending it. Mark the parts as you take them down so the rebuild goes fast.
A Final Word
Learning how to assemble a metal gazebo kit is a job any steady homeowner can do. Read the manual first. Lay out every part. Build the frame square. Raise it with help. Tighten every bolt. Anchor it well. Then step back and look at what you made. Your yard has a new room. It will hold birthday dinners, quiet mornings with coffee, and long summer talks. One weekend of work buys years of shade. That is a trade worth making.
References
IKEA. (n.d.). Home furnishings and outdoor living. https://www.ikea.com Wayfair. (n.d.). Outdoor furniture and patio. https://www.wayfair.com Consumer Reports. (n.d.). Product ratings and reviews. https://www.consumerreports.org
Was this guide helpful?

About David Wilson
The My Garden US editorial team writes practical, in-depth home and garden guides for American homeowners — tested advice, no fluff.
You May Also Like
The Best Patio Table with Fire Pit: A Plain Guide for American Backyards
August 16, 2026 0 views
How to Waterproof Outdoor Furniture Cushions: A Plain Guide
June 23, 2026 0 views
Best Fire Pit Chat Set for Backyard: A Plain Guide to Choosing the Right One
July 10, 2026 0 views