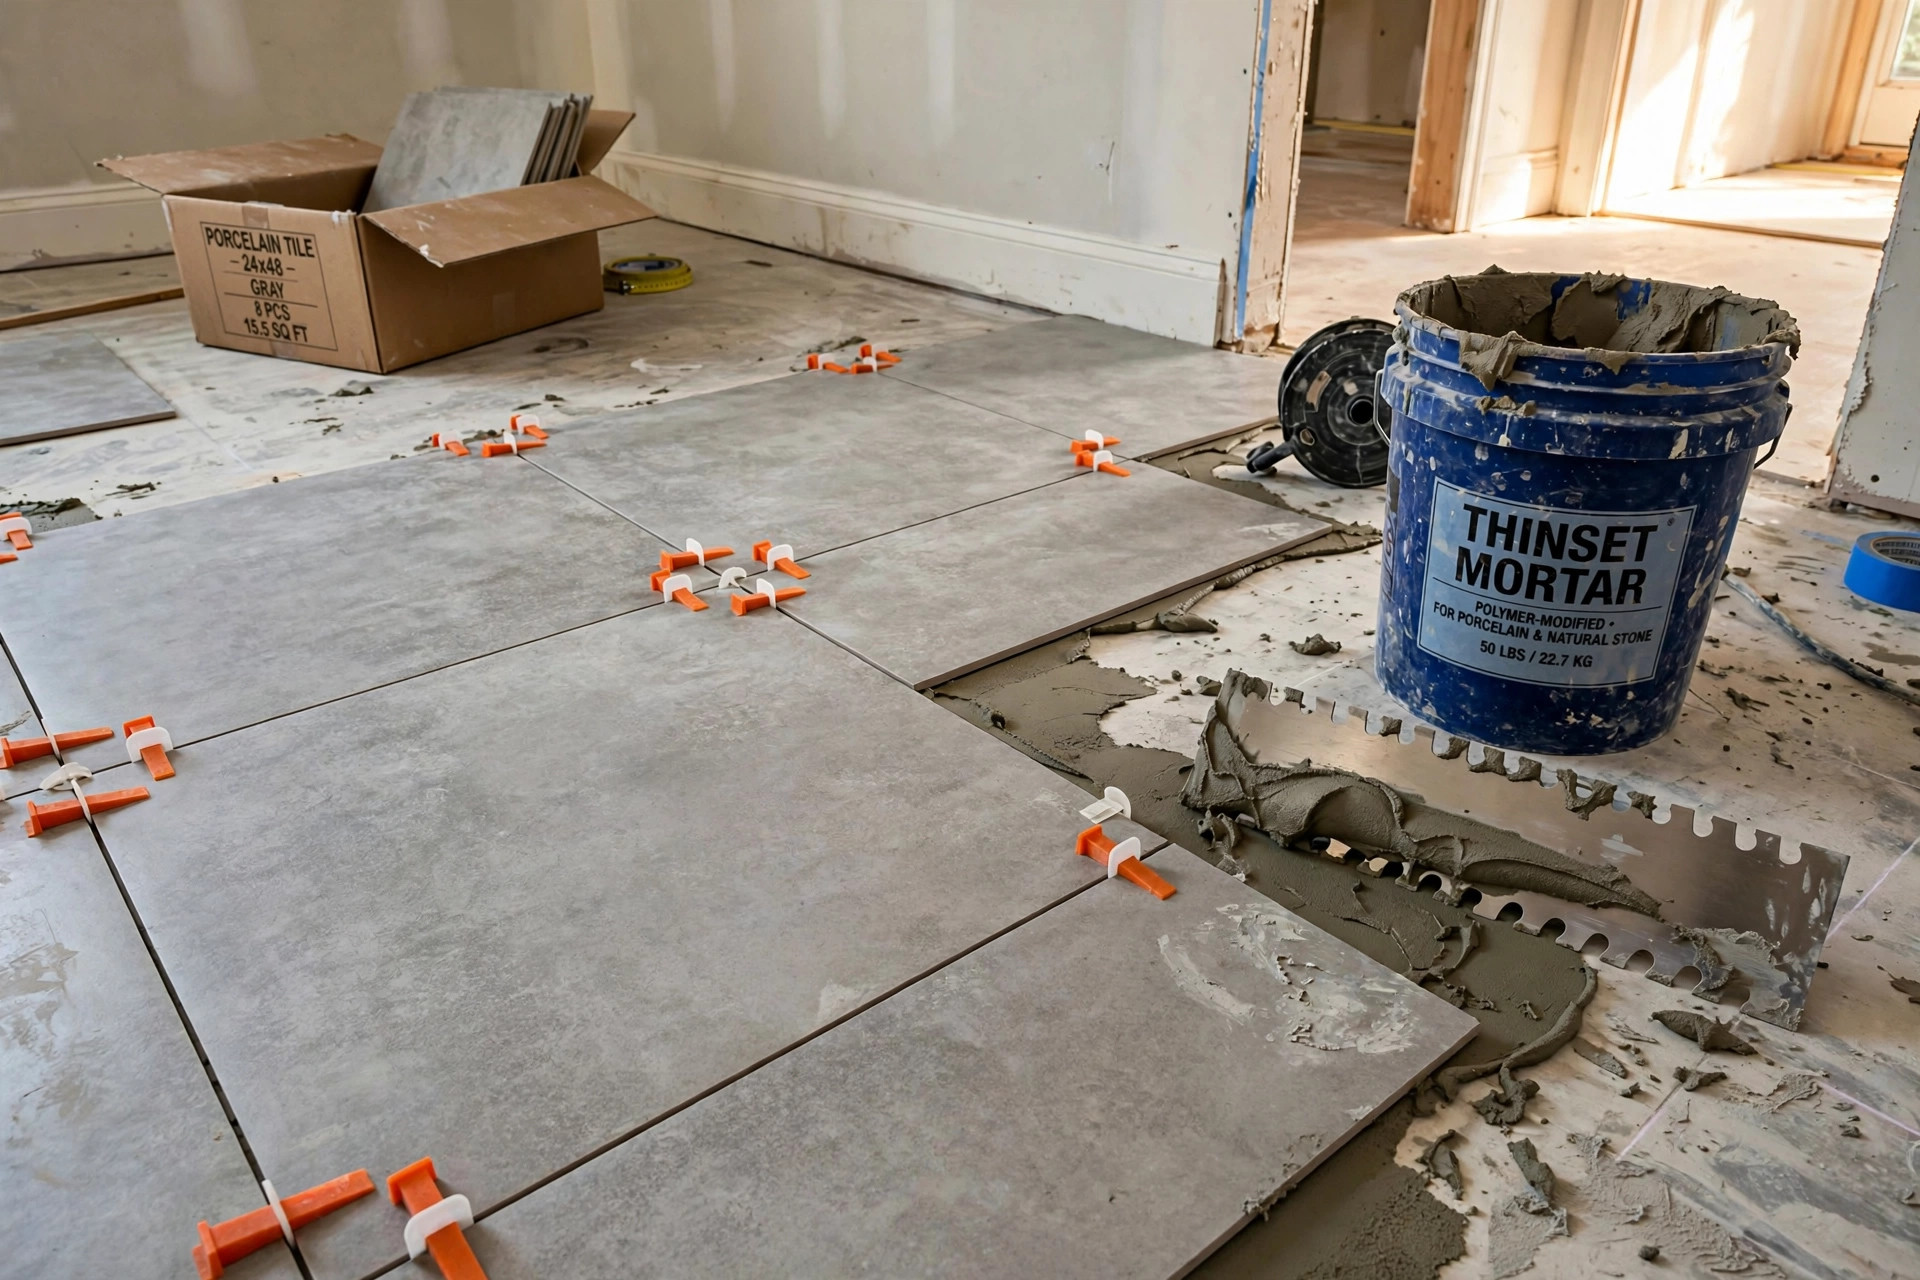

Most tile jobs fail in the same quiet way. The tile goes down, the mortar dries, and weeks later a toe catches on a raised edge in the kitchen. The trade calls it lippage. The homeowner calls it a sore toe. This guide gathers tile leveling system reviews for diyers usa readers trust, written in plain terms, so a first-time installer can get a flat floor without hiring a crew. A leveling system is a set of small plastic clips and wedges that sits between tiles. The clip slides under the edge of two tiles. The wedge pushes down and holds both edges at the same height. When the mortar sets, the surface is flat. It is a simple idea, and for the weekend installer it changes the whole job.
Why Leveling Systems Matter for the Homeowner
Tile is hard and honest. It shows every mistake. A floor that is off by one sixteenth of an inch will catch light and catch toes. Years ago only working tilers used leveling aids. The pieces were scarce and dear. Today any store sells them, and reviews from home users fill the pages of the big retailers. The Home Depot site and the Lowes site both carry wide ranges with hundreds of user notes. The systems matter most on large-format tile, twelve by twenty-four inches and up. Big tiles warp a little in the kiln. Without help the center sits high and the corners sit low, or the reverse. Clips pull the edges to one plane. They do not replace skill. They do not fix a bad subfloor. They buy time and evenness while the thinset cures.
For the DIYer the appeal is plain. A leveling system forgives a shaky hand. It lets a careful beginner lay a floor that looks like a pro job. Review after review says the same thing: the first row is slow, the second row is easy, and by the third the wedges move like habit.
How to Choose the Right System: Tile Leveling System Reviews for Diyers Usa
Clip and Wedge Size
Clips come in sizes measured by grout width and tile thickness. A clip marked one sixteenth gives a tight joint. One eighth gives a wider joint and more room for error. Wedges are mostly one size. They fit all standard clips from the same brand. Do not mix brands. A wedge from one maker may not lock in a clip from another. Check the label before you buy.
Twist Cap Versus Wedge
Two styles lead the market. The wedge style uses a clip plus a plastic wedge driven in by hand or with pliers. The twist style uses a cap that screws down onto a post. Wedge systems are faster on large floors. Twist caps give finer control on walls. Both appear in tile leveling system reviews for diyers usa buyers leave on store sites. The choice is a matter of speed against precision.
Reusable Versus Single Use
Clips break off at the base when you kick or snap them after the mortar sets. That part is single use by design. Wedges and twist caps are reusable many times over. Count your job in tiles, not in bags. A twelve by twenty-four floor of two hundred square feet may take eight hundred clips. Buy a tenth more than you need. Short runs and cut edges waste pieces.
Types of Tile Leveling Systems
Wedge and Clip Systems
This is the common type. A T-shaped clip slides under the tile edge. The wedge drives through the clip and presses the tile down to the level of its neighbor. Brands sell these in buckets of one hundred, three hundred, and a thousand. They suit floors best. They are fast. A full room can be wedged in an hour once the rhythm sets in.
Spin Cap Systems
A threaded post stands up between tiles. A cap twists down the post and squeezes the tile edges to one height. These cost more per piece. They shine on shower walls and backsplashes, where gravity fights you and each tile needs care. Many DIYers keep one bucket of spin caps for walls and one of wedges for floors.
Cross and Spacer Combos
Some kits add reusable cross spacers for grout lines. They set the joint width while the clips set the height. These combos help the beginner most. Fewer things to measure means fewer chances to drift.
What the Reviews Say
Reading tile leveling system reviews for diyers usa homeowners post online shows a pattern. The five-star notes praise flat floors and easy learning. The two-star notes complain about clips that snap too soon or wedges that slip. Three lessons repeat across the reviews. First, press the tile into the mortar before you wedge it. The clip levels the edge, not the whole tile. Second, keep wedges snug but not forced. A forced wedge can lift the tile off the mortar bed. Third, snap clips in the direction of the joint, not across it. A clean snap leaves a smooth joint for grout.
Price comes up in every review thread. The cheap kits get praise for value and blame for weak clips. The dear kits get praise for strong clips and blame for price. The middle kits win most of the praise overall. This is the usual shape of tool reviews everywhere.
Common Beginner Mistakes
Wedging Too Hard
The wedge needs to be snug, not forced. New users often drive it like a nail. That lifts the tile edge off the mortar bed and leaves a hollow spot under it. A hollow tile cracks under a dropped pan. Push the wedge until you feel firm resistance, then stop. Check the pair with a straightedge before you move on.
Setting Tile on Old Mortar
Thinset skins over in twenty minutes. Tile set on skimmed mortar bonds weak and levels poorly. Spread only as much as you can tile in fifteen minutes. If the ridges look dry or dull, scrape them up and spread fresh. The clips cannot fix a bad bond.
Snapping Clips Early
Thinset needs a full day to cure. Snapping clips at bedtime on a morning job risks a shift. The tile may look flat at snap time and drift by morning. Wait the full twenty-four hours. Grout after that.
Cost and Price
A leveling kit is one of the cheapest parts of a tile job. Clips run about five to twelve cents each in bulk. Wedges run about the same. A typical bathroom floor needs two to four hundred clips. A whole house floor needs several thousand. Expect the leveling parts to cost between forty and one hundred fifty dollars for a normal job. The pliers or gun sold with some kits cost ten to twenty dollars and save your thumbs.
The cost that matters more is time. A system adds perhaps ten minutes per row at first. It saves the hour you would spend lifting and re-bedding tiles that went down uneven. It also saves the tile itself. A lipped floor has no cheap fix. You grind it, which dusts the house, or you live with it. Forty dollars of plastic is the cheaper path.
For the full picture of what a tile job costs, read our guide to tile installation cost per square foot usa. Labor prices vary by state, and knowing the range helps you judge whether DIY makes sense for your room.
Laying Tile With a Leveling System
Prepare the Floor
The system cannot fix a bad base. Sweep and check the subfloor with a long straightedge. Hollow spots deeper than an eighth of an inch in ten feet need patching first. Lay cement board or an uncoupling mat as the tile maker directs.
Set and Wedge
Spread thinset with the right notch trowel. Lay the tile and press it firm. Slide clips under each edge, two per side on big tiles. Lay the next tile against the clip. Drive the wedge until snug. Check with a straightedge across the pair. Let the mortar cure a full day before you snap the clips.
Snap and Clean
Kick or pull the clips along the joint line. The base breaks at the weak point under the tile. Vacuum the joints before grouting. Mortar squeezed into the joint through a clip slot will fight the grout.
Care and Upkeep of the Parts
Wedges and twist caps last for many jobs if you treat them well. Rinse mortar off before it hardens. A bucket of water at the job site does the job. Dried mortar on a wedge makes it slip and weakens its grip. Toss cracked wedges. A cracked wedge can fail mid-job and leave a tile high.
Store the pieces dry. Sunlight makes cheap plastic brittle over a few summers in a hot garage. Keep them in the bucket they came in, lid on. Count leftovers after each job so you know what to reorder.
Safety Notes
Tile work has few dangers, but they are real. Wear knee pads. A day on tile is a day on stone. Wear a dust mask when mixing thinset or cutting tile. Silica dust harms lungs with long exposure. Wear eye guards when snapping clips or cutting tile. A flying clip base can sting. Keep the floor clear of cords and buckets. Wet mortar is slick. Keep children and pets out of the room until the floor is set and grouted.
The Consumer Product Safety Commission posts general home safety guidance that applies to any DIY project, and it is worth a look before you start any remodel work.
Related Projects Worth Reading
A tile floor is one part of a home. If your remodel runs further, these guides help:
– The best concrete floor stain for garage usa guide covers a durable finish for the garage while you tile the house. – Shoppers looking at wall tile should see the hand painted tile backsplash for sale usa notes on choosing decorative tile.
Frequently Asked Questions
Do leveling systems work on small tile?
They work, but small tile rarely needs them. Tiles under six inches lie flat with a careful hand and a good trowel. The systems pay for themselves on twelve-inch tile and larger.
Can I reuse the clips?
The clips break on removal, so no. The wedges and twist caps are reusable. Many buyers report fifty or more uses from a wedge before it wears.
Will a leveling system fix uneven walls?
No. Leveling clips hold tile edges to one plane. They do not move the wall. Fix dips and bumps in the substrate first, with patch or shimming, before tile goes up.
How many clips do I need per tile?
Use two clips per side on tiles twelve inches and longer. On twenty-four-inch tile, three per side is better. Corners where four tiles meet take one clip each.
When do I remove the clips?
Wait until the thinset has cured, usually twenty-four hours. Snap them along the joint line with a kick or a rubber mallet tap. Grout after a final vacuum.
Do I still need spacers?
Clips set height, not joint width. The clip stem sets a fixed width, so most wedge clips double as spacers. Twist-cap posts often need separate spacers for the joint. Check your kit.
A Short Final Word
Tile leveling system reviews for diyers usa buyers write all point one way: the systems work, the learning is short, and the flat floor is worth the small cost. Pick the right clip size, buy a tenth extra, keep the wedges clean, and let the mortar cure. The trade press agrees. This Old House has long stressed prep and flat bedding as the heart of good tile work, and guides at The Spruce walk beginners through the same steps. Maker sites add depth: Daltile, Mohawk Flooring, and Shaw Floors publish tile care and install basics, while LL Flooring covers floor prep in plain terms. Read the reviews, measure twice, and set the first row with care. The rest follows.
References
Daltile. (n.d.). Ceramic and porcelain tile. https://www.daltile.com LL Flooring. (n.d.). Hardwood, vinyl, and tile flooring. https://www.llflooring.com Lowe’s. (n.d.). Home improvement products. https://www.lowes.com Mohawk Flooring. (n.d.). Flooring products. https://www.mohawkflooring.com Shaw Floors. (n.d.). Flooring products. https://www.shawfloors.com The Home Depot. (n.d.). Home improvement products. https://www.homedepot.com The Spruce. (n.d.). Home and garden advice. https://www.thespruce.com This Old House. (n.d.). Home renovation guidance. https://www.thisoldhouse.com U.S. Consumer Product Safety Commission. (n.d.). Product safety information. https://www.cpsc.gov
Was this guide helpful?

About David Wilson
The My Garden US editorial team writes practical, in-depth home and garden guides for American homeowners — tested advice, no fluff.
You May Also Like

Radiant Floor Heating Installation Cost in the USA: A Complete Guide
February 26, 2026 0 views
Stain Resistant Carpet for Pets Reviews USA: A Plain Guide for American Pet Owners
January 20, 2026 0 views
Carpet to Hardwood Stair Conversion Cost: A Plain Guide for Homeowners
February 9, 2026 0 views