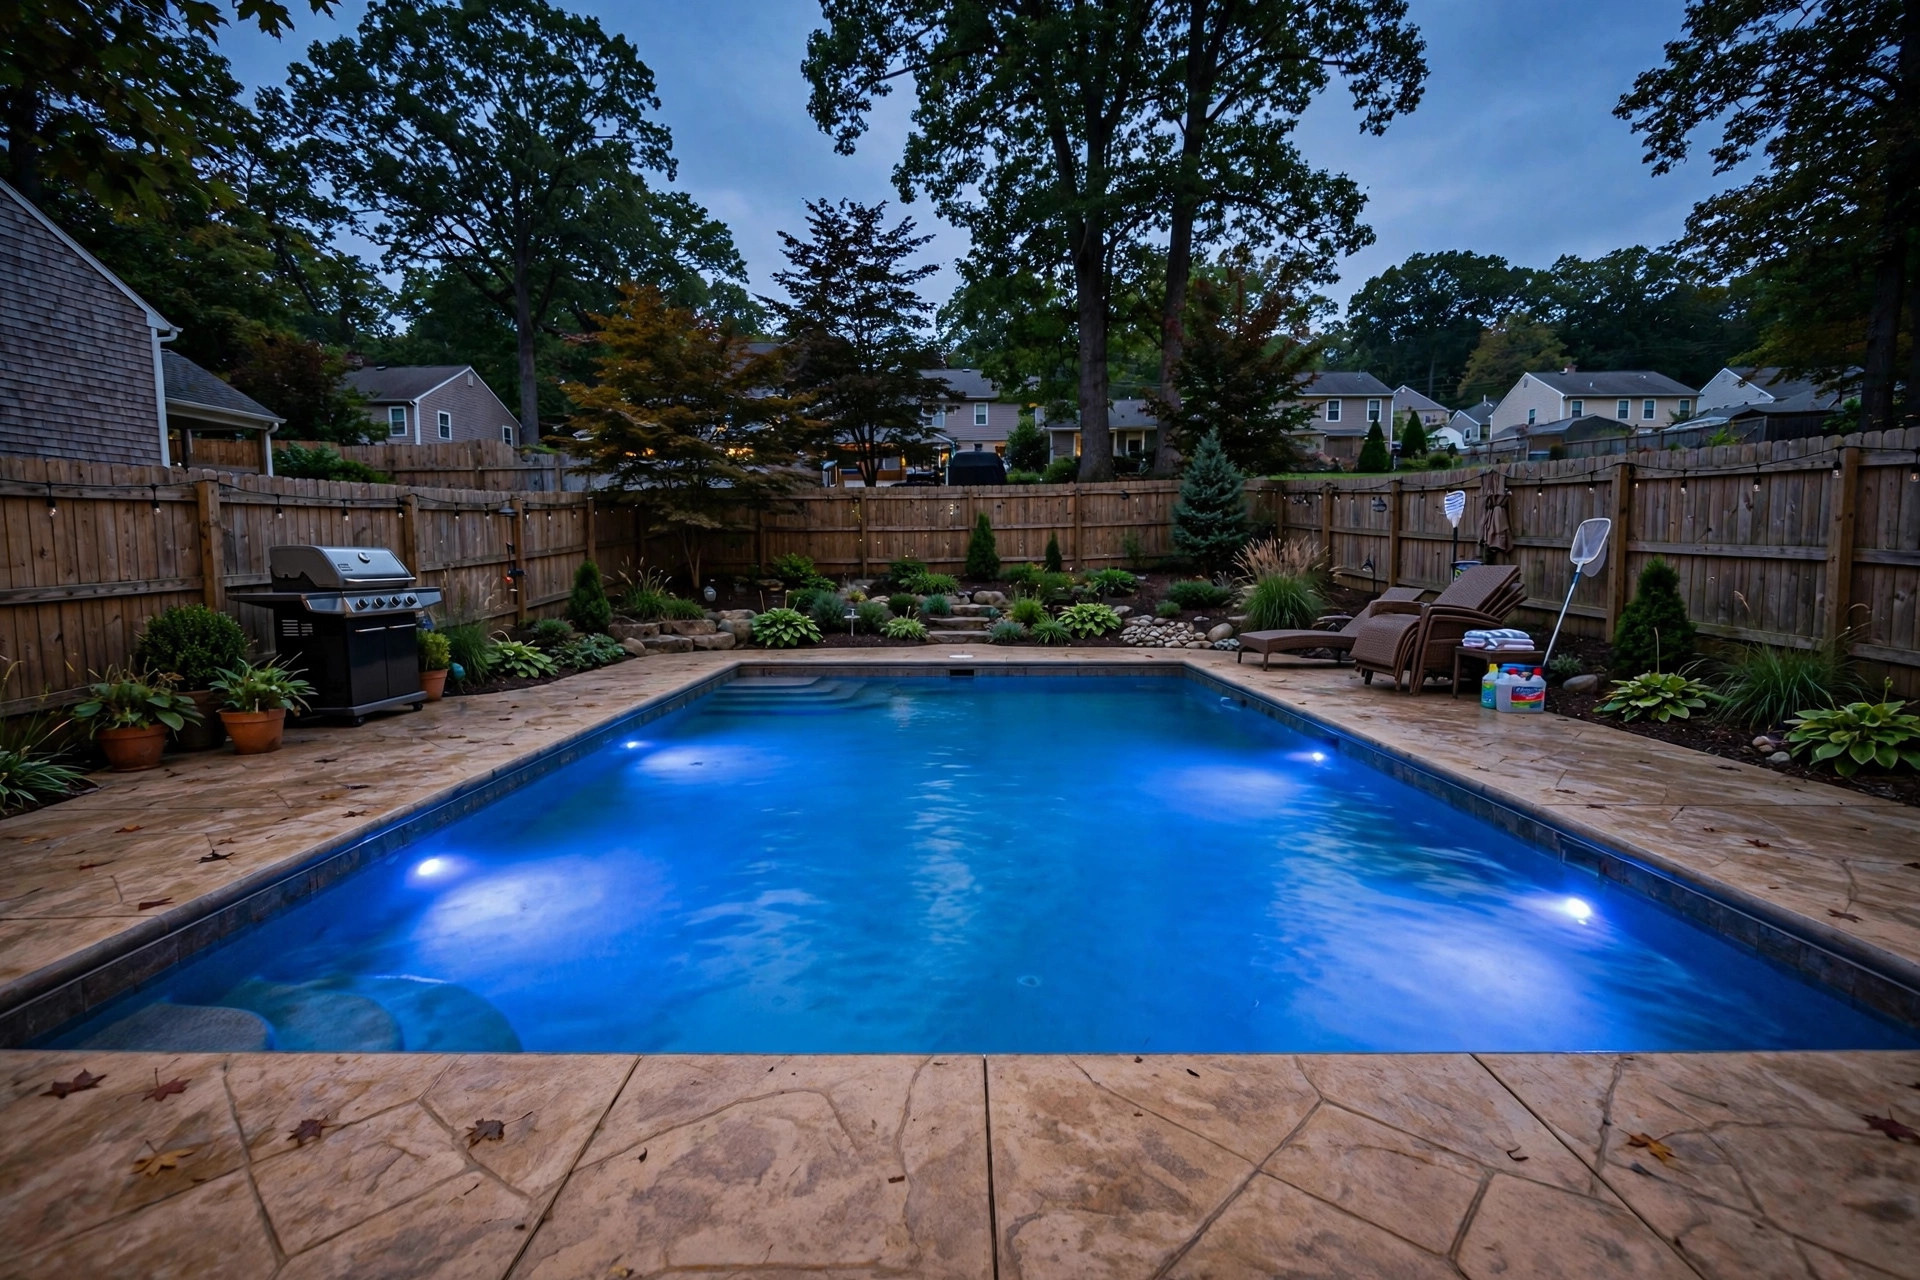

A pool looks very different at night when it has good lights. This guide on how to install inground pool lights will walk you through the full process. You will learn which light to pick, which tools to gather, and how each step works.
Pool lights do more than look nice. They make night swimming safer. They help you see the pool edge and the steps. With some planning, many pool owners can finish this job over a weekend.
Why Pool Lights Matter
A dark pool is hard to use at night. You cannot see where the deep end begins. Lights solve this problem. A lit pool shows the shape of the water clearly from the house.
Lights also add value to your yard. Many buyers like a pool that glows at night. Pool lights come in many colors now. Older lights were plain white. New lights can glow blue, green, or red. Some can change color on a schedule.
What to Know Before You Begin: How to Install Inground Pool Lights
Electricity and water are a dangerous mix. This is the most important part of the job. Pool light wiring must follow the National Electrical Code. Your town or county may have extra rules. A permit may be required before you start.
Many pool owners hire a licensed electrician for the wiring part. A pro knows the local code. You can still do much of the work yourself, such as mounting the fixtures.
Before you touch anything, turn off the power at the breaker. Use a voltage tester to make sure the circuit is dead. Lock the breaker box if you can. Never work on pool lights with the power on.
Check the age of your pool. Very old pools may not have a light niche. A light niche is the metal or plastic cup in the pool wall that holds the fixture. If your pool has no niche, the job is harder. You may need to cut one in, which takes special care.
Tools and Materials You Will Need
Gather everything before you start. This saves trips to the store in the middle of the job. Basic items include a screwdriver set, wire strippers, and electrical tape. You will need a voltage tester and a wrench. Keep a bucket and some clean towels close by.
For the light itself, you need the fixture, the bulb, and a long cord. Most inground lights use a cord that runs from the niche to a junction box. Buy the right length for your pool. A cord that is too short is a serious problem.
You will also need wire nuts, conduit, and waterproof sealant. A GFCI breaker or outlet is required by code in most areas. GFCI stands for ground fault circuit interrupter. It cuts the power fast if a fault is found. You can find GFCI gear at home improvement stores.
Keep the instruction sheet that comes with your light. Every brand is a little different. Follow the sheet for your exact model.
Types of Inground Pool Lights
There are three main types of lights for inground pools. Each has pros and cons. Your choice affects cost, brightness, and how much power the light uses.
Halogen Lights
Halogen lights are the oldest common type. They give a warm, bright glow. The bulbs cost little. The fixtures are cheap too. Many older pools already have halogen niches, so a halogen light drops right in.
The downside is heat and power use. Halogen bulbs run hot. They also use much more electricity than LED bulbs. A halogen bulb may last only one or two seasons. You will change it more often.
LED Lights
LED lights are now the most popular choice. They use far less power than halogen. They run cool. A good LED bulb can last five to ten years. Many LED pool lights change color with a remote or a phone app.
The fixture costs more up front. But the low power bill and long life make up for it over time. If your niche fits a halogen light, you can often buy an LED bulb made for the same niche.
Low-Voltage Lights
Low-voltage lights run on 12 volts instead of 120 volts. They need a transformer that steps the house power down. This is safer in some ways. The transformer adds a cost, but many owners like the extra margin of safety.
Most modern LED pool lights are low voltage. Check the label on your light. Match the transformer to the wattage of the light. Never use a transformer that is too small for the load.
How to Install Inground Pool Lights Step by Step
Follow these steps in order. Do not rush. Each step builds on the one before it.
Step 1: Turn Off the Power
Go to the breaker box. Find the breaker that feeds the pool light circuit. Switch it off. Test the wires with a voltage tester. Only go on when the tester shows no power.
Step 2: Drain Water Below the Light
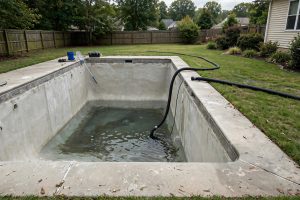
You must lower the water to a point below the light fixture. Most lights sit about 18 inches below the water line. Drain the pool to just under the fixture. Use a submersible pump or the pool drain. Watch the water level as you pump.
Step 3: Remove the Old Fixture
If this is a replacement, take out the old light first. Unscrew the single pilot screw at the top of the fixture. Pull the fixture gently out of the niche. The cord should have enough slack to let the light rest on the deck. Set the old light on a towel.
Step 4: Check the Niche
Look inside the niche. It should be clean and free of rust. Scrub away algae or scale with a plastic brush. Check the niche for cracks. A cracked niche can leak. Fix or replace it before you go on.
Step 5: Feed the Cord
Feed the new light cord through the conduit to the junction box. This can take patience. One person feeds from the pool side while the other pulls gently from the box side. Do not yank hard on the cord.
Leave about three to four feet of cord coiled behind the fixture. This slack lets you lift the light to the deck later to change the bulb.
Step 6: Make the Wiring Connections
Connect the wires in the junction box. Match black to black and white to white. Connect the green ground wire to the ground lug. Use wire nuts and wrap them with electrical tape. Make sure the junction box is rated for pool use and sits above the water level. Pool equipment guides at Swim University explain junction box rules in more detail.
Step 7: Seat the Fixture in the Niche
Coil the extra cord into the niche behind the light. Push the fixture into place. Tighten the pilot screw at the top. The fixture should sit flush with the pool wall. It should not wobble.
Step 8: Seal and Refill
Check that all seals and gaskets look tight. Refill the pool to the normal level. Turn the water system back on. Check the light area for leaks before you power it up.
Step 9: Restore Power and Test
Go back to the breaker. Turn the circuit on. Walk back to the pool and switch the light on. The light should glow right away. If it does not, turn the power off again and recheck your connections.
Step 10: Aim and Finish
Some fixtures can be aimed a little. Adjust the angle so the light spreads evenly. Clean up your tools. Put the breaker box cover back on. Take a look at the pool after dark. Enjoy the result.
Cost and Price
The cost of this job varies with the light type and who does the work. A halogen fixture may cost 100 to 250 dollars. An LED fixture may cost 250 to 700 dollars. Bulbs for LED units cost more but last longer.
If you hire an electrician, labor may add 300 to 800 dollars. Adding a niche to a pool that has none can cost over 1,000 dollars in labor.
There is also the power bill to think about. A 500 watt halogen light costs real money to run each month. An LED light of the same brightness may use only 40 watts. Over a summer, the LED pays for itself in saved power. Sites like The Spruce publish guides on home lighting costs that make the same point.
Buy from a trusted pool supply store or an inground pool equipment supplier. Compare prices online and in person. Read reviews before you choose a brand.
Care and Upkeep
Pool lights need little care, but they should not be ignored. Check the light each month during swim season. Look for dim spots or flicker. These are early signs that the bulb is failing.
Keep the pool chemistry in balance. Bad water eats at light seals. High chlorine or low pH can damage gaskets fast. A steady routine of testing keeps both the water and the equipment in good shape. Fall care matters too: read our guide on how to winterize your inground pool properly before the cold sets in.
When you need a new bulb, change it with the fixture on the deck. Never try to change a bulb while the light is underwater. Dry the fixture fully before you open it. Replace the gasket each time you open the housing.
If a light goes dark, check the GFCI first. A tripped GFCI is the most common cause. Reset it and see if the light comes back. If the GFCI trips again right away, there may be a wiring fault. Call an electrician.
Safety Rules You Must Follow
Safety is the core of this job. Water and electricity kill people every year. Take every rule here as a firm law.
First, always use GFCI protection on pool light circuits. This is not optional. It is code in most places. The Consumer Product Safety Commission tracks pool electrical hazards and urges owners to keep circuits protected and inspected.
Second, never swim while you work on the light. Keep everyone out of the pool. Put up a barrier or a note so family members stay clear.
Third, use only lights rated for pool use. Pool lights are built and tested for full submersion. The label must say the light is for swimming pool use.
Fourth, bond the niche and all metal parts. Bonding connects metal parts to a common ground wire. This stops stray voltage from reaching swimmers.
Fifth, keep the junction box dry and above the flood line. Water in the box can corrode wires and trip the GFCI. Inspect the box each spring.
Common Mistakes to Avoid
Many do-it-yourself jobs fail for the same few reasons. Learn from these mistakes.
The biggest mistake is skipping the permit. Check first. Fines and forced rework cost more than the permit fee.
Another mistake is using a cord that is too short. Without enough slack, you cannot lift the fixture to the deck for service. You will have to rewire the whole run. Buy the longest cord your layout needs.
A third mistake is reusing an old gasket. Gaskets harden with age. An old gasket may look fine and still leak. Always install a fresh gasket when you open the housing.
A fourth mistake is matching the wrong bulb to the fixture. A 120 volt bulb in a 12 volt system will burn out at once. A 12 volt bulb on 120 volts is worse. Read the labels twice.
A fifth mistake is poor conduit sealing. If water runs down the conduit into the junction box, you get corrosion and trips. Seal the conduit entry with proper waterproof fittings.
Upgrading Pool Lighting With Other Equipment
Pool lights work best as part of a full equipment plan. When you shop for the best pool pump for inground pools, you can plan the electrical layout for the lights too. If you are comparing the best pool heater for inground pools, check the power needs of each unit. Lights and heaters often share the pool panel, so make sure it has room for both. Even spa makers and hot tub brands offer LED lighting lines that can inspire your pool design.
Frequently Asked Questions
Can I install inground pool lights myself?
You can do much of the work yourself if you are handy. Mounting the fixture and feeding the cord are fair do-it-yourself tasks. The electrical hookup is the risky part. Many owners hire an electrician for the final wiring.
How long do pool light bulbs last?
It depends on the type. A halogen bulb often lasts one to two seasons. An LED bulb often lasts five to ten years. Heat and power surges shorten bulb life.
Can I replace a halogen light with an LED light?
In many cases, yes. Many LED pool lights are made to fit standard halogen niches. Check the niche size and the voltage before you buy.
Do pool lights use a lot of electricity?
Old halogen lights do. A 500 watt halogen running six hours a night adds up on the power bill. LED lights use a small fraction of that power.
How deep should pool lights be installed?
Most pool lights sit 18 inches below the water line. This is the standard set by code and by makers. A light placed too shallow can be a hazard. A light placed too deep gives less useful light at the surface. Follow the maker sheet for your model.
Why does my pool light keep tripping the GFCI?
The most common cause is water where it should not be. A bad gasket lets water into the fixture. Dry everything, replace the gasket, and test again. If the trip repeats, call an electrician.
Final Word
Learning how to install inground pool lights is a smart project for any pool owner. The steps are clear and the tools are basic. Respect the electrical rules, take your time, and do not skip the safety checks. When in doubt, bring in a licensed electrician. Plan the job, buy quality parts, and enjoy your glowing pool for many summers to come.
References
Bullfrog Spas. (n.d.). Hot tubs and spas. https://www.bullfrogspas.com Hot Spring Spas. (n.d.). Hot tubs and spas. https://www.hotspring.com Leslie’s Pool Supplies. (n.d.). Pool supplies and equipment. https://www.lesliespool.com Pool Warehouse. (n.d.). Pool equipment and supplies. https://www.poolwarehouse.com Swim University. (n.d.). Pool and hot tub care guides. https://www.swimuniversity.com The Home Depot. (n.d.). Home improvement products. https://www.homedepot.com The Spruce. (n.d.). Home and garden advice. https://www.thespruce.com U.S. Consumer Product Safety Commission. (n.d.). Product safety information. https://www.cpsc.gov
Was this guide helpful?

About Jennifer Lee
The My Garden US editorial team writes practical, in-depth home and garden guides for American homeowners — tested advice, no fluff.
You May Also Like
Inground Pool Cost Breakdown by Size
September 29, 2026 0 views
How to Close Pool for Winter Season: A Step-by-Step Guide
May 10, 2026 0 views
How to Fix Pool Filter Leaking: A Practical Guide for Pool Owners
June 11, 2026 0 views