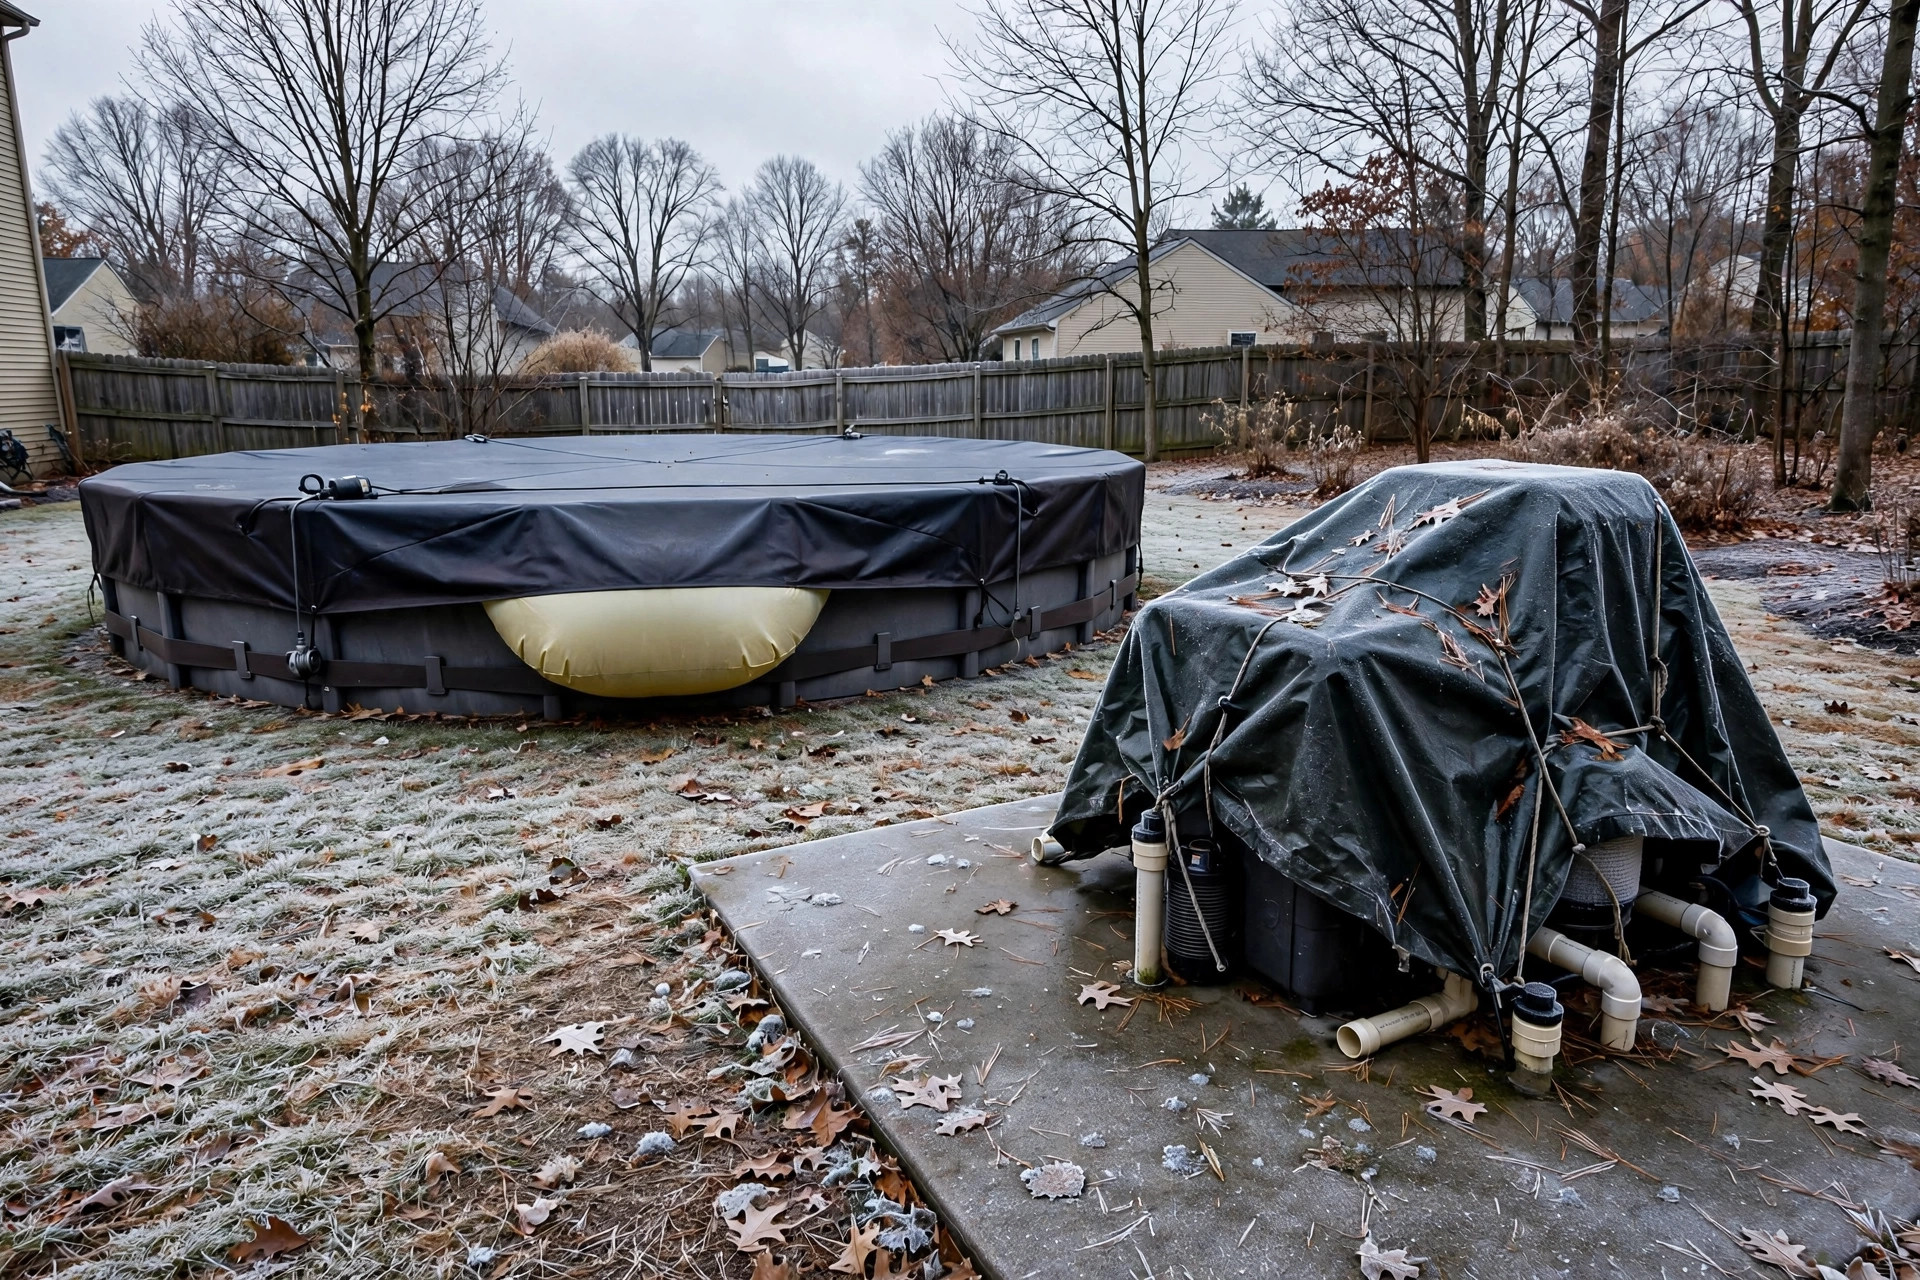

Winter comes every year. It comes fast in some states and slow in others. But in every place that sees hard frost, pool owners must learn how to winterize pool equipment properly. The pump, the filter, the heater, and the pipes all hold water. When water freezes, it grows. That growth can crack plastic, split pipes, and ruin a heater in a single cold night. A little care in the fall can save thousands of dollars in the spring.
This guide walks through the full job. It covers what to buy, when to start, and how to protect each part of the system. It also covers the mistakes that most often cause damage. Follow these steps, and your pool equipment will be ready for the cold.
Why Winterizing Matters
Pool equipment is built to move water, not to hold ice. A pool pump has a plastic housing with tight seals. A sand filter has a large tank full of water. A pool heater has copper or steel heat coils. None of these parts can stand the pressure of expanding ice.
Damage from freezing is one of the most common reasons pool owners call repair shops in the spring. A cracked pump housing must be replaced. A split filter tank cannot be patched for long. A frozen heater can cost more to fix than a full year of chemicals. Pool repair guides at Swim University and Leslie’s both list freeze damage as a top cause of spring repair bills.
There is a second reason. Winter water left in the pipes can grow algae and stain the plumbing. When you drain the lines and add the right winter chemicals, the spring opening goes fast.
When to Start the Job: How to Winterize Pool Equipment Properly
Start when the water temperature stays below 65 degrees. That is the point where algae growth slows and the pool can be closed. In warm states, that may be late November. In cold states, it may be early October. See our guide on how to winterize an inground pool for timing tips by pool type.
Do not wait for the first frost. Weather can turn fast. A cold snap can arrive a week before the forecast says so. Most repair experts at This Old House advise closing the pool before night temperatures drop near freezing.
If you live where the pool runs all year, you do not need to winterize. But if the pool sits idle for even one month in freezing weather, the full job is worth doing.
What You Need Before You Start
Gather your supplies first. A winterizing job goes wrong most often when the owner stops halfway to run to the store. You will need the following items.
– A winter pool cover that fits the pool shape – Winterizing plugs for the return lines and skimmer – A pool air pillow or ice compensator for above ground pools – Winter chemical kit or shock, algaecide, and stain preventer – Antifreeze made for pools, not for cars – A shop vacuum or air compressor to blow out the lines – Teflon tape and basic hand tools – A pump cover or tarp if the equipment sits outside
Many owners buy a winter cover based on reviews of the best pool cover for winter to make sure it will hold up under snow and wind. A thin cover that tears in January leaves the pool open to leaves and dirt all winter.
Step 1: Clean the Pool and Test the Water
A clean pool closes better than a dirty one. Brush the walls and floor. Vacuum the pool. Empty the skimmer and pump baskets. Backwash the filter one last time so it starts winter with clean media.
Test the water with a test kit. Balance the pH, alkalinity, and calcium. Then add a heavy dose of shock.
Step 2: Lower the Water Level
Drain the pool to the right level for your cover. For a mesh safety cover, drain below the skimmer. For a solid cover, drain to about one foot below the skimmer mouth. Do not drain an inground pool too far. Ground water pressure can lift a pool that has no water weight. Vinyl liner pools are at special risk. Never drain a vinyl pool fully.
Above ground pools need less lowering. Most owners drain to just below the skimmer and the return jet. Then they plug the lines from inside the pool.
Step 3: Blow Out the Plumbing Lines
This is the most important step in learning how to winterize pool equipment properly. Every line must be free of water. That means the skimmer line, the main drain line, and each return line.
Connect a shop vacuum or an air compressor to the pump end of the system. Blow air through one line at a time. Watch the far end. When only air and mist come out, that line is clear. Then plug it at once with a winterizing plug so no water can flow back in.
Work through all the lines in the same way. Do not rush. A line that holds even a small pocket of water can crack when it freezes.
Step 4: Drain the Pump
The pool pump is the heart of the system. Turn off the power at the breaker first. Never work on the pump with the power on. Remove the drain plugs at the bottom of the pump housing. Let all the water run out. Take off the pump lid and empty the strainer basket. Store the drain plugs in the basket so you can find them in the spring.
Check the pump for cracks or worn seals while it is open. If the seal leaks now, it will leak worse in the spring. Some owners use this pause to shop for the best pool pump for inground pools if the old unit is loud or weak.
If the pump sits in an unheated shed, cover it with a tarp after it is dry. Do not seal it in plastic. A little air flow keeps damp from settling on the motor.
Step 5: Drain the Filter
Sand, cartridge, and DE filters all hold water and must be drained.
For a sand filter, turn the multiport valve to the winter position, which sits between any two settings. Remove the drain plug at the base of the tank. Let the water flow out fully. Leave the plug out or store it in the basket.
For a cartridge filter, open the air relief valve on top. Remove the drain plug. Take out the cartridge and rinse it. Let it dry, then store it indoors if you can. A clean cartridge lasts longer.
For a DE filter, backwash first. Then open the drain and let the tank empty. Remove the grids if you want to hose them down and store them dry. Family Handyman has filter care guides for owners new to the job.
Step 6: Drain the Heater
The heater is the most costly part to replace. Turn off the gas or the power to the unit. Close the valves that feed water to the heater. Open the drain plug or petcock on the heater body. Let all water run out. Some heaters have more than one drain point, so check the manual.
Blow air through the heater coils if you have a compressor. Even a small amount of water in the heat exchanger can split the copper when it freezes. Pool heating guides on energy.gov note that proper shut down also saves energy by cutting standby loss all winter.
Step 7: Protect the Skimmer and Returns
After the lines are blown out and plugged, protect the skimmer. Push a half-full plastic bottle or a skimmer guard into the skimmer basket area. If ice forms in the skimmer, the bottle will crush first and spare the plastic walls.
Thread winter plugs into each return fitting from inside the pool. Use Teflon tape on the threads for a tight seal. If you use a solid cover, add pool antifreeze to the lines before you plug them. Use only antifreeze rated safe for pools. Car antifreeze is poison and must never go in pool lines.
Step 8: Add Winter Chemicals and Cover the Pool
With the equipment safe, turn to the water. Add winter algaecide and a stain preventer. A floating chlorine dispenser can help in mild climates, but it is not needed where the pool will freeze solid.
Lay an air pillow in the center of an above ground pool. Tie it in place. Then spread the winter cover over the pool and pull it tight. Secure it with the cable and winch or with water bags around the edge. A tight cover keeps out leaves, blocks light, and holds the pillow in place.
For inground pools, stretch the safety cover across the pool and anchor it to the deck. Walk the edge and check every anchor. A loose cover in a windstorm can dump a season of leaves into the water.
Home improvement retailers such as The Home Depot and how-to sites such as The Spruce carry cover pumps that sit on solid covers and push off rain water. If your cover holds water, a small cover pump is a wise buy.
Winterizing Hot Tubs and Spas
Many homes have a spa or hot tub next to the pool. These need the same care. Turn off the power. Makers such as Hot Spring and Bullfrog Spas publish shut-down checklists for their tubs.
Cost and Price of Winterizing
Most owners can winterize a pool for the price of supplies. A winter chemical kit costs 30 to 60 dollars. Plugs, antifreeze, and small parts add 20 to 40 dollars. A new winter cover, if you need one, runs 60 to 250 dollars for above ground pools and 200 to 600 dollars for inground pools.
Hiring a pool service to close the pool costs 200 to 400 dollars in most markets. Compare that to the cost of one cracked heater, which can run 1,500 dollars or more.
Common Mistakes to Avoid
The same errors show up every spring in repair shops.
The first is leaving water in the lines. Blowing out the plumbing takes time. Owners who skip it or rush it pay the price in cracked pipes.
The second is using car antifreeze. It is toxic. Only pool antifreeze is safe for pool lines.
The third is closing a dirty pool. Leaves and dirt use up the winter chemicals fast. By January the water can turn, and the spring opening becomes a long chore.
The fourth is forgetting the heater. The pump and filter get all the care, and the heater drain plug stays shut. One hard freeze can end the heater.
The fifth is storing drain plugs loose. In the spring, a missing plug means a trip to the pool store before the system can run. Keep all plugs in the pump basket.
Safety Notes
Water and power make a poor mix. Turn off all pool power at the breaker before you touch the pump or the heater. Let gas heaters cool fully before you drain them.
Keep children and pets away from the work area while lines are open and plugs are out. An open skimmer or an uncovered pool is a fall hazard. The U.S. Consumer Product Safety Commission offers pool safety guidance that every pool owner should read before the closing season.
Store chemicals in a cool, dry place away from the house furnace and away from children. Never mix chemicals together. Add them to the pool one at a time.
FAQ
How cold does it have to get before pool equipment is at risk?
Damage starts when water in the pipes freezes. That can happen on any night that stays below 32 degrees for several hours. You do not need a deep freeze. One hard night can crack a pump housing or split a pipe.
Can I leave the pump running all winter instead of winterizing?
Some owners in mild states run the pump on freeze guard. The moving water resists freezing. But a power outage on a cold night will stop the pump, and the water can freeze in hours. In states with real winter, full winterizing is far safer.
Do I need to drain the pool fully to winterize the equipment?
No. You only lower the water below the skimmer. Draining an inground pool fully can cause the shell to lift or crack from ground pressure. Never drain a vinyl liner pool all the way.
How long does it take to winterize pool equipment properly?
A first-timer should plan three to four hours. An owner who has done it before can finish in about two hours. Most of the time goes to blowing out the lines and draining each part of the system.
Should I hire a pro or do it myself?
Either choice works. A pro brings a strong compressor and the right plugs, and the job is done fast. Doing it yourself saves 200 to 400 dollars and teaches you how your system works. If your plumbing has many valves and lines, a pro visit the first year is a good way to learn the layout.
What should I check in the spring when I reopen?
Look for cracks in the pump housing and filter tank. Check the heater for leaks when it first fires. Replace any plugs or gaskets that look worn. Refill the lines slowly and watch each joint before you turn the pump to full speed.
A Final Word
Learning how to winterize pool equipment properly is a skill that pays back every year. The steps are simple: clean, lower, blow out, drain, plug, and cover. Each step guards one part of the system against the cold. Give the job a full afternoon in the fall, and the spring opening will be quick and free of repair bills. Your pool, your pump, and your wallet will all thank you when the warm days return.
References
Bullfrog Spas. (n.d.). Hot tubs and spas. https://www.bullfrogspas.com Family Handyman. (n.d.). DIY home repair and maintenance. https://www.familyhandyman.com Hot Spring Spas. (n.d.). Hot tubs and spas. https://www.hotspring.com Leslie’s Pool Supplies. (n.d.). Pool supplies and equipment. https://www.lesliespool.com Swim University. (n.d.). Pool and hot tub care guides. https://www.swimuniversity.com The Home Depot. (n.d.). Home improvement products. https://www.homedepot.com The Spruce. (n.d.). Home and garden advice. https://www.thespruce.com This Old House. (n.d.). Home renovation guidance. https://www.thisoldhouse.com U.S. Consumer Product Safety Commission. (n.d.). Product safety information. https://www.cpsc.gov U.S. Department of Energy. (n.d.). Energy efficiency and renewable energy. https://www.energy.gov
Was this guide helpful?

About James Carter
The My Garden US editorial team writes practical, in-depth home and garden guides for American homeowners — tested advice, no fluff.
You May Also Like
Best Hot Tub for Tall People: How to Find One That Truly Fits
May 26, 2026 0 views
Your Inground Pool Maintenance Schedule Weekly Checklist
May 24, 2026 0 views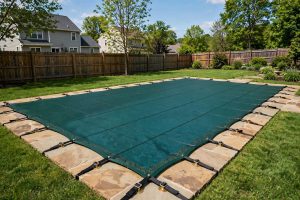
Finding the Best Pool Cover for Safety Kids and Families
January 1, 2026 0 views