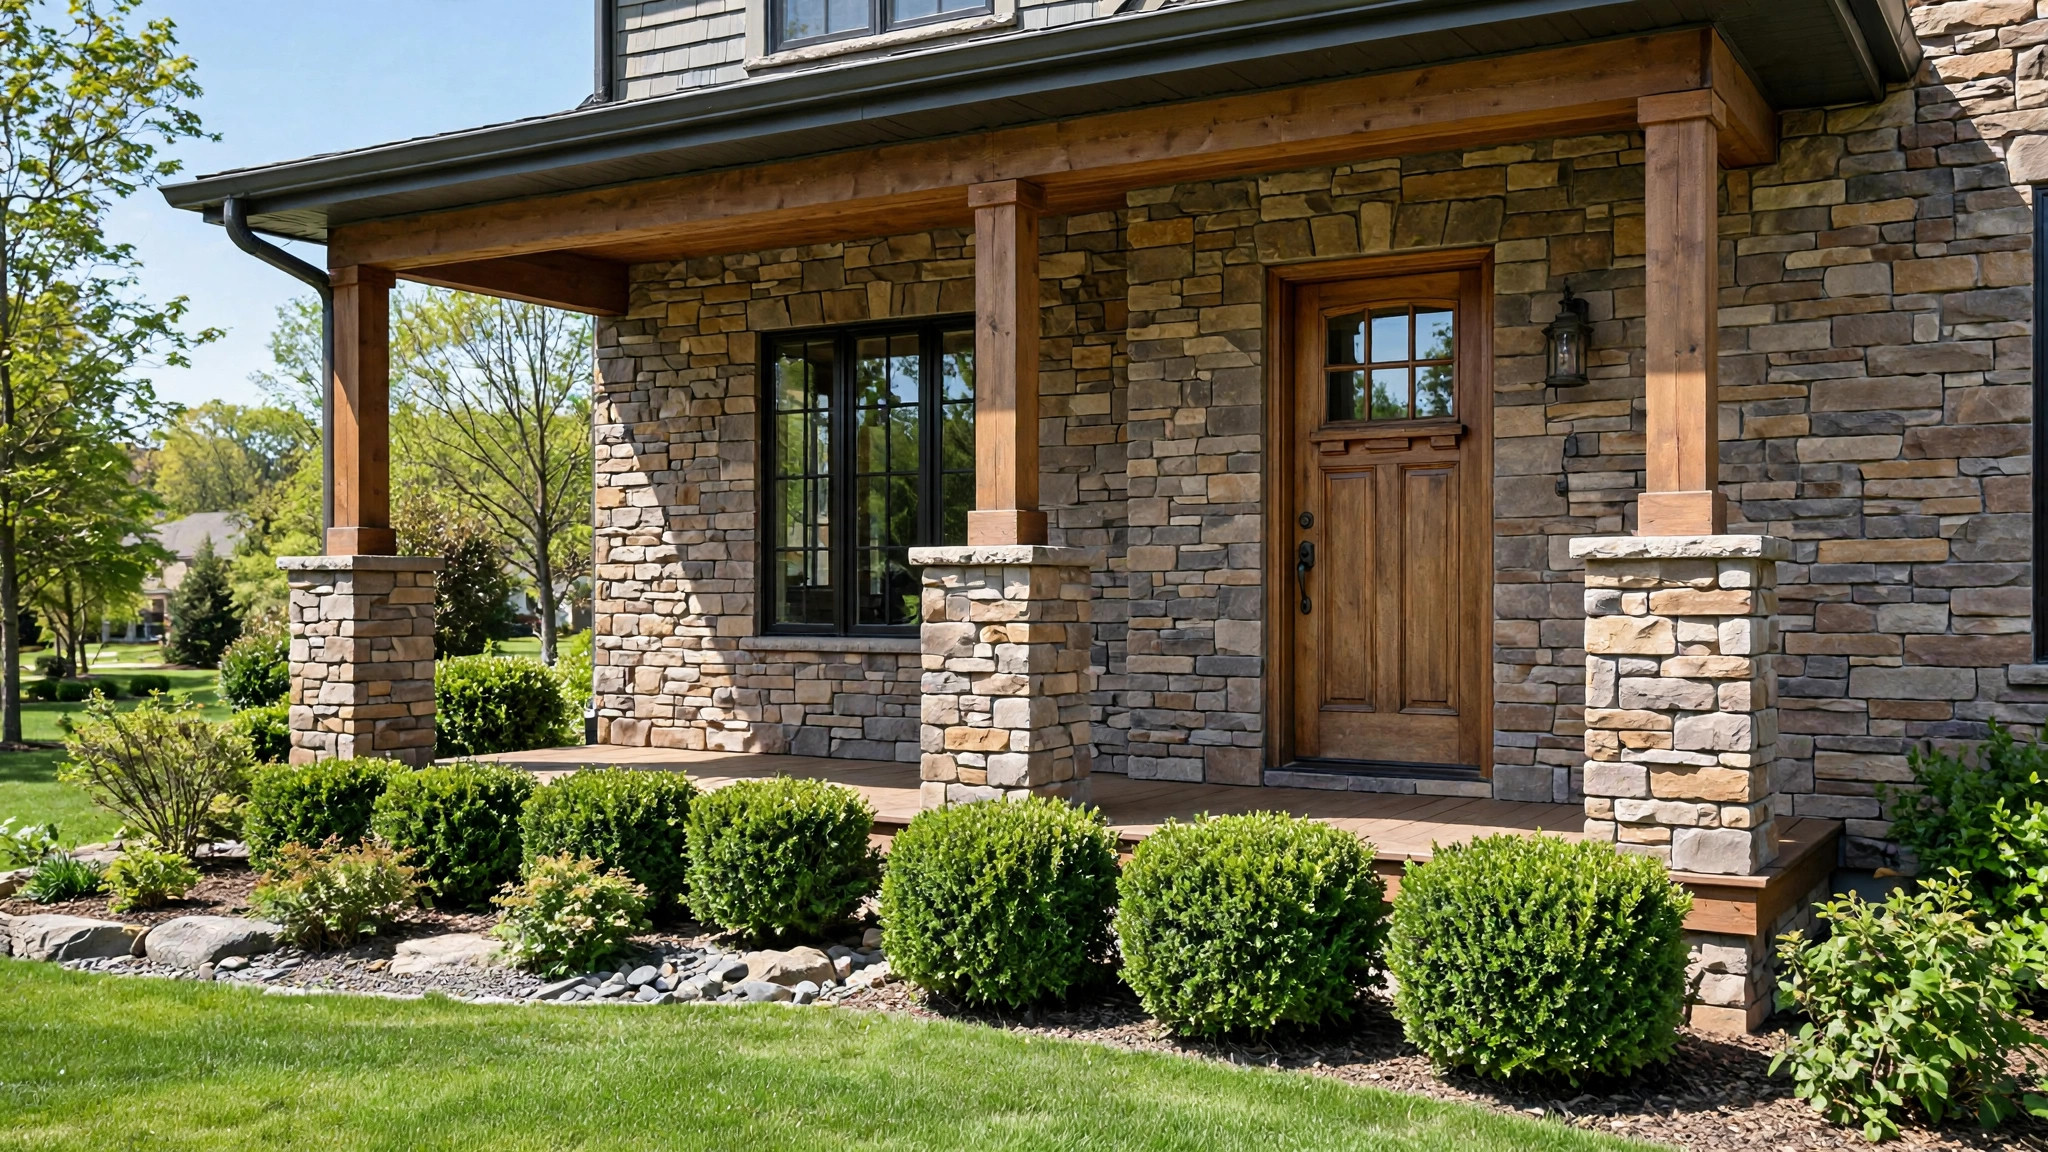

A Solid Start to a Stone Look
Stone has always said something plain and strong about a house. It says the walls will last. It says the home has roots. But real stone is heavy, slow to lay, and costly to buy. This stone veneer panels reviews and buying guide walks you through the modern answer to that problem: thin panels that look like full stone but weigh far less and go up in days, not weeks.
If you are thinking about new siding, an accent wall, or a fresh front porch, you have likely seen these panels in stores and in catalogs. The choice can feel wide. Some panels are made of real cut stone. Others are made of concrete that is shaped and colored to copy stone. Each kind has its place. Read on, and you will know how to tell them apart, what to pay, and which ones earn the best marks from homeowners and builders.
Why Stone Veneer Panels Matter: Stone Veneer Panels Reviews and Buying Guide
A house that looks like stone draws the eye. Real estate agents have said for years that a stone front raises curb appeal, and curb appeal raises price. But few budgets stretch to full quarried stone. Veneer panels fill that gap. They give you the same face, the same shadows, the same rough charm, at a fraction of the cost and weight.
Weight is the key fact. A square foot of real full stone can weigh 60 pounds or more. That kind of load needs a strong footing and often a mason on site for weeks. A manufactured stone panel may weigh 8 to 15 pounds per square foot. Many natural thin stone panels weigh about the same. Because they are light, they can hang on an ordinary framed wall. That opens the stone look to almost any house, old or new.
There is also the matter of time. A skilled crew can face a whole front of a house in veneer panels in a few days. Real stone laying takes far longer. Faster work means lower labor cost, and lower labor cost is the main reason most people choose panels in the first place.
How to Choose: What to Look For
Weight and Thickness
Start with the weight. Heavier panels act more like real stone, but they need stronger lath and scratch coat work. Lighter panels are easier to hang and easier to cut. Check the maker’s data sheet for pounds per square foot. For a do-it-yourself job, stay under 12 pounds per square foot if you can.
Color Through the Body
Cheap panels wear paint only on the surface. If the panel chips, a bright white spot shows. Better panels mix the color all the way through. A chip then shows a tone close to the face. Ask the dealer to show you a broken corner or a cut edge. This one test tells you a great deal about quality.
Edge Fit and Corner Pieces
Stone walls look best when the corners wrap around like real stone. Many brands sell corner pieces that match their flat panels. Ask whether the brand you like has them. Also look at how tight the panel joints fit. Loose, sloppy joints make the wall look fake from the street.
Freeze and Thaw Rating
If you live where winters bite, ask for a freeze-thaw rating. Water gets into small pores in any masonry. When it freezes, it swells. Cheap panels can crack or shed their faces after a few hard winters. Panels made for cold zones pass standard freeze-thaw tests. The label or data sheet should say so.
Fire Rating
Check the fire rating too, mainly if the panels go near a grill or an outdoor fireplace. Most mineral-based panels carry a good fire rating. Composite or foam-backed panels need closer study. The maker should state the class clearly.
Types and Options
Manufactured Stone Panels
Most of the panels sold in America today are manufactured. They are made from concrete poured into molds taken from real stone. The color is added with iron oxide tints. Good ones fool the eye from ten feet away. They are the least costly choice, and they come in the widest range of styles: ledgestone, fieldstone, river rock, brick-look, and more.
Reviews of manufactured panels point to the same strengths again and again: low price, easy cuts with a wet saw, and steady color lots. The common gripes are fade in strong sun over many years and the painted-on look of the weakest brands. Buy from a maker with a long name and a real warranty, and most of these troubles fade.
Natural Thin Stone Panels
These are real stone, sawn thin on the back and stuck to a backing mesh or simply cut to panel size. They carry the true feel of the rock: cool to the touch, sharp edges, natural shade changes no factory can copy. They cost more than manufactured panels, sometimes two or three times more.
Homeowners who buy natural thin stone say the wall looks real because it is real. The main complaint is price, and the second is range: colors shift from lot to lot, so you must mix boxes as you hang them to keep the wall even.
Faux Polyurethane Panels
A newer choice is the foam-based panel. It is made of high-density polyurethane molded to look like stacked stone. It is the lightest of all, sometimes only 2 or 3 pounds per square foot. It goes up with screws or glue, and one person can carry a whole box up a ladder.
Reviews are mixed. Fans love the easy install and the fine detail in the mold. Critics say the surface looks plasticky up close and that sun can dull the finish over time. For indoor accent walls, trade booths, and small jobs, they do well. For a full house front that must last decades, most builders still point you to mineral panels.
Panelized vs. Loose Stone
Some makers sell panels: sheets of stone already arranged. Others sell loose stones you set one by one. Panels go up fast and keep the joints even. Loose stone gives you more control over the pattern and looks more like hand-laid work. If you plan to do the work yourself, panels will save you days of labor.
Cost and Price
Prices run wide. As a rough guide, manufactured panels cost about 6 to 15 dollars per square foot for materials alone. Natural thin stone panels run about 12 to 30 dollars per square foot. Faux polyurethane panels often fall between 8 and 18 dollars per square foot.
Labor adds more. A mason or siding crew may charge 10 to 25 dollars per square foot to install, depending on your region and the wall. A simple one-wall accent job on a porch may cost 2,000 to 4,000 dollars all in. A full front of a two-story house can run 15,000 to 40,000 dollars. Get three bids. Ask each bidder to list materials and labor apart, so you can compare them straight.
Do not forget the small costs. You will need a weather barrier, metal lath, mortar or thin-set, and sealers. On some walls you will need a ledge or footing to carry the first course. These add-ons can add 2 to 5 dollars per square foot. A full price review should count them from the start.
Installation Basics
Many panels are made for the do-it-yourselfer, but a stone wall is still masonry. The wall behind must be dry and sound. A water barrier goes on first, then lath, then a scratch coat of mortar. The panels are buttered with mortar and pressed on, or screwed through their flanges in the case of foam panels.
Watch the weather. Mortar needs mild temperatures to cure. Do not set panels in freezing cold or in the hot glare of a July afternoon. Keep the work damp and shaded as it sets. Plan for one helper: holding a panel in place while you check the level is a two-person job.
Cutting is simple with the right tool. A wet tile saw or an angle grinder with a diamond blade cuts concrete and thin stone cleanly. Foam panels cut with a hand saw. Wear a dust mask and eye guards on every cut. Stone dust is hard on the lungs.
Care and Upkeep
Stone veneer asks for little, but it is not care-free. Wash the wall once a year with a garden hose and a soft brush. Plain water takes off most dust and pollen. Stay away from pressure washers set high. A strong jet can force water behind the panels and can chip weak faces.
Check the caulk and flashing each spring. Water must shed off the top of the wall and away from windows and doors. If caulk has cracked, cut it out and lay a fresh bead. This small habit stops most water trouble before it starts.
Sealers divide opinion. Some makers say a breathable masonry sealer helps in wet climates. Others say their panels are made to breathe and a sealer can trap damp. Follow the maker’s sheet for your exact product. If you do seal, pick a product made for stone veneer, not plain concrete sealer, and re-coat on the schedule the maker gives.
Moss and mildew may grow on shaded north walls. A mix of water and a mild masonry cleaner, brushed on and rinsed off, clears it. Do not use bleach strength cleaners; they can stain the stone and harm plants below.
Safety
Stone work is heavy work, even with light panels. Lift with your legs, not your back, and keep loads close to your body. Set scaffolds on firm ground and tie them off. A panel that falls from a second story can hurt someone badly.
Dust is the main health risk. Cutting concrete, mortar, and natural stone makes silica dust. Silica harms the lungs with long exposure. Always wear a proper dust mask rated for the job, and cut wet when you can. Wet cutting keeps the dust down and the blade cool.
Check local codes before you start. Some towns treat veneer like siding and ask for a simple permit. Others want an inspection of the weather barrier before the stone goes on. A short call to the building office saves a headache later. If you are pairing new veneer with fresh gutter work, plan both together so water flows where it should.
Frequently Asked Questions
Do stone veneer panels look fake?
Good ones do not, at least from the street. The best manufactured panels are cast from real stone molds, and the color runs through the body. Cheap panels with flat paint and repeating patterns do look fake. The rule is simple: buy samples, hang them on the wall, and look at them from the curb before you order a full load.
How long do stone veneer panels last?
Well-made mineral panels can last 40 to 75 years with basic care. Natural stone lasts longer still. Foam panels have a shorter track record; makers often warrant them for 15 to 25 years. Sun, freeze-thaw cycles, and poor water shedding shorten the life of any panel. Good installation matters more than the brand name.
Can I install stone veneer panels myself?
Yes, many homeowners do. The skills are basic: mix mortar, spread it, set the panel level, keep joints even. The work is slow and physical. Start with a small wall, like a porch pier or a garden wall, before you take on a whole house front. If heights bother you, hire a crew for anything above the first story.
Do stone veneer panels add value to a home?
They usually do. Appraisers and agents rank a stone front high on curb appeal. Whether you get your money back at sale depends on your market and the quality of the job. A neat, well-done stone front almost always helps. A sloppy job can hurt.
Are stone veneer panels waterproof?
No panel is fully waterproof, and none should claim to be. The wall behind the stone carries the water barrier. The stone sheds most rain, but wind can drive water in. That is why the weather barrier, flashing, and weep details matter more than the panel face. Treat the panels as the rain screen and the wall behind as the true seal.
Manufactured or natural stone panels: which should I buy?
Pick manufactured if budget rules the choice and you want a wide range of styles. Pick natural thin stone if you want the true feel of rock and can pay more. For more ideas on matching veneer with other exterior choices, see this guide to top rated brick veneer siding for USA homes and these tips on where to buy house number plaques in florida for the finishing touch on a new stone front.
A Short Final Word
Stone veneer panels give an old house a new face and a new house an old soul. Buy samples first. Study the weight, the color depth, and the freeze rating. Get three labor bids if you do not plan to hang the panels yourself. And take your time on the first course: a level start makes every course above it look right.
The stone look has lasted for thousands of years because it is honest. With the right panels, hung right, your home can wear it for the next fifty.
For more background, see Lowe’s, James Hardie, and CertainTeed. For more background, see Bob Vila, Family Handyman, and The Spruce. See The Home Depot for more detail. Related guides on this site include insulated vinyl siding price comparison usa.
References
Bob Vila. (n.d.). Home improvement advice. https://www.bobvila.com CertainTeed. (n.d.). Building materials and exterior products. https://www.certainteed.com Family Handyman. (n.d.). DIY home repair and maintenance. https://www.familyhandyman.com James Hardie. (n.d.). Fiber cement siding and exterior products. https://www.jameshardie.com Lowe’s. (n.d.). Home improvement products. https://www.lowes.com The Home Depot. (n.d.). Home improvement products. https://www.homedepot.com The Spruce. (n.d.). Home and garden advice. https://www.thespruce.com This Old House. (n.d.). Home renovation guidance. https://www.thisoldhouse.com
Was this guide helpful?

About Sarah Mitchell
The My Garden US editorial team writes practical, in-depth home and garden guides for American homeowners — tested advice, no fluff.
You May Also Like

Finding Reliable Exterior House Painting Services in Texas
May 6, 2026 0 views
Affordable Basement Waterproofing Services Near Me: A Homeowner Guide
June 14, 2026 0 views
Best Vinyl Replacement Windows for New England Homes
January 4, 2026 0 views