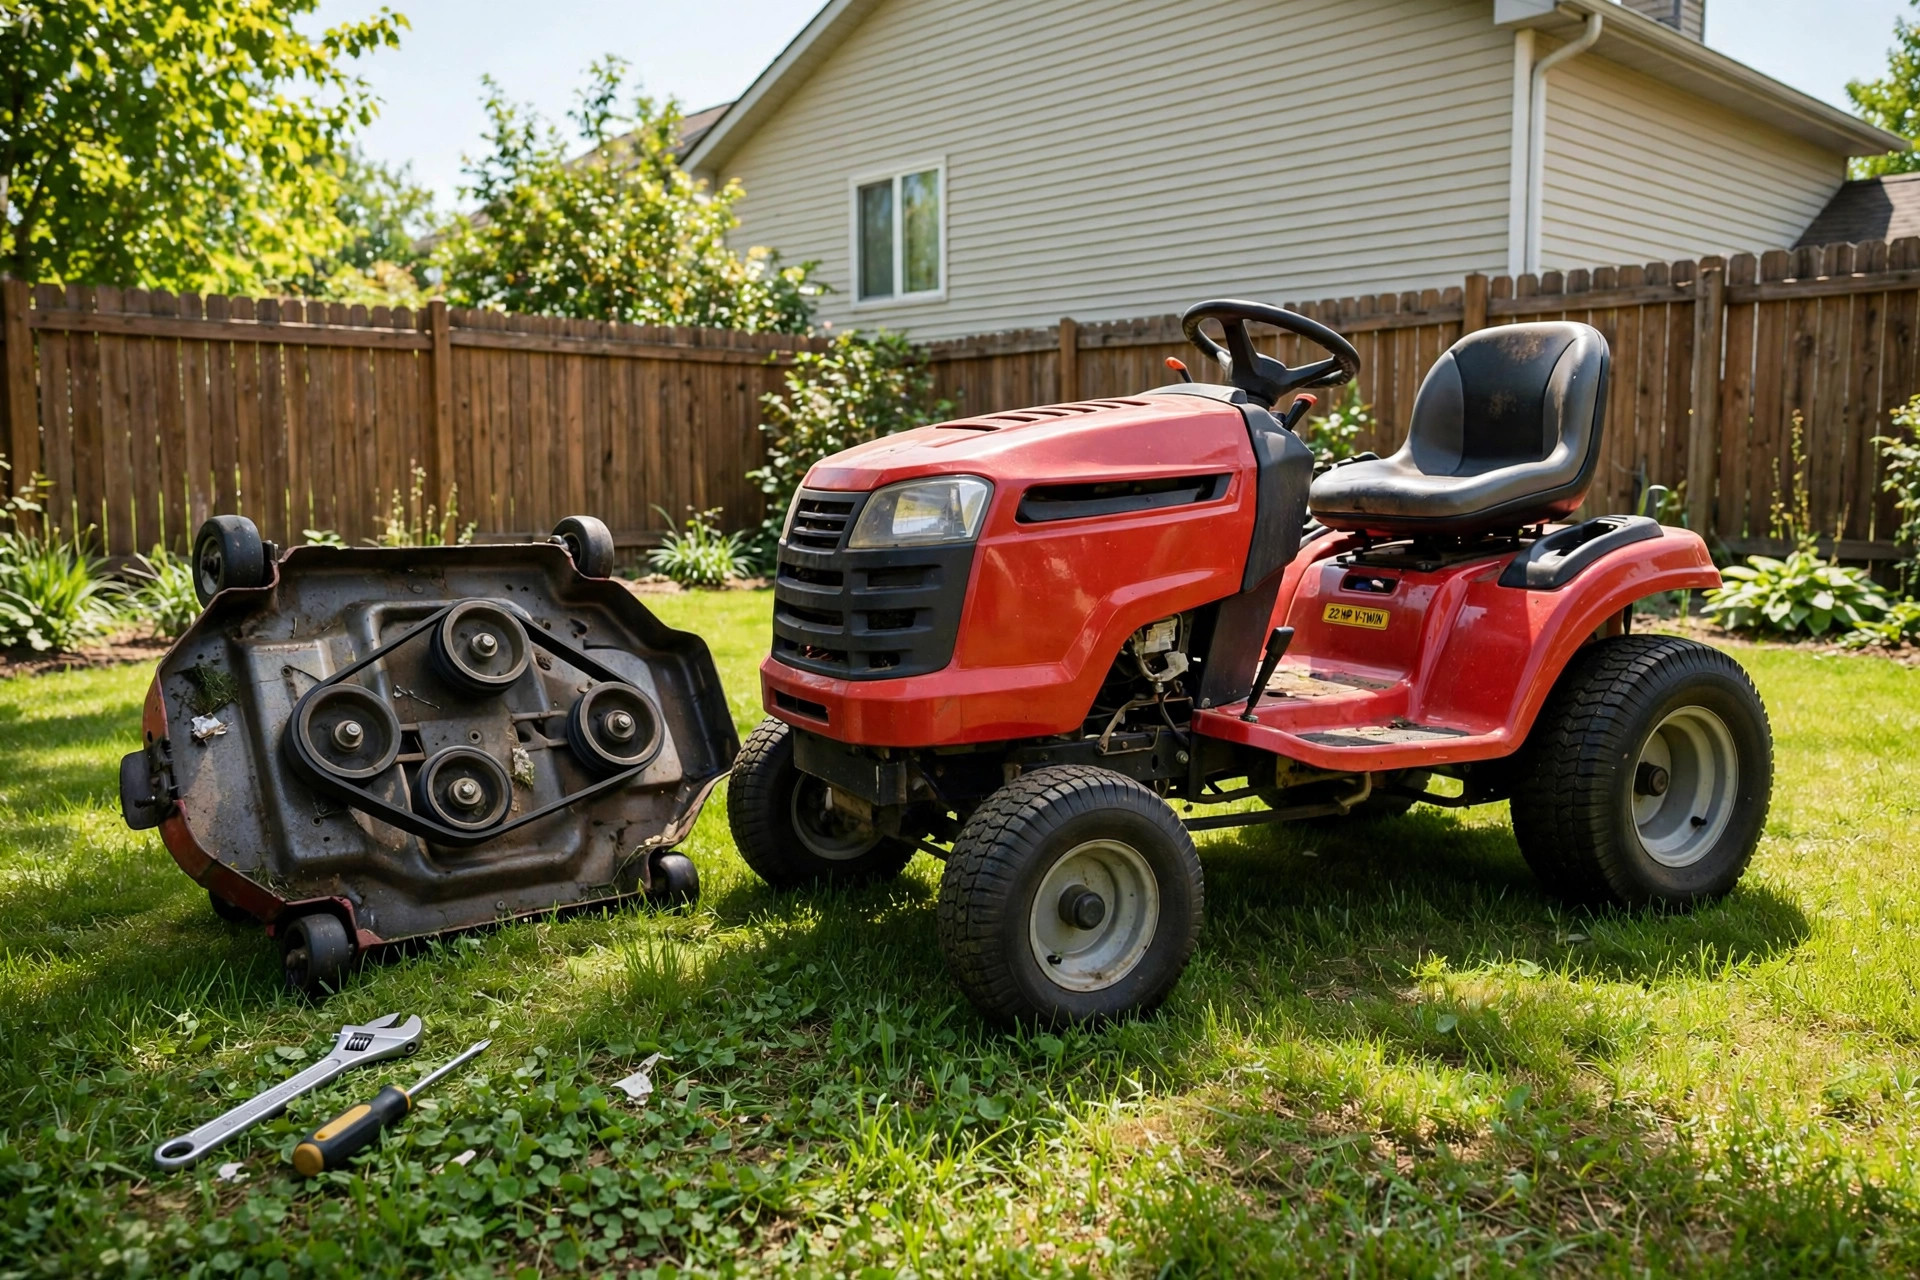

A riding mower saves hours of hard work. It also has parts that wear out with use. One of the most common is the deck belt. This riding mower deck belt replacement guide will show you how to change it yourself. The job is not hard. With simple tools and a free afternoon, most homeowners can finish it. You will save money and learn a useful skill.
The deck belt is a thick rubber loop under the mower. It runs from the engine to the mower deck. It turns the blades that cut the grass. When it wears out, the blades slow down or stop. Your lawn starts to look rough. A fresh belt restores a clean, even cut.
Why a Worn Deck Belt Matters
The belt is the link between engine power and blade speed. Every pass across the yard puts stress on it. Heat, dust, and grass clippings wear it down. A belt in good shape keeps the blades spinning fast. Fast blades cut grass cleanly. Clean cuts help the lawn stay healthy.
A worn belt causes many small problems. The blades may turn too slowly. The mower may leave strips of tall grass. It may throw clumps instead of fine cuttings. In bad cases, the belt can snap in the middle of a mow. Then you are stuck with a half-cut yard and a tow to the shed. Replacing the belt on time avoids these troubles.
A healthy belt also protects the rest of the mower. When a belt slips, the engine works harder. Bearings and pulleys take extra strain. A simple belt change is cheap. A repair to the deck or engine is not.
Signs Your Deck Belt Needs Replacement: Riding Mower Deck Belt Replacement Guide
You do not need to guess. A worn belt gives clear signs. Learn them, and you can act before it breaks.
Squealing or screeching sounds. A high noise when you engage the blades often means the belt is slipping. It may be stretched or glazed.
Uneven cutting. If the mower leaves patches of tall grass, the blades may not be spinning at full speed. A loose belt is a common cause.
Visible cracks or fraying. Look at the belt now and then. Cracks in the rubber, frayed edges, or shiny worn spots all point to age.
The belt jumps off the pulleys. This is a late warning. A stretched belt no longer fits tight. It can slip off during a turn.
A burning rubber smell. Friction from a slipping belt creates heat. The smell of hot rubber during a mow is a clear red flag.
Most belts last three to five seasons of normal use. Hard use, tall grass, and dusty yards wear them faster. If your mower is several years old and the belt has never been changed, it is time to check.
What to Look for When Buying a New Belt
Not every belt will fit your mower. A belt that is even slightly wrong will slip, wear fast, or break. Take care at this step.
Match the part number. The surest way is to buy the belt listed for your exact model. Check the model number on the mower, usually on a plate under the seat. Use it to find the right belt in the parts list. Major brands publish riding mower owner’s manuals online with full part numbers.
Get the right size and type. Belts are measured by length and width. Some are V-shaped, some are flat or cogged. The deck belt must match the pulleys on your machine. Never swap in a belt of a different type.
Choose quality rubber. Cheap belts stretch and crack sooner. Belts from known makers last longer. Many owners check power equipment resources and brand sites for part quality before buying.
Buy from a trusted source. You can find belts at local dealers, big stores, and online. Stores like Home Depot carry belts for the most common residential models. A local dealer can also confirm the fit.
Consider a spare. Belts are small and cheap to store. Keep a spare on the shelf. When the old one fails, you will not lose a weekend waiting for a part.
When you want to compare parts and prices, guides from Consumer Reports can help you judge value across brands.
Tools You Will Need
Gather everything before you start. The job goes faster that way.
– Socket set or wrench set – Screwdrivers (flat and Phillips) – Work gloves – Safety glasses – A floor jack or sturdy wood blocks – The new deck belt – Your owner’s manual – A camera or phone to photograph the belt routing
The photo step matters more than it sounds. Take pictures of how the old belt threads through the pulleys. You will be glad to have them when the new belt goes on.
Step-by-Step Replacement
Work on a flat, level surface. Give yourself plenty of light. Do not rush.
Prepare the Mower
Park the mower on level ground. Turn off the engine and remove the key. Set the parking brake. Disconnect the spark plug wire so the engine cannot start by accident. This is the most important safety step of the whole job. Lower the deck to its lowest setting. Put on your gloves and safety glasses.
Let the engine cool if you just mowed. Hot parts can burn your hands. Clear grass clippings from around the deck with a brush or your gloved hand.
Remove the Deck
Most riding mowers let you slide the deck out from the side. The exact steps vary by model, so check your manual. In general, you will do this:
1. Disconnect the deck from the lift arms. There are usually pins or clips on each side. Pull them and set them aside. 2. Unhook the deck from the front draft arm if your model has one. 3. Slide the deck out from under the mower. It is heavy. Get help if you need it.
Lay the deck on a flat spot. Note how the old belt sits on the pulleys. Take several photos from different angles. These photos are your map for the new belt.
Swap the Belt
Now remove the old belt. Most decks have a tension spring or an idler pulley that holds the belt tight. Release the tension first. On many models, you pull the idler pulley arm to slacken the belt. Then slip the belt off the pulleys one by one.
Compare the old belt to the new one. They should match in length and width. If they do not, stop and get the right part.
Thread the new belt onto the pulleys. Follow your photos in reverse. Make sure the belt sits fully in each pulley groove. It should not ride on the edges. Re-engage the tension spring or idler arm. The belt should feel snug, not loose. Spin the pulleys by hand. The belt should move freely without rubbing on guards or brackets.
This part of the job is where most guides on how to change a riding mower belt agree: belt routing is everything. A belt that misses one pulley will not drive the blades. Take your time and check twice.
Reinstall and Test
Slide the deck back under the mower. Reconnect the lift arms, pins, and front arm. Reconnect the spark plug wire. Start the engine and engage the blades at low throttle first. Listen for odd sounds. Watch the belt through the deck opening if you can see it. Then raise the throttle and mow a small test patch. Check the cut. It should be even and clean.
If you hear squealing, shut off the blades. The belt may be routed wrong or the tension may be off. Fix it before you mow more.
For owners thinking about their whole machine, a guide on the best riding lawn mower for one acre lots can help when it is time to upgrade.
Cost and Price
Doing this job yourself keeps costs low. A new deck belt for a common residential riding mower usually costs between 20 and 60 dollars. Heavy-duty or less common models may cost more. Tools are basic hand tools most homeowners already own.
If you hire a shop, expect to pay for labor on top of the part. Riding mower belt replacement cost at a dealer or repair shop often runs 100 to 200 dollars total. The part is cheap. The labor is what you save by doing it yourself.
Other small costs may come up. Worn blades are a good thing to check while the deck is off. If you need new ones, see a guide on where to buy lawn mower blades near me. Dull blades can also be fixed by a lawn mower blade sharpening service near me. Doing blades and belt together saves a second round of deck removal.
Buy the belt ahead of time. Prices are often lower online than at a dealer counter. But a dealer gives you a sure fit, which has its own value.
Care and Upkeep
A new belt lasts longer with simple care. None of this takes much time.
Keep the deck clean. After each mow, clear packed grass from under the deck. Wet clippings hold moisture against the belt. Moisture and grit wear rubber fast. A clean deck also cuts better.
Check belt tension each season. Belts stretch slowly. Once a year, look at the belt and feel the tension. If it looks loose or glazed, plan a change before the heavy mowing season.
Store the mower dry. A shed or garage beats an open carport. Sun and rain age rubber. If the mower must sit outside, a cover helps.
Mow at the right height and speed. Cutting very tall grass in one pass strains the belt. Raise the deck for the first pass, then lower it. Slow down in thick grass. The belt will thank you.
Watch the pulleys. Worn or rusty pulleys chew up new belts. When the deck is off, spin each pulley. They should turn smooth and quiet. Replace any that wobble or grind.
Simple riding lawn mower maintenance like this keeps the whole machine running for years. Small habits add up.
Safety
Mower decks hold sharp blades and strong springs. Respect them.
– Always remove the key and disconnect the spark plug wire before touching the deck. – Wear gloves and eye protection. Belt dust and rust can irritate skin and eyes. – Never reach under the deck while the engine can start. – Use a jack or blocks to support the mower if you lift it. Never trust a jack alone. – Keep children and pets away from the work area. – Let hot parts cool before you touch them. – Read your manual. It lists the exact steps and warnings for your model.
Official safety guidance is worth a look. The federal product safety agency publishes mower safety tips at cpsc.gov. Brands like Briggs & Stratton and Ryobi also post safety notes with their products.
Lawn care brands such as Scotts and Pennington offer seasonal upkeep advice that pairs well with mower care. And makers like Greenworks publish guides on keeping outdoor equipment in good shape.
Frequently Asked Questions
How long does a riding mower deck belt last? Most belts last three to five mowing seasons. Heavy use, tall grass, and dusty conditions shorten that life. Check the belt each spring.
Can I replace the belt without removing the deck? On some models, yes. Many mowers allow belt access with the deck lowered or tilted. But removing the deck gives you room to work and a clear view. For most owners, removal is the easier path.
What happens if I keep mowing with a worn belt? The cut gets worse. The belt may snap and leave you stranded mid-yard. A slipping belt also strains the engine and pulleys. It is cheaper to change the belt early than to fix the damage later.
Do I need the exact brand-name belt? You need the exact size and type for your model. A quality aftermarket belt that matches the part number works fine. A wrong-size belt, brand name or not, will fail fast.
How do I know the new belt is routed correctly? Your photos of the old belt are the best guide. The belt must sit in every pulley groove and follow the same path. Spin the pulleys by hand before you start the engine. If the belt rubs on anything, the routing is wrong.
A Final Word
Changing a deck belt is one of the most useful repairs a homeowner can learn. It costs little, takes an afternoon, and keeps your mower cutting like new. Follow the steps, mind the safety rules, and keep a spare on the shelf. Your lawn will show the difference.
References
Scotts. (n.d.). Lawn care products and guidance. https://www.scotts.com Toro. (n.d.). Outdoor power equipment. https://www.toro.com Echo. (n.d.). Outdoor power equipment. https://www.echo-usa.com Ryobi. (n.d.). Power tools and outdoor equipment. https://www.ryobitools.com Pennington. (n.d.). Seed and lawn products. https://www.pennington.com The Home Depot. (n.d.). Home improvement products. https://www.homedepot.com Briggs & Stratton. (n.d.). Engines and power products. https://www.briggsandstratton.com Consumer Reports. (n.d.). Product reviews and ratings. https://www.consumerreports.org Greenworks. (n.d.). Battery-powered outdoor tools. https://www.greenworkstools.com
Was this guide helpful?

About Robert Taylor
The My Garden US editorial team writes practical, in-depth home and garden guides for American homeowners — tested advice, no fluff.
You May Also Like

Best Rain Gauge for Garden Reviews: A Plain Guide to Picking a Reliable One
February 9, 2026 0 views
The Best Organic Grub Control for Lawns: A Practical Guide
March 9, 2026 0 views
Red Mulch vs Brown Mulch: Which Better for Your Garden Beds?
June 4, 2026 0 views