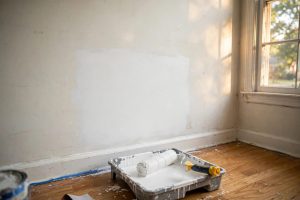
When a door handle punches a hole in the drywall or a plumbing repair leaves a bare patch, the fix looks easy until you try to match the wall. Most American homes carry orange peel texture on their walls. It is that fine, bumpy finish that looks like the skin of an orange. A flat patch stands out at once. The eye catches it every time you pass. That is why orange peel texture repair kit reviews matter. A good kit lets a homeowner repair the damage and lay down fresh texture that fades into the old work.
Why Orange Peel Texture Matters in a Repair
Walls carry two things: color and texture. Paint handles the color. Texture is the harder part. Orange peel finish became common in new homes across the United States in the last quarter of the twentieth century. Builders sprayed it fast. It hid seams in the drywall. It hid small flaws in the taping. Today it covers living rooms, halls, and bedrooms from coast to coast.
When damage happens, the repair moves in stages. First the hole or crack is patched with joint compound. Then the patch is sanded flat. Then comes the step most do-it-yourself painters fear: restoring the texture. Without it, the patch shows as a smooth island in a bumpy sea. Light rakes across it. No amount of paint hides it.
Repair kits were made to answer this one problem. They give a homeowner the spray texture, the tools, and the directions in a single box. Most kits work without a compressor. That matters. The average homeowner does not own spray gear. A self-contained kit brings the job down to the scale of a Saturday morning.
How Orange Peel Texture Repair Kits Work: Orange Peel Texture Repair Kit Reviews
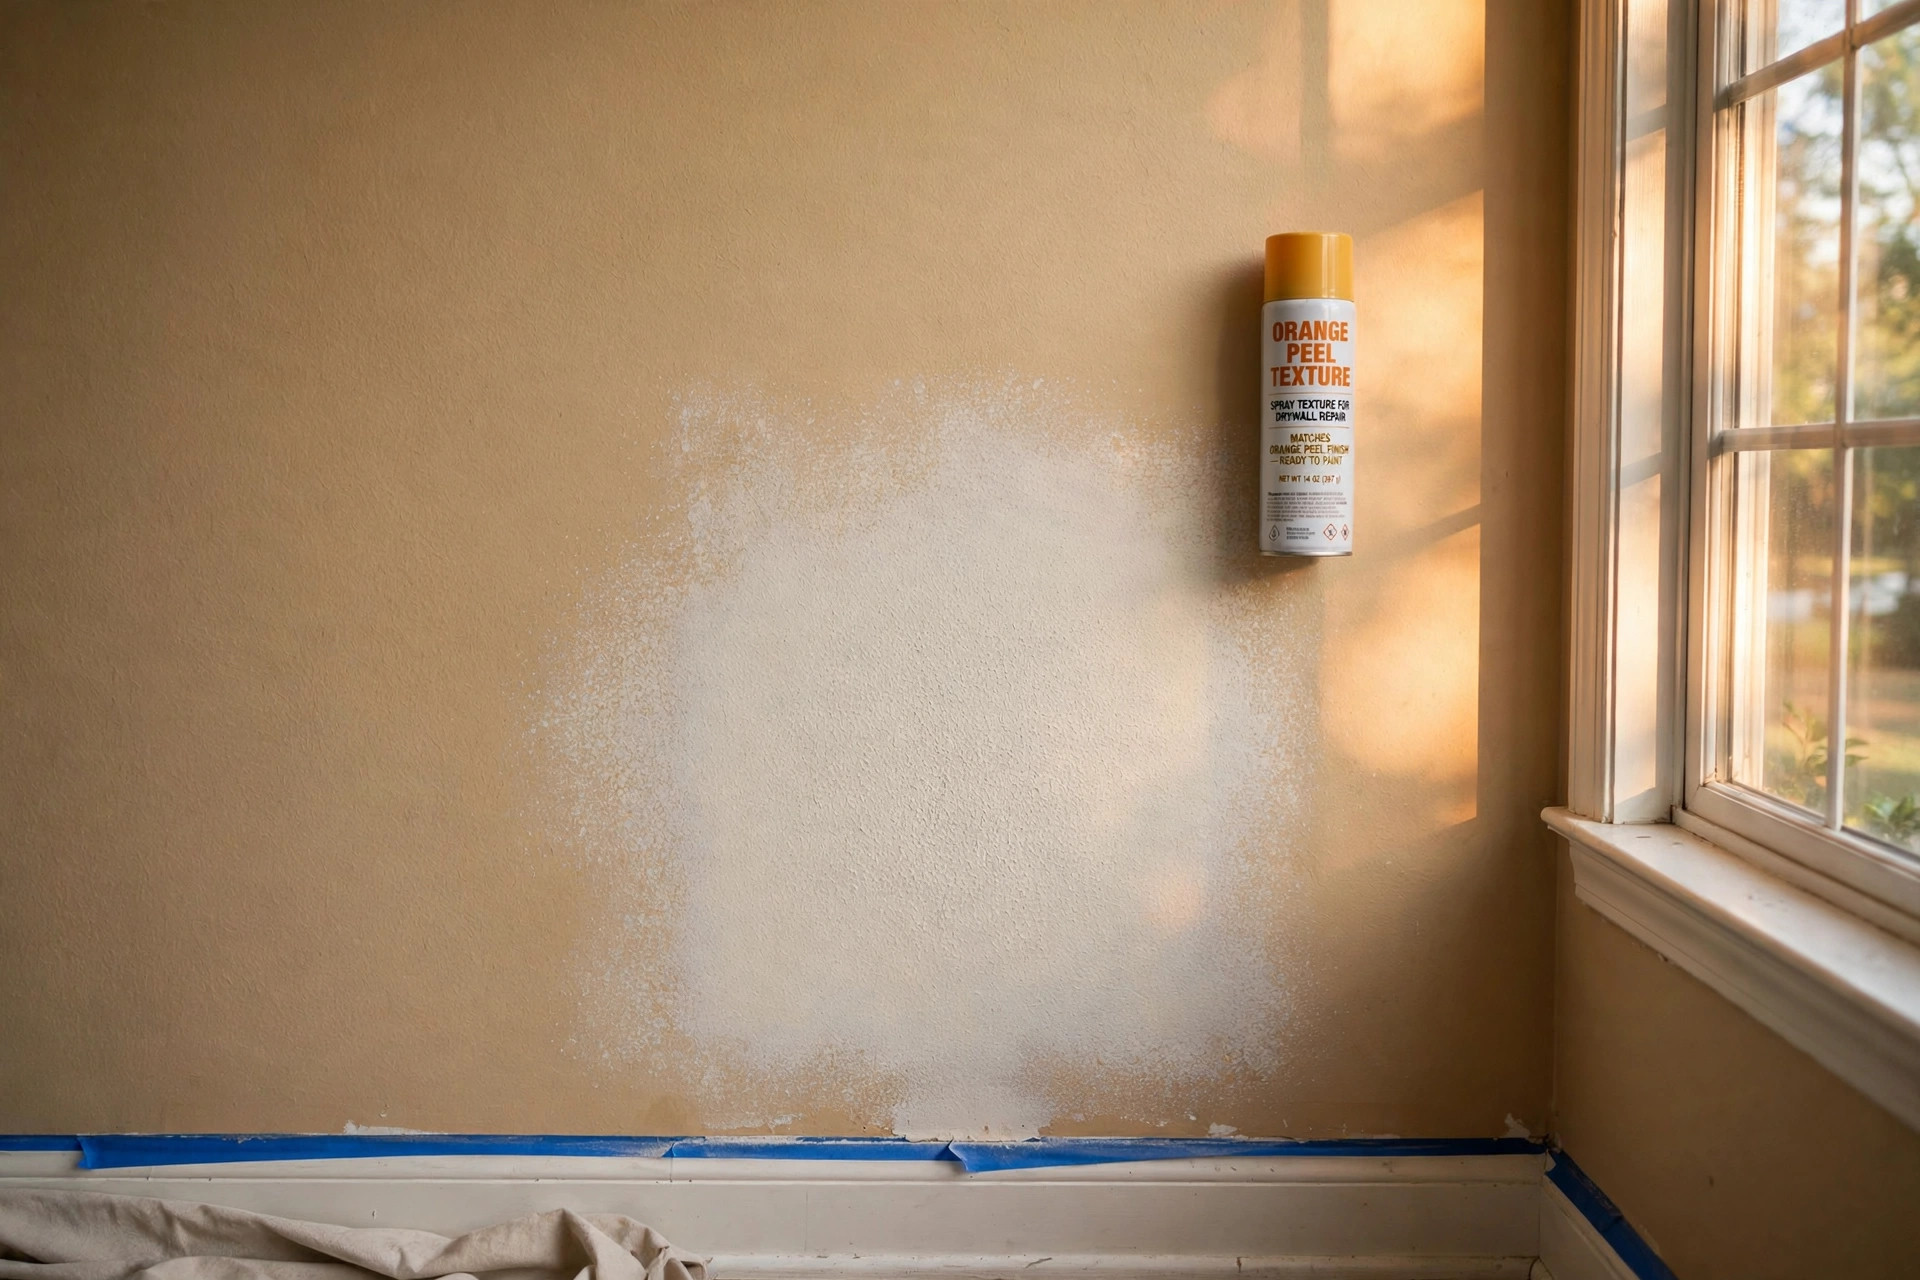
Most kits on the market use an aerosol can or a hand pump. The can holds a latex-based texture mix under pressure. You shake the can, adjust the nozzle, and spray. The texture lands on the wall in small droplets. As it dries, it forms the small bumps of orange peel.
Some kits use a pump bottle instead. You squeeze a trigger. Air pressure drives the mix out. The pattern may be finer than the aerosol type. Pump kits often give more control over the spray, which helps when the patch is small.
A few kits ship with a practice board. This is a piece of cardboard with a hole in it. You spray through the hole to learn the pattern before you touch the wall. Reviews often praise this board.
Kits also differ in nozzle design. Some use a fixed nozzle with one pattern. Others use an adjustable dial. The dial lets you set the spray from fine to heavy. This helps match the wall, because orange peel texture varies from house to house. Older homes may carry a heavy pattern. Newer homes often carry a fine one.
The working steps stay the same across brands. Clean the patch. Prime it or not, depending on the directions. Test the spray on scrap. Then spray the repair area with light passes. Let it dry. Paint over it. The best orange peel texture repair kit reviews repeat one warning: use light passes. Heavy passes run and sag.
What to Look for When You Choose a Kit
Spray Pattern Control
The nozzle decides the job. An adjustable nozzle is worth the small extra cost. It lets you copy the texture on your own wall. Reviews that complain about a poor match often trace back to the wrong setting, not a bad kit.
Coverage Size
Kits state their coverage in square feet. A small aerosol can may cover two to four square feet. That sounds small, but most repairs are small. A doorknob hole needs only inches. If the damage is large, perhaps a water stain over a wide area, buy the larger kit or two cans. Running short mid-job forces a second trip to the store.
Drying Time
Most latex texture dries to the touch in about an hour. Full cure may take a day. The can will say. Dry time matters because paint cannot go on until the texture is firm. Reviews note that rushing this step causes the paint to lift the texture. If the job must finish in one day, pick a fast-dry formula.
Paint Compatibility
After the texture cures, the patch needs paint. The texture mix accepts both latex and oil paint in most cases. Check the label. If you plan to use a glossy paint, note that gloss shows texture more. A flat or eggshell finish hides the repair better.
Odor and Ventilation
Aerosol texture carries solvents. The room needs air moving. Open windows. Run a fan. Keep children and pets out of the room until the odor clears. Pump-based kits tend to smell less. People with breathing trouble should prefer the pump type or leave the work to a professional.
Types of Orange Peel Texture Repair Products
Aerosol Spray Cans
The aerosol can is the classic kit. It needs no extra tools. Shake, spray, done. Brands sell them in fine, medium, and heavy patterns. The main limit is the nozzle. Some cans clog before they are empty. Reviews mention this often. Shaking well and spraying upright helps. Storing the can at room temperature also helps.
Pump and Trigger Bottles
Pump bottles give the user control over each burst. They use air pressure built by hand. They clog less often than aerosols. They also waste less, because you stop when the patch is covered. For tiny repairs, the pump type is often the smarter buy.
Brush-On Texture Paste
Some kits skip the spray and ship a paste instead. You dab it on with a brush or a roller with a special cover. The pattern is rougher than sprayed orange peel. It works for heavy textures and for ceilings. It is slower than spraying. It suits repairs where the texture is bold.
Full Kit Boxes
The full box kit bundles the spray with sanding pads, a scraper, and sometimes a small tube of spackle. The price is higher than the can alone. Reviews often call these boxes good value for a first-time repair. Everything sits in one place. The directions are written for beginners.
Cost and Price Range
A single aerosol can costs about the price of a lunch. In the mid-2020s, the common range ran from about eight to twenty dollars. Full box kits ran from about fifteen to thirty dollars. The premium is for the extra tools and the practice board.
Price does not always track quality. Some cheap cans earn strong reviews. Some pricey kits earn weak ones. The reviews point to nozzle design and pattern match as the real value. A ten-dollar can with an adjustable nozzle beats a twenty-dollar box with a fixed nozzle if the wall texture is fine.
Labor is the hidden cost. A professional painter charges by the hour for texture work. A kit removes that charge. For one small patch, the kit pays for itself many times over.
How to Use a Repair Kit Step by Step
Prepare the Patch
Start with a clean repair. The joint compound should be dry, sanded smooth, and free of dust. Wipe the patch with a damp cloth. Let it dry. Some pros prime the patch with a sealer before the texture goes on. This keeps the compound from drinking in the texture mix. Others spray straight on the bare compound. Follow your kit directions.
Test the Spray
Never spray the wall first. Spray a scrap of cardboard or the practice board. Hold the can at the distance the label says, often about two feet. Move in smooth passes. Look at the pattern when it dries for a few minutes. Adjust the nozzle or your distance until the pattern matches the wall.
Spray the Repair
Work from the outside in. Start each pass off the patch and sweep across it. This keeps the spray even at the edges. Use two or three light passes instead of one heavy pass. Let each pass flash dry for a few minutes. The texture should sit slightly proud of the wall surface. It shrinks a little as it dries.
Blend the Edges
The hardest part is the edge where the patch meets the old texture. Feather the spray so it thins at the rim. Some painters hold a piece of cardboard as a shield to block overspray on the old wall. Others let a little texture land on the old finish and then knock it back with a damp sponge. Both methods work. The goal is a soft change, not a hard line.
Paint
After the texture cures, paint the patch. Touch-up paint from the original job is ideal. If you lack it, paint the whole wall corner to corner. Paint reflects light. A fresh rectangle of paint shows even when the texture matches. Feather the paint into the old coat with a roller. Two thin coats beat one thick coat.
Common Mistakes and How to Avoid Them
The first mistake is spraying too close. The can says keep your distance. New users hold the can like a paintbrush. The texture lands too wet. It runs. Hold back. Let the air carry the droplets.
The second mistake is skipping the test spray. Every wall is different. A minute of testing saves an hour of scraping.
The third mistake is painting too soon. The texture must cure. The label gives the time. Trust it. Paint that goes on soft texture peels and pulls.
The fourth mistake is using the wrong sheen. A glossy paint on the patch over flat paint on the wall screams repair. Match the sheen. When in doubt, choose flat.
Care and Upkeep After the Repair
Orange peel texture needs little care once it is painted. Dust it with a soft brush. Wash spots with mild soap and water. Do not scrub hard. Scrubbing wears the bumps flat and brings the patch back into view.
If the texture chips later, keep the leftover kit. A small can keeps for a year or more if the nozzle is cleaned after use. Turn the can upside down and spray until only air comes out. This clears the nozzle. Store the can at room temperature, away from heat.
When the room is repainted, the texture stays. It takes paint well. Use a roller with a thick nap, about three-eighths of an inch or more. The thick nap carries paint into the low spots between the bumps. Thin-nap rollers leave holidays, the painter’s word for missed spots.
Safety Notes
Read the label before you open the kit. Aerosol cans are under pressure. Do not puncture them. Do not store them near heat. Keep them away from open flame.
Ventilate the room. The fumes from the solvents can cause headaches and dizziness. A fan in the window draws the air out. A respirator rated for organic vapors is wise for long jobs. A dust mask is not enough for solvent fumes.
Wear eye protection. Spray drifts. Safety glasses cost little.
Keep the work away from children and pets. Clean drips from the floor at once so no one tracks the mix through the house.
Dispose of empty cans as your city directs. Do not toss a half-full can in the trash.
Frequently Asked Questions
Will a repair kit match my wall exactly?
It can match very closely, but rarely perfectly. Texture varies across a wall. Age, paint coats, and sun change it. A kit gets the patch to the point where guests do not notice it. That is the real goal. Practice and light passes bring the best match.
Do I need to prime before I spray texture?
Many kits say no. The texture sticks to bare compound. But a coat of sealer or primer helps on large patches. It stops the compound from soaking up the mix. It also gives the paint a uniform base later. When the patch is bigger than a hand, prime it.
Can I use a repair kit on a ceiling?
Yes, with care. Orange peel appears on ceilings too. Hold the can as upright as you can. Pump bottles work better overhead. Cover the floor and the furniture.
How long does the texture last once it is dry?
The texture is as permanent as the wall. It lasts for decades under paint. It fails only if the wall fails, from water damage or a hard blow.
Can I paint over the repair the same day?
Often yes, but read the label. Most formulas accept paint after a few hours. Full cure takes longer. If the job allows, wait until the next day. Patience is the cheapest tool in the box.
What if the texture I sprayed looks wrong?
Let it dry fully, then scrape it off with a putty knife. Sand the spot. Try again. Fresh texture scrapes off easy. It is better to redo a bad patch on day one than to live with it.
A Short Final Word
Orange peel texture repair kits are simple tools for a simple job. They do not need a pro. They need a steady hand, a test spray, and light passes. Read the orange peel texture repair kit reviews with a practical eye. Look for praise of the nozzle, the pattern match, and the directions. Those three things decide the job. With the right kit, the patch fades into the wall, and the room looks whole again.
Homeowners who want broader guidance on wall repair and painting can start at This Old House for step-by-step repair methods, Benjamin Moore for paint and sheen advice, and Behr for primers and topcoats suited to textured walls. Big-box project guides at Lowe’s and Home Depot cover tools, sandpaper, and spray products in one place. For plain-language how-to articles, see Bob Vila and The Spruce. Paint brand histories and color lines are covered at Sherwin-Williams, and room-by-room design ideas sit at HGTV.
Planning a bigger project? Compare epoxy countertop kit reviews for kitchens for the counters, learn about the best degreaser before painting cabinets usa for cabinet work, and check interior painting cost per square foot 2026 for budgeting.
References
Behr. (n.d.). Paints, primers, and stains. https://www.behr.com Benjamin Moore. (n.d.). Paints and stains. https://www.benjaminmoore.com Bob Vila. (n.d.). Home improvement advice. https://www.bobvila.com HGTV. (n.d.). Home and garden ideas. https://www.hgtv.com Lowe’s. (n.d.). Home improvement products. https://www.lowes.com Sherwin-Williams. (n.d.). Paints and coatings. https://www.sherwin-williams.com The Home Depot. (n.d.). Home improvement products. https://www.homedepot.com The Spruce. (n.d.). Home and garden advice. https://www.thespruce.com This Old House. (n.d.). Home renovation guidance. https://www.thisoldhouse.com
Was this guide helpful?

About David Wilson
The My Garden US editorial team writes practical, in-depth home and garden guides for American homeowners — tested advice, no fluff.