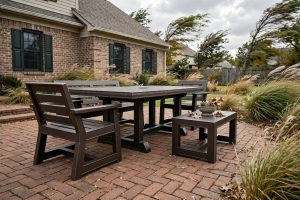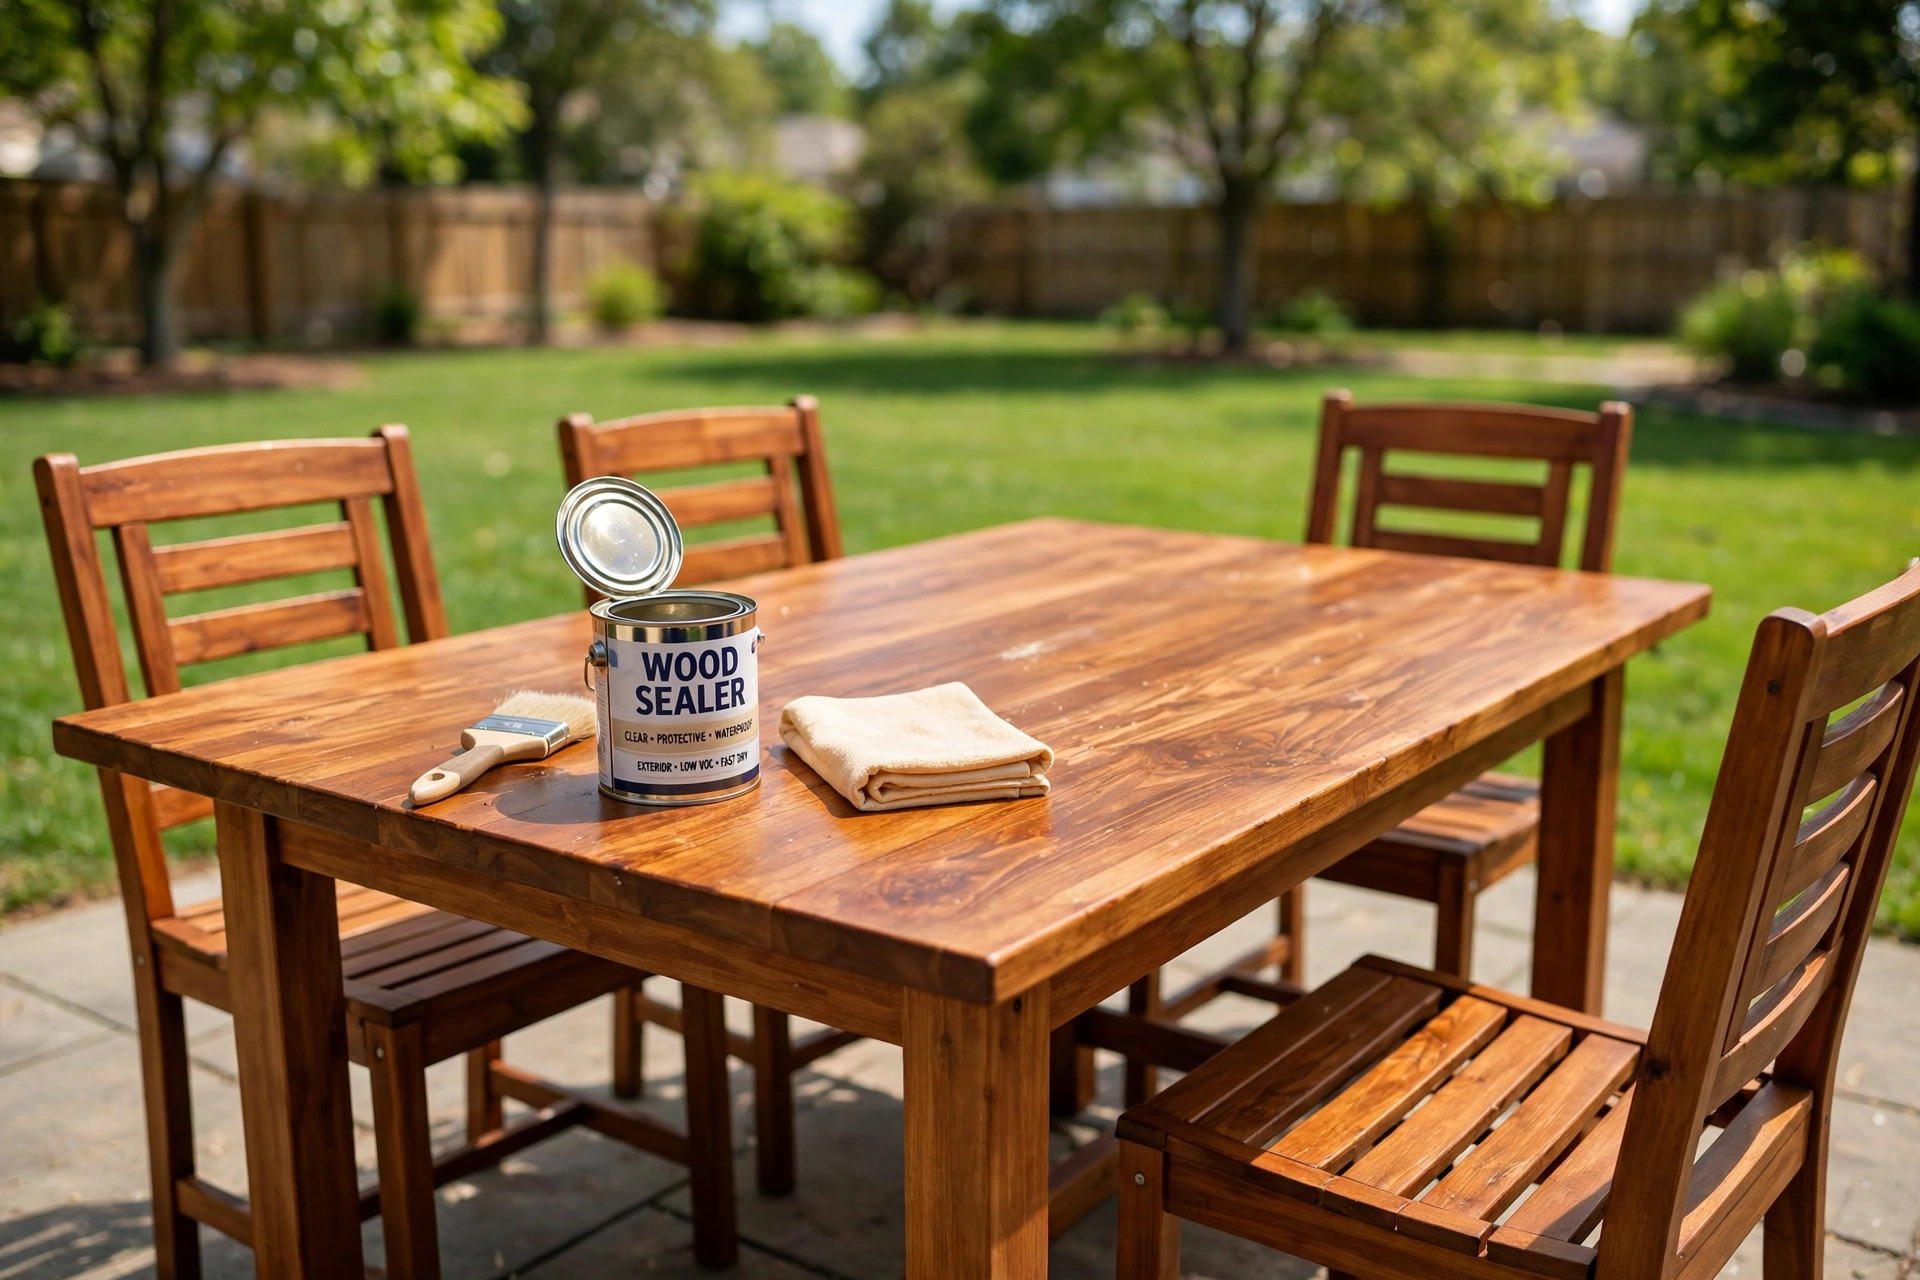

Wood furniture brings warmth to a patio that no other material can match. A wooden table feels solid under your hands. A wooden chair looks natural against the grass and trees. But wood left outdoors faces sun, rain, frost, and insects. Each of these wears the wood down. Learning how to seal outdoor wood furniture is the best way to protect that investment and keep it looking good for many years.
Why Sealing Matters
Rain is the first enemy of outdoor wood. Water soaks into the grain. The wood swells. Then the sun dries it out, and the wood shrinks. This cycle repeats with every storm. Over time it causes cracks, warping, and splinters. A good sealer slows this cycle. It keeps water from soaking deep into the wood.
Sun is the second enemy. Ultraviolet light breaks down the surface of wood. It turns rich brown wood into a dull silver gray. Some people like that weathered look, but gray wood is also weaker wood. Many sealers contain ultraviolet blockers. These act like sunscreen for your chairs and tables.
Insects and mold form the third threat. Damp wood invites mold, mildew, and small insects that bore into the grain. Sealer keeps the surface dry and closed. A dry surface gives mold little chance to grow.
Sealing also makes cleaning easier. Dirt and grease wipe off a sealed surface with a damp cloth. On unsealed wood, stains soak in and stay. If you own a teak patio set, regular sealing and care are part of keeping it sound. The short time spent sealing pays back in years of extra life for the furniture.
Know Your Wood Before You Start: How to Seal Outdoor Wood Furniture
Not every outdoor wood needs the same treatment. Soft woods like pine and cedar soak up sealer fast and need it most. Hard woods like teak, ipe, and acacia are dense and resist water on their own. Teak contains natural oils that protect it for a while. But even teak benefits from a sealer if you want to keep its warm honey color instead of letting it turn gray.
Check what kind of wood your furniture is made from. The store tag, receipt, or maker site can tell you. If the furniture came with a care sheet, read it first. Some makers warn against certain finishes. If you are unsure, test the sealer on the underside of one piece before doing the whole set.
Also note any old finish. Furniture that was painted, varnished, or oiled before needs a different approach than raw wood. New raw wood is the easiest to seal. Wood with an old finish must be cleaned and sometimes sanded back before a new coat will stick.
Choosing the Right Sealer
Three main kinds of sealer suit outdoor wood furniture. Each has its strengths. The right pick depends on your wood, your weather, and how much work you want to do.
Penetrating Oil Sealers
Penetrating oils soak into the wood fibers. They do not form a hard skin on top. Tung oil, linseed oil, and deck oils belong to this group. They bring out the natural grain and color of the wood. They are easy to reapply, since you rarely need to strip old coats. The drawback is that they wear faster than film finishes. In harsh weather they may need a fresh coat every year. Guides from home sites like Bob Vila often point beginners toward oils for a first sealing job because mistakes are easy to fix.
Water-Based Sealers
Water-based sealers clean up with soap and water. They dry fast, often in an hour or two. They resist mildew well and keep a clear, natural look. Many contain ultraviolet blockers. They do not yellow as much as oil-based products. The trade is that they can raise the grain of soft wood, so light sanding between coats helps. Retailers such as Lowe’s and The Home Depot stock many water-based options made for outdoor furniture.
Spar Varnish and Marine Finishes
Spar varnish forms a hard, clear film over the wood. It was first made for the masts and spars of sailing ships, so it stands up to sun and water. Marine-grade finishes last longer between coats than oils. The drawback is that when the film finally cracks, you must sand it off before recoating. Varnish suits wood that stays mostly covered or faces heavy rain. Makers of outdoor furniture like Polywood and Frontgate build pieces from modern materials, but for real wood, a marine finish is the strongest shield.
Look for a sealer made for exterior use. The label should say it resists water, ultraviolet light, and mildew. Indoor sealers will fail fast outside. Buy a little more than you think you need. Two thin coats cover better than one thick coat.
Tools and Supplies You Will Need
Gather everything before you start. You will need the sealer, a clean brush or foam applicator, a bucket of warm soapy water, a stiff brush, sandpaper in medium and fine grits, clean rags, painter’s tape, and a drop cloth. A soft-bristle brush helps work sealer into rough grain. For teak, some owners follow the steps in a guide on how to refinish teak outdoor furniture before they seal, since teak often needs deep cleaning first.
Pick a dry, mild day for the work. Ideal weather is between sixty and eighty degrees, with low humidity and no rain in the forecast for a day or two. Strong sun can dry sealer too fast and leave marks. Work in the shade or in the cooler morning hours.
How to Seal Outdoor Wood Furniture Step by Step
Take the work in order. Rushing any step shows in the final result.
Step 1: Clean the Wood
Mix warm water with mild dish soap. Scrub every surface with the stiff brush. Work along the grain, not across it. This lifts dirt, pollen, and old grime. For mold spots, use a mix of one part white vinegar to four parts water, or a cleaner made for outdoor wood. Rinse well with a hose. Let the furniture dry fully. A full day in dry air is best. Wet wood will not take sealer.
Step 2: Sand the Surface
Sanding opens the grain so the sealer can grip. Start with medium-grit sandpaper, around 120 grit. Sand with the grain in long, even strokes. Then switch to fine grit, around 180 to 220, for a smooth finish. Round off sharp edges lightly. They are the first spots to wear. Wipe off all dust with a damp rag or a tack cloth. Dust left on the wood will show through the sealer.
If the furniture has old peeling varnish, you must sand it all off. No new finish sticks well to a failing old one. If the old finish is oil that has worn thin, a light sanding is enough. When in doubt, sand more, not less.
Step 3: Protect Hardware and Surroundings
Tape off metal hinges, screws, and plastic parts you do not want coated. Some sealers stain metal. Lay the drop cloth under the furniture. If you work on a patio, tape paper along the edges so drips do not mark the stone or deck.
Step 4: Apply the First Coat
Stir the sealer well. Do not shake it, since shaking makes bubbles. Dip only the tip of the brush. Brush with the grain in long, smooth strokes. Keep a wet edge so the sealer blends without lap marks. Do not let it pool in joints or corners. Wipe away drips right away with a rag.
Work one piece at a time, top to bottom. Coat the underside of tables and the backs of chairs too. Water attacks from every side. Pieces that touch the ground need sealer on their feet most of all.
Step 5: Let It Dry and Sand Lightly
Follow the drying time on the label. It is often four to six hours for oil-based sealers and one to two hours for water-based ones. When dry, give the surface a light pass with fine sandpaper. This knocks down raised grain and helps the second coat bond. Wipe the dust away.
Step 6: Apply the Second Coat
A second coat fills the spots the first coat missed. Apply it the same way as the first. Most outdoor wood needs two coats. Very thirsty soft wood may take three. Do not build the finish too thick. Thick coats crack and peel.
Step 7: Let It Cure
Drying and curing are not the same. Drying means the surface feels dry to the touch. Curing means the finish has hardened all the way through. Curing can take a full day or more. Keep the furniture dry and out of heavy use until it cures. Check the label for the cure time.
How Often to Reseal
Sealer wears away with weather. In mild climates, a good job lasts two to three years. In hot sun or heavy rain, plan to reseal every year. The water test tells you when it is time. Sprinkle water on the wood. If it beads up, the sealer still works. If it soaks in and darkens the wood, reseal soon. Teak and other oily hardwoods may go longer between coats, as explained in many teak patio set maintenance guides.
Before resealing, clean the furniture well. You do not always need to sand back to bare wood. If the old finish is sound, a light cleaning and a light sanding will do. Add one fresh coat. This upkeep coat is much faster than the first full job.
Cost of Sealing Outdoor Wood Furniture
Sealing is one of the cheapest ways to protect outdoor furniture. A quart of good exterior wood sealer costs about fifteen to thirty dollars. A quart covers a small table and two chairs with two coats. A gallon costs thirty-five to seventy dollars and covers a full patio set. Sandpaper, brushes, and cleaners add ten to twenty dollars if you own nothing yet.
Hiring a professional costs more. A handyman may charge one hundred to three hundred dollars for a patio set, depending on its size and condition. Doing it yourself saves money and teaches you the rhythm of the work. Reviews and price checks at Wayfair or Article show that replacing a weather-ruined set costs many times more than sealing it.
Buying quality sealer matters more than buying a lot of it. A cheap interior product will peel in one season. Read the label. Look for words like exterior, waterproof, ultraviolet protection, and mildew resistant.
Care and Upkeep Through the Year
Sealed wood still needs care. Wash the furniture a few times a year with mild soap and water. Avoid pressure washers, which can strip the sealer. Keep cushions dry, and use weatherproof patio furniture covers in storm season to shed rain and block sun. In winter, store pieces in a shed or garage if you can. Check the sealer each spring with the water test, and touch up worn spots before summer.
Safety While You Seal
Work in fresh air. Sealers give off fumes that can cause headaches in closed spaces. Wear gloves to protect your skin. Wear safety glasses when sanding. A dust mask keeps fine wood dust out of your lungs.
Keep rags used with oil-based sealers flat to dry, then throw them away. Bunched oily rags can heat up and catch fire on their own. This is rare but real. Follow the disposal rules on the label. Keep sealers away from children and pets. Wash your hands well when you finish.
Read the label of your sealer before you begin. It lists the exact safety steps for that product. Independent test groups such as Consumer Reports and design editors at HGTV and The Spruce all stress the same point: the label is the final authority.
Frequently Asked Questions
Can I seal wood furniture that is already gray?
Yes. Gray wood is weathered, not dead. Clean it well and sand it to fresh wood. A wood brightener can help bring back some color. Then seal as normal. Deep cracks may need wood filler first. If the wood feels soft and spongy, it may be rotted. Rotted pieces should be replaced, not sealed.
Should I use oil or varnish on my patio table?
Oil is easier to maintain and shows off the grain. Varnish lasts longer between coats but is harder to repair. For a table that gets daily use, oil is often the kinder choice. For a bench that sits out all winter, varnish gives stronger armor. Either works if it is made for exterior use.
How long does sealer take to dry before rain?
Most water-based sealers handle light rain after four to six hours. Oil-based sealers need twelve to twenty-four hours. Full curing takes longer. Always check the weather and the label. A surprise storm on wet sealer leaves white spots and streaks.
Can I stain and seal in one step?
Yes. Many exterior products combine stain and sealer. They add color while they protect. They save a step. The color choice is thinner than a pure stain, so the wood grain still shows. This is a good option when you want a uniform tint across an old set.
Do I need to seal the underside of the furniture?
Yes. Moisture rises from the ground and settles on undersides. Unsealed bottoms soak it up and rot from below while the top still looks fine. Coat every surface you can reach, including feet, joints, and the underside of seats.
Will sealer make the wood slippery?
Some film finishes feel slick when wet. Penetrating oils keep a more natural grip. If slipperiness worries you, choose an oil or a matte finish. Textured wood also grips better than wood sanded glass-smooth. This matters most for steps, decks, and chair seats.
A Short Final Word
Knowing how to seal outdoor wood furniture turns a short-lived purchase into a long-lived one. The work is simple: clean, sand, coat, and let dry. The reward is a patio set that stands up to rain and sun year after year. Set aside one dry weekend. Your future self, sitting in a sturdy chair on a summer evening, will thank you.
References
Article. (n.d.). Modern furniture. https://www.article.com Bob Vila. (n.d.). Home improvement advice. https://www.bobvila.com Consumer Reports. (n.d.). Product reviews and ratings. https://www.consumerreports.org Frontgate. (n.d.). Outdoor furniture and decor. https://www.frontgate.com HGTV. (n.d.). Home and garden ideas. https://www.hgtv.com Lowe’s. (n.d.). Home improvement products. https://www.lowes.com Polywood. (n.d.). Outdoor furniture. https://www.polywood.com The Home Depot. (n.d.). Home improvement products. https://www.homedepot.com The Spruce. (n.d.). Home and garden advice. https://www.thespruce.com Wayfair. (n.d.). Furniture and home goods. https://www.wayfair.com
Was this guide helpful?

About Michael Thompson
The My Garden US editorial team writes practical, in-depth home and garden guides for American homeowners — tested advice, no fluff.
You May Also Like

Best Metal Gazebo for Backyard Reviews: A Plain Guide for Buyers
September 28, 2026 0 views
How to Clean Aluminum Patio Furniture: A Plain Step-by-Step Guide
February 2, 2026 0 views
Outdoor Wall Fountain for Patio Reviews: What to Know Before You Buy
July 14, 2026 0 views