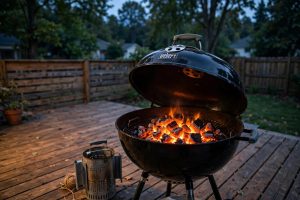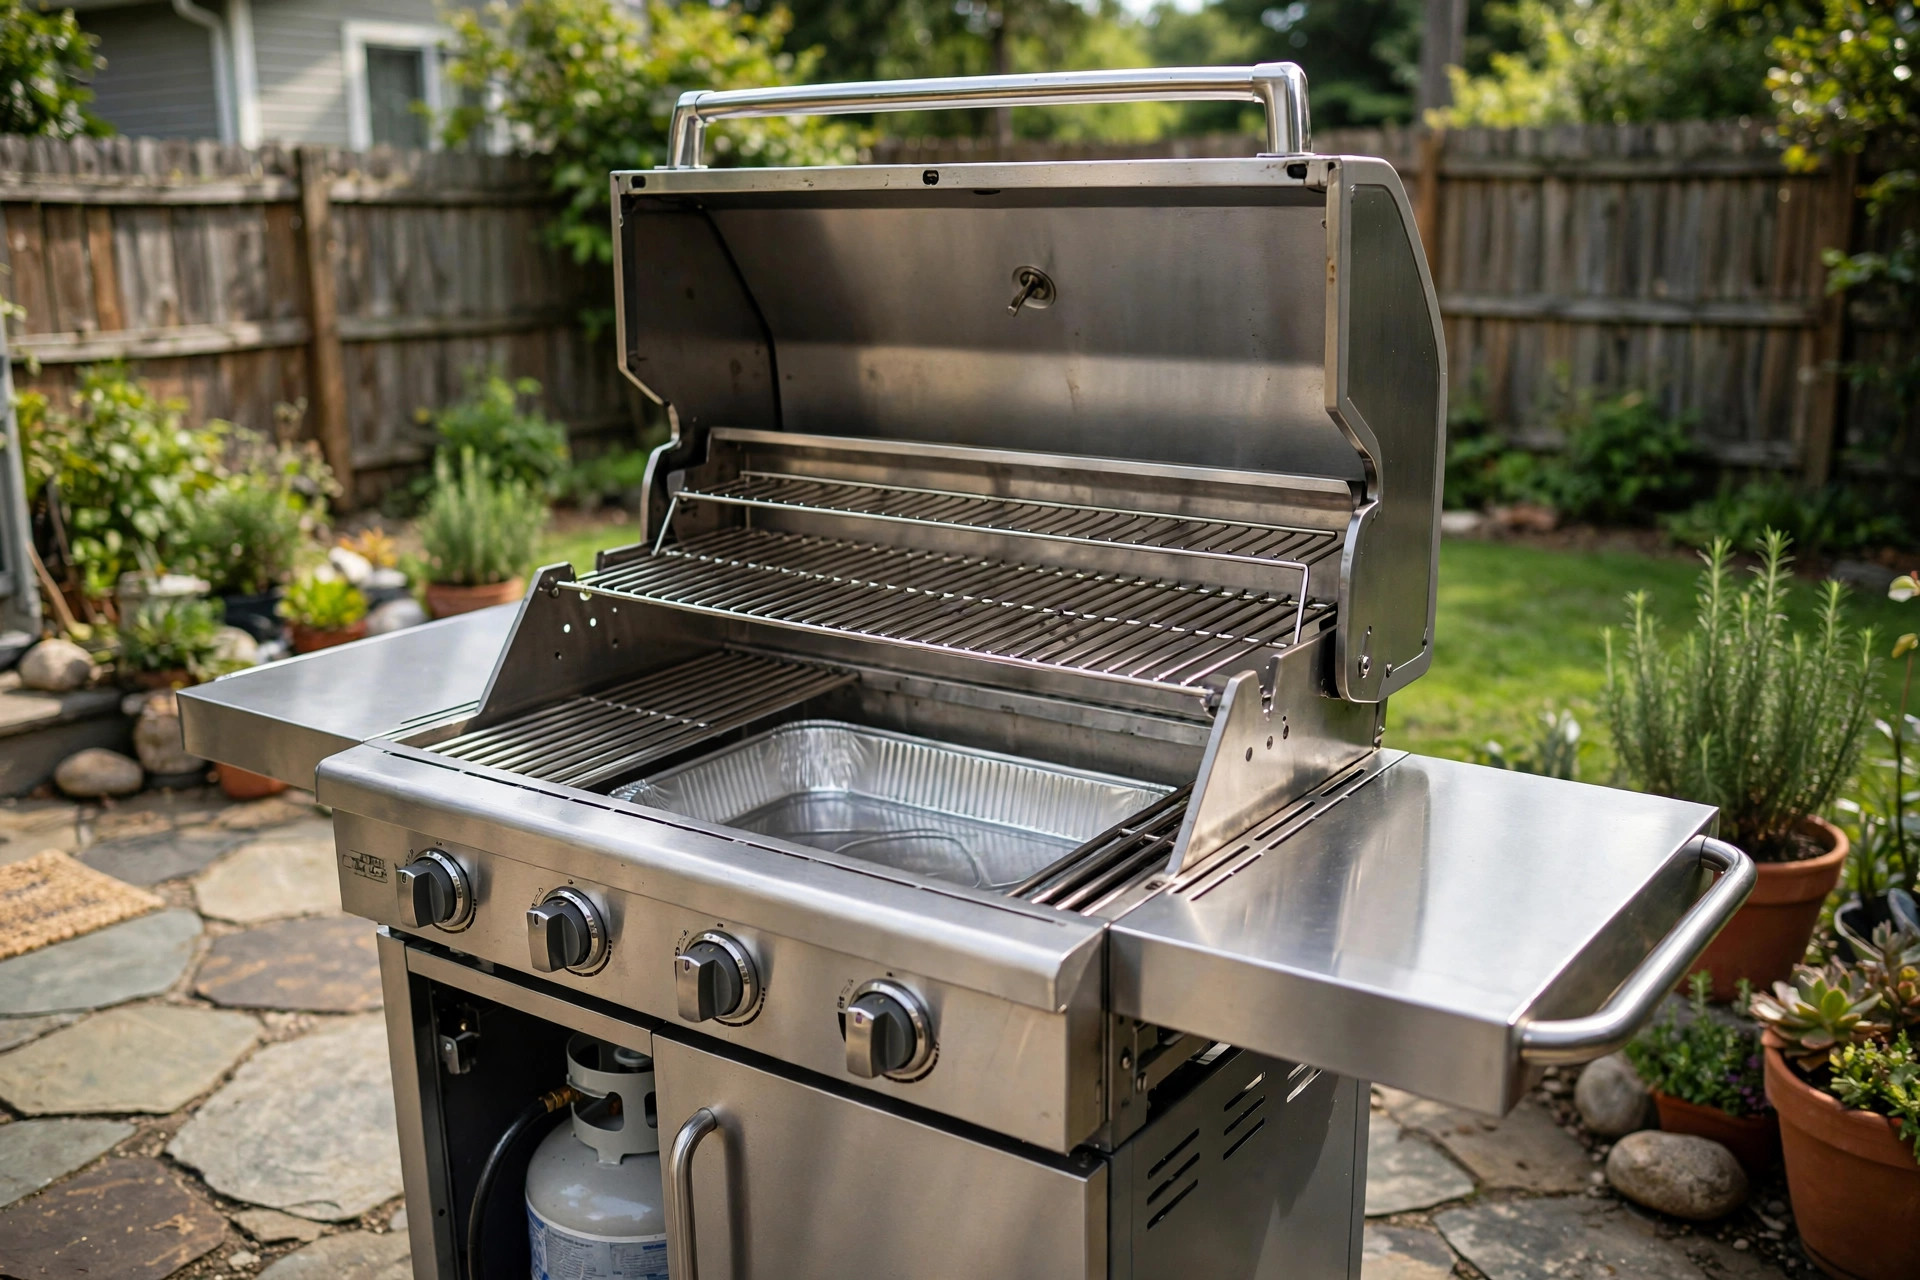

A gas grill makes summer cooking easy, but grease builds up fast. If you want to know how to clean grease from gas grill grates, burners, and drip pans, this guide gives you a plain plan. You will learn what tools to use, how to scrub each part, what it costs, and how to keep the grill safe. The steps work for most gas grills sold in the United States.
Why Grease Builds Up and Why It Matters
Every time you grill burgers, chicken, or ribs, fat drips off the meat. It lands on the grates, the burner tubes, the flavor bars, and the grease pan at the bottom. A little grease is normal. It even adds flavor when it burns off. But layer after layer of old grease causes real trouble.
First, food sticks. Old grease turns into a black, sticky crust. New food bonds to it, and you end up tearing the skin off chicken or losing half of a burger. Second, taste suffers. Burned-on grease from three months ago does not taste like smoke. It tastes bitter and sharp. Third, heat drops. Thick grease on burner tubes and flavor bars blocks gas ports. Flames turn low and uneven, and cooking takes longer.
The biggest worry is fire. Grease fires happen in the firebox. A flare-up is quick and small. A grease fire is not. It can climb into the lid and melt knobs, hoses, and wires. Many grills end up in the trash after a grease fire that a thirty-minute cleaning would have prevented.
Health matters too. Old grease holds ash, soot, and bits of burned food. Fresh food picks up that residue. A clean grill cooks cleaner food. For more on keeping your burners in top shape, see our burner guide.
Tools and Supplies You Will Need: How to Clean Grease From Gas Grill
You do not need much. Most of these items sit in your kitchen or garage already.
– A stiff grill brush with brass or stainless bristles. Brass suits porcelain-coated grates. Stainless suits bare cast iron and steel. – A plastic scraper or wooden paddle for the firebox. – A bucket of warm water mixed with dish soap. – A second bucket of plain warm water for rinsing. – Paper towels or old shop rags. – Aluminum drip pan liners, if your grill takes them. – Baking soda for stubborn spots. – A garden hose or a pitcher of water. – Rubber gloves to keep your hands clean. – A wire brush or small bottle brush for burner tubes.
You do not need an oven cleaner. Strong oven cleaners can harm grill paint and leave a chemical smell. They are made for indoor ovens, not open grills. Weber sells cleaners made for grills, and Char-Broil offers grill cleaning tools that fit their own models. Regular dish soap does most of the work on grease.
How to Clean Grease From Gas Grill, Step by Step
Work on a calm day. Never clean a grill with the gas turned on and the lid shut. Follow these steps in order.
Step 1: Turn Off the Gas and Let the Grill Cool
Close the propane tank valve or the natural gas shutoff. Turn all burner knobs to the off position. If you just finished cooking, wait at least one hour. The grates should feel cool to the touch. Grease cleans off best when the grill is warm, not hot. If the grill is cold and the grease is hard, light the grill for ten minutes, then turn it off and let it cool to warm. That softens the top layer.
Step 2: Remove the Grates, Flavor Bars, and Drip Pan
Take out the cooking grates first. Set them on old newspaper or a tarp. Lift out the flavor bars or heat tents that sit above the burners. Pull the drip pan or grease tray from the bottom. Most slide out from the back or the side. Empty the grease pan into a metal can, not the trash. Liquid grease in a trash bag is a fire risk.
Step 3: Brush the Grates
Scrub both sides of each grate with the grill brush. Work along the rods, not across them. This pushes loosened grease off instead of packing it deeper. For stuck spots, soak the grates in the bucket of warm soapy water for twenty minutes, then scrub again. A paste of baking soda and water works well on black crusts. Spread it on, wait ten minutes, and scrub. Rinse the grates with the hose or the plain water bucket. If your grates are cast iron, dry them right away with a towel, then brush on a thin coat of cooking oil. Cast iron rusts fast when left wet. Our guide to seasoning cast iron grates covers this in more detail.
Step 4: Clean the Flavor Bars and Firebox
Scrape the flavor bars with the plastic scraper. These bars catch most dripping fat, so they hold thick grease. Scrub both sides in soapy water and rinse. If they are rusted through, replace them. New bars cost far less than a new grill. Napoleon and Broil King sell replacement bars for their models, and The Home Depot carries parts for many brands.
Scrape the inside walls of the firebox with the wooden paddle. Push the loosened grease and ash toward the front, then wipe it out with paper towels. Do not use water inside the firebox. Water pools at the bottom and can rust the burners. A damp rag is enough. The folks at AmazingRibs also warn against hosing down the firebox on most models.
Step 5: Clean the Burner Tubes
Brush each burner tube with the wire brush. Brush along the tube, never across it. This clears the small gas ports without pushing grease into them. Check that every port is open. A blocked port makes a weak, yellow flame. A clear port makes a strong, blue flame. If you see heavy rust or holes in the tubes, they need replacement, not cleaning. This Old House has guides that show what worn burner tubes look like.
Step 6: Empty and Clean the Grease Pan
Wash the grease pan or tray in soapy water. Scrub off every sticky layer. Grease pans are the most common starting point for grease fires, so do not skip this part. Line the clean pan with a fresh aluminum liner if your grill uses them. Slide it back in place.
Step 7: Wipe the Outside and Put Everything Back
Wipe the lid, side shelves, and cart with soapy water and a rag. Dry with a clean towel. Stainless steel lids look best when wiped in the direction of the grain. Put the flavor bars, grates, and drip pan back in place. Open the gas valve and light the grill. Run all burners on high for ten to fifteen minutes with the lid closed. This burns off any soap residue and dries every part. Your grill is now clean and ready.
Types of Grill Cleaners and Cleaning Options
You have three main choices for cleaning grease: hand tools, soap and water, and store-bought grill cleaners.
Hand tools. A grill brush, a scraper, and a rag handle light grease with ease. They cost the least and leave no chemical residue. Most weekend grillers never need more than this.
Soap and water. Warm water with dish soap cuts through moderate grease. It is safe for every part of the grill. Soaking grates in soapy water for twenty minutes melts away most buildup. This is the method most grill makers recommend first.
Store-bought grill cleaners. Sprays and foams made for grills cut heavy, baked-on grease faster. The Spruce Eats and The Spruce test and compare several of these products each year. Look for cleaners labeled for grills or smokers, and rinse every surface after use. Avoid anything with harsh fumes. Traeger and Big Green Egg both make cleaners suited to their own cookers, though plain soap often works just as well.
Pressure washers are not a good choice. They drive grease into small parts and can crack porcelain coatings. Stick to hand cleaning.
Cost and Price of Cleaning a Gas Grill
Cleaning your own grill costs very little. A good grill brush runs about ten to twenty dollars and lasts for years. A bottle of grill cleaner costs about eight to fifteen dollars. Dish soap, baking soda, and paper towels cost a few dollars and you already own most of them. All together, a home cleaning job costs under twenty-five dollars.
A professional grill cleaning service costs much more. Typical prices run from one hundred to two hundred fifty dollars, based on the size of the grill and where you live. The tech takes the grill apart, soaks every part, and puts it back together. This makes sense for large built-in grills or for a grill that has not been cleaned in years. For a standard three-burner grill, do-it-yourself cleaning is the better deal.
Parts add to the cost only when things wear out. Replacement grates cost thirty to eighty dollars. Flavor bars cost twenty to fifty dollars. Burner tubes cost thirty to seventy dollars. Regular cleaning makes these parts last longer, so you replace them less often.
Care and Upkeep Through the Season
A grill stays clean when you do small jobs often. After every cook, run the burners on high for five minutes with the lid closed. This burns off food bits and surface grease. Brush the grates while they are still warm. This takes two minutes and stops buildup before it starts.
Once a month during grilling season, empty the grease pan. Check the drip tray too. Grease pans fill faster than most people think, and a full pan is the top cause of grease fires. Wipe down the outside of the grill to keep it looking new.
Twice a year, do the full deep clean from the steps above. Once in spring before the first cookout, and once in fall. If you store the grill for winter, give it one more deep clean before the cover goes on. Our guide on winterizing your gas grill walks through that final step.
Keep a cover on the grill between uses. A cover keeps out rain, dust, and leaves. It will not stop grease buildup, but it stops rust and keeps the grill ready for a quick clean.
Safety Tips
Grill cleaning is simple, but a few rules keep you safe.
– Always shut off the gas before you touch the burners or hoses. – Work with a warm grill, never a hot one. Hot grates burn hands and melt brush bristles. – Wear rubber gloves. Old grease and cleaners irritate skin. – Never pour grease down the drain. It hardens in pipes and clogs them. Pour it into a metal can and throw the can away. – Keep children and pets away from the grill while you clean. Small parts and sharp brush wires are hazards. – Check the gas hose while you clean. Look for cracks, chews, or soft spots. A damaged hose must be replaced before you grill again. – Store the propane tank upright, outside, away from the house. – If a grease fire starts while you cook, close the lid, turn off the burners, and keep the gas tank valve shut. Never use water on a grease fire. Call the fire department if the flames do not die down fast.
Frequently Asked Questions
How often should I clean grease from my gas grill? Brush the grates after every cook. Empty the grease pan once a month. Do a full deep clean twice a year, in spring and fall. Heavy users who grill three or more times a week should empty the grease pan every two weeks.
Can I use oven cleaner on my gas grill? It is not a good idea. Oven cleaners are harsh, and they can damage grill paint and leave strong fumes. They are made for sealed indoor ovens. Dish soap and warm water handle most grease, and grill-safe sprays handle the rest.
What is the best way to clean a grease-clogged drip pan? Pull the pan out and scrape off the loose grease first. Soak it in warm soapy water for twenty minutes. Scrub with a plastic scraper and a stiff brush. Rinse and dry it fully before you slide it back in. Use a fresh aluminum liner to make the next cleaning faster.
Why does my grill flame up so much when I cook? Frequent flare-ups often mean too much grease. Fat dripping onto dirty flavor bars or a full grease pan catches fire fast. Deep-clean the grill and empty the grease pan. If flare-ups continue, trim extra fat off your meat before it hits the grates.
Is it safe to cook on a grill with old grease? A light layer of seasoned grease is fine. Thick, flaky, black buildup is not. Old grease causes bitter flavors, sticky food, and grease fires. Clean it off before your next cookout.
Do I need to clean the burners themselves? Yes. Brush the burner tubes at least twice a year. Blocked gas ports cause weak flames and uneven heat. Check the tubes for rust holes at the same time. Holes mean the burners should be replaced.
Final Word
Knowing how to clean grease from gas grill grates, burners, and drip pans is one of the best skills a backyard cook can have. The job takes less than an hour, costs almost nothing, and adds years to your grill. Your food tastes better, your flames stay even, and your risk of a grease fire drops to nearly zero. Clean the grates after each cook, empty the pan each month, and deep-clean twice a year. Your grill will repay you with great meals for a long time.
References
AmazingRibs.com. (n.d.). Barbecue and grilling science. https://www.amazingribs.com Big Green Egg. (n.d.). Kamado grills and outdoor cooking. https://www.biggreenegg.com Broil King. (n.d.). Gas and charcoal grills. https://www.broilkingbbq.com Char-Broil. (n.d.). Gas and charcoal grills. https://www.charbroil.com Napoleon. (n.d.). Fireplaces, grills, and heating products. https://www.napoleon.com The Home Depot. (n.d.). Home improvement products. https://www.homedepot.com The Spruce. (n.d.). Home and garden advice. https://www.thespruce.com The Spruce Eats. (n.d.). Recipes and cooking guides. https://www.thespruceeats.com This Old House. (n.d.). Home renovation guidance. https://www.thisoldhouse.com Traeger. (n.d.). Wood pellet grills. https://www.traeger.com Weber. (n.d.). Grills and outdoor cooking. https://www.weber.com
Was this guide helpful?

About Lisa Anderson
The My Garden US editorial team writes practical, in-depth home and garden guides for American homeowners — tested advice, no fluff.
You May Also Like
Gas Grill Safety Tips for Homeowners
March 19, 2026 0 views
Outdoor Kitchen Bar Seating Ideas for a Comfortable Backyard
August 8, 2026 0 views
Best Outdoor Grill for a Rainy Climate
July 23, 2026 0 views