
Many families dream of an outdoor kitchen but fear the price. The truth is that learning how to build outdoor kitchen on budget is mostly a matter of planning, patience, and smart choices. You do not need marble counters or a built-in refrigerator to cook outside in comfort. A simple grill station with a sturdy counter and a little storage can change the way your family spends summer evenings. This guide walks you through the whole process in plain steps, from the first sketch to the first meal.
Why an Outdoor Kitchen Is Worth the Effort
Cooking outside keeps the heat and the mess out of the house. During the warm months, a grill or burner on the patio can carry the whole dinner. Smoke and grease stay in the open air instead of on your kitchen walls. Guests gather around the cook instead of waiting inside, which makes parties warmer and more relaxed.
An outdoor kitchen also adds value to a home. Buyers notice a well-kept cooking area in the yard. Even a modest setup shows that the yard is a living space, not just grass to mow. Real estate writers have long noted that outdoor living features rank high on wish lists, and a simple kitchen station costs far less than a full renovation.
There is a deeper reason, too. Families that cook together outside spend more time together. Children learn to chop vegetables at a side counter. Neighbors stop by when they smell smoke in the air. A budget build gives you all of this without debt or stress.
Start With a Plan, Not a Purchase: How to Build Outdoor Kitchen on Budget
Every good budget project starts on paper. Walk into your yard with a tape measure and a notebook. Mark where the sun falls in the evening. Note where the wind comes from, because smoke follows the wind. Measure the space you can spare. Most families need only a strip of patio about ten feet wide and four feet deep to hold a cooking station.
Draw a simple layout. Place the grill first, since it is the heart of the project. Add a counter on one side for prep work and a small shelf or cabinet on the other for tools and fuel. Leave clear space in front for the cook to stand and move. Sketch it by hand; it does not need to be fancy.
Write a budget before you buy anything. Decide the total number you will not pass. Many solid builds land between one and three thousand dollars when the owner does the labor. Split the number into parts: cooking equipment, counter materials, storage, lighting, and a small reserve for surprises. The reserve matters. Old patios hide cracked slabs and uneven ground, and a little extra money keeps a small problem from stopping the work.
Check local rules before you build. Some towns require permits for gas lines or permanent structures. A quick call to the building office saves trouble later. If you rent your home, get written permission from the owner first.
What to Look For When You Choose Materials
Budget materials can still last for years if you choose well. Look for three qualities: weather resistance, strength, and ease of cleaning. A counter that soaks up rain will rot or stain. A frame that wobbles under a heavy grill is a danger.
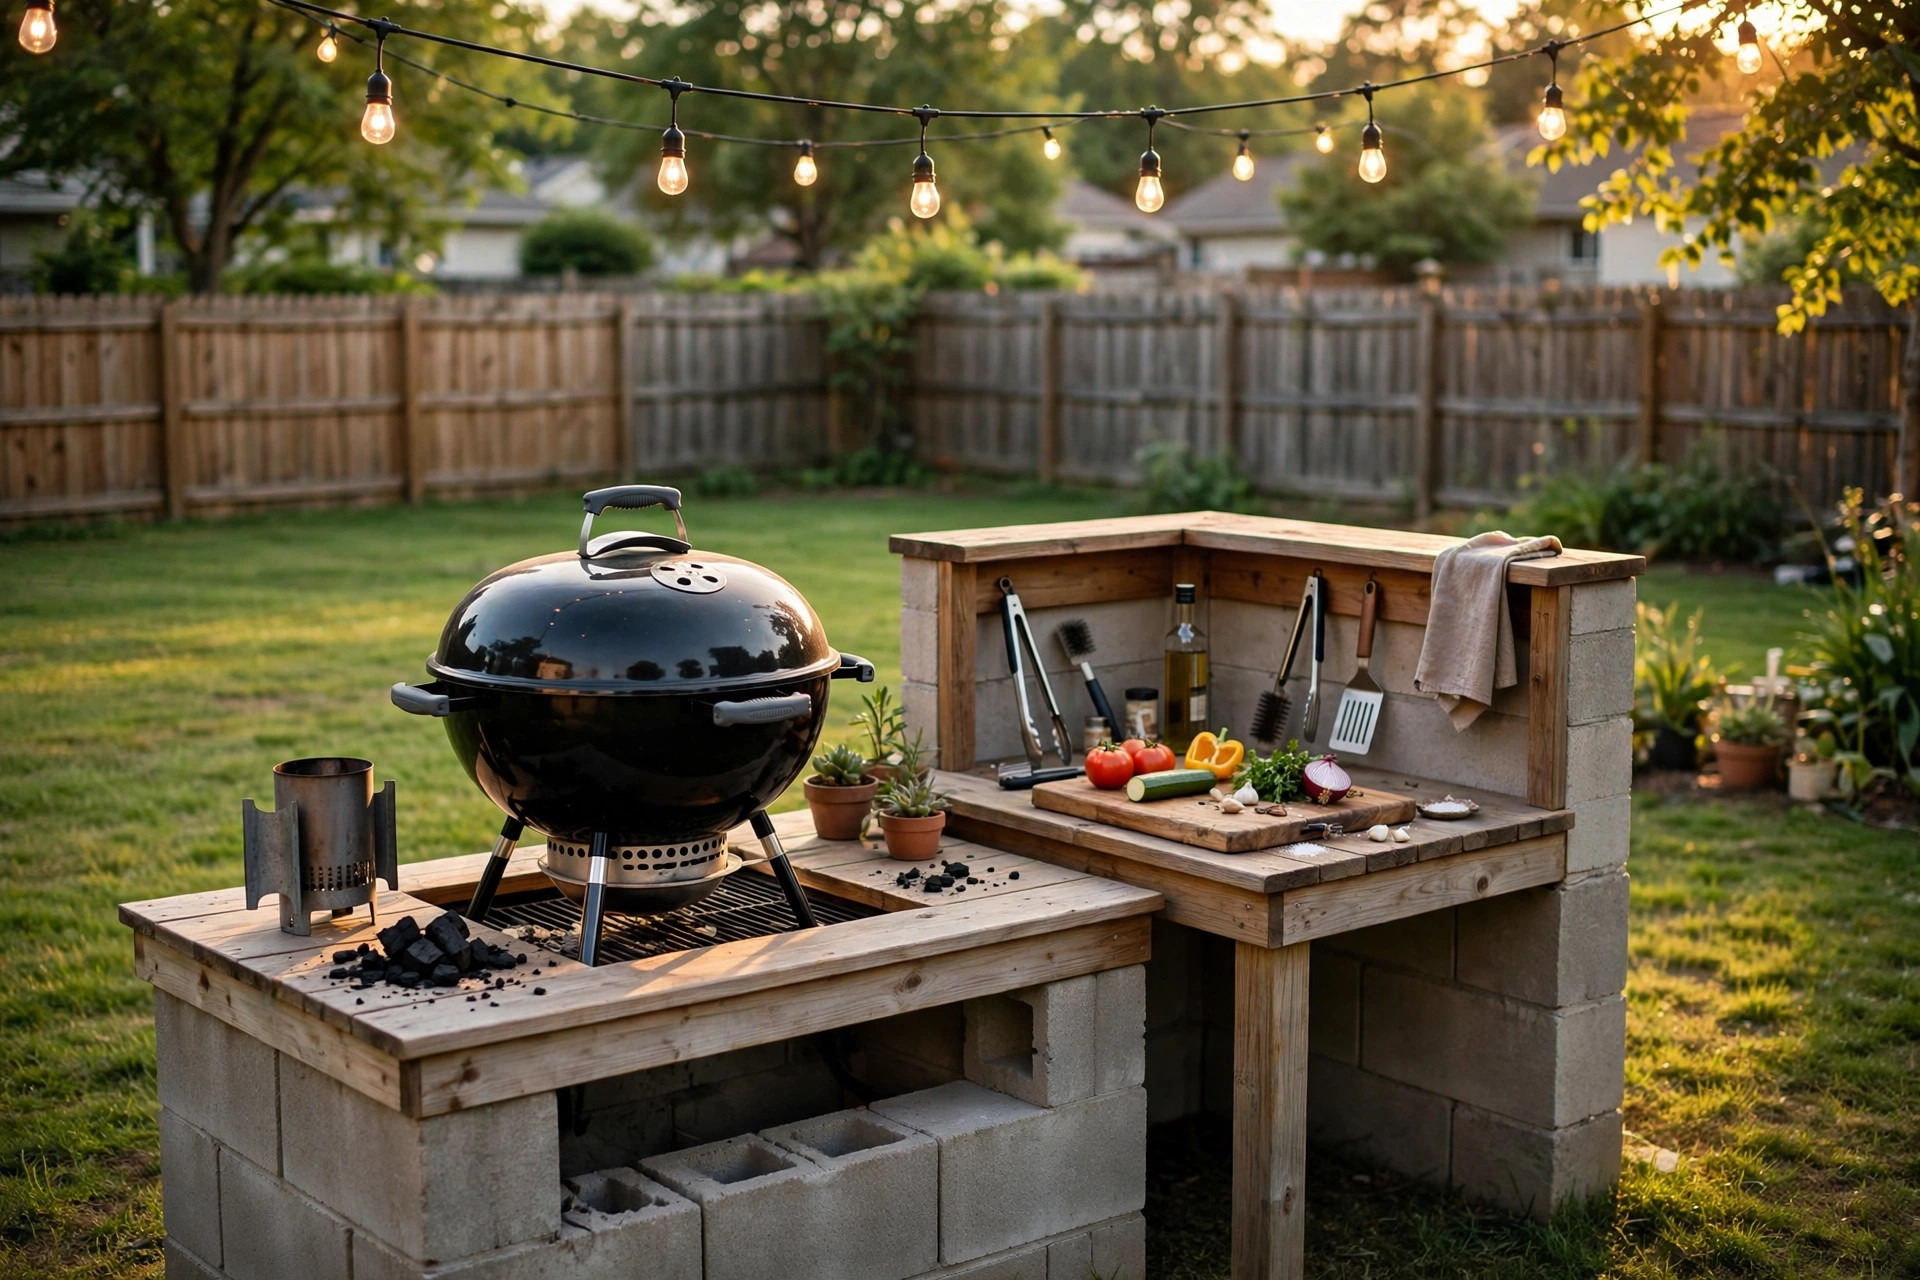
Pressure-treated lumber is the workhorse of budget builds. It resists rot and insects, and it costs far less than hardwood or steel framing. Concrete block is another strong choice. Blocks stack fast, need no special tools, and shrug off rain for decades. For countertops, consider sealed concrete, outdoor-rated tile over cement board, or a simple stainless steel sheet over a wood base. Each of these costs a fraction of stone but holds up well.
Avoid indoor materials outdoors. Regular drywall, indoor paint, and particle board fail within a season. Read the label before you buy. If a product says “interior use only,” believe it.
Buy in stages if money is tight. Frames and counters come first. You can add a side burner, a sink, or better lighting next year. A kitchen that grows over time still cooks every meal in the meantime.
Types of Budget Outdoor Kitchen Layouts
The straight line layout is the simplest. Grill, counter, and storage sit in one row against a wall or fence. It fits narrow patios and needs the least material. Most first-time builders choose this shape.
The L shape adds a short second leg at one end. That leg holds a sink, a mini fridge, or extra prep space. It costs a little more in framing and counter material but gives the cook room to turn and work. If your patio has a corner to spare, the L shape is a fine step up.
The cart style is the cheapest of all. A sturdy rolling cart holds the grill, and a folding table serves as the counter. You can move the whole setup under cover when storms come. This suits renters and anyone who wants to test the outdoor cooking life before building something fixed.
Some families build a grill island in the middle of the patio. An island needs clear space on all sides, so it suits larger yards. It also needs more material, so it is rarely the true budget pick. For most people, the straight line or the L shape gives the best value.
The Cooking Core: Grills and Burners
The grill is the one place not to cut too deep. A cheap grill that rusts out in two years costs more in the end than a solid mid-range model. Look for thick grates, a sturdy lid, and a warranty of at least a few years. Independent testers publish detailed grill reviews each season, and reading a few before you buy is time well spent.
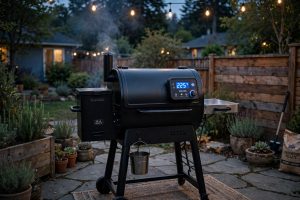
Charcoal grills cost the least to buy and give food a deep, smoky flavor. Many cooks who want a good grill for large families still start with a large kettle or barrel charcoal model. Gas grills cost more up front but light fast and hold steady heat, which suits weeknight dinners. Pellet grills sit in the middle; they burn wood pellets for flavor and hold temperature with an electric controller. If you ever face a strange error message on a pellet model, a pellet grill error codes troubleshooting guide can save a service call.
A single side burner adds great value for little money. It lets you boil corn or simmer sauce while the grill handles the meat. Many budget grill carts include one built in. If yours does not, a portable camp stove works just as well and can be stored inside.
Think about a second small grill for travel. A portable charcoal grill for the beach costs little and lets you take the outdoor cooking habit on trips. It also serves as a backup at home when the main grill is full of guests’ food.
Manufacturer sites are useful for comparing sizes and features. You can study burner layouts and cooking areas on the homepages of makers like Weber, Char-Broil, Traeger, Napoleon, Big Green Egg, and Broil King. Technique advice from experienced cooks, such as the guides at AmazingRibs and The Spruce Eats, helps you get the most from any grill you choose.
Cost and Price: What Things Really Cost
Honest numbers make a budget build possible. A good mid-range grill runs from three hundred to eight hundred dollars. Charcoal models sit at the low end; gas and pellet models sit higher. A side burner or camp stove adds fifty to one hundred fifty dollars.
Framing and counters form the next big block. Pressure-treated lumber for a ten-foot station costs roughly two to four hundred dollars, depending on local prices. Concrete block costs about the same. A sealed concrete or tile counter adds one to three hundred dollars in materials. Stainless sheet costs more but lasts the longest.
Storage and small parts add up. Weatherproof cabinets, hooks, shelves, and a trash pullout can run one to three hundred dollars. Buy these last, after the cooking core is done. A simple outdoor cabinet from a big home improvement retailer often beats a custom box on price.
Lighting and extras stay small if you keep them simple. Solar path lights cost a few dollars each and need no wiring. A string of outdoor lights over the station adds charm for under fifty dollars. Before any large purchase, check the latest test results from Consumer Reports to compare models on value, not just price.
Add it all up, and a complete station often lands between one thousand and twenty-five hundred dollars. That is a small fraction of a contractor-built kitchen, which can run ten times as much.
Building It Yourself: Step by Step
Start with the site. Clear the area and level the ground. A wobbling station is unsafe, so take time here. If the patio slab is uneven, shim the frame or pour a small pad of concrete.
Build the frame next. Cut pressure-treated lumber to your sketch and screw it together with exterior-grade screws. Keep everything square by measuring corner to corner. If you use concrete block, dry-stack the first course to check fit, then set the courses in mortar.
Set the countertop. For a tile counter, screw cement board to the frame, spread thin-set, lay the tile, and grout. For sealed concrete, build a simple form, pour, let it cure, then seal with an outdoor concrete sealer. Let every layer dry fully before the next step.
Place the grill. Most grills need air space around them, so follow the clearance numbers in the manual. Never set a grill tight against wood framing without a heat shield. Drop-in grill heads made for islands sit in a cutout; freestanding grills slide into an open bay.
Add storage and finish work. Hang hooks for tools. Set a shelf for plates and spices. Paint or stain the wood with an exterior product. Run a string of lights above the work area. Stand back and check that every edge is smooth and every screw is set.
Work slowly and ask for help with heavy lifts. A friend and a free Saturday beat a rushed solo job every time.
Care and Upkeep
A budget kitchen lasts when you care for it. Cover the grill and the counters when they are not in use. A fitted cover costs little and adds years of life. Sweep the station after each cook and wipe spills before they stain.
Seal wood and concrete once a year. Look for soft spots, loose screws, and rust each spring. Tighten what moves and replace what rots. Clean the grill grates with a brush while they are still warm, and empty the grease tray before it overflows.
Store fuel safely. Keep propane tanks upright, outdoors, away from the grill’s heat. Store charcoal in a dry bin with a lid. Keep a fire extinguisher within reach of the cooking area and check its gauge once a year.
Safety
Fire safety comes first in any outdoor kitchen. Keep the grill at least ten feet from the house, the fence, and any overhang. Never use a grill under a roof or inside a garage, even with the door open. Carbon monoxide is odorless and deadly.
Keep children and pets at a safe distance while the grill is hot. Set a clear zone of three feet around the cooking area. Turn handles inward so pots cannot be knocked off. Never leave a lit grill alone.
Check gas lines for leaks each season. Brush soapy water on the connections and watch for bubbles. If you smell gas, turn off the tank, step away, and call for help. With charcoal, let coals cool fully before you throw out the ash, and keep water or sand close by when you cook.
Frequently Asked Questions
How long does it take to build a budget outdoor kitchen? Most do-it-yourself builds take two to four weekends. Planning and shopping take the first weekend. Framing and counters take the next one or two. Finishing work and cleanup fill the last days. Working alone adds time; a helper cuts it.
Do I need a permit to build an outdoor kitchen? It depends on your town and your design. A simple freestanding station often needs no permit. Gas lines, electrical wiring, and permanent masonry structures often do. Call your local building office and describe your plan before you start.
What is the cheapest countertop for an outdoor kitchen? Sealed concrete and outdoor tile over cement board are usually the cheapest durable choices. Both handle heat and rain well. A wood counter sealed with marine-grade finish costs less up front but needs more care over time.
Can I build an outdoor kitchen on an existing patio? Yes. An existing slab makes a fine base if it is level and sound. Check for cracks and low spots first. Small cracks are fine; large sinking sections should be repaired or avoided.
Should I choose gas or charcoal for a budget build? Charcoal costs less to buy and gives strong flavor. Gas costs more up front but is faster and easier for daily cooking. Many budget cooks start with charcoal and add a gas grill later when money allows.
How do I protect my outdoor kitchen in winter? Cover everything with fitted waterproof covers. Move small items and cushions indoors. Shut off gas at the tank and store the tank upright outside. In cold regions, drain any water lines so pipes do not freeze and burst.
A Short Final Word
Learning how to build outdoor kitchen on budget is less about money and more about method. Plan on paper, buy in stages, choose weatherproof materials, and put your dollars into the grill first. The result is a cooking space your family will use for years, built with your own hands and paid for without worry.
References
AmazingRibs.com. (n.d.). Barbecue and grilling science. https://www.amazingribs.com Big Green Egg. (n.d.). Kamado grills and outdoor cooking. https://www.biggreenegg.com Broil King. (n.d.). Gas and charcoal grills. https://www.broilkingbbq.com Char-Broil. (n.d.). Gas and charcoal grills. https://www.charbroil.com Consumer Reports. (n.d.). Product reviews and ratings. https://www.consumerreports.org Napoleon. (n.d.). Fireplaces, grills, and heating products. https://www.napoleon.com The Home Depot. (n.d.). Home improvement products. https://www.homedepot.com The Spruce Eats. (n.d.). Recipes and cooking guides. https://www.thespruceeats.com Traeger. (n.d.). Wood pellet grills. https://www.traeger.com Weber. (n.d.). Grills and outdoor cooking. https://www.weber.com
Was this guide helpful?

About Jennifer Lee
The My Garden US editorial team writes practical, in-depth home and garden guides for American homeowners — tested advice, no fluff.
You May Also Like
How to Grill Shrimp on Skewers Without Drying Them Out
January 24, 2026 0 views
Gas Grill Deals on Memorial Day in the USA: A Buyer’s Guide
March 23, 2026 0 views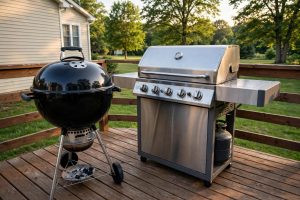
Charcoal vs Gas Grill Cost Comparison: What Your Backyard Cookouts Really Cost
September 28, 2026 0 views