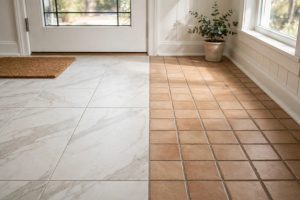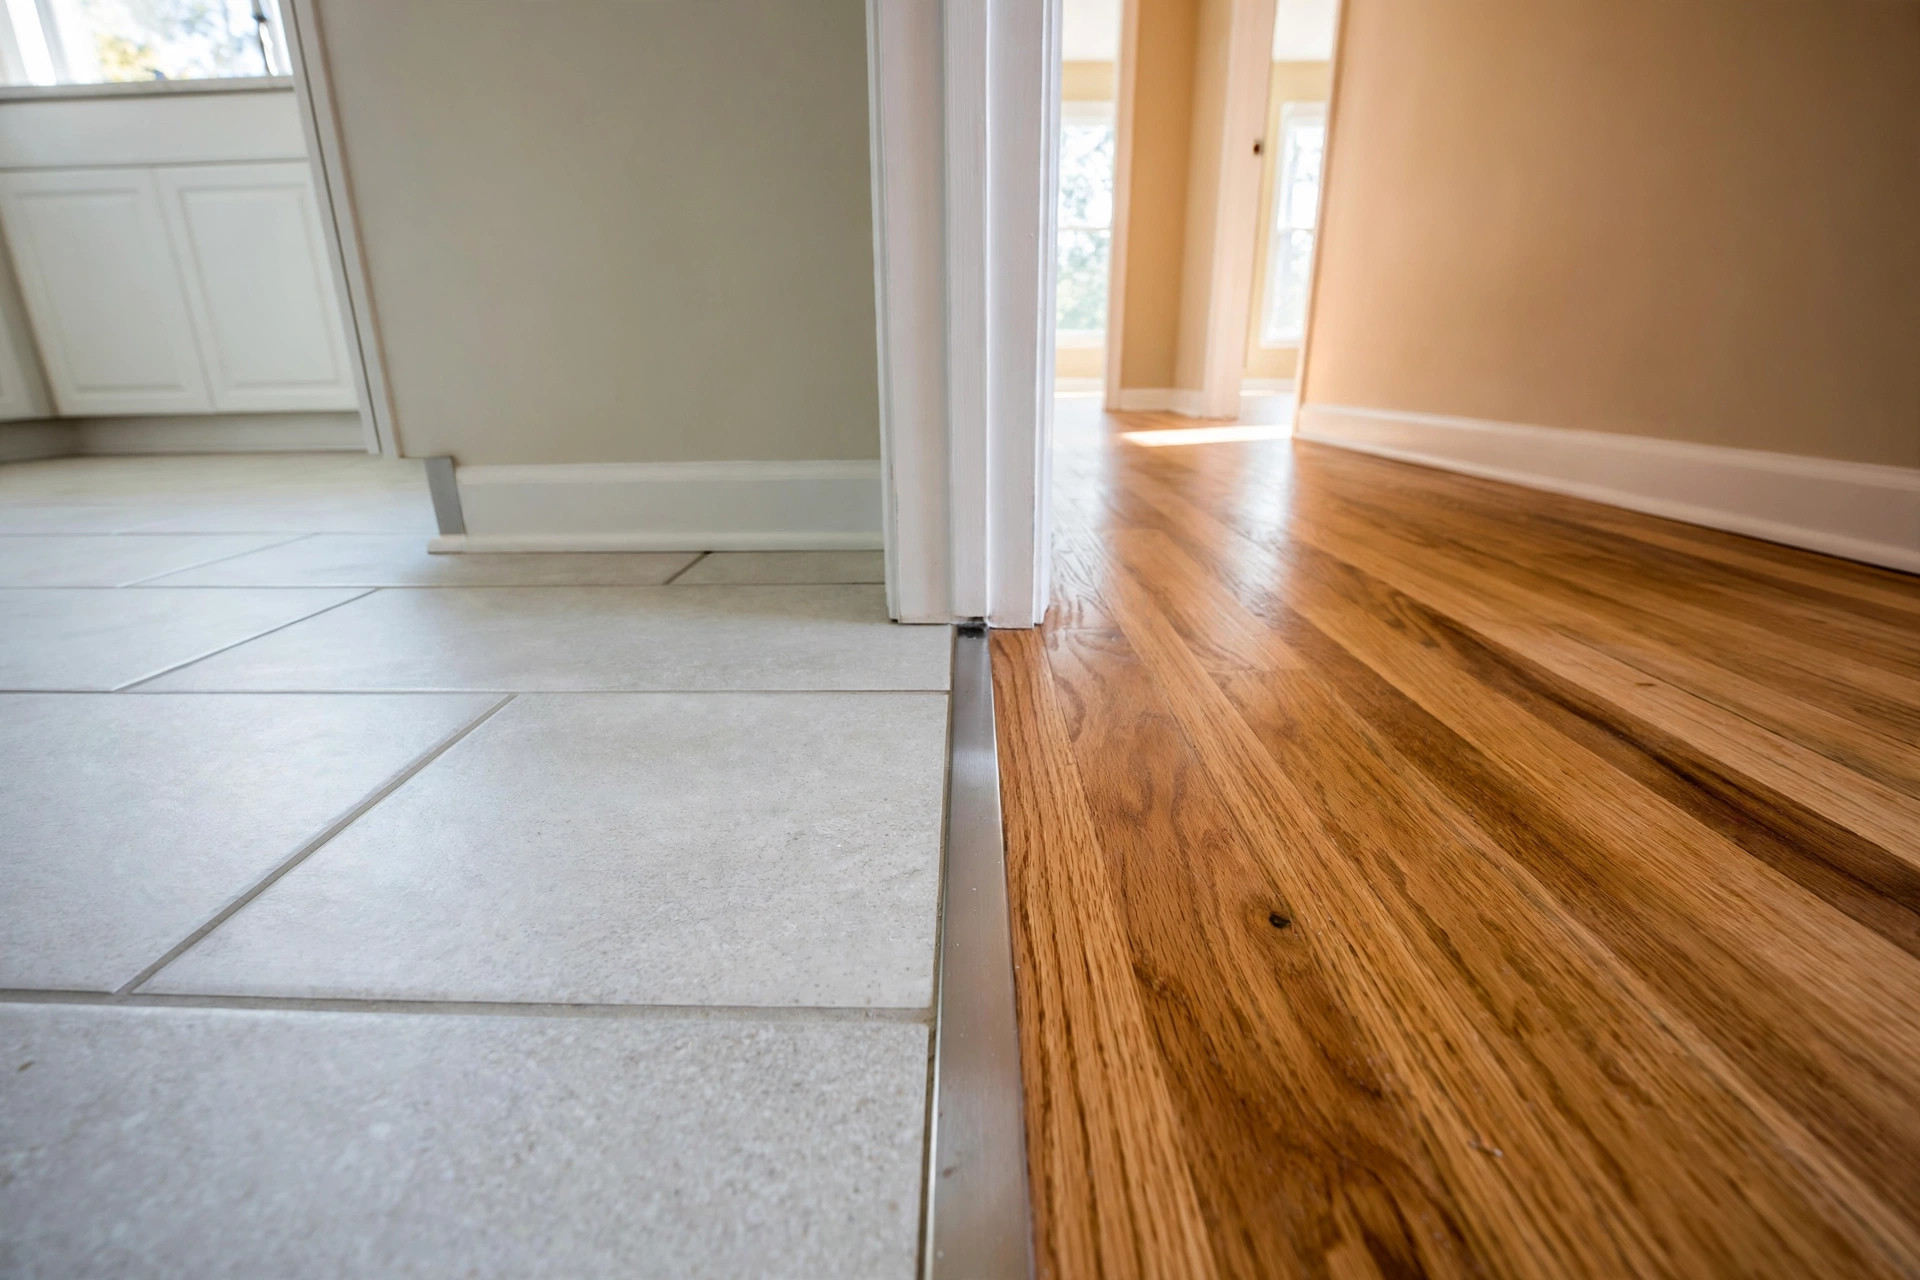

Many homes in America change floor surface where one room meets the next. The kitchen has tile. The hallway has wood. The line where they meet needs care. A bad join looks rough and catches the toe. A good join looks planned and lasts for years. These flooring transition from tile to wood ideas help you make that line clean and natural.
Why the Join Between Tile and Wood Matters
Tile and wood are two different materials. Tile is hard and cold. Wood is warm and soft underfoot. They expand and shrink at different rates when the weather changes. They also sit at different heights in many homes. Tile with thick grout beds can stand higher than a floating wood floor. Or the reverse can be true.
If you leave a raw edge, dust and water collect there. Crumbs fall into the gap. Moisture from a wet kitchen floor can creep under the wood and warp it. A ragged edge also looks unfinished. Guests notice it. A future buyer of the home will notice it too.
A proper transition strip or a clean grout line solves these problems. It covers the gap. It lets each floor move a little on its own. It protects the edge of the wood from foot traffic. It also guides the eye from one room to the next. The doorway feels wider and calmer when the floor flows across it.
How to Plan the Layout Before You Cut: Flooring Transition From Tile to Wood Ideas
Measure the height of each finished floor first. Lay a straight board across the doorway and hold a ruler under each side. Write both numbers down. Many wood floors sit near one half inch thick. Many tile floors with mortar sit near five eighths to three quarters of an inch. Small differences are normal.
Decide where the join will fall. The classic spot is the middle of the door, so the line hides under the closed door. In open doorways with no door, place the line at the natural break between rooms, such as where the kitchen tile ends and the hallway begins. Keep the line straight. A wavy line draws the eye and is hard to trim.
Order your transition material before the floors are finished. Some strips snap into a metal track that goes under the floor. That track must be in place while the floor is laid. If you wait until the end, you may need a surface-mounted strip instead, which sits a little proud of the floor. Both work. But the recessed kind looks smoother.
If the wood floor is new and the tile is old, or the reverse, check the old edge. Chipped tile edges can be cleaned with a carbide file. Rotted wood ends should be cut back to sound material. A transition strip hides small sins, but it cannot hide large ones.
Transition Types That Work Between Tile and Wood
There are several common ways to join tile to wood. Each has a place. Pick the one that fits your heights, your budget, and your taste.
T-Molding Strips
The T-molding is the most common choice. It has a flat top and a stem that drops into a track or a gap between the floors. It bridges small height differences, usually up to about one quarter inch. It works best when the floors are nearly level.
T-moldings come in wood, metal, and vinyl. Wood versions can be stained to match the wood floor. Metal versions in bronze, nickel, or black give a clean modern line. Vinyl versions cost less and handle moisture well, which suits kitchens and baths.
Threshold and Reducer Strips
When one floor stands higher than the other, a reducer or threshold strip ramps down from the high side to the low side. This is common where tile meets wood if the tile bed was laid thick. A reducer prevents tripping. It also protects the high edge of the tile from chipping underfoot.
Wood thresholds can be shaped with a router or a hand plane to a gentle slope. Metal reducers come in fixed profiles. Measure the exact height difference before you buy, because a reducer made for one quarter inch will not fix a half inch drop.
Flush Metal Profiles
Slim metal profiles in brass, aluminum, or stainless steel sit nearly flush with both floors. They give a sharp, modern line. Tile setters often use them with large format tile. They suit homes with a clean, modern style.
These profiles are set while the tile is laid, so they must be planned early. They do not hide wide gaps. The gap under them should be small and even, about one eighth to one quarter inch.
A Clean Grout Line
Some builders skip the strip entirely. They set the wood and tile with a small gap, about one quarter inch, and fill it with color-matched grout or flexible silicone caulk. This works best when both floors are the same height and the gap is perfectly straight.
Silicone is the better filler near water, because grout can crack as the wood moves with the seasons. Choose a caulk color close to the tile grout. This method gives the quietest, most seamless look. It takes more skill to cut a straight edge in the wood.
Matching the Look of the Join to Your Home
The transition should match the style of the house. In a farmhouse kitchen, a stained wood threshold that matches the wood floor feels right. In a modern condo, a thin bronze or matte black metal strip feels right. In a cottage, a painted wood strip can tie into white trim.
Color matters. A strip that matches the wood floor almost disappears. A strip that contrasts, such as dark bronze against light oak, becomes a small design detail. Neither choice is wrong. But the choice should be the same at every doorway. Mixed strips from room to room look careless.
Think about the tile grout color too. A grout line that meets the wood at the strip looks best when the grout color is calm and even. Dark grout against light tile can make the join look busy. For more on laying the tile side of the job well, see our guide on tile installation cost per square foot.
Cost and Price of Tile to Wood Transitions
The materials for one doorway are modest. A basic vinyl T-molding may cost only a few dollars. A wood T-molding that matches your floor can cost ten to forty dollars. A quality metal profile in brass or bronze can cost twenty to sixty dollars for a standard doorway. Custom hardwood thresholds cost more, especially in walnut or white oak.
Labor is where the price grows. If a flooring crew is already on site, adding a transition at a doorway may add little or nothing to the bill. As a separate visit, a handyman may charge a minimum fee of one to two hundred dollars for a simple strip. Custom shaping, such as scribing a wood threshold to an uneven tile edge, takes more time and costs more.
Height differences raise the cost. If the floors differ by more than one quarter inch, the subfloor may need shimming, or a custom reducer must be made. That work can add a hundred dollars or more per doorway. Planning the floor heights early, before either floor is laid, is the cheapest way to keep transitions simple.
Installing a T-Molding Step by Step
Most homeowners can install a basic T-molding with simple tools. Here is a plain method that works in most cases.
First, cut the strip to length. Hold it in the doorway and mark the cut. Leave a hair of clearance at each end so the strip does not bind against the door frame. Cut metal with a fine-tooth hacksaw. Cut wood with a fine hand saw or a miter saw.
Second, test the fit. Lay the strip in the gap. It should sit level with, or just above, the higher floor. The stem should drop into the gap without forcing. If the gap is too wide, the stem will wobble. Fill the sides of the gap with a thin backer or a bead of construction adhesive.
Third, fix it in place. Many T-moldings glue down with construction adhesive. Run a thin bead on the subfloor, press the strip in, and wipe away squeeze-out at once. Some systems use a metal track screwed to the subfloor. Screw the track down, then tap the molding into it with a rubber mallet and a scrap block.
Fourth, seal the edges. A thin bead of clear or color-matched silicone along each edge keeps out water and crumbs. This step matters most in kitchens and entryways. For grout choices on the tile side, read our comparison of epoxy grout versus cement grout.
Care and Upkeep of the Transition
A transition strip needs little care, but it should not be ignored. Sweep the line often. Grit caught under a loose strip acts like sandpaper on the wood edge. Mop with a damp mop, not a soaking one. Standing water at the join can swell wood and stain the strip.
Check the strip once or twice a year. Press along its length. If it rocks or clicks, the adhesive has let go. Lift it, clean out old glue, and re-glue it. Tighten any screws on metal tracks. If a wood strip has worn through its finish, sand it lightly and re-stain or reseal it.
Metal strips can scratch. Bronze and brass darken with age, which many people like. If you want the bright look back, polish gently with a soft cloth and a mild metal polish. Do not use harsh cleaners on anodized aluminum, which can strip the color.
In wet areas, re-check the silicone seal each year. Pull away loose caulk and lay a fresh bead. This small job protects the wood floor from water damage for another year. If you are planning tile in a damp space, our notes on waterproof flooring for basements may also help.
Safety at the Join
The line between tile and wood is a trip point if it is not handled well. The strip should never stand more than about one quarter inch above the floor. Sharp metal edges should be filed smooth. A reducer on the high side should slope gently, not drop like a step.
Water makes tile slick. A bath mat or a rug runner near the transition helps in bathrooms and entries. Keep the strip clean of wax and oil, which can make metal profiles slippery. In homes with older people or small children, a low, smooth, color-matched strip is the safest choice.
Fire safety is a small but real concern with some vinyl strips near fireplaces or wood stoves. Use metal or wood near heat sources, not plastic.
Frequently Asked Questions
What is the best transition between tile and wood?
The best choice depends on the height difference. For floors that are nearly level, a T-molding is the standard and simplest choice. For a height drop, use a reducer strip. For a modern flush look, use a slim metal profile set during tile work. All three are sound when installed well.
Can tile and wood be the same height?
Yes. A skilled installer can plan the subfloor and underlayment so the finished surfaces line up. This makes a flush join possible, either with a slim profile or a clean grout and caulk line. It takes planning before either floor is laid, which is why early measuring matters.
Should the transition match the wood or the tile?
Most designers match the wood floor, because wood is harder to match later if the strip wears out. A metal strip in bronze or nickel is a neutral choice that works with almost any tile. Avoid matching the tile grout exactly, since grout colors are hard to repeat.
How wide should the gap between tile and wood be?
Leave about one quarter inch between the two floors under the strip. This gives the wood room to expand in humid months. A gap much wider than this is hard to cover neatly. A gap much narrower risks buckling when the wood swells.
Can I install a transition strip myself?
Yes, in most cases. A glue-down T-molding needs only a saw, adhesive, and a steady hand. Metal tracks and flush profiles need more care, and custom wood reducers need woodworking skill. If the floors are badly uneven, call a flooring professional.
What holds a transition strip down?
Most strips are glued with construction adhesive made for flooring. Some use a screwed-down metal track that the molding snaps into. A few wood thresholds are nailed through the subfloor. Glue alone is fine for light traffic; a track is better for busy doorways.
A Short Final Word
The join between tile and wood is a small detail with a large effect. Measure the heights. Pick a strip that suits the drop and the style of the home. Set it straight and seal it well. These flooring transition from tile to wood ideas will give you a line that looks planned, feels safe underfoot, and lasts as long as the floors on either side.
For more background, see The Home Depot, Lowe’s, and LL Flooring. For more background, see Shaw Floors, Mohawk Flooring, and Daltile. Buying guides are also published by This Old House and The Spruce.
References
Daltile. (n.d.). Ceramic and porcelain tile. https://www.daltile.com LL Flooring. (n.d.). Hardwood, vinyl, and tile flooring. https://www.llflooring.com Lowe’s. (n.d.). Home improvement products. https://www.lowes.com Mohawk Flooring. (n.d.). Flooring products. https://www.mohawkflooring.com Shaw Floors. (n.d.). Flooring products. https://www.shawfloors.com The Home Depot. (n.d.). Home improvement products. https://www.homedepot.com The Spruce. (n.d.). Home and garden advice. https://www.thespruce.com This Old House. (n.d.). Home renovation guidance. https://www.thisoldhouse.com
Was this guide helpful?

About Lisa Anderson
The My Garden US editorial team writes practical, in-depth home and garden guides for American homeowners — tested advice, no fluff.
You May Also Like
PVC Decking Pros and Cons for USA Homes
August 25, 2026 0 views
Best Wood Look Tile Brands USA 2026: A Buyer’s Guide to Realistic Wood-Look Tile
February 17, 2026 0 views
Carpet Stretching Service Cost Near Me: What Homeowners Pay
February 19, 2026 0 views