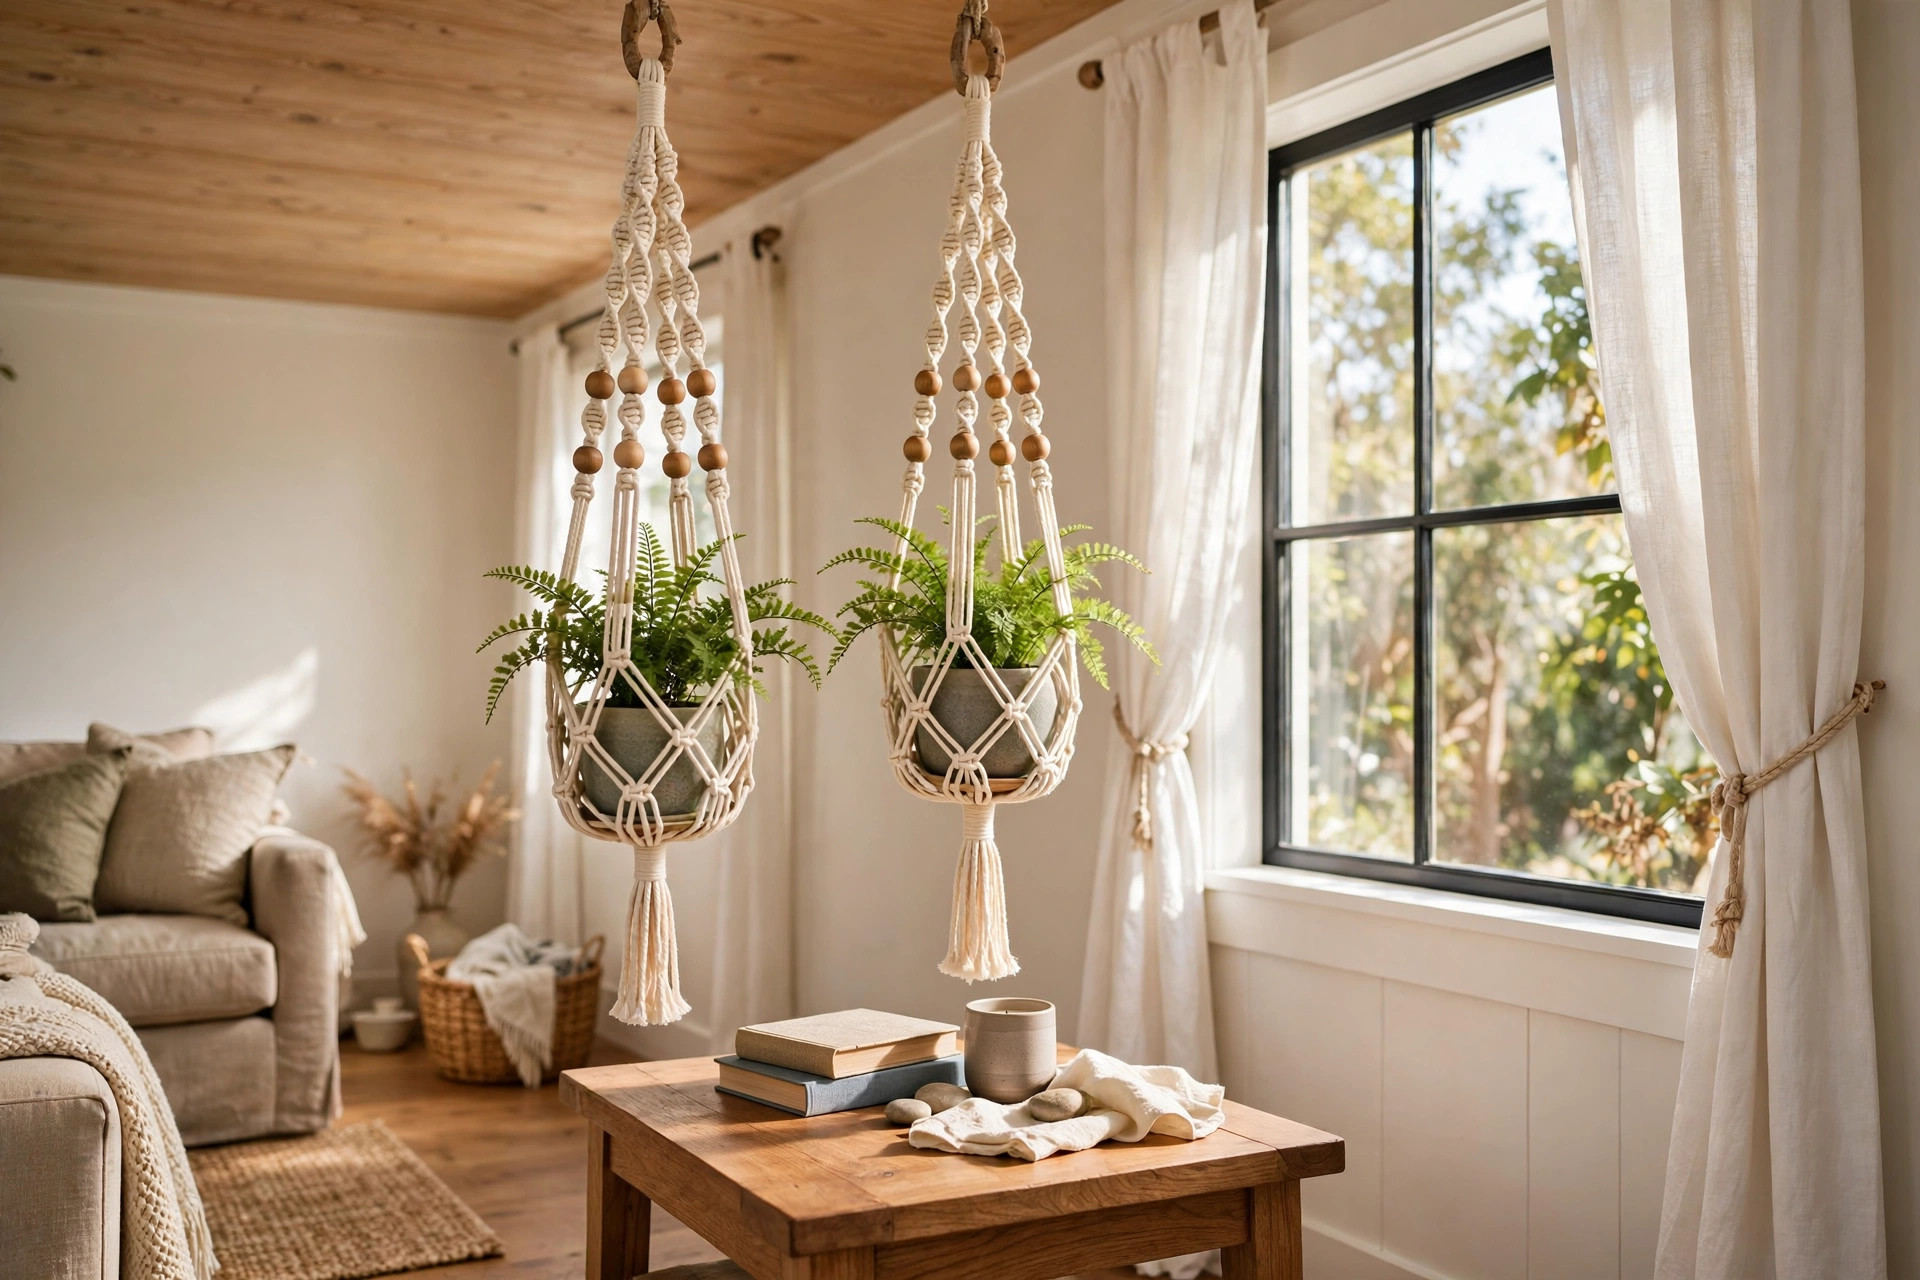
A diy plant hanger kit macrame for beginners is one of the easiest craft projects a new maker can try at home. The kit comes with cord, a ring, and simple steps, so you can tie your first hanging planter in an afternoon. Many people buy one to add green plants to a room, to make a handmade gift, or to learn a calm new hobby that uses only their hands.
Macrame is an old art of tying knots into patterns. Sailors tied knots for their work long ago. Later the craft moved into homes as wall art and plant hangers. Today it is back in style, and beginner kits make the first try much simpler. You do not need past craft skill. You only need a few quiet hours and a place to hang your work while you knot.
This guide explains what a beginner kit holds, how to pick a good one, the basic knots you will learn, the cost, and how to care for the finished hanger. It also answers common questions and gives safety tips for homes with kids and pets.
Why a Beginner Kit Matters
Starting a new craft is hard when you must buy every piece alone. A beginner kit removes that problem. It gives you the right length of cord, the ring at the top, and beads if the design uses them. The printed guide shows each knot with clear drawings. This means you can start in minutes after you open the box.
A kit also teaches the right cord length. One common beginner mistake is cutting cord too short. The work then runs out of cord halfway through. Kits are made by people who know how much cord each design needs, so the cord is cut to fit. Some kits give a little extra. That extra cord helps a beginner who ties knots a bit loose or a bit tight.
Beginners also gain skill faster with a kit. The guide builds from the simplest knot to the harder ones. You learn the lark’s head knot to attach cord to the ring. Then you learn the square knot to make the body. Then you learn the gathering knot to close the basket that holds the pot. Each skill leads to the next, and by the end you have made a whole hanger you can use.
If you enjoy the kit, you can then buy cord on its own and try free patterns. Guides at Michaels and Joann often list simple starter patterns that use the same knots. A kit is the low-risk first step before you spend more on loose cord and tools.
What to Look for in a Beginner Kit: Diy Plant Hanger Kit Macrame for Beginners
Not all kits are equal. A good beginner kit has five things. Check each one before you buy.
Cord type and thickness
Most beginner kits use cotton cord, three to five millimeters thick. Cotton is soft on the hands and holds knots well. It does not slip the way smooth nylon cord can slip. For a first project, three-millimeter cord is a good pick. It is thin enough to knot with ease and thick enough to hold a small pot. For more ideas on craft supplies, see our guide to the best craft scissors set for paper and fabric.
Ring or wooden hoop
The top of the hanger needs a strong ring. Good kits include a metal or wooden ring about two to three inches wide. The ring must be smooth so the cord slides on it without catching. Weak plastic rings can bend under the weight of a wet plant pot, so metal or solid wood is better.
Clear step-by-step guide
The guide is the most important part of the kit. It should show each knot with large drawings or photos. It should name each knot so you can look it up later. The best guides start with cord prep and end with trimming the bottom fringe. Avoid kits with tiny text or only a video link, since printed steps are easier to follow at your own pace.
Pre-cut cord
Beginner kits should come with cord already cut to length. Some cheap kits give you one long rope and ask you to cut it. That adds a chance of error. Pre-cut cord saves time and keeps the project moving.
Beads and extras
Some designs add wooden beads for style. The kit should include the beads if the pattern calls for them. It may also include a small hook for hanging. These extras are nice but not required. The core parts are the cord, the ring, and the guide.
Types of Beginner Plant Hanger Kits
Kits come in several styles. Each uses the same basic knots but looks different in the home.
Single pot hanger
This is the classic style. It holds one pot in a knotted basket. It is the best choice for a first project. The design is simple, and it teaches every core knot. Most beginner kits are single pot hangers. Once you finish one, you can make more for other rooms. To plan your next projects, look at our macrame cord kit for wall hanging diy guide.
Tiered or double hanger
A tiered hanger holds two pots, one above the other. It uses the same knots as the single hanger, but the pattern is longer. It is a good second project after you finish your first single hanger. It takes more time and more cord, so do not start here on day one.
Wall-mounted hanger
Some kits make a hanger that mounts on a wall bracket instead of hanging from the ceiling. The top is a wooden dowel or branch. This style suits renters who cannot drill into a ceiling. The knotting is the same, but the finish is different.
Mini hanger for small plants
Mini kits make small hangers for air plants or tiny succulents. They use thin cord and take less time. They are good practice before a full-size hanger. They also make nice gifts.
How to Choose the Right Kit for Your Home
Think about where the hanger will hang. Measure the space from the hook to the sill or shelf below. A standard single hanger is about three feet long when finished. In a room with low ceilings, look for a shorter design or trim the bottom fringe.
Think about the pot you will use. A four-inch terra cotta pot is the most common match for a beginner hanger. Heavier pots need thicker cord and a stronger ring. The kit box often lists the pot size it fits. Match the pot to that size before you buy the kit.
Think about light and color. Natural cream cord fits most rooms and shows the knot texture well. Dark cord can hide small mistakes but may show dust. White cord looks clean but can stain. Cotton cord takes dye well, so you can color a finished hanger later with fabric dye if you wish.
Price also matters. See the cost section below for real ranges. For most beginners, a mid-priced kit with a strong guide is a better buy than the cheapest box. A poor guide can turn a fun project into a hard one.
When you are ready to shop, craft stores like Dick Blick and Home Depot carry kits and cord, and home idea sites such as The Spruce and HGTV show photos of finished hangers in real rooms for style ideas.
The Basic Knots You Will Learn
A beginner kit teaches three or four knots. Here is what each one does.
The lark’s head knot mounts the cord to the top ring. You fold a cord in half, push the loop through the ring, and pull the two ends through the loop. It takes seconds to learn and holds firm.
The square knot is the main building block. You use four cords: two outer cords wrap around two center cords. You tie a left half, then a right half, and the knot sits flat. A row of square knots forms the basket that holds the pot. This is the knot you will practice most.
The spiral knot, also called the half knot, twists the cord into a rope-like shape. It is made by repeating the same half of the square knot. It is used for the long sides of many designs.
The gathering knot or wrap knot finishes the bottom. You wrap a short cord around all the working cords and pull the end through to lock it. It forms the neat point at the base of the basket.
Most guides teach these knots in this order. Practice each knot on scrap cord first. Ten minutes of practice makes the real project much smoother. Helpful step photos and maker guides are often posted on Apartment Therapy and Country Living, and tool basics are covered well by Bob Vila and This Old House.
Cost and Price
A diy plant hanger kit macrame for beginners usually costs between ten and twenty-five dollars in the United States. The price depends on the cord type, the ring material, and whether beads and a hook are included. Simple mini kits can cost under ten dollars. Large kits with thick cord and wooden beads can cost thirty dollars or more.
Buying cord and parts on your own costs about the same for one hanger. The kit saves you the work of picking parts and cutting cord. If you plan to make many hangers, buying a large spool of cotton cord is cheaper per hanger. A one-pound spool of three-millimeter cotton cord makes about six to eight single hangers.
Check what the price includes. A kit that lists the pot in the photo may not include the pot. Most kits include only the cord, ring, beads, and guide. The plant and pot are yours to buy. That is normal and keeps the kit price low.
Sales at craft stores lower the price often. Watch for seasonal sales and store coupons. A twenty-dollar kit may sell for twelve dollars during a craft sale week. For craft night ideas, you might pair this with a diy candle making kit for beginners usa for a full handmade home theme.
Step-by-Step: Your First Hanger
Here is a short version of what a typical beginner kit guide asks you to do. Your kit may differ in small ways, so follow its own guide first.
First, sort the cord. Lay out all the cut cords and count them against the guide. Hang the ring from a door knob or a hook at a good work height. Your elbows should rest near your waist as you knot.
Next, attach each cord to the ring with a lark’s head knot. Spread them evenly around the ring so the work hangs straight.
Then tie a row of square knots about six inches below the ring. Group the cords in sets of four. Leave a small space between the ring and the first knots to form the top neck of the hanger.
After that, make the basket. Offset the groups and tie another row of square knots. The offset rows form the net that cradles the pot. Place the pot inside and check the fit before you tie the bottom.
Finally, tie the gathering knot below the pot to close the basket. Trim the fringe ends to an even length. Hang the finished piece and water the plant with care.
This whole process takes about two to four hours for a true beginner. Do not rush. The slow pace is part of the fun. Family handyman guides at Family Handyman often note that steady, even tension in each knot matters more than speed.
Care and Upkeep
A cotton macrame hanger needs little care. Dust it with a soft brush or a dry cloth every few weeks. If it gets dirty, spot clean it with a damp cloth and mild soap. Do not soak a cotton hanger in water. Soaking can shrink the cord and weaken the knots.
When you water the plant, take the pot out of the hanger if you can. Water it in the sink and let it drain. Then put it back. This keeps the cord dry and stops water stains. A wet pot is much heavier than a dry one, and wet cord stretches over time.
Check the knots twice a year. Pull gently on the top ring area and the basket. If a knot feels loose, retie it or add a drop of fabric glue to hold it. Replace a hanger that shows frayed cord or a bent ring. A falling pot can break tile or hurt a foot.
Keep hangers out of long direct sun if you can. Strong sun fades natural cord over months. A little sun is fine, since the plant needs light, but a south window with harsh noon sun may bleach one side of the cord.
For general home care reading, Lowes and The Spruce both keep upkeep guides for home craft items.
Safety in the Home
Hang the finished piece from a strong point. Use a ceiling hook rated for at least twice the weight of the wet plant and pot. A four-inch potted plant can weigh five pounds when freshly watered. A cheap adhesive hook may not hold that weight for long. Screw the hook into a ceiling joist or use a proper drywall anchor.
Keep hangers away from walkways where heads can bump them. Hang them near windows, not over beds or over chairs where people sit. A falling pot is a real risk if the hook or cord fails.
In homes with cats, note that cats love to bat at hanging plants. A swinging pot can spill soil or fall. Hang plants high and out of reach, or choose a spot behind a closed door. Some plants are toxic to pets, so check your plant choice too.
In homes with small children, keep long fringe cords tied up or trimmed short. Long cords can wrap around little fingers or necks. Treat a plant hanger like a window cord: keep it out of reach of children under five. Consumer safety guides note that cord safety matters in any home with young kids.
Frequently Asked Questions
How long does a beginner kit take to finish?
Most beginners finish in two to four hours. The first row of knots is the slowest part. Once the square knot feels natural, the work moves faster. Plan a calm afternoon and take breaks so your hands do not tire.
Do I need any tools beyond the kit?
No special tools are needed. Sharp scissors help for trimming the fringe. A comb or brush can fluff the fringe at the end. A tape measure helps you keep knot rows even. All of these are common home items.
Can I wash a cotton macrame hanger?
Spot clean only. Use a damp cloth with mild soap on dirty spots and let it air dry. Full washing can shrink the cord and loosen the knots. If the hanger is very dirty, it may be time to make a new one.
What plant works best in a beginner hanger?
Trailing plants look best. Pothos, spider plants, and philodendron drape over the basket and hide the knots. They are also easy to keep alive. Start with one of these if you are new to plants as well as knots.
Will the cord hold a heavy pot?
A good kit holds a standard four-inch pot with ease. For pots six inches or larger, use thicker cord and a metal ring. Never hang a pot heavier than the kit rating. When in doubt, use a lighter pot or a smaller plant.
Can kids make a macrame kit?
Older kids, around ten and up, can make a simple kit with help. The knots are not hard, but the work takes patience. Younger children can help sort cord and pick bead colors. Always watch the safety tips above for cord length around small children.
A Short Final Word
A diy plant hanger kit macrame for beginners is a small box that opens a big door. It teaches an old craft in a simple way, and it leaves you with a handmade piece for your home. The first hanger may have one loose knot or an uneven row. That is fine. Handmade work is meant to show the hand that made it.
Make one for your window. Make one as a gift. Then try a new pattern with your own cord. The knots you learn in the first kit will serve you for years of craft projects to come.
References
Apartment Therapy. (n.d.). Home design ideas and inspiration. https://www.apartmenttherapy.com Blick Art Materials. (n.d.). Art and craft supplies. https://www.dickblick.com Bob Vila. (n.d.). Home improvement advice. https://www.bobvila.com Country Living. (n.d.). Country home and lifestyle. https://www.countryliving.com Family Handyman. (n.d.). DIY home repair and maintenance. https://www.familyhandyman.com HGTV. (n.d.). Home and garden ideas. https://www.hgtv.com JOANN. (n.d.). Fabric and craft supplies. https://www.joann.com Lowe’s. (n.d.). Home improvement products. https://www.lowes.com Michaels. (n.d.). Arts and crafts supplies. https://www.michaels.com The Home Depot. (n.d.). Home improvement products. https://www.homedepot.com The Spruce. (n.d.). Home and garden advice. https://www.thespruce.com This Old House. (n.d.). Home renovation guidance. https://www.thisoldhouse.com
Was this guide helpful?

About Sarah Mitchell
The My Garden US editorial team writes practical, in-depth home and garden guides for American homeowners — tested advice, no fluff.