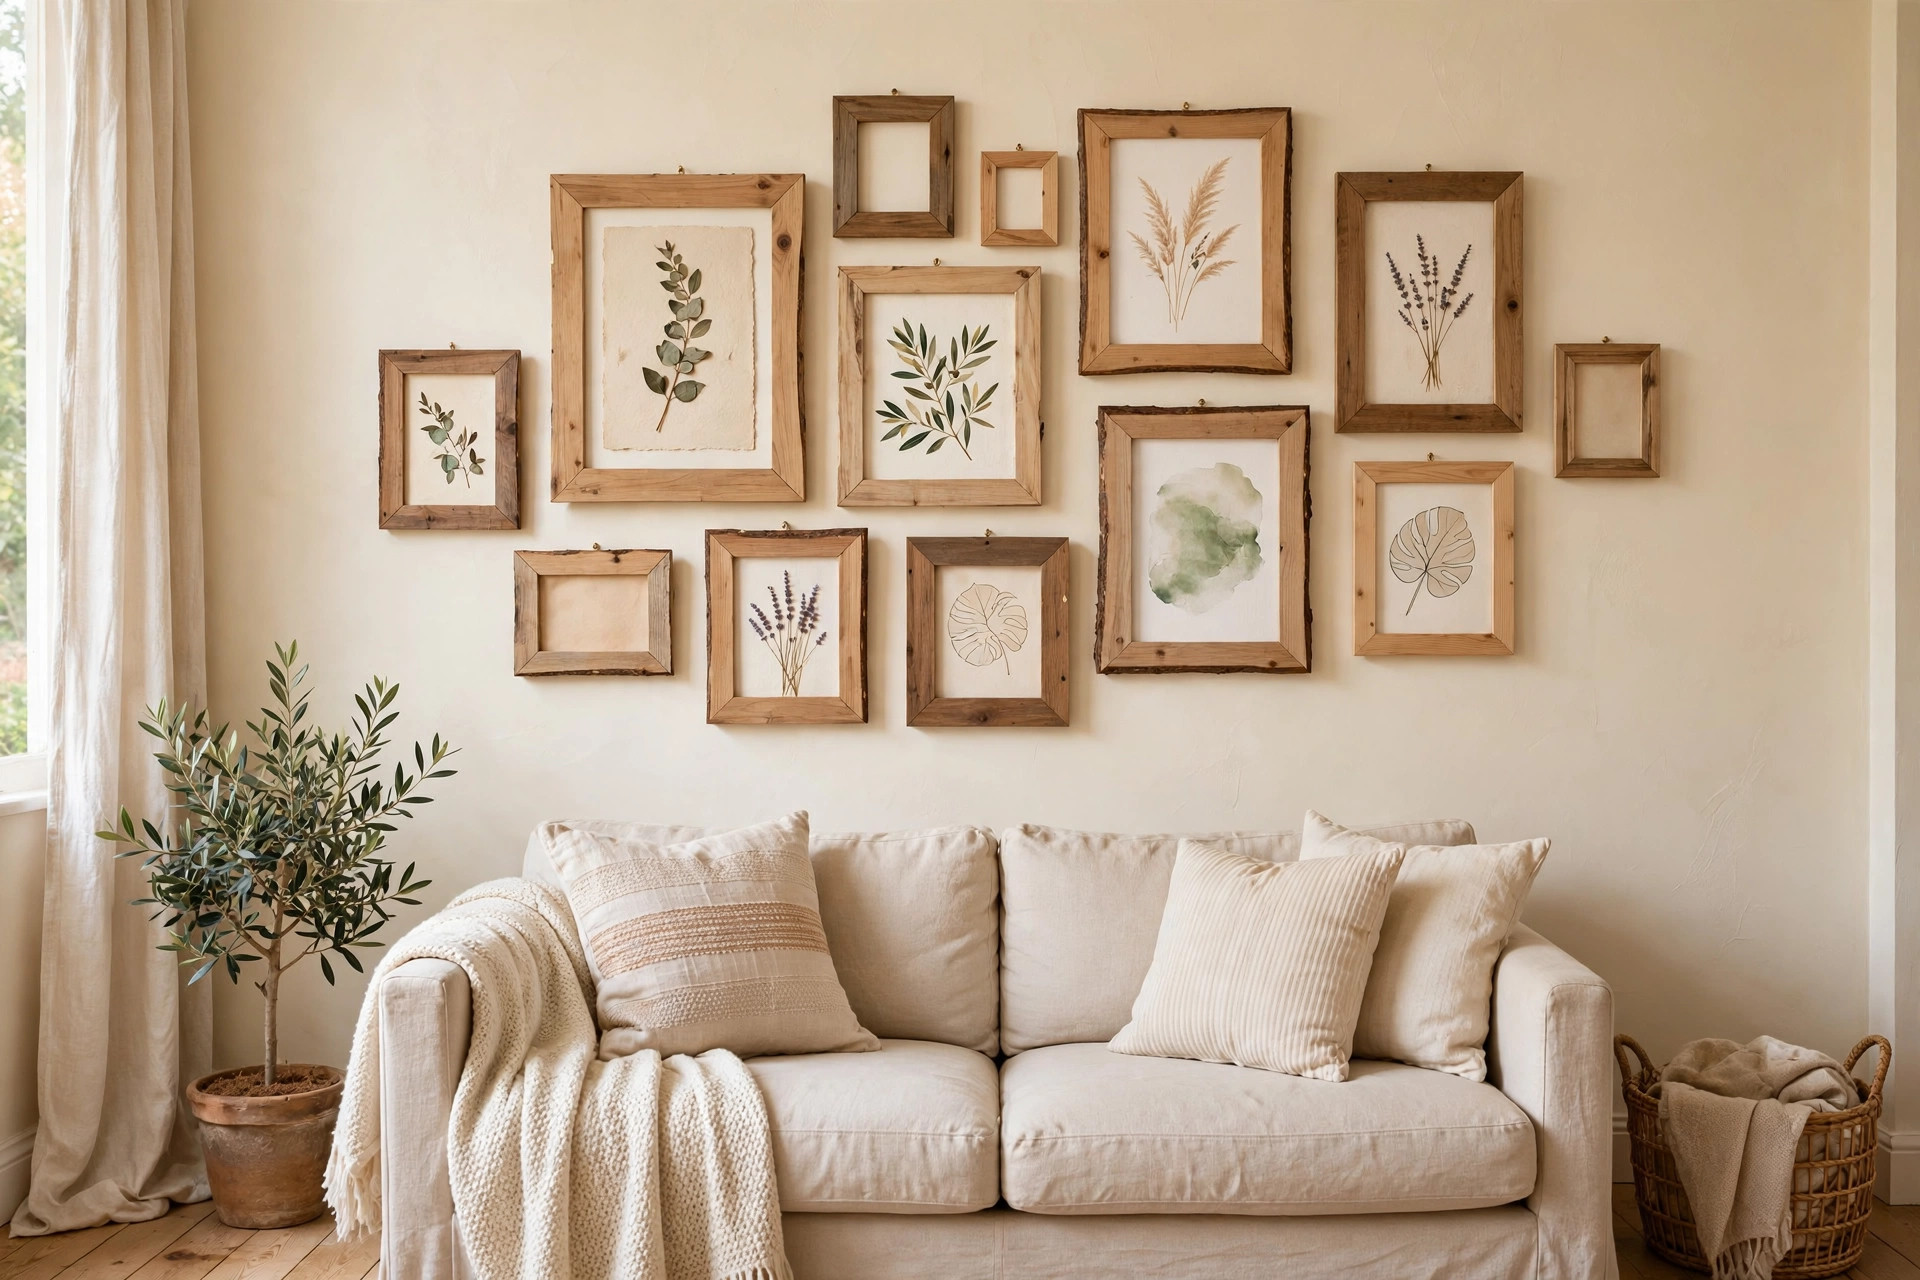
A diy photo frame kit for wall gallery crafts gives you everything you need to build a set of matching frames at home. The kit comes with cut frame pieces, glass or acrylic fronts, backing boards, and hanging hardware. You put the frames together yourself. You add your own photos. You hang the frames as a group on one wall. The result is a wall gallery that looks made for your home, because it was.
Wall galleries have hung in American homes for generations. Family photos once filled the stairwells of old farmhouses. Today the same idea lives on in living rooms, hallways, and bedrooms across the country. A kit makes the work simple. You need an afternoon, a small table, and a little patience.
Why a Wall Gallery Matters
A wall gallery turns a blank wall into something personal. A bare wall says nothing. A wall covered with family photos and small pieces of art says everything about the people who live there. Guests notice it at once. They stop. They look. The wall becomes a story.
A gallery is also flexible. You can change the photos when you please. Holiday pictures go up in December. Vacation photos go up in July. The frames stay the same. Only the pictures change. A good kit makes this easy, because the backs open and close without tools or with very simple tools.
What to Look for in a Photo Frame Kit: Diy Photo Frame Kit for Wall Gallery Crafts
Not all kits are equal. Some include strong parts and clear steps. Others cut corners. Here is what to check before you buy.
Frame Material
Most kits use wood, plastic, or a mix of the two. Wood frames look rich and warm. Pine and basswood are the most common woods in kits. They are light, easy to sand, and easy to stain or paint. Plastic frames are lighter still and often cost less.
Wood kits give the best craft feel. You can stain them, paint them, or leave them natural. The craft stores at Michaels carry stain and paint sets sized for small home projects. Plastic kits are best when speed matters. They snap together fast and need no finish at all.
Frame Sizes
Kits come in two main styles. Some kits hold one fixed size. Others mix sizes in one box. A mixed-size kit is the better choice for a wall gallery. A gallery looks best when the frames vary. Large frames anchor the center. Small frames fill the edges. A box with four-by-six, five-by-seven, and eight-by-ten frames gives you room to play with the layout.
Count the frames before you buy. A small gallery needs six to nine frames. Some kits hold only four frames. That may be too few for the wall you have in mind. Measure your wall first. Then buy enough frames to fill it without crowding.
What the Box Includes
Open the parts list before you pay. Look for the frame pieces, the clear front, the backing board, and the hanging hardware. Some kits also include corner fasteners and a piece of wire or a sawtooth hanger.
The clear front matters more than most buyers think. Cheap kits use thin plastic that bends and clouds with time. Better kits use thicker acrylic or real glass. Glass is heavy but clear. Acrylic is light but can scratch. The home project guides at Family Handyman explain how to cut and fit acrylic safely, which is useful if a sheet arrives oversized.
Backing boards should be stiff. Thin cardboard bends when you press the clips shut. A stiff board holds the photo flat against the clear front, which makes the photo look sharp from across the room.
Ease of Assembly
The best kits need no glue and no special tools. Pieces join with small metal corner brackets or with tight-fitting tabs. You push them together by hand. A kit that needs wood glue and clamps is a harder build. Read the steps on the box. Clear steps with drawings signal a well-made kit.
Finish and Style
Unfinished kits leave the look to you. You stain, paint, or seal the wood as you wish. Pre-finished kits arrive in white, black, or a wood tone. Unfinished wood costs less and gives more freedom. The paint and finish advice at Bob Vila can help you pick a stain color that fits the wood you have.
Types of Kits to Consider
Kits fall into a few broad types. Each suits a different plan.
Basic snap kits use plastic or thin wood pieces that push together. They are the cheapest and the fastest. They suit renters and beginners.
Wood craft kits use real wood with mitered corners. The pieces join with brackets or glue. They take longer to build. They look better and last longer. Most wall galleries built for keeps use wood kits.
Rustic kits use wood with a rough, weathered look. They suit country and farmhouse rooms.
Shadow box kits are deep frames. They hold more than a flat photo. You can mount small objects inside, like a ticket stub, a medal, or a dried flower. One or two shadow boxes among flat frames add variety.
Multi-opening kits hold several photos in one large frame. They build a gallery look fast. They suit people who want the effect with less hanging work.
You can also mix your new frames with other handmade wall decor. A gallery that pairs photo frames with pieces made from a macrame cord kit for wall hanging diy feels collected and personal rather than boxed. Small fabric pieces, such as those stitched with the best embroidery hoop set for wall art diy, sit well beside photos in a mixed gallery.
Cost and Price
Kits cost less than most buyers expect. A basic four-frame snap kit often sells for under twenty dollars. A good wood kit with six to nine mixed-size frames runs from twenty-five to sixty dollars. Large kits with glass fronts can reach eighty dollars or more.
The price rises with the frame material, the number of frames, and the grade of the clear front. Glass fronts cost more than acrylic. Solid wood costs more than plastic. A kit that includes corner brackets and full hanging hardware costs more than a kit with bare pieces, but it saves you a trip to the hardware aisle.
Compare the kit price to the price of loose frames. Nine decent loose frames at a craft store can cost seventy dollars or more. A kit with nine wood frames for forty dollars is a clear saving. The trade is your time. Plan on ten to twenty minutes per frame for a wood kit, less for a snap kit.
Watch for extra costs. You may need wood stain, paint, sandpaper, or glue if the kit does not include them. Add these to the budget before you compare prices. The project cost guides at This Old House remind DIYers to count supplies as well as parts. The craft aisles at JOANN and the art supply shelves at Blick carry kits from makers with solid reputations. Large home stores such as The Home Depot and Lowe’s stock frame kits at good prices.
How to Build and Hang Your Gallery
Step 1. Plan the layout. Lay the finished frames on the floor before you hang anything. Arrange and rearrange until the group looks right. A common pattern places the largest frame near the center and smaller frames around it. Keep two to three inches of space between frames. Photograph the layout with your phone so you remember it on the wall.
Step 2. Prepare the pieces. Sand any rough edges on wood frames with fine sandpaper. Wipe off the dust with a dry cloth. If you plan to stain or paint, do it now, before assembly. Thin coats dry faster and look smoother than one thick coat. The finishing tips at The Spruce cover drying times for common wood stains.
Step 3. Assemble the frames. Join the corner pieces as the instructions show. Press the joints tight. If the kit uses glue, spread a thin line, press the joint, and wipe off the extra. Let the glue set before you move the frame.
Step 4. Add the clear front and photo. Clean the clear front with a soft cloth. Place your photo face down on the glass or acrylic. Set the backing board on top. Close the clips or fasteners. Check that the photo sits flat with no curl at the corners.
Step 5. Attach the hangers. Fit the wire or sawtooth hanger to the back as the instructions show. The frame should hang with a slight forward tilt at the top, which is normal.
Step 6. Mark and hang. Hold a frame against the wall at the planned spot. Mark the nail point with a light pencil dot. Drive the nail or hook in at a slight downward angle. Hang the frame. Step back and look. Work from the center frame outward.
For heavy wood frames, use proper wall anchors or hang on a stud. A small finish nail holds a light frame on drywall. The hanging guides at Country Living show gallery layouts for rooms of many sizes, which can help you scale the plan to your wall.
Care and Upkeep
A wall gallery needs little care. Dust the frames once a month with a soft, dry cloth. Do not spray cleaner on the frames. Spray it on the cloth first, then wipe. This keeps liquid away from the photos.
Keep direct sun off the photos. Sunlight fades ink and photo paper over months and years. Use UV-protective acrylic if the kit offers it, or move the gallery to a shadier wall.
Check the hanging hardware once a year. Wires stretch. Nails work loose. A quick check takes ten minutes and stops a frame from falling. If a wire looks frayed, replace it.
Change the photos when they grow stale. Most kits open from the back with clips you can undo by hand. Lift out the old photo. Drop in the new one. Close the clips. The frames will look fresh again in minutes.
Safety
Frame building is safe work, but a few rules keep it that way.
Cut nothing with a dull tool. Dull blades slip. If a kit asks you to trim backing boards, use a sharp utility knife and a straight edge. Cut away from your body. Keep fingers clear of the blade path.
Work in fresh air when you stain, paint, or glue. Open a window or work in the garage with the door up. Stains and some glues give off fumes that cause headaches in closed rooms. Read the label on every can and bottle. Follow what it says.
Keep small parts away from young children. Corner brackets, nails, tacks, and clips are choking hazards. Build at a table out of their reach. Sweep the floor when you finish.
Hang frames with care. A falling glass frame can break and cut. Use the right hanger for the weight. Do not hang heavy frames over a bed or a crib. If you rent, check your lease rules about nails and anchors before you drill.
If you use a hot glue gun for any added trim, mind the tip. Set the gun on a heat-safe rest, not on bare wood or paper. Unplug it when you take a break.
Frequently Asked Questions
How many frames do I need for a good wall gallery? Six to nine frames make a full, balanced gallery on a standard living room wall. Four frames can work over a small desk. Lay the frames on the floor first. If the group looks thin, add two more.
Can a beginner build a wood frame kit? Yes. Most wood kits are made for beginners. The corners are pre-cut. If you can follow picture instructions and turn a screwdriver, you can build the frames. Allow extra time on the first one. The rest go faster.
Should I choose glass or acrylic for the clear front? Glass stays clearer longer and resists scratches, but it is heavy. Acrylic is light and will not shatter if the frame falls. For large frames hung high, acrylic is the safer pick.
Can I mix frame sizes and colors in one gallery? Yes, and mixed galleries often look the best. Keep one thing consistent: the frame color or the photo tone. A gallery of mixed sizes in the same black frame looks sharp. Two points of variety are fine. Five are too many.
How high should I hang the gallery? Hang the center of the group at eye level, about fifty-seven to sixty inches from the floor. That is the height museums use. Above a sofa, start the bottom of the lowest frame six to eight inches above the sofa back.
Do I need special tools? Most kits need nothing more than a hammer, a screwdriver, a tape measure, and a level. A pencil marks the nail points. If you stain the wood, add sandpaper, a brush, and a drop cloth. That is the whole list.
A Short Final Word
A diy photo frame kit for wall gallery crafts turns an empty wall into a family record. The work is simple. The cost is low. The result lasts for years. Build the frames with care. Hang them level. Change the photos when life gives you new ones worth framing. Near the front door, a seasonal touch such as a wreath made with a diy wreath making kit for front door decor keeps the entry fresh.
References
Blick Art Materials. (n.d.). Art and craft supplies. https://www.dickblick.com Bob Vila. (n.d.). Home improvement advice. https://www.bobvila.com Country Living. (n.d.). Country home and lifestyle. https://www.countryliving.com Family Handyman. (n.d.). DIY home repair and maintenance. https://www.familyhandyman.com JOANN. (n.d.). Fabric and craft supplies. https://www.joann.com Lowe’s. (n.d.). Home improvement products. https://www.lowes.com Michaels. (n.d.). Arts and crafts supplies. https://www.michaels.com The Home Depot. (n.d.). Home improvement products. https://www.homedepot.com The Spruce. (n.d.). Home and garden advice. https://www.thespruce.com This Old House. (n.d.). Home renovation guidance. https://www.thisoldhouse.com
Was this guide helpful?

About Michael Thompson
The My Garden US editorial team writes practical, in-depth home and garden guides for American homeowners — tested advice, no fluff.