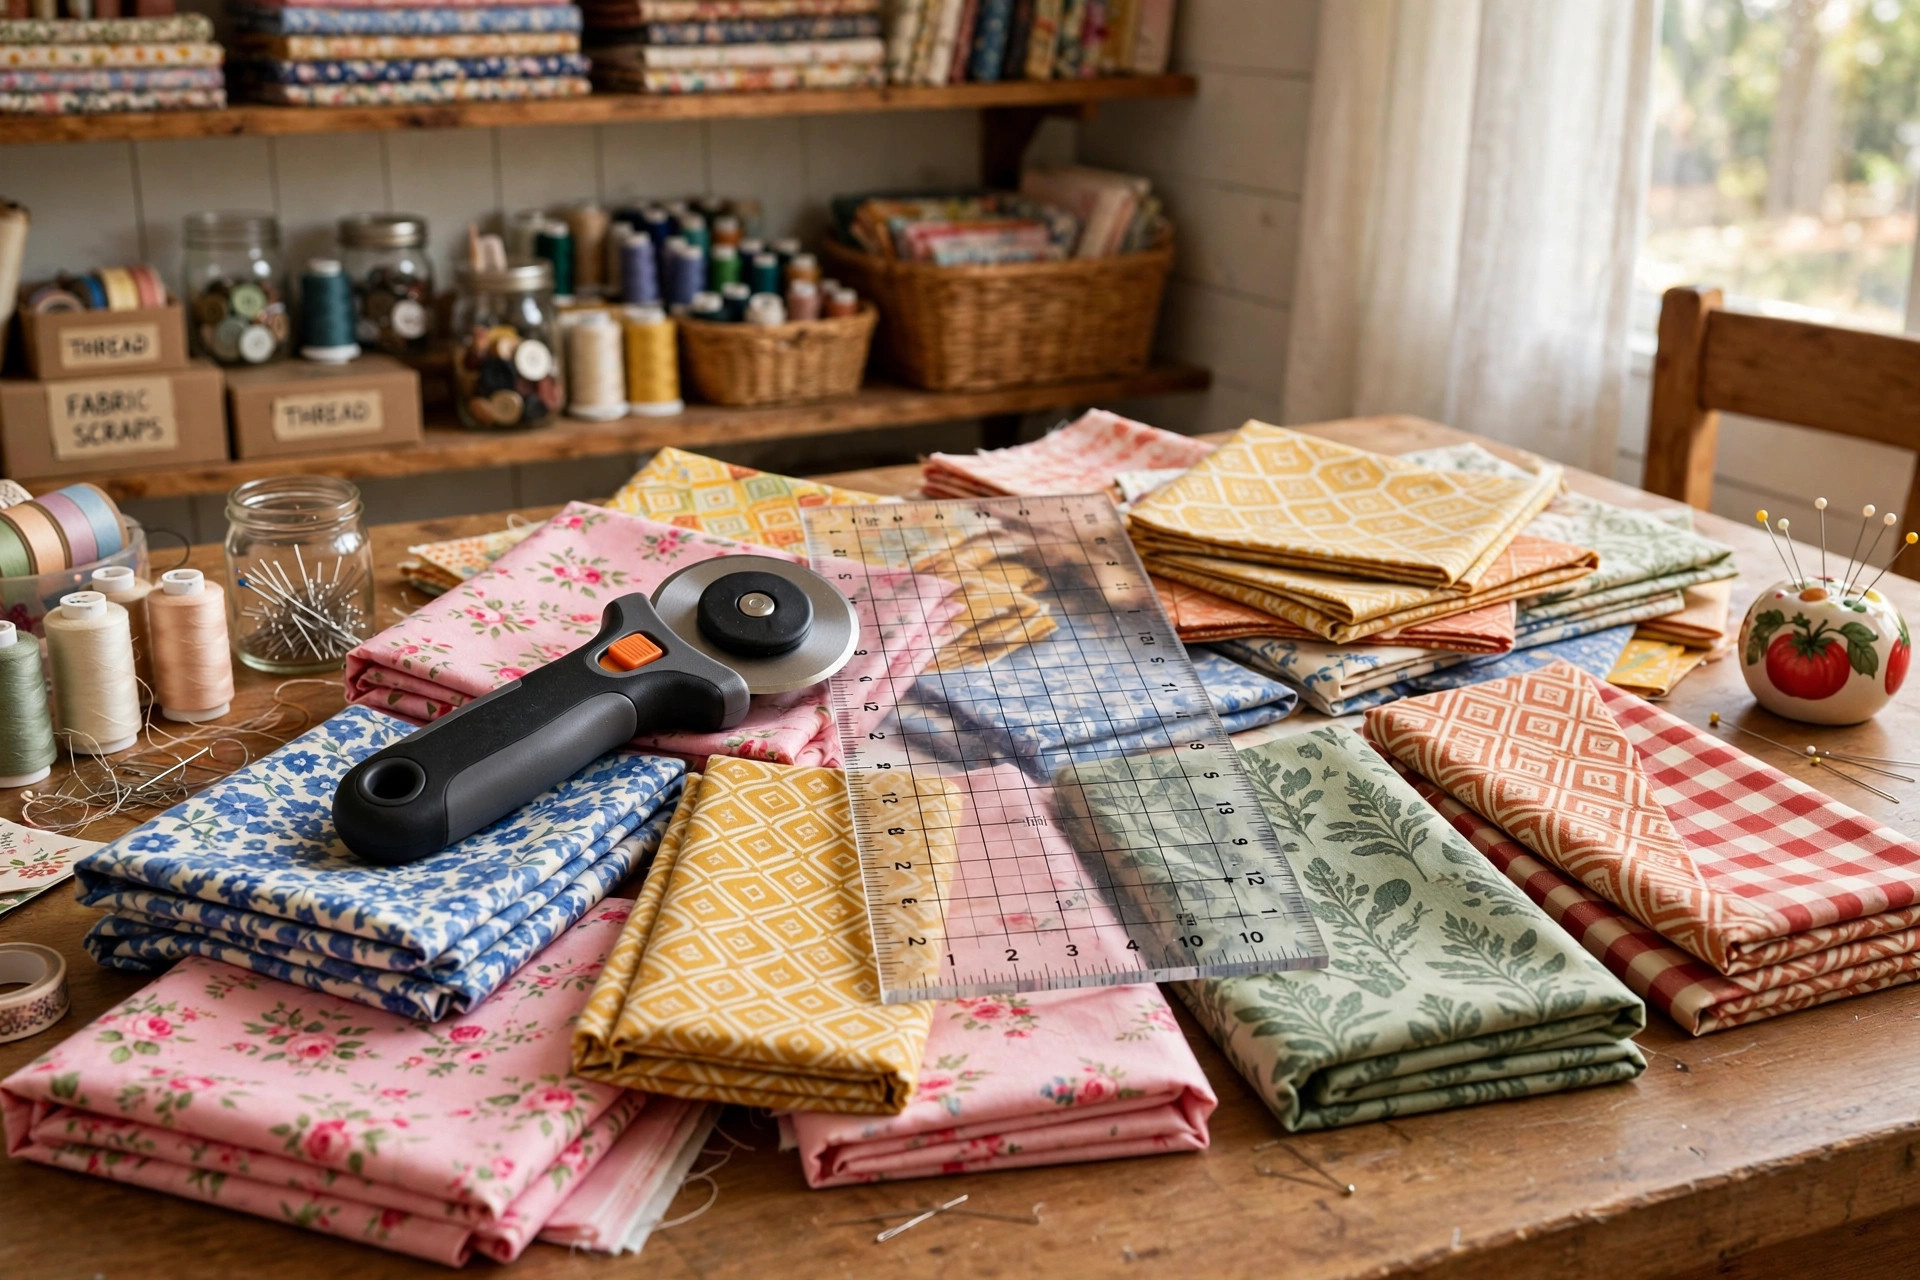

Any quilter will tell you the same thing. Clean cuts make clean quilts. When you search for the best rotary cutter for quilting fabric crafts, you are really looking for one tool that does three jobs well. It must cut straight lines. It must cut gentle curves. And it must keep you safe while you work.
The rotary cutter is a round blade mounted on a handle. You roll it across fabric. It cuts as it rolls. Quilters have used it for decades. It replaced scissors for most cutting tasks. Scissors still have a place in every sewing room. But for long, straight strips and for cutting many layers at once, the rotary cutter wins.
Why the Rotary Cutter Matters
Quilting is a game of small pieces. A quilt block may hold dozens of fabric pieces. Each piece must be the same size. A gap of one sixteenth of an inch adds up fast. Ten pieces in a row can grow by half an inch. The quilt will not lie flat.
The rotary cutter solves this problem. It works with a clear acrylic ruler. You press the ruler down on the fabric. You roll the cutter along the ruler edge. The cut comes out straight and true. You can cut four to eight layers of cotton at one time.
Speed matters too. A full quilt needs hundreds of pieces. Cutting them with shears takes hours. A rotary cutter cuts that time in half.
For those who sew with young helpers nearby, keep in mind that craft scissors for left handed kids are a safer choice than a rotary cutter for small hands. A rotary blade is far too sharp for a child.
How a Rotary Cutter Works: Best Rotary Cutter for Quilting Fabric Crafts
The tool looks simple. It is a handle with a round blade at one end. The blade turns on a center bolt. A guard may cover part of the blade. You hold the handle and push the tool away from your body. The blade rolls. The sharp edge slices the fabric.
Most cutters have a lock. You click the lock to open the blade. You click it again to close the blade. Some models have an automatic guard. The guard springs over the blade when you lift the tool. This style costs more. It gives real peace of mind.
Sizes of Rotary Cutters
Rotary cutters come in four main sizes. The size is the diameter of the blade. Each size has its place.
The 28 mm cutter is the small one. It fits tight curves and tiny applique shapes. It turns on a dime. Beginners often start here because it feels light and safe. It struggles with long straight cuts. It also struggles with thick stacks.
The 45 mm cutter is the standard. It is the size most quilters use most of the time. It cuts straight strips with ease. It handles curves well enough. It cuts through several layers of cotton. If you buy only one cutter, buy the 45 mm.
The 60 mm cutter is the large one. It powers through many layers at once. It cuts denim and canvas without complaint. It is harder to steer around curves.
The 18 mm cutter is the extra small one. It cuts paper patterns and tiny fabric details. It is a specialty tool.
When you shop, look at the handle shape too. Some handles are straight. Some have a pistol grip. The grip style suits hands that ache.
What to Look for When You Choose
Blade Quality
The blade does the work. Look for blades made of high carbon steel or stainless steel. A good blade holds its edge and resists rust. Cheap blades dull fast. They cost more in the long run because you replace them often.
Some blades have a titanium coating. The coating makes the blade last longer. Makers such as Fiskars have built a strong name on sharp, long lasting rotary blades.
Handle Comfort
You will push this tool for hours. A sore hand ruins a sewing day. Look for a soft grip that fits your hand size. Small hands do better with a slim handle. Large hands need a thicker one.
Check how the lock works. Can you open and close it with one hand. Can you do it without looking. A fiddly lock is a danger. You will skip it when you are tired.
Guard and Lock Design
The best guard is the one you will use. A sliding guard that you must push by hand works fine. You must remember to push it. An automatic guard does the work for you. Lift the tool and the blade hides. These models cost more. For a house with children or pets, the extra cost is cheap insurance.
Blade Change System
Blades must be changed. A tool that makes this hard will test your patience. Look for a cutter that needs only one screw turned. Avoid tools that need special tools for the change. Read the reviews on sites like The Spruce Crafts to learn how each model handles blade swaps in real life.
Ruler Compatibility
The cutter and the ruler are a team. Your cutter must ride smoothly along a standard ruler edge. Most cutters do. Some very wide handles bump the ruler. Check the fit before you buy a new cutter if you own a favorite thick ruler.
Types and Options
Beyond the basic models, a few special cutters serve special jobs.
The ergonomic or comfort-grip cutter has a shaped handle. It spreads pressure across the palm. Quilters with arthritis often choose this type. The blade and the cutting action are the same. Only the handle changes.
The electric or battery rotary cutter adds a small motor. The motor turns the blade for you. You guide the tool. It cuts through thick stacks and tough fabrics. It is loud and heavy. It costs much more than a manual cutter.
The decorative-edge cutter has a blade with a wavy or pinking edge. It cuts fabric with a shaped edge. This is for crafts, not for quilt piecing. Quilt seams need straight cut edges.
If you are building a full craft table, you may also want a heat press machine for home t shirts for finishing quilt labels. The two tools sit well side by side.
Cost and Price
A good 45 mm rotary cutter costs between fifteen and thirty dollars in most American craft stores. Basic models start near ten dollars. Premium models with auto guards run thirty to fifty dollars.
Replacement blades are the ongoing cost. A pack of five 45 mm blades runs about twelve to twenty dollars. Many quilters stock up during sales. Check the weekly ads at Michaels and JOANN for blade sales. Black Friday and holiday sales often cut blade prices in half.
Do not forget the mat. A rotary cutter needs a self-healing cutting mat. The mat protects your table. It also keeps the blade sharp longer. A large mat costs twenty to forty dollars. This is not optional.
Total start up cost for a cutter, blades, mat, and ruler runs about sixty to one hundred dollars. That sounds like a lot. It pays for itself in saved fabric and saved time.
Care and Upkeep
A rotary cutter asks for little care. Give it that care and it will last for years.
Keep the blade dry. Wipe it clean after use. Fabric leaves lint on the blade. Lint works under the blade and makes it wobble. A quick wipe with a soft cloth takes care of it. Never oil the blade. Oil makes the blade slip and attracts dirt.
Store the cutter locked and closed. Keep it in a drawer or a case. Do not toss it loose in a bag. The blade can nick. A nicked blade tears fabric instead of cutting it.
Change the blade before it gets too dull. A dull blade makes you push harder. Pushing harder leads to slips. Blades are cheaper than doctor visits.
Clean the cutting mat too. Wipe it with a damp cloth now and then. Keep it out of heat and sun. Store it flat, never rolled.
For general upkeep of your whole sewing space, the guides at Family Handyman and This Old House offer solid advice on tool storage.
Safety Rules You Must Follow
The rotary cutter is one of the sharpest tools in the craft room. Respect it.
Always close the blade when you set the tool down. Every time. No exceptions. Most accidents happen with an open blade left on the table.
Always cut away from your body. Never pull the cutter toward you. Keep your other hand on the ruler, well back from the edge. Some quilters wear a cut-proof glove on the ruler hand. This is wise if you cut a lot.
Never hold fabric up in the air and cut it. The fabric must lie flat on the mat. The ruler must sit flat on the fabric. The cutter must roll along the ruler.
Keep cutters away from children and pets. Store them high or locked. If grandchildren visit your sewing room, put the cutter out of reach before they arrive.
Dispose of old blades with care. Wrap them in tape or cardboard before they go in the trash.
Read the safety sheet that comes with your cutter. The maker knows the tool best. Their warnings are written from real accidents.
How to Cut Your First Strip
Start with a simple straight strip. Lay your fabric on the mat. Line up the fold with a grid line. Place your ruler over the fabric. Press down hard with your left hand. Keep your fingers behind the ruler edge. Open the cutter. Place the blade at the near end. Roll it away from you in one smooth push. Do not stop in the middle. Lift the cutter. Close the blade. Lift the ruler. Check the strip with a tape measure.
If the cut skips, your blade may be dull. Or you may be pushing too light. Stop and check before you cut more. Video lessons on sites like Craftsy show this motion in slow detail.
Common Mistakes
New quilters make the same few mistakes. You can avoid them.
Cutting without a ruler is the first. Freehand cuts wander. Use the ruler every time for straight cuts.
Pressing too hard is the second. The blade needs only firm pressure. Pushing hard gouges the mat and tires your hand.
Cutting too many layers is the third. Six layers of cotton is plenty for a 45 mm blade. Cut fewer layers and cut twice.
Skipping the lock is the fourth. It takes one second to close the blade. Do it. Every time.
Buying the cheapest cutter is the fifth. A wobbly handle ruins accuracy. Spend a little more on a solid tool.
Where to Buy
Most quilters buy at a local craft store. Michaels and JOANN carry a full range. You can hold each cutter. The staff can answer questions. Sales are frequent.
Art supply stores like Blick also stock rotary cutters. Their buyers pick quality tools. The prices run a bit higher.
Home stores like The Home Depot carry basic cutters in the tool aisle. The choice is small. The price is fair. This is a fine place for a spare cutter or for blades in a pinch.
Online reviews help you compare models. Sites like Bob Vila publish tool roundups. Read several reviews before you decide. Look for reviews from real quilters, not just general shoppers.
While you shop, remember the rest of the craft table. Knitters in the family may want a knitting needles set for beginners bamboo usa to go with your quilting setup.
Frequently Asked Questions
How often should I change the blade?
Change it when cuts stop feeling smooth. For a quilter who sews weekly, a blade lasts two to three months. If you see skipped spots or fuzzy edges, the blade is done.
Can I sharpen a rotary blade?
You can buy blade sharpeners. They never bring a blade back to new. Most quilters find fresh blades cheaper than the time spent sharpening.
What size cutter is best for a beginner?
The 45 mm cutter is the best first choice. It handles almost every quilting task. It is easy to control. It pairs with standard rulers and mats. Add a 28 mm later for curves and applique.
Is a rotary cutter safe to use standing up?
Yes, if your mat is on a table at the right height. Your wrist should stay straight as you push. Many quilters cut on a kitchen counter. A cutting table at waist height works best. Never cut on the floor. Your back will ache and your cuts will suffer.
Can I cut paper with my rotary cutter?
You can, but you should not. Paper dulls fabric blades fast. The fibers in paper are hard on a fine edge. Keep a cheap separate cutter for paper patterns. Your good blades will thank you.
Do I need a special mat?
Yes. You need a self-healing cutting mat. The mat lets the blade sink in just enough. It then closes back up. A wood board or glass sheet will dull the blade in a few cuts. Buy the largest mat your table and budget allow.
A Final Word
The best rotary cutter for quilting fabric crafts is the one that fits your hand, holds a sharp blade, and closes safely every time. You do not need the most costly model. Start with a solid 45 mm cutter, a true ruler, and a good mat. Learn the safety rules by heart. Change your blades on time.
Quilting is slow work by nature. The right cutter makes the work smooth. Your seams will match. Your blocks will square up. And every clean cut will remind you why you chose this craft.
References
Blick Art Materials. (n.d.). Art and craft supplies. https://www.dickblick.com Bob Vila. (n.d.). Home improvement advice. https://www.bobvila.com Craftsy. (n.d.). Craft classes and supplies. https://www.craftsy.com Family Handyman. (n.d.). DIY home repair and maintenance. https://www.familyhandyman.com Fiskars. (n.d.). Garden and cutting tools. https://www.fiskars.com JOANN. (n.d.). Fabric and craft supplies. https://www.joann.com Michaels. (n.d.). Arts and crafts supplies. https://www.michaels.com The Home Depot. (n.d.). Home improvement products. https://www.homedepot.com The Spruce Crafts. (n.d.). Craft projects and tutorials. https://www.thesprucecrafts.com This Old House. (n.d.). Home renovation guidance. https://www.thisoldhouse.com
Was this guide helpful?

About David Wilson
The My Garden US editorial team writes practical, in-depth home and garden guides for American homeowners — tested advice, no fluff.
You May Also Like
Best Yarn Winder for Crochet and Knitting
July 17, 2026 0 views
Best Yarn for Knitting Sweaters Warm: A Practical Guide
April 20, 2026 0 views
Wood Craft Sticks for Popsicle Art Projects: A Complete Guide
June 22, 2026 0 views