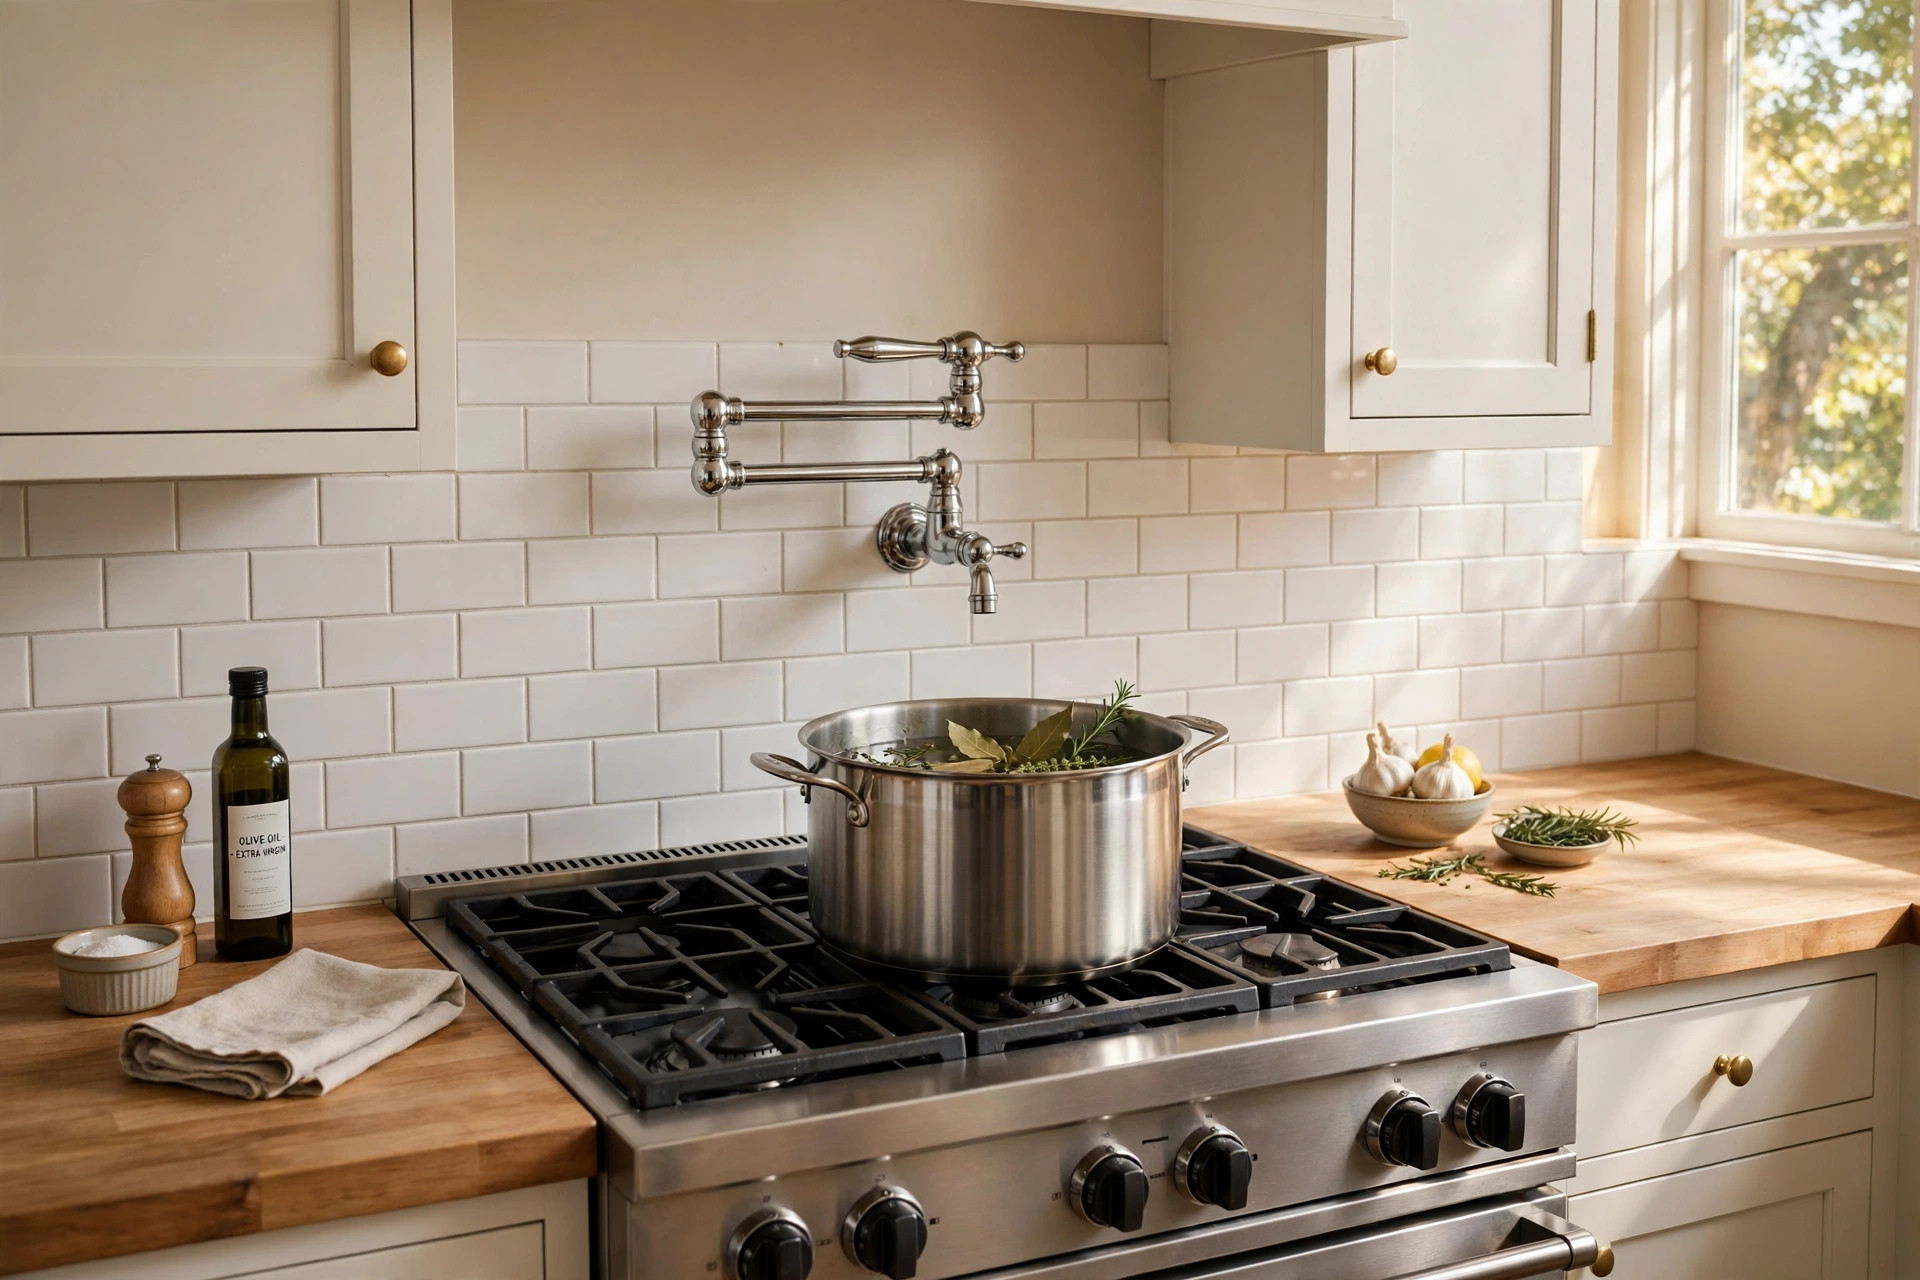
A pot filler is a cold-water faucet that mounts on the wall above a stove. It swings out to fill pots right where they stand. Cooks who boil water often ask about the best pot filler placement over range usa homes should use. The answer rests on three facts: the height above the burners, the reach of the arm, and the spot on the wall. This guide covers all three in plain terms. It also gives cost ranges, upkeep advice, and safety rules. With the right placement, a pot filler saves steps and spares your back.
Why the Right Placement Matters
A pot filler that sits too high is hard to reach. One that sits too low may hit tall pots. One that swings too short will not reach the back burners. Poor placement turns a useful tool into a decoration. Good placement makes daily cooking easier.
Many American kitchens place the range against an outside or inside wall. That wall must hold the faucet and the water line. The best pot filler placement over range usa plumbers suggest keeps the spout clear of the tallest stockpot. It also keeps the arm long enough to reach each burner. Plan the spot before the tile goes up. Once tile and pipe are set, moving the faucet costs real money.
Placement also affects looks. A faucet centered over the range looks balanced. A faucet off to one side can serve two burners at once. Both styles are common in the United States. Read about pot filler faucet pros and cons before you commit.
How to Choose the Right Height: Best Pot Filler Placement Over Range Usa
Height is the first choice. It sets how the faucet clears pots and lids. Measure from the top of the cooktop, not from the floor. Cooktops vary in depth, so this method stays true.
Standard Height Above the Cooktop
Most plumbers set the faucet outlet 12 to 18 inches above the cooktop. Twelve inches is a low, tidy look. Eighteen inches clears tall canning pots. Sixteen inches is a common middle choice in American homes.
Check the tallest pot you own. Add two inches for steam and splashing. That total is your minimum clear height. A 12-inch stockpot needs at least 14 inches of clear space. Do not guess. Hold a tape at the wall and test it.
Manufacturers publish rough-in sheets for each model. Brands such as Moen and Delta Faucet show the outlet height on those sheets. Read the sheet before the plumber cuts the wall. The rough-in sets the pipe stub. The finished faucet then bolts to it.
Matching Reach to Burner Layout
Reach is the second choice. The arm must swing over every burner you use. Single-joint arms fold flat to the wall. Double-joint arms reach farther and fold in two places.
Measure from the wall to the center of the farthest burner. Add one inch. That is the reach you need. Most ranges need a reach of 20 to 24 inches. Wide pro-style ranges may need more. The best pot filler placement over range usa experts describe keeps the spout over the largest burner, not the smallest.
The side position is the third choice. Center is the classic spot. It looks even and serves all burners. Some cooks place it to the right or left of center. That suits a cook who always fills on one side. It also helps when a large hood or shelf sits dead center. Either way, keep the faucet clear of the vent hood. Heat and grease rise straight up.
Plan the Rough-In Before the Tile Goes Up
The best pot filler placement over range usa builders agree on starts with the rough-in. The rough-in is the pipe stub set inside the wall. Its height must match the finished faucet. Decide on the faucet model first. Then give the rough-in sheet to the plumber.
Set the stub at the height you chose, usually 12 to 18 inches above the cooktop. Add the tile thickness to the math. Tile and backer board can add half an inch or more. The wall plate must sit flat on the finished tile. If the stub is too short, the faucet will not seat. If it is too long, the plate stands off the wall.
Include a shutoff valve in the wall line. Place it where hands can reach it, often in the cabinet below the range or in the basement. Mark its spot. In a leak, fast shutoff saves the wall. Many plumbers add an access panel for this valve. It looks plain but it is good practice.
Test the line before the tile goes on. Cap the stub and turn the water on. Check for drips at every joint. Fix them while the wall is open. This test takes ten minutes and can save thousands of dollars.
Types of Pot Fillers and Arm Styles
Pot fillers come in a few main styles. Each style suits a different kitchen.
Single-joint models have one folding arm. They are compact and cost less. They suit smaller ranges with four burners. The spout swings out in an arc.
Double-joint models have two folding arms. They reach farther and fold back flat. They suit wide ranges and large pots. Most American buyers choose this style.
Finish choices include chrome, brushed nickel, oil-rubbed bronze, and matte black. Pick a finish that matches the main faucet. A mixed kitchen can still look fine if tones agree. For ideas on the main faucet, see best pull down kitchen faucet 2026 usa and best touchless kitchen faucet reviews usa.
Valve style matters too. Most pot fillers use a quarter-turn lever. A small turn gives full flow. Some use a cross handle. Both work well. The key part is a good shutoff. A pot filler has no drain below it. If it drips, water falls on the stove. Choose a model with a solid ceramic disc valve.
Cold water only is the rule. Pot fillers carry cold water to the pot. Hot water is not needed. The pot heats on the burner. This keeps the valve simple and the install cheaper.
Cost and Price in the USA
A pot filler faucet costs between 100 and 600 dollars in the United States. Basic chrome models sit near 100 dollars. Designer finishes and brands sit near 400 to 600 dollars. Prices move with finish and arm length.
Installation costs add more. A plumber charges 150 to 400 dollars to set the rough-in and the trim. The price rises if the wall is tile or stone. It also rises if the water line must run far. During a full kitchen remodel, the cost is lowest. The walls are open and the plumber is already on site.
Total project cost often lands between 300 and 900 dollars. That covers the faucet, the rough-in, and labor. Check The Home Depot and Lowe’s for current prices. Local supply houses may beat big-box prices on name brands.
A pot filler does not add much to water use. It replaces trips to the sink. You fill the same pot with the same gallons. The saving is in time and effort, not in water.
Care and Upkeep
A pot filler needs little care. Wipe it with a soft cloth after heavy cooking. Grease floats up and settles on the arm. A damp cloth with mild soap clears it. Do not use steel wool. It scratches the finish.
Open and close the valve now and then. Valves that sit unused can stick. A monthly turn keeps the seal fresh. Watch for drips at the spout. A drip means the valve washer or cartridge is worn. Most brands sell repair kits. Sites like This Old House and Family Handyman show basic faucet repair steps.
Hard water leaves spots on the spout. A mix of white vinegar and water cuts the scale. Soak a cloth and wrap the spout for ten minutes. Then wipe clean. Homes with very hard water may want a softener. Aquasana and the EPA offer plain facts on home water treatment.
Check the wall plate once a year. Steam can loosen the seal. A bead of kitchen-grade caulk keeps moisture out of the wall. This small step stops mold behind the tile.
In homes that sit empty in winter, drain the line. Shut the valve and open the faucet. Let the water run out. This keeps the pipe from freezing and splitting. Unheated cabins and lake houses need this step. Year-round heated homes do not.
Watch the swing joints too. Double-joint arms have small O-rings at each pivot. After years of use, they can wear. A slow weep at the joint means the O-ring is done. Most brands sell the part for a few dollars. Swap it and the arm moves like new.
Safety Rules
A pot filler holds water over a hot stove. Respect that fact. Keep children away from the lever. A child can flood the stove with one turn. Some parents choose a model with a stiff handle for this reason.
Shut the valve fully after each use. The faucet has no sink below it. A slow drip pools on the burners. On a gas range, pooled water can snuff a pilot or foul an igniter. Make the shutoff a habit.
Let the water run for a few seconds first. Water sitting in the arm can taste stale. A short flush brings fresh water from the line. This is a small habit with a real payoff.
Follow local plumbing code. Most American cities require a shutoff valve in the line. Some require access to the pipe. A licensed plumber knows the local rules. Do not hide the pipe where no one can reach it. A leak behind tile is costly.
Keep the arm folded when not in use. A swung-out arm catches sleeves and pot handles. Fold it flat to the wall after each fill. This keeps the walkway clear.
Frequently Asked Questions
What is the best height for a pot filler above a gas range? Set the spout 12 to 18 inches above the cooktop. Measure from the burner grates. Sixteen inches suits most American kitchens. Taller pots need more room. Check your tallest stockpot first.
Should the pot filler go on the left, right, or center of the range? Center is the standard choice. It reaches all burners and looks balanced. A side spot works if you always fill on one side. Avoid placing it where the vent hood blocks the swing.
Can a pot filler replace the kitchen sink faucet? No. A pot filler fills pots at the stove. It cannot wash dishes or fill a glass at the counter. Keep your main sink faucet. The pot filler is a helper, not a replacement.
Do pot fillers need hot and cold water lines? No. Pot fillers carry cold water only. The burner heats the pot. One cold line is enough. This keeps the install simple.
Are pot fillers hard to install in an old kitchen? They are harder than in a new build. The wall must open to run the water line. Tile or plaster walls add labor cost. Many owners add a pot filler during a remodel for this reason.
Does a pot filler raise home value? It can help in a high-end kitchen. Buyers see it as a luxury touch. In a modest kitchen, the return is smaller. Treat it as a comfort upgrade first and an investment second.
A Final Word
The best pot filler placement over range usa kitchens follow is simple. Set the spout 12 to 18 inches above the cooktop. Pick an arm that reaches the farthest burner. Center it on the wall, or set it to your working side. Fold it flat when done. Keep the valve shut. Done right, this small faucet changes how you cook. The heavy pot stays on the burner. The water comes to the pot. Your back will thank you.
References
Aquasana. (n.d.). Water filtration systems. https://www.aquasana.com Delta Faucet. (n.d.). Kitchen and bathroom faucets. https://www.deltafaucet.com Family Handyman. (n.d.). DIY home repair and maintenance. https://www.familyhandyman.com Lowe’s. (n.d.). Home improvement products. https://www.lowes.com Moen. (n.d.). Faucets and plumbing fixtures. https://www.moen.com The Home Depot. (n.d.). Home improvement products. https://www.homedepot.com This Old House. (n.d.). Home renovation guidance. https://www.thisoldhouse.com U.S. Environmental Protection Agency. (n.d.). Protecting human health and the environment. https://www.epa.gov
Was this guide helpful?

About Lisa Anderson
The My Garden US editorial team writes practical, in-depth home and garden guides for American homeowners — tested advice, no fluff.