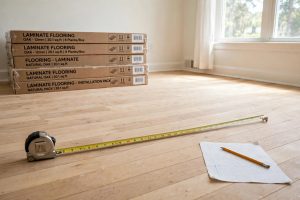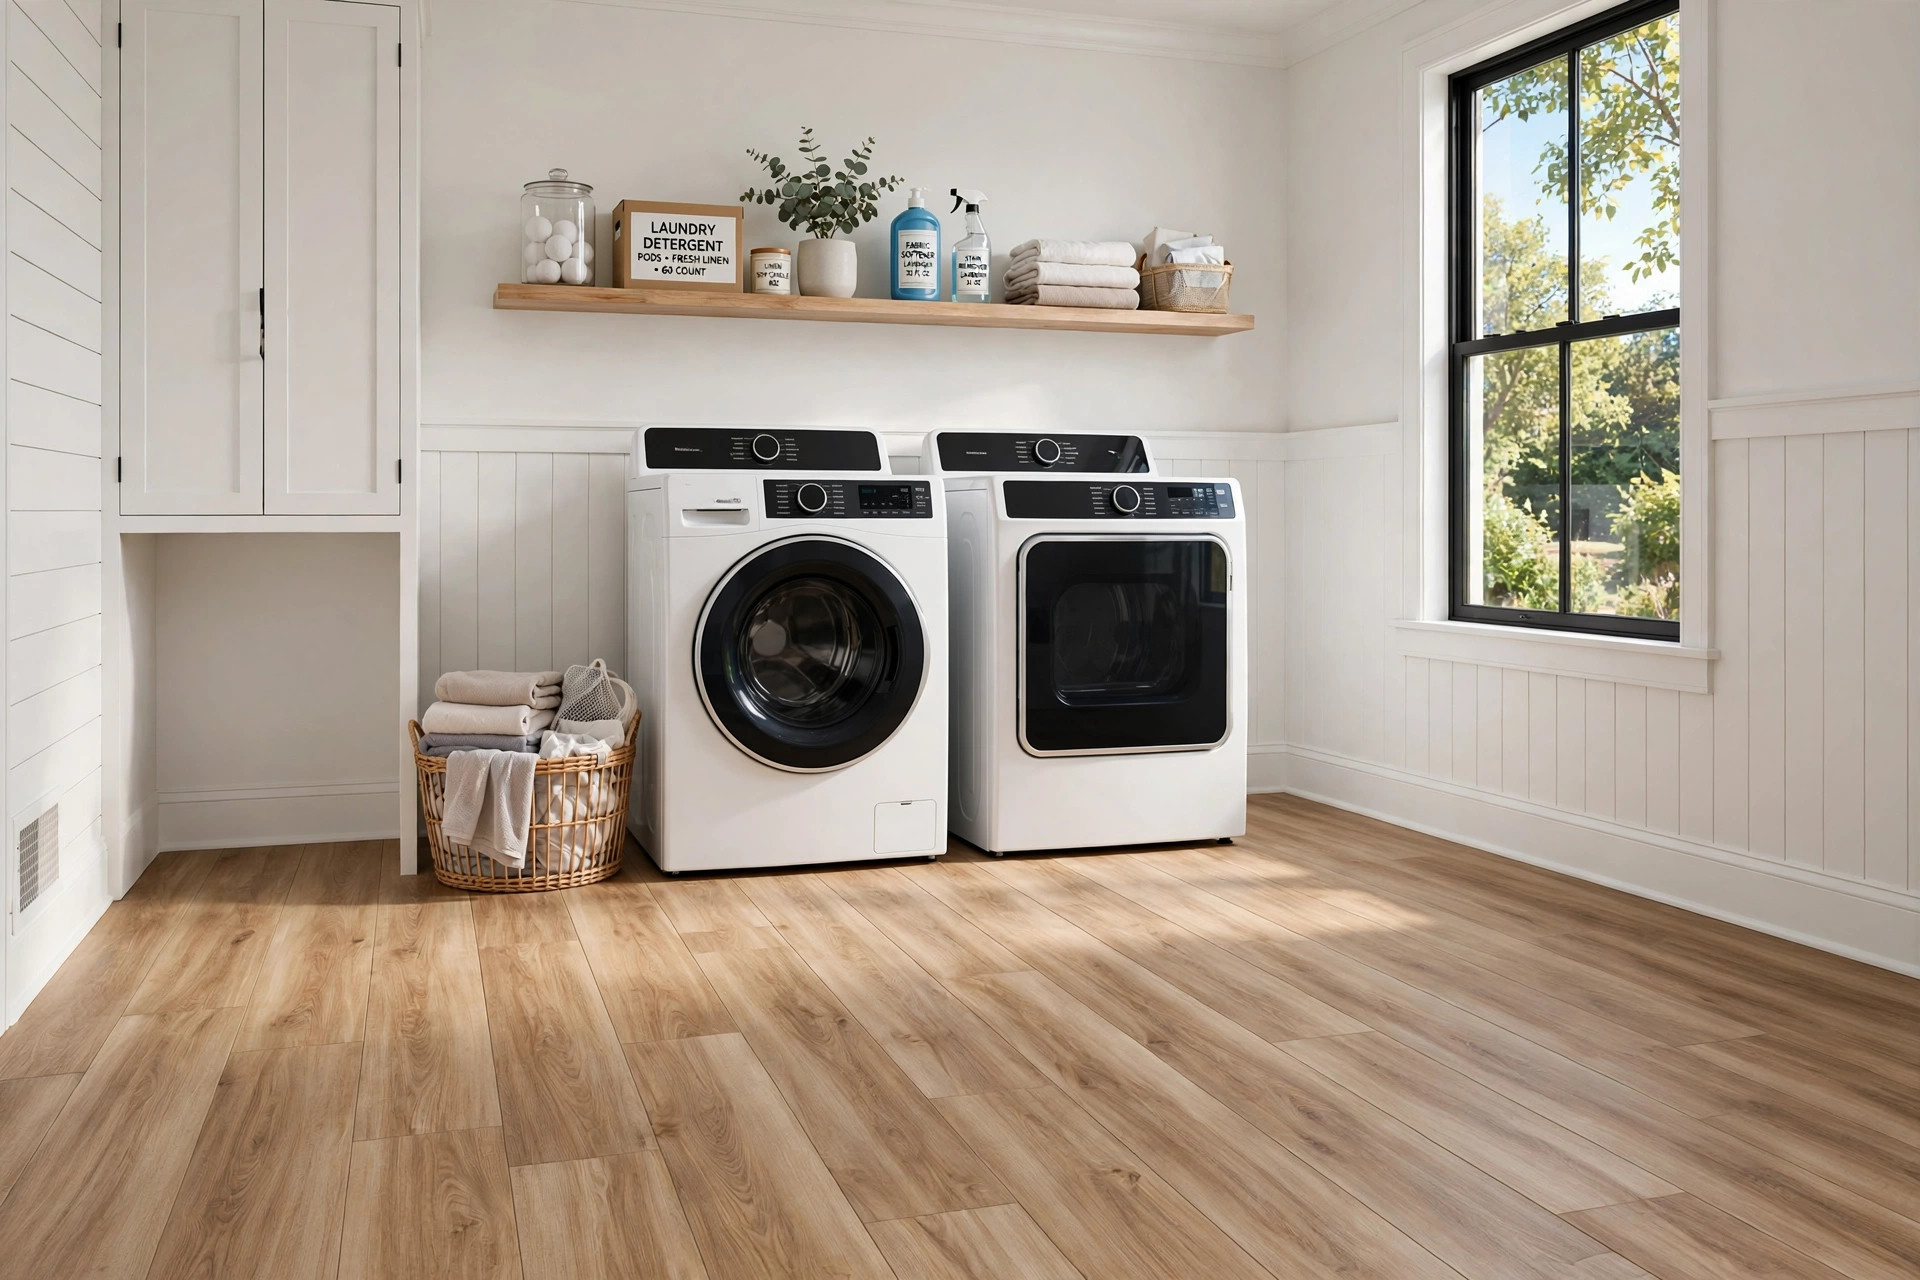

Old concrete floors are common in American homes. Many houses built in the last seventy years sit on concrete slabs. Basements, garages, laundry rooms, and sunrooms often have bare concrete. It is hard, cold, and plain to look at. Ripping it out is not an option. So many homeowners look for a cheap way to cover it. Peel and stick floor tile over concrete is one of the simplest answers. It needs no mortar. It needs no grout. It needs no special tools. You peel the paper backing, set the tile in place, and press it down. The job can be done in a single weekend.
This guide explains how peel and stick floor tile works on concrete. It covers why the floor matters, how to pick the right tile, how to prep the concrete, what the project costs, and how to keep the floor looking good for years.
Why a Good Floor Over Concrete Matters
Concrete slabs last a long time. They also bring problems. Bare concrete feels cold underfoot in winter. It can dust up. It can stain. Moisture can move up through it in wet climates. A plain gray floor makes a room feel unfinished. Buyers notice this too. A neat floor lifts the whole room. It makes a basement feel like living space. It makes a laundry room feel clean.
Peel and stick floor tile is a strong choice for concrete for a few reasons. First, it is cheap. Second, it is easy for one person to install. Third, it is forgiving. If one tile gets damaged, you can heat it, pull it up, and set a new one.
One warning matters from the start. Peel and stick tile needs a flat, dry, clean surface. Concrete that is cracked, rough, or damp will fight the adhesive. Most failures come from skipping the prep work.
What to Look for When Choosing Tile: Peel and Stick Floor Tile Over Concrete Usa
Not all peel and stick tiles are equal. The market has changed a lot since the 1990s. Early peel and stick tiles were thin and plain. New ones can be thick, textured, and quite handsome. Here is what to weigh when you shop.
Thickness and Wear Layer
Cheap tiles are about two millimeters thick. Better ones run four millimeters or more. Thicker tile hides small bumps in the concrete. It also feels better underfoot. The wear layer is the clear top coat that fights scratches. A thicker wear layer means a longer life. For a busy hall or kitchen, pick the thickest tile you can afford. For a spare closet, a thin budget tile is fine.
Realistic Looks
Modern printing makes vinyl tile look close to real wood and stone. Wood-look planks have grain lines and color shifts. Stone-look tiles have mineral flecks. If you want a natural look, buy from a brand that prints in high resolution. Bring samples home. Look at them in your room light before you buy the full case.
Adhesive Quality
The glue on the back is what holds the job together. Some brands use stronger adhesive than others. Read the label. Tiles made for concrete or high-moisture rooms are worth the extra cost. A weak bond will lift at the edges. That is the most common complaint with this product.
Size and Pattern
Tiles come in twelve-inch squares and in plank shapes. Squares suit kitchens and baths. Planks suit living rooms and halls. Think about grout lines too. Some tiles have grout-look edges printed on them. Others butt tight together. A printed grout line can look sharp if it is done well.
Moisture Rating
Concrete sits on the ground. It can wick moisture up. Pick tile rated for basements or slab floors. Many vinyl tiles are water resistant. That is a big plus for rooms where water lands on the floor. Do not use peel and stick tile in a shower or under a leaking pipe. Fix the water problem first.
If you want more ideas on floor looks before you buy, a guide on matte vs satin hardwood finishes can help you pick a sheen style that fits your home.
Types of Peel and Stick Tile for Concrete
Several kinds of self-stick tile work over concrete. Each has its own strengths.
Vinyl composition tile (VCT). This is the old-school tile found in schools and stores. It is tough and cheap. It needs a sealer and regular care. It works on concrete but shows every bump. It is best for utility rooms.
Luxury vinyl tile (LVT) with self adhesive. This is the most popular type now. It is thick. It looks like wood or stone. The adhesive backing is strong. It handles concrete well once the slab is prepped.
Peel and stick stone look. Some tiles are made to mimic slate or travertine. They add a rich look to entryways. They tend to cost more than basic vinyl.
Peel and stick wood plank. Long planks with wood grain. They suit basements and family rooms. Stagger the joints like real wood for the best look.
Cork-backed or padded tiles. Some products add a soft layer. They are warmer underfoot. They cost more. They can help in rooms where you stand a lot.
No matter which type you pick, buy ten to fifteen percent extra. You will cut tiles at walls and doorways. Mistakes happen. Extra tiles from the same batch keep colors matched.
Preparing Concrete for Peel and Stick Tile
This is the most important part of the job. Good prep decides whether the floor lasts five years or five months. Take a full day for it if you must.
Step 1: Clean the floor. Sweep it well. Then mop it with a degreaser. Old oil, paint drips, and wax will block the adhesive. A shop vacuum helps in corners. Let the floor dry fully.
Step 2: Check for moisture. Tape a two-foot square of plastic sheeting to the concrete. Seal all four edges with tape. Wait two or three days. If water beads under the plastic, the slab is damp. You must fix the moisture before you lay tile. Sealers made for concrete can help. In bad cases, call a pro to look at drainage.
Step 3: Fix cracks and holes. Fill cracks with concrete patch. Scrape off high spots. Sand down rough patches. The flatter the floor, the better the bond.
Step 4: Remove loose material. Scrape off paint flakes and old glue. A floor scraper from the tool aisle makes this fast.
Step 5: Prime if needed. Some tiles ask for a primer or a thin skim coat on concrete. Read the tile instructions. A primer seals dust and boosts the bond. It adds a day to the job, but it pays off.
Step 6: Let it dry. Do the work in dry weather if you can. Concrete should be fully dry before tile goes down. A fan helps.
Many homeowners find a flooring store near them with installation deals when the prep looks like too much. There is no shame in that. A store crew can level and seal a slab fast.
How to Install the Tile
Once the concrete is clean, dry, and smooth, the install itself is simple. Work in mild weather. Warm rooms help the adhesive grip. Sixty-five to eighty-five degrees is the sweet spot.
1. Find the center. Snap chalk lines across the room to mark the center. Start there and work outward. This keeps the border tiles even on all walls. 2. Lay a dry row. Set tiles without peeling the backs. Check how they fall at the walls. Shift the start line if a sliver cut would result. 3. Peel and press. Peel the paper from the back of one tile. Set it in place. Press from the center out to the edges. Some pros use a small roller or a clean rolling pin to press each tile hard. 4. Cut at walls. Mark tiles with a pencil and cut with a sharp utility knife and a straightedge. Score the face and snap the tile. Keep fingers clear of the blade. 5. Work in sections. Finish one area before you move on. Do not walk on fresh tiles more than you must. 6. Roll the whole floor. When all tiles are down, roll the full floor with a heavy floor roller if you can rent one. This seats the adhesive for good.
Give the floor a day before you move heavy furniture back. The bond keeps strengthening in the first forty-eight hours.
If you are stocking up on tools, a DIY hardwood floor installation tools list covers many of the same tools you will use here: utility knife, straightedge, tape measure, chalk line, and roller.
Cost and Price in the USA
Peel and stick tile is one of the cheapest floor upgrades you can buy. Prices vary by store and brand.
– Budget vinyl tile: often fifty cents to one dollar fifty per square foot. – Mid-range luxury vinyl: often two to four dollars per square foot. – Premium thick tile: four to six dollars per square foot.
A twelve-by-twelve-foot laundry room is one hundred forty-four square feet. With mid-range tile at three dollars a square foot, materials run about four hundred thirty dollars. Add fifty to one hundred dollars for cleaner, patch, and primer. So a room this size often lands under six hundred dollars in materials.
Compare that to professionally installed floors. Hired work often adds three to eight dollars per square foot in labor. That is why so many homeowners do this job themselves. The savings are real.
Watch for sales at the big national chains and local dealers. Flooring lines go on sale often. Buying the whole job in one lot keeps dye lots matched. Mixed lots can show slight color shifts.
Care and Upkeep
A peel and stick floor over concrete needs light, steady care. It does not need much else.
Daily and weekly. Sweep or dry mop often. Grit is the enemy. It scratches the wear layer. Damp mop with a mild floor cleaner made for vinyl. Do not flood the floor. Water in the seams can reach the adhesive.
Furniture. Put felt pads under chair and table legs. Lift furniture when you move it. Dragging tears the surface.
Spills. Wipe up spills fast. Most vinyl handles water well, but long soaks can seep under edges.
Heat. Keep hot items off the floor. A dropped curling iron or a space heater can melt vinyl. Leave space heaters on a stand, not the tile.
Recoat if needed. Some tiles accept a floor polish made for vinyl. It adds shine and scratch cover. Check the tile label first. Not all products want polish.
Replacing a tile. Set a hair dryer or heat gun on low over the bad tile. Warm it for a minute. Slide a putty knife under an edge and lift it. Clean the old adhesive off the concrete. Set a new tile in place and press it hard.
Safety Notes
Flooring work is low risk, but a few points matter.
– Dust. Grinding or sanding old concrete makes dust. Wear a dust mask. Open windows. – Old floors. If the room has very old tile or mastic under your new tile, do not grind or scrape it blindly. Some old materials contain asbestos. Get it tested first. This matters most in homes built before 1980. – Knives. Utility knives are sharp. Cut away from your body. Change blades often. A dull blade is more dangerous than a sharp one. – Knees. You will spend hours on your knees. Wear knee pads. Take breaks. – Ventilation. Cleaners, primers, and sealers give off fumes. Open doors and windows. Keep pets and kids out until fumes clear. – Electrical. Unplug floor outlets in the work zone. Keep cords off the wet floor.
FAQ
Will peel and stick tile stick to bare concrete? Yes, if the concrete is clean, dry, flat, and free of dust and grease. Most failures trace back to skipped prep. Clean it, test it for moisture, patch it, and prime if the label asks.
How long does it last on a concrete slab? With good prep and mid-range tile, five to ten years is common. High-traffic rooms wear faster. Budget tile in a busy entry may look tired in three years.
Can I put it in a basement? Yes. Basements are one of the best uses. Do the plastic-sheet moisture test first. If the slab is damp, fix the moisture before you lay tile. Pick tile rated for below-grade use.
Do I need underlayment? Most peel and stick tiles go straight on the concrete. Do not put them over carpet pad or foam. Some makers allow a thin primer or skim coat. Follow the label.
Can it go over painted concrete? It can, if the paint is sound and stuck tight. Scrape off loose paint. Clean well. If paint is peeling everywhere, strip it first. Tile will not bond to flaking paint.
A Final Word
Peel and stick floor tile over concrete is a true do-it-yourself upgrade. The tile itself is easy. The prep is where the job is won or lost. Clean the slab. Test for moisture. Patch the rough spots. Prime if asked. Then lay your tiles with care, and roll them down hard. For a few hundred dollars and a weekend of work, a cold gray slab can turn into a warm, finished floor.
For more background, see Daltile, This Old House, and The Spruce. For more background, see The Home Depot, Lowe’s, and LL Flooring. Buying guides are also published by Shaw Floors and Mohawk Flooring.
References
Daltile. (n.d.). Ceramic and porcelain tile. https://www.daltile.com LL Flooring. (n.d.). Hardwood, vinyl, and tile flooring. https://www.llflooring.com Lowe’s. (n.d.). Home improvement products. https://www.lowes.com Mohawk Flooring. (n.d.). Flooring products. https://www.mohawkflooring.com Shaw Floors. (n.d.). Flooring products. https://www.shawfloors.com The Home Depot. (n.d.). Home improvement products. https://www.homedepot.com The Spruce. (n.d.). Home and garden advice. https://www.thespruce.com This Old House. (n.d.). Home renovation guidance. https://www.thisoldhouse.com
Was this guide helpful?

About Lisa Anderson
The My Garden US editorial team writes practical, in-depth home and garden guides for American homeowners — tested advice, no fluff.
You May Also Like
Fish Scale Tile Backsplash Cost in the USA: A Complete Guide to Prices, Options, and Installation
May 6, 2026 0 views
Wood Look Tile Pros and Cons Reviews: A Full Guide
April 26, 2026 0 views
Moroccan Tile for Laundry Room Floor USA: A Complete Guide
February 1, 2026 0 views