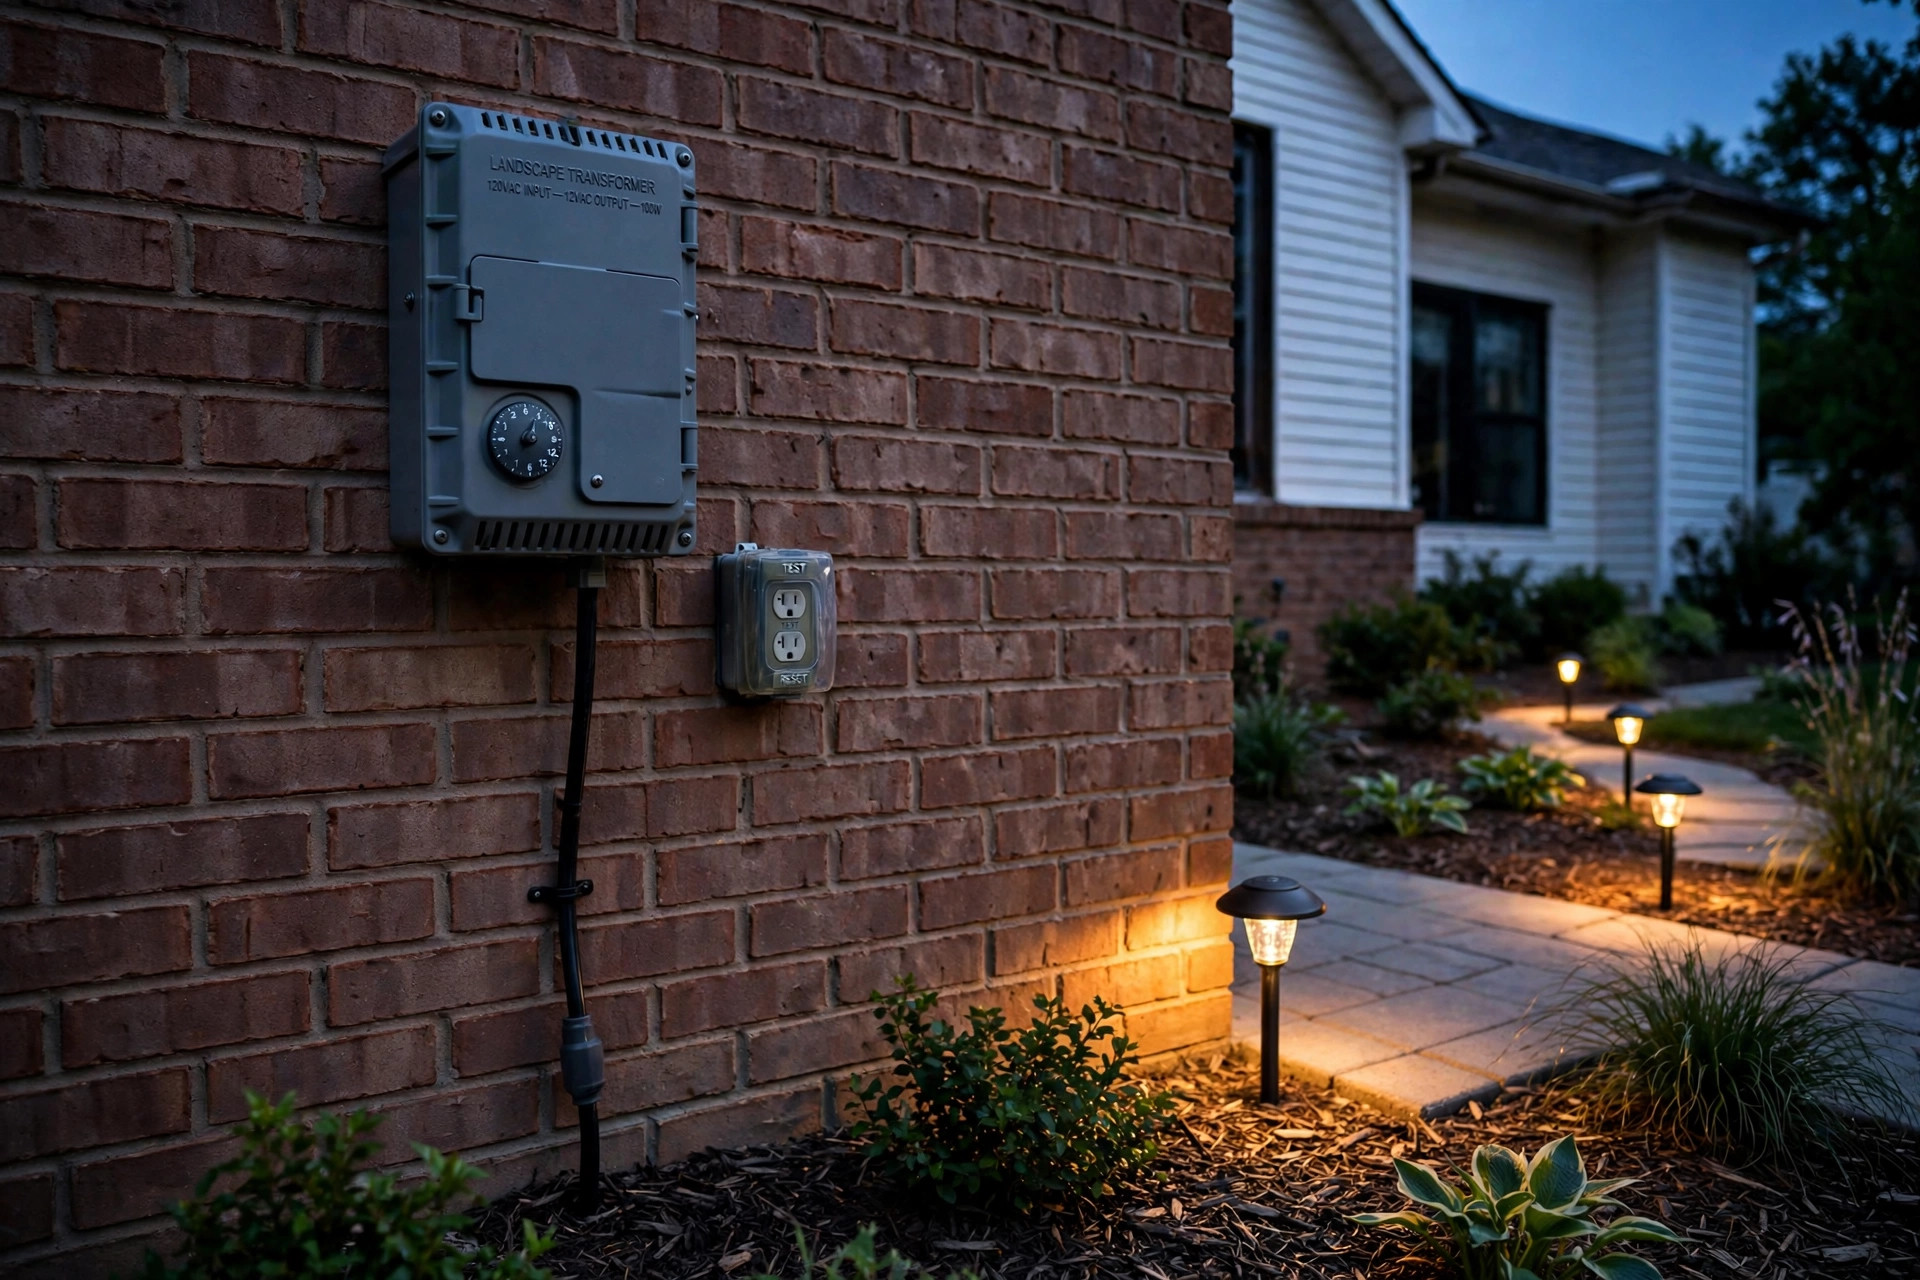

A well-lit yard looks fine in the day and fine at night. Path lights along a walk, uplights on a tree, and a few well lights in a flower bed can change the feel of a whole property. But those lights cannot run on raw house current. They need a transformer. This guide explains how to install a landscape lighting transformer in plain steps. The work is not hard. It calls for care, a plan, and a little patience.
Why the Transformer Matters
Every landscape light in a normal home system runs on low voltage. House outlets in the United States carry 120 volts. That is too much for a garden light. A landscape lighting transformer steps that 120 volts down to 12 volts, which is safe for small outdoor fixtures.
This step-down does two things. First, it makes the system safe. Twelve volts will not give a person a dangerous shock the way full house current can. Second, it lets the lights use thin, easy-to-bury cable. You do not need deep trenches or thick wire. A shallow channel a few inches under the mulch is enough.
The transformer also controls the system. It holds the timer or the dusk-to-dawn sensor. It gives you a switch to turn the whole yard on and off. Some models even split the yard into zones, so the front path and the back patio can run on different schedules.
Size the box right and wire it with care, and the whole system can run for years with little attention. Size it wrong, and the lights at the far end will look dim and yellow.
What to Look For When You Choose One: How to Install Landscape Lighting Transformer
You do not buy the cheapest box on the shelf and hope for the best. Three things matter most: wattage, terminals, and features.
Getting the Wattage Right
Every light fixture has a wattage printed on it or on its box. Add up the wattage of every light you plan to run. If you have ten 4-watt path lights, that is 40 watts. If you add two 20-watt uplights later, the total is 80 watts.
Buy a transformer rated for more than your total. A good rule is to stay under 80 percent of the rating. For an 80-watt system, pick a 120-watt box. This leaves room for growth. Many homeowners add lights a year or two later. A slightly larger transformer costs little extra and saves you from buying a second box.
Terminals and Zones
Look inside the door of the transformer. You will see terminals, which are screws or lugs where the low-voltage cable connects. Better models have several 12-volt terminals plus a 13-, 14-, or 15-volt tap. These higher taps push a little extra voltage to long cable runs. Long runs lose voltage along the way, so the higher tap keeps the last light as bright as the first.
If your yard is large, consider a transformer with two or three separate zones. Each zone gets its own terminal pair and its own timer. You can run the front yard lights from dusk to midnight and the backyard lights all night, for example.
Features Worth Having
A simple mechanical timer with small trip pins is cheap and reliable. A digital timer or an astronomical timer is easier to set and adjusts for the seasons on its own. A photocell sensor turns the lights on at dusk and off at dawn without any timer setting at all.
Stainless steel cases hold up better than plastic in hard sun and rain. A built-in circuit breaker or fuse protects the box if a cable gets cut. These are small details, but they matter over a ten-year life.
What You Will Need
Gather everything before you start. The job goes faster that way.
– The transformer, sized for your lights plus room to grow – Low-voltage landscape cable, usually 12-gauge or 14-gauge, two wires in one jacket – A weatherproof outlet with a ground-fault circuit interrupter, called a GFCI, on the outside wall of the house – Mounting screws and anchors for the wall – A wire stripper, a screwdriver, and a pair of pliers – A shovel or a flat trenching spade for the cable runs – A voltage tester and, if you can get one, a low-voltage meter – Wire nuts or outdoor gel-filled connectors rated for low voltage
The transformer must plug into a GFCI outlet. If you do not have one on the wall where you want the box, have an electrician add one first. The 120-volt side of this job should be left to a licensed electrician. The low-voltage side is safe for a homeowner.
How to Install a Landscape Lighting Transformer
Work in daylight so you can see. Do not rush the steps. The full job often takes two to four hours, most of it digging cable trenches.
Step 1: Plan the Layout
Walk the yard with a notepad. Mark where each light will sit. Note the path the cable will take from the house to the first light and from light to light. Try to keep runs short and direct. Long runs waste voltage and money.
Add up fixture wattages and confirm your transformer size. Sketch the plan on paper. It does not need to be pretty. It needs to show where the cable goes.
Step 2: Mount the Box
Pick a spot on an outside wall near the GFCI outlet. The bottom of the box should sit at least 12 inches above the ground so mulch and splash water stay out. Keep it out of the reach of sprinklers.
Hold the box against the wall, level it, and mark the screw holes. Drill pilot holes, set anchors if the wall is brick or stucco, and drive the screws. The box should sit tight with no wobble.
Step 3: Plug It In and Set It Aside
Plug the transformer into the GFCI outlet. Do not turn anything on yet. Leave the door closed. Now go lay out the lights and cable in the yard. It is easier to connect everything with the box still off.
Step 4: Run the Cable
Lay the cable along your planned path. Bury it 3 to 6 inches deep in planting beds and lawn areas. In beds, a flat spade opens a clean slit. In lawns, cut a narrow slit, tuck the cable in, and press the sod back down. Where cable crosses a walk, feed it through a short piece of rigid conduit first.
Leave a few extra feet of slack at each light and at the transformer. Slack lets you move a light later without splicing.
Step 5: Connect the Lights
Most path lights and well lights come with a quick connector that pierces the cable jacket. Place the cable in the connector, close it, and the fixture is wired. These pierce connectors work well in dry soil. For wet spots, cut the cable and use gel-filled wire nuts instead. They seal out water and last longer.
Check each fixture as you go. The lamp should sit straight and point where you want it.
Step 6: Wire the Cable to the Transformer
Strip about half an inch of insulation from each end of the main cable run at the transformer. Most cable has two wires in one jacket, often one with a stripe or rib. Keep the striped side consistent on every connection.
Open the transformer door. Loosen the terminal screws. Slip the bare wire under each screw and tighten firmly. One wire goes to the common terminal. The other goes to the 12-volt terminal, or to a higher tap if your run is long. If you have two zones, repeat for the second pair.
Pull gently on each wire after tightening. A loose wire is the most common cause of a dead system.
Step 7: Set the Timer or Sensor
If your box has a photocell, aim it so it sees daylight but not the glow of your own lights. A sensor blinded by a nearby fixture will flicker on and off all night.
For a mechanical timer, push the trip pins in for the hours you want the lights on, usually dusk to about 11 p.m. For a digital timer, set the on time and the off time. An astronomical timer asks for your location and sets itself from the sunset table.
Step 8: Test and Adjust
Turn the system on. Walk the yard after dark. Check every light. Look for fixtures that are dim or yellow, which can mean a loose connection or a run that needs the higher voltage tap. Move lights that sit too close to the house or blind the street. Aim uplights so the beam washes the tree, not the neighbor’s window.
Give the system a week, then walk it again. You will always find one or two fixtures worth moving.
Types and Options
Not every yard needs the same box. A small bed with four path lights does fine with a simple 60-watt plug-in unit. A full front and back yard with thirty fixtures needs a 300-watt box with multiple zones and higher voltage taps.
Some homeowners skip the wired system entirely and buy solar landscape lights that actually work. Solar lights cost less and need no trench. But they shine for fewer hours and fade on cloudy weeks. A wired low-voltage system is brighter, steadier, and easier to expand.
If the whole yard project feels like too much, compare the cost of hiring help. Search for affordable landscape lighting installation near me and get two or three quotes. A pro can finish in a day what takes a weekend for a beginner. Similar yard projects, like how to install pop-up sprinklers yourself, teach the same lesson: the trenching is the hard part, and the wiring is easy.
For product research, maker sites are useful. Toro lists irrigation and landscape products that pair well with a lighting plan (https://www.toro.com). John Deere’s site covers outdoor equipment for larger properties (https://www.deere.com). Briggs and Stratton publishes engine and outdoor power guidance that yard owners may find handy (https://www.briggsandstratton.com).
Cost and Price
A 60-watt transformer costs about 40 to 80 dollars. A 120-watt box with a good timer runs 80 to 150 dollars. Large 300-watt multi-zone units run 150 to 300 dollars or more.
Cable costs about 40 to 70 cents a foot for 12-gauge. A typical yard needs 100 to 200 feet. Fixtures range from 15 dollars for a simple path light to 80 dollars or more for a solid brass uplight.
All in, a do-it-yourself system of ten to twelve lights often costs 300 to 600 dollars. Hiring an installer adds 500 to 1,500 dollars in labor, depending on the size of the yard and how much digging is needed.
Care and Upkeep
A transformer asks for little. Once a year, open the door and look inside. Brush out spider webs and leaves. Check that the wires are still tight. Confirm the timer still matches the season.
Walk the cable paths in spring. Winter frost can push shallow cable to the surface. Tuck any exposed cable back under the mulch. Clean the light lenses with a damp cloth. A film of dirt can cut light output in half.
If a whole zone goes dark, check the breaker or fuse in the transformer first. A cut cable from a shovel is the usual cause. Find the cut, splice in a gel-filled connector, and rebury the line.
LED lamps last for years. When one does fail, replace it with the same wattage so the system load stays balanced.
Safety Notes
The 120-volt side deserves respect. Always plug the transformer into a GFCI outlet. If the outlet trips, find the cause before resetting it. Never run the transformer with the door open in rain.
The 12-volt side is safe to touch, but keep connections dry and sealed. Water in a connector causes corrosion, which causes heat, which can melt the connector. Keep the box mounted high enough that lawn sprinklers do not soak it.
Call an electrician for anything on the house-current side: adding an outlet, running new 120-volt wire, or changing a breaker. The few dollars it costs are worth the peace of mind.
Frequently Asked Questions
How big a transformer do I need?
Add up the wattage of all your lights. Divide by 0.8 to leave headroom. Ten lights at 7 watts each is 70 watts, so a 100-watt box is right. Plan for lights you may add later.
Can I bury the cable anywhere I want?
Yes, within your own yard. Keep it at least 3 inches deep in beds and lawns. Call your local utility marking service before you dig, even for shallow trenches. Marked lines keep you away from gas and electric services.
Why are my far lights dim?
Voltage drop. Long cable runs lose voltage. Move the cable to a higher tap on the transformer, such as 14 or 15 volts, or split the yard into two shorter runs. Thicker 12-gauge cable also helps.
Do I need a permit?
Most towns do not require a permit for low-voltage lighting. The GFCI outlet work may need one if a new outlet is added. Check with your local building office before you start.
Can the transformer stay out in the rain?
Yes, if it is rated for outdoor use and mounted with the bottom at least 12 inches off the ground. Keep the door closed and latched. Never leave it sitting in a puddle or a low spot where water collects.
A Final Word
A landscape lighting transformer is the quiet heart of a night yard. Pick the right size, mount it well, wire it tight, and set the timer once. After that, it works in the background for years while your lights do the showing off. Take your time with the plan, respect the 120-volt side, and enjoy the first evening walk when every light comes on exactly as it should.
References
Toro. (n.d.). Outdoor power and irrigation equipment. https://www.toro.com Deere. (n.d.). Outdoor equipment and lawn care. https://www.deere.com Briggs & Stratton. (n.d.). Outdoor power products and support. https://www.briggsandstratton.com
Was this guide helpful?

About Lisa Anderson
The My Garden US editorial team writes practical, in-depth home and garden guides for American homeowners — tested advice, no fluff.
You May Also Like

Lawn Care Tips for New Homeowners
April 16, 2026 0 views
How to Remove Tree Roots From Lawn Without Harming the Tree
March 19, 2026 0 views
A Lawn Striping Kit for Riding Mowers: How to Get Pro Ballpark Stripes
January 4, 2026 0 views