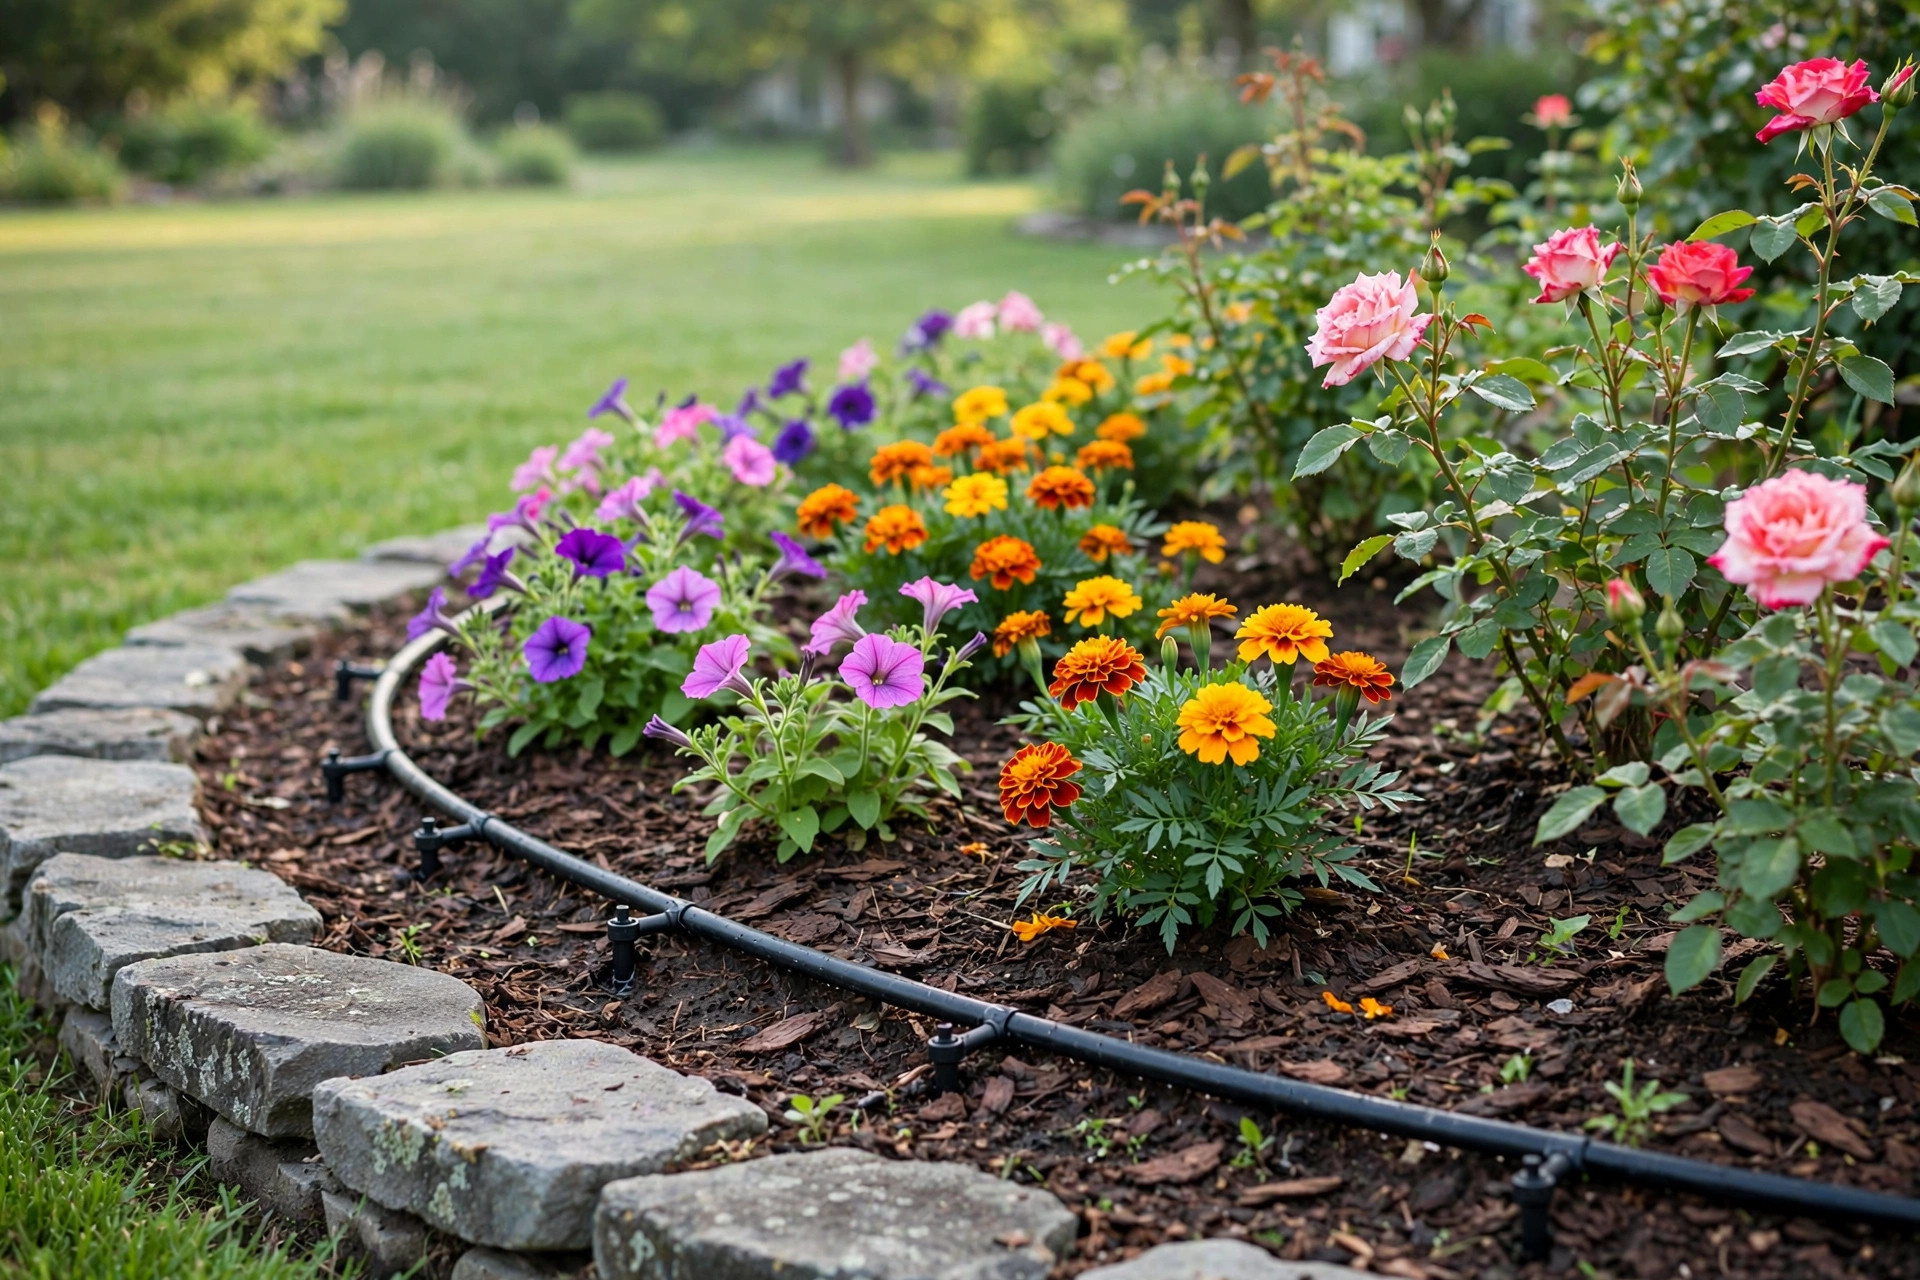
Every gardener knows the work of summer watering. The hose is heavy. The sprinkler sprays the sidewalk more than the soil. Some flowers stand in puddles while others wilt in dry corners. A drip irrigation kit for flower beds was made to solve this trouble. It delivers water slowly, drop by drop, straight to the roots of each plant. The leaves stay dry. The weeds between plants get little water. The gardener saves time, saves water, and grows healthier flowers.
This guide explains what a drip irrigation kit for flower beds is, why it matters, and how to choose one. It covers the main types, the true cost, the steps for installation, and the care the system needs through the seasons. It closes with answers to common questions.
Why It Matters
Flowers have shallow roots. They need steady moisture, not floods. An overhead sprinkler wets the whole bed at once. The water lands on petals and leaves, where it invites fungus and mildew. Much of it evaporates before it reaches the soil. On a hot July afternoon, as much as half the water from a sprinkler can be lost to the air.
A drip system works differently. Small emitters release water at rates of one half to four gallons per hour. The water moves into the soil in a small damp circle around each plant. The root zone stays moist for hours. The surface between plants stays mostly dry, which starves weeds of water. Studies of home gardens have long shown that drip watering cuts water use by a third or more compared with sprinklers.
The steady moisture also feeds better blooms. Roses, dahlias, and petunias all suffer when their roots swing between dry and soaked. Blossom end trouble, bud drop, and powdery mildew often trace back to uneven watering. A drip irrigation kit for flower beds holds the soil at an even dampness. The result is more flowers, held longer on the stem.
There is a labor gain as well. Once the kit is laid out, watering takes no daily effort. A simple battery timer can open the water for an hour each morning while the gardener sleeps. For elderly gardeners or those with sore backs, the difference is large. There is no dragging of hoses, no lifting of watering cans. Many readers who use a best garden stool for elderly gardeners for their planting work find that a drip system completes the comfort of their beds.
What to Look for When You Choose: Drip Irrigation Kit for Flower Beds
A drip irrigation kit for flower beds is not a single product. It is a box of parts that work together. A good kit contains all of these:
– A connection to the faucet or hose bib, usually with a backflow preventer so garden water cannot flow back into the house supply. – A pressure regulator, because drip tubing is made to run at low pressure, often 25 pounds per square inch or less. House pressure can be three times that and will blow fittings apart. – A filter, which keeps sand and rust out of the small emitter holes. – Tubing, usually half-inch main line with quarter-inch branch lines or emitter tubing with holes built in. – Emitters or drippers, which meter the water to each plant. – Stakes, connectors, and an end cap or flush valve.
When you shop, look first at the coverage. Kits are sold by the area they serve, such as 50, 100, or 250 square feet. Measure your flower beds before you buy. A kit made for one long border will not serve three scattered beds without extra parts.
Emitter spacing
Emitter tubing comes with drip points set every 6, 9, or 12 inches. Flower beds planted closely with annuals need the tighter spacing. Beds of larger perennials or shrubs can use 12-inch spacing. Some kits use adjustable emitters that let you dial the flow for each plant, which is useful when roses stand next to thirsty hydrangeas.
The timer
Many kits include a basic timer; better kits do not, so you choose your own. A timer is worth its price many times over. Water early in the morning, before the sun is strong. The soil drinks deeply, and the surface dries before nightfall, which keeps disease down. Guidance on scheduling and run times is easy to find at The Spruce, which keeps a large library of watering guides.
Types and Options
Three common styles of drip irrigation kit for flower beds sit on store shelves.
Pre-assembled patio kits are made for small beds and containers near a spigot. They contain a short length of tubing and a handful of emitters. Installation takes under an hour with no tools beyond scissors. They suit renters and first-time gardeners.
Expandable garden kits are the middle ground. They serve 100 to 250 square feet and use standard fittings, so you can buy extra tubing and emitters to grow the system as your beds grow. Most American homeowners choose this type. Big retailers such as Lowe’s and specialty shops like Gardener’s Supply stock wide ranges of these kits and the add-on parts that fit them.
Micro-spray kits are a cousin of drip. They use tiny spray heads on short stakes instead of drippers. They wet a wider circle, which suits ground-cover flowers and dense annual plantings. They lose a bit more water to the air than true drip, but they are simple to lay out and easy to see working.
Some gardeners also build their systems from loose parts instead of a kit. This gives full control over every emitter, and experienced hands often prefer it. For most people, a kit is the better start. It teaches the parts and the method. You can add loose pieces later as you learn what your beds need.
Cost and Price
A drip irrigation kit for flower beds is one of the cheapest upgrades a garden can get. Small patio kits sell for twenty to forty dollars. Full garden kits for 100 to 250 square feet run from fifty to one hundred twenty dollars. A battery timer adds fifteen to forty dollars.
Compare that with the cost of water and plants. A summer of hand watering can add thirty to sixty dollars to a water bill in dry regions. One lost flat of petunias costs twelve dollars. A kit that lasts five to eight years pays for itself many times over. Product testers at Consumer Reports have reviewed watering gear for years and confirm that even budget kits perform well when they are installed with care.
If you expand beyond the kit, budget a little extra. A roll of spare tubing, a bag of emitters, and a few connectors cost another twenty dollars and cover most repairs and growth. Homeowners who want a second opinion on value can browse buying advice at Bob Vila, which tests garden tools against real yard work.
How to Install It
Installation is plain work. Plan for a morning.
1. Sketch the bed. Draw the shape of your flower bed and mark where each plant stands. This tells you how much tubing you need and where emitters go. 2. Lay the main line. Run the half-inch tubing from the faucet along the back or edge of the bed. Hold it down with stakes every few feet. 3. Connect the head assembly. At the faucet, thread on the backflow preventer, then the filter, then the pressure regulator, then the tubing. The order matters. Each piece has an arrow for water flow. 4. Add branch lines. Cut quarter-inch tubing to reach from the main line to each plant. Push on the connectors. Set one or two emitters at the base of each plant. 5. Cap the ends. Fold or cap the far ends of the lines so pressure builds evenly. 6. Flush and test. Open the water with the end caps off for a minute to blow out grit. Then cap the ends and walk the bed. Every emitter should drip. Adjust any that do not.
Bury the tubing under two inches of mulch when you are done. The mulch hides the black lines, holds soil moisture, and shields the plastic from sun damage. This one step doubles the life of the system. Step-by-step photo guides from Family Handyman show the same method in detail.
When you start seeds indoors before the bed is ready, remember that young plants have different needs than the established flowers the drip line will serve. Readers often pair their bed watering with indoor starting gear such as a seedling heat mat for germination reviews for strong transplants.
Care and Upkeep
A drip system is low work, but it is not no work. A short routine each season keeps it running for years.
Spring. Before the first watering, flush the lines. Open the end caps and run water for two minutes to clear winter grit. Check every emitter. Replace any that are clogged or cracked. Test the timer battery.
Summer. Walk the bed once a month. Look for puddles, which mean a broken fitting, and dry spots, which mean a clogged emitter. Pull weeds away from the lines so roots do not tangle the tubing. If you haul tools and bags to the bed for this monthly check, a best garden wagon with canopy reviews model makes the trip easier.
Fall. In cold regions, the system must be drained before the first hard freeze. Disconnect it from the faucet. Open the end caps. If you have a compressor, blow the lines clear with low pressure. Store the timer and filter indoors. In warm regions, simply reduce the watering schedule as the flowers slow down.
Repairs. Keep spare emitters and connectors in a bucket in the garage. Most fixes take five minutes: cut out the bad piece, push in the new one. Sun and lawn mowers are the two great enemies of drip tubing. Mulch guards against the first; a careful mowing line guards against the second.
Hand tools for this upkeep last longer when they are kept sharp and clean. Pruning shears and digging tools from makers like Fiskars and Corona Tools are common sights in American garden sheds, and flower growers who order seeds each spring often turn to Burpee for new varieties to plant in their drip-watered beds.
Safety
Drip irrigation is safe work, but a few cautions apply.
– Backflow. Always use the backflow preventer at the faucet. It stops fertilizer or soil water from being sucked back into the house pipes. – Pressure. Never skip the pressure regulator. House water pressure can split drip fittings and flood a bed in minutes. – Fertilizer. Liquid fertilizer can be fed through the lines, but flush the system with plain water afterward. Salts left in the emitters will clog them. – Water quality. Well water with heavy iron or calcium clogs emitters faster. A finer filter helps, and a yearly flush with a mild vinegar rinse clears mineral scale.
Frequently Asked Questions
How often should a drip system run for flower beds?
Most flower beds do well with deep watering two to three times a week. In sandy soil, run shorter cycles more often. In clay soil, run longer cycles less often. A one-hour run in the early morning is a common starting point. Watch the plants and adjust.
Can one kit water both flowers and vegetables?
Yes, but give each its own line and valve. Vegetables drink more heavily in high summer, while many flowers prefer a steadier, lighter supply. Separate lines let you tune each bed.
Will drip emitters clog?
They can, especially with hard water or dirty filters. A 120-mesh filter at the faucet stops most trouble. Flush the lines each spring and check emitters monthly. Clogged emitters are cheap to replace.
Is a drip kit hard to install for a beginner?
No. A small kit takes an afternoon and needs only scissors and the stakes in the box. The hardest part is measuring the bed and planning the layout. Draw the sketch first, and the rest follows.
How long does a drip irrigation kit last?
The tubing and fittings last five to eight years when buried under mulch and drained before winter. Emitters may need replacement every two to three years. Timers last three to five years on fresh batteries.
Can I leave the system running while I travel?
Yes, and this is one of its best uses. A battery timer will water on schedule for weeks. Have a neighbor glance at the bed once during a long trip to catch any burst fitting.
A Final Word
A drip irrigation kit for flower beds is a small purchase that changes the daily work of gardening. It puts water where the roots are, keeps the leaves dry, and frees the gardener from the hose. The installation takes a morning. The upkeep takes minutes a month. The reward is a bed of flowers that holds its bloom through the hottest weeks of summer. Measure your beds, choose a kit with room to grow, and lay the lines under mulch. Your flowers will tell you the rest.
References
Bob Vila. (n.d.). Home improvement advice. https://www.bobvila.com Burpee. (n.d.). Seeds, plants, and gardening supplies. https://www.burpee.com Consumer Reports. (n.d.). Product reviews and ratings. https://www.consumerreports.org Corona Tools. (n.d.). Garden and landscape tools. https://www.corona-tools.com Family Handyman. (n.d.). DIY home repair and maintenance. https://www.familyhandyman.com Fiskars. (n.d.). Garden and cutting tools. https://www.fiskars.com Gardener’s Supply Company. (n.d.). Gardening tools and supplies. https://www.gardeners.com Lowe’s. (n.d.). Home improvement products. https://www.lowes.com The Spruce. (n.d.). Home and garden advice. https://www.thespruce.com
Was this guide helpful?

About Jennifer Lee
The My Garden US editorial team writes practical, in-depth home and garden guides for American homeowners — tested advice, no fluff.