Many people think composting needs a big yard. It does not. You can learn how to compost in small apartment rooms with a bin that fits under the sink or in a closet corner. The work is simple. The cost is low. The result is rich soil for houseplants and window boxes. This guide walks you through the whole process, step by step, in plain words.
Why Composting in an Apartment Matters
Food scraps make up a large part of what a household throws away. When these scraps go to a landfill, they break down without air and give off gas that harms the air. When you compost them at home, the same scraps turn into dark, crumbly soil. That soil feeds plants. It also keeps money in your pocket, because you buy less bagged soil and less plant food.
Compost improves soil in clear ways. It adds the food plants need. It helps soil hold water. It makes heavy soil looser and light soil richer. For an apartment gardener, this matters a great deal. Pots and planters have only a little soil, so good soil counts twice as much. Many beginners test their soil first to learn what it lacks, and best garden soil test kit reviews can point you toward the right kind of kit before you add your first batch of finished compost.
There is also a quiet satisfaction in the habit. Each day you set aside coffee grounds, eggshells, and peelings. Week by week the bin turns them into something useful. It is a small daily act with a visible reward.
What to Look for in an Apartment Composting Setup: How to Compost in Small Apartment
Before you buy or build anything, think about your space and your habits.
Space
Measure the spot where the bin will sit. Most apartment systems need no more than a space of about one square foot. Good spots include under the kitchen sink, in a pantry corner, or on a balcony. The spot should stay between about 55 and 85 degrees Fahrenheit through the year. Do not put the bin in full sun on a hot balcony.
Smell and Mess
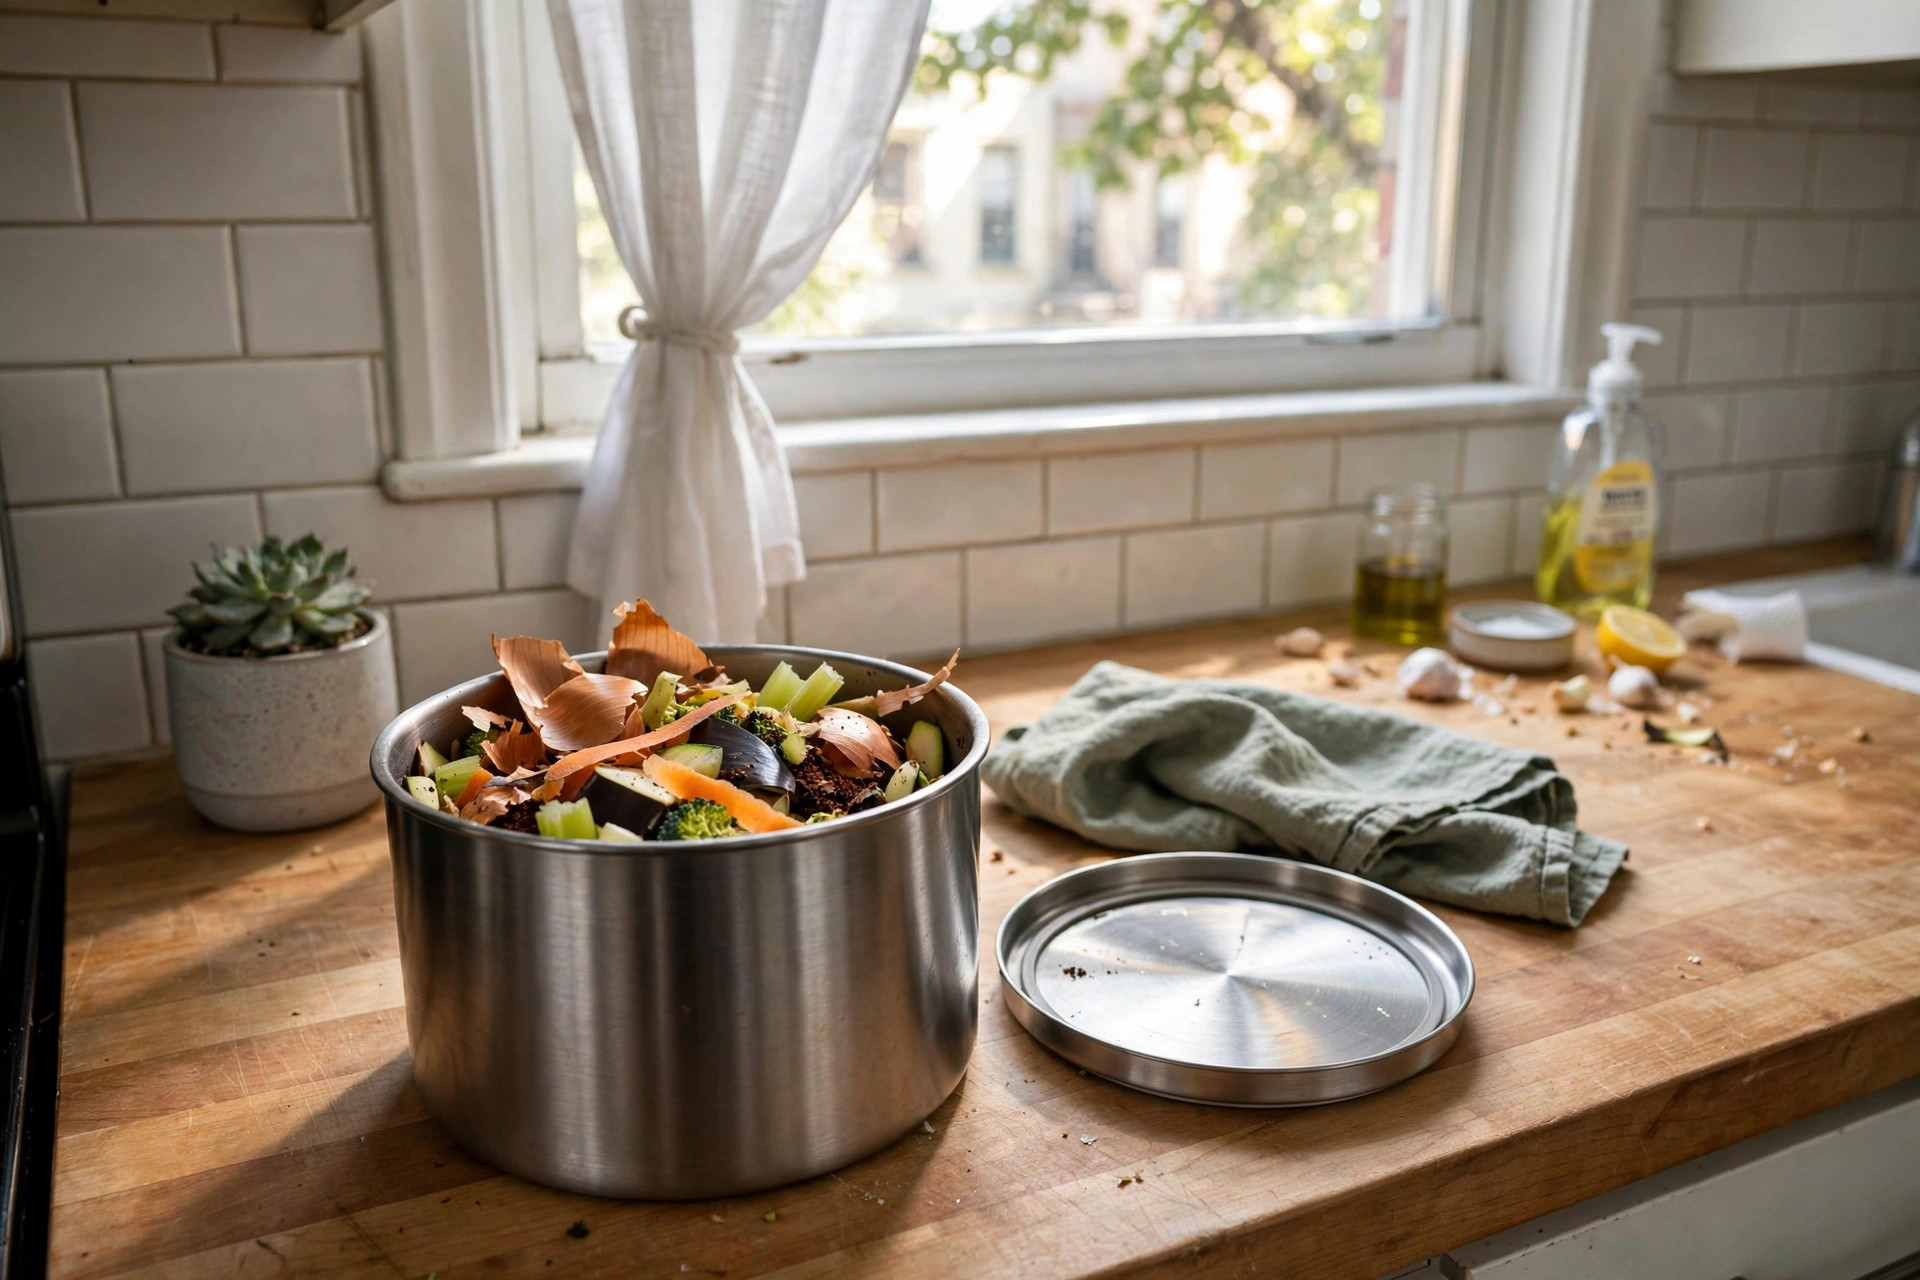
A well-run indoor compost bin does not smell bad. Smell comes from too much wet food and too little air. Look for a bin with a tight lid and good air holes. A lid that locks helps with pets and fruit flies. Many people keep a small pail on the counter and empty it into the main bin every day or two.
Your Habits
Be honest about how much work you will do. A worm bin needs feeding and moisture checks every few days. An electric composter needs only that you push a button. Pick the system that matches your life, not the one that sounds most perfect.
Local Rules
Some apartment buildings and cities have rules about composting. A few offer free drop-off programs. Check with your building manager before you start. It takes five minutes and can save trouble later.
Types of Apartment Composting Systems
There is no single right system. Each of the four common types suits a different kind of home and person.
Worm Composting
A worm bin uses red wiggler worms to eat food scraps and turn them into rich castings. The bin is a shallow box with bedding made of shredded newspaper or coconut fiber. You add scraps under the bedding once or twice a week. The worms do the rest. A worm bin for a small apartment can sit under a desk or in a closet. It makes excellent compost for houseplants. It needs some care: the bedding must stay as damp as a wrung-out sponge, and you must feed the worms the right amount. Too much food leads to odor and flies. This is the best choice for plant lovers who do not mind a hands-on routine.
Bokashi Composting
Bokashi is a method from Japan. Food scraps go into a sealed bucket. You sprinkle a special bran over each layer of scraps and press the layers down. The bran holds helpful microbes that pickle the food instead of rotting it. The sealed bucket means almost no smell. Meat and dairy can go in, which most indoor systems forbid. After about two weeks of sitting, the pickled scraps go into soil, a planter, or a drop-off bin to finish breaking down. Bokashi is a good pick for people who want speed and little fuss. It does need you to buy the bran, and you need a place for the finished material to cure.
Electric Composters
An electric composter sits on the counter like a small trash can. You drop in scraps and it grinds, dries, and heats them over several hours. The result is a dry, soil-like material. There is no smell and almost no work. The cost is the highest of the four options, and the unit uses power. The output is not true finished compost, but it is fine to mix into planters or a yard pile. This suits busy people who want the simplest path.
Balcony Tumbler or Bin
If you have a balcony or small patio, a compact tumbler can work well. A tumbler is a barrel that turns on a stand. You add scraps and dry leaves, then give it a turn every few days. It needs air and the right mix of wet and dry material. It makes real compost, and the turning is easy. It needs a balcony that gets some sun and a spot out of driving rain. It also needs dry browns like shredded paper or dry leaves, which you may have to buy.
Cost and Price of Apartment Composting
Composting in an apartment can cost almost nothing or several hundred dollars. Here is an honest range.
A simple DIY worm bin made from two plastic storage tubs costs about 15 to 30 dollars for the tubs, plus 25 to 40 dollars for a pound of red wiggler worms ordered by mail. Bedding comes free from shredded newspaper. Total start: under 75 dollars.
A ready-made worm bin kit runs 60 to 120 dollars and includes the worms. A bokashi starter kit with two buckets and a bag of bran runs 50 to 80 dollars, and a replacement bag of bran costs about 15 to 25 dollars every few months.
For reviews and price checks on bins and tools, big home stores and testing groups publish useful comparisons. The home improvement superstore lists many small-space compost bins with user reviews, while independent product testing offers lab-based ratings of composting gear and garden tools.
How to Start, Step by Step
Let us take the worm bin as our main example, since it is the most common apartment system. The steps for other systems follow the same logic.
1. Set up the bin. Add six to eight inches of damp bedding to the bottom. Shredded newspaper, coconut fiber, or a mix of both works well. Fluff it up so air can move through it. 2. Add the worms. Spread them gently over the bedding. They will burrow down on their own within an hour or two. Leave the lid on but loose for the first day so they settle in. 3. Wait a week. Let the worms eat through the bedding before you add much food. A few small scraps are fine. 4. Feed them. Bury a cup or two of fruit and vegetable scraps under the bedding in one corner. Move to a new corner each feeding so every area gets used. 5. Check moisture weekly. The bedding should feel like a damp sponge. If it is dry, mist it. If it is soggy, add dry shredded paper. 6. Harvest in three to four months. Push the finished dark material to one side and add fresh bedding with food on the other side. In a week or two, most worms will move to the fresh side. Scoop out the finished compost.
Good foods for the bin include vegetable peelings, fruit cores, coffee grounds with filters, tea bags, crushed eggshells, and plain rice or bread in small amounts. Keep out meat, dairy, oily foods, and citrus in large amounts. Onions and garlic are fine in small bits.
When the finished compost is ready, it should be dark, crumbly, and smell like forest soil. Mix it into your houseplant soil at about one part compost to four parts soil, or spread it on top of pots like a mulch.
Garden writers at practical gardening guides and garden supply experts both note that finished compost works best when it is fully dark and crumbly, which usually takes a full three months in an indoor bin.
Care and Upkeep Through the Seasons
Indoor composting runs all year, but the seasons still matter.
In winter, keep the bin away from cold windows and outside walls. Worms slow down below 55 degrees. A closet or under-sink spot stays steady. Feed a little less, since the worms eat slower in the cold.
In summer, heat is the risk. Do not leave the bin on a hot balcony in full sun. Indoor bins near a sunny window can also get warm. If the bin feels hot to the touch, move it to a cooler spot and add dry bedding to soak up extra moisture.
Fruit flies are the most common pest. They come when scraps sit on the surface. Always bury food under at least two inches of bedding. Keep a folded newspaper or a piece of burlap on top of the bedding as a blanket. If flies appear, stop feeding for a week and add dry bedding. A small trap of vinegar in a jar with a paper funnel catches the rest.
Check the bin once a week. It takes five minutes. Look at moisture, check for pests, and note how fast the food disappears. That short weekly check keeps small problems from growing.
If you carry compost or soil to a community garden plot, a small wagon can save your back, and best garden wagon with canopy reviews compare models that fold flat for apartment closets.
Safety for You and Your Home
Composting is safe, but a few rules keep it that way.
Wash your hands after handling compost, scraps, or bedding. Finished compost holds bacteria, most of them harmless, but clean hands are a simple habit.
Keep the bin lid shut. An open bin draws flies and, in some homes, curious pets. A tight lid also keeps moisture in and odors out.
Do not compost pet waste from dogs or cats. It can carry germs that home composting does not kill. Yard waste and food scraps are the right inputs.
If anyone in the home has mold allergies, keep the bin in a well-aired spot and do not let bedding get soggy. A dry, well-aired bin grows far less mold.
For renters, one more point: keep the bin tidy and leak-free. Put a tray under it. A tray catches the odd drip and protects floors and cabinets. Your landlord will never know it is there.
Home repair guides at DIY project guides and home advice columns both stress the same point for renters: any indoor project should leave the apartment exactly as you found it, and a tray under the bin is cheap insurance.
Frequently Asked Questions
Will composting in my apartment smell?
A healthy indoor bin smells like damp earth, not garbage. Bad smells mean too much wet food, too little air, or food sitting on the surface. Fix it by adding dry shredded paper, burying scraps deeper, and feeding less for a while. A sealed bokashi bucket or an electric unit smells even less.
How long until I get finished compost?
Plan on three to four months for a worm bin and about the same for a balcony tumbler. Bokashi pickles scraps in two weeks, but they need another two to four weeks in soil to finish. Electric units give you dry material in a day, though it is not full compost.
Can I compost if I only have a kitchen and no balcony?
Yes. Worm bins, bokashi buckets, and electric units all work fully indoors. Thousands of apartment dwellers compost in kitchens and closets with no outdoor space at all.
What should I never put in an indoor bin?
Keep out meat, bones, dairy, and oily or greasy foods, except in a bokashi system. Also skip pet waste, glossy colored paper, and anything treated with chemicals. When in doubt, leave it out.
Do worms escape from the bin?
Healthy, happy worms stay in their bin. They only climb out if something is wrong, usually too much water, no air, or acidic food.
Is the finished compost safe for vegetables in pots?
Yes. Home compost is fine for potted herbs and vegetables as long as you composted only plant-based scraps and the material finished fully. Mix it with potting soil rather than planting in pure compost.
A Short Final Word
Learning how to compost in small apartment spaces takes less work than most people fear. Pick one system. Start small. Feed it right and check it weekly. In a few months you will hold dark, rich compost made from scraps that would have gone to the trash. Your plants will show the difference, and so will your trash bill. For hand tools to work finished compost into pots and planters, look at quality garden hand tools and ergonomic digging tools; for seeds to start in your new soil, seed starting guides and the garden retailer both carry solid beginner lines. Even a simple balcony drip setup can be tidier with a good reel, as shown in best garden hose reel retractable reviews. Begin this weekend, and by spring your windowsill garden will thank you.
References
Bob Vila. (n.d.). Home improvement advice. https://www.bobvila.com Burpee. (n.d.). Seeds, plants, and gardening supplies. https://www.burpee.com Consumer Reports. (n.d.). Product reviews and ratings. https://www.consumerreports.org Corona Tools. (n.d.). Garden and landscape tools. https://www.corona-tools.com Family Handyman. (n.d.). DIY home repair and maintenance. https://www.familyhandyman.com Fiskars. (n.d.). Garden and cutting tools. https://www.fiskars.com Gardener’s Supply Company. (n.d.). Gardening tools and supplies. https://www.gardeners.com Lowe’s. (n.d.). Home improvement products. https://www.lowes.com The Home Depot. (n.d.). Home improvement products. https://www.homedepot.com The Spruce. (n.d.). Home and garden advice. https://www.thespruce.com
Was this guide helpful?

About Emily Rodriguez
The My Garden US editorial team writes practical, in-depth home and garden guides for American homeowners — tested advice, no fluff.