
Learning how to grow onions from seed is one of the most rewarding skills a home gardener can master. A single packet of seed costs only a few dollars, yet it can produce hundreds of bulbs. Seeds also give you far more choice than sets. You can grow sweet Spanish onions, sharp red onions, and long-keeping storage types that rarely appear in garden centers. The process takes patience. Onions are slow to start. But the steps are simple, and the work is light. With a little planning, anyone with a sunny window or a small garden bed can succeed.
Why Growing from Seed Is Worth the Effort
Most gardeners begin with onion sets, which are small dried bulbs sold in bags. Sets are easy. They also have drawbacks. Many sets carry disease from the store shelf. They bolt, or go to seed, more often than plants grown from fresh seed. And the choice of varieties is narrow.
Seed solves all three problems. You start with clean, fresh seed. You can pick varieties that suit your day length and your kitchen. And you can time your sowing for the best possible start. Growing from seed takes more weeks, but each step is cheap and forgiving. For the price of one bag of sets, you can sow five times as many onions. If you want to start onion seeds indoors under lights, the same trays and lamps serve your tomatoes and peppers later in the season.
How to Choose the Right Onion Seeds: How to Grow Onions From Seed
Onions form bulbs in response to day length. This single fact matters more than any other. If you choose the wrong type for your latitude, your bulbs will stay small.
Long-Day, Short-Day, and Day-Neutral Types
Long-day onions need 14 to 16 hours of daylight to bulb. They suit northern gardens, roughly above the 37th parallel. Good long-day types include Walla Walla, Sweet Spanish, and Yellow Globe.
Short-day onions need only 10 to 12 hours of daylight. They suit southern gardens, where days stay short through winter and spring. Good short-day types include Texas Sweet, Red Creole, and White Bermuda.
Day-neutral onions bulb with 12 to 14 hours of daylight and adapt well across the middle of the country. Candy and Super Star are two reliable day-neutral choices.
Check the packet before you buy. Seed houses list the day-length type plainly. Burpee and other seed sellers describe each variety in their catalogs, which makes choosing easy.
How Fresh Is the Seed
Onion seed loses germination fast. A packet kept for two years may sprout at half its old rate. Buy fresh seed each winter for the spring crop. Store any leftover seed in a cool, dry jar. A paper envelope inside a sealed jar in the refrigerator keeps seed usable for one extra season.
What You Need Before You Sow
You do not need much. A basic kit serves most gardeners well.
– Seed trays or small pots with drainage holes – A seed starting mix, not heavy potting soil – Fresh onion seed – A spray bottle or fine watering can – Clear plastic covers or humidity domes – Grow lights or a very bright window – Labels and a marker
The seed starting mix matters. Heavy potting soil holds too much water and can rot fine onion seed. A light mix of peat, vermiculite, and perlite drains well and lets roots breathe. If you are unsure about the difference, read this comparison of seed starting mix vs potting soil before you fill your trays.
Good tools help later too. A hand trowel and a narrow transplanter make moving seedlings easier. Makers such as Fiskars and Corona Tools sell sturdy hand tools that last many seasons.
How to Sow Onion Seeds Indoors
Start onion seeds indoors 10 to 12 weeks before your last frost date. In most regions, that means late January or February. Onions grow slowly at first, so an early start pays off.
Fill your trays with damp seed starting mix. Press it down lightly. Sow the seed about one quarter inch deep. Space seeds roughly one quarter inch apart in rows, or scatter them thinly across the tray. Cover with a thin layer of mix. Mist the surface with water until it is evenly moist.
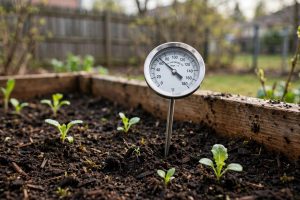
Cover the tray with a clear lid to hold humidity. Place it somewhere warm, between 65 and 75 degrees Fahrenheit. Onion seed germinates in 7 to 10 days at these temperatures. Check daily. As soon as green shoots appear, remove the cover and move the tray under lights.
Give the seedlings 14 to 16 hours of light per day. Hang shop lights or LED grow lights two to three inches above the tops of the plants. Raise the lights as the seedlings grow. A sunny south-facing window can work, but seedlings grown on windowsills often grow thin and lean toward the glass. Lights give stockier plants. The Home Depot and Lowe’s both carry affordable trays, domes, and grow light kits in their garden centers.
Trimming the Tops
Here is a trick that old gardeners swear by. When the seedlings reach five or six inches tall, trim them back to three inches with clean scissors. The cut tops grow back stronger. Repeat once more before transplanting. Trimming keeps the plants stocky and builds thick necks that transplant well. Do not be afraid to cut. The plants recover fast.
Transplanting Seedlings to the Garden
When the soil can be worked in spring and the seedlings have stems as thick as a pencil lead, it is time to move them out. Onions tolerate light frost, so you can plant them four to six weeks before your last frost date.
Harden the seedlings off first. Set the trays outside in shade for a few hours on day one. Add more time and more sun each day for a week. This step toughens the leaves and prevents shock. Our full guide to how to transplant seedlings outdoors safely covers the whole process in detail.
Choose a bed in full sun with loose, well-drained soil. Work in two or three inches of compost. Onions are not heavy feeders, but they like rich ground. Make rows 12 inches apart. Plant each seedling one inch deep and four to six inches apart in the row. Press the soil gently around each stem. Water well right after planting.
Watering and Feeding
Onions have shallow roots. They need steady moisture, especially while the bulbs are swelling. Give them about one inch of water per week, counting rain. Water in the morning so the leaves dry by evening. Stop watering when the tops begin to fall over near harvest time.
Feed lightly. A balanced fertilizer at planting time is enough for most soils. Side-dress with a nitrogen-rich fertilizer three weeks after transplanting and again three weeks later. Do not feed after the bulbs start to swell. Late feeding makes thick necks and poor storage.
Mulch helps a great deal. Two inches of straw or shredded leaves keeps the soil moist and holds down weeds. Pull the mulch back slightly from the stems so air can move.
Thinning and Weed Control
Onions hate competition. Weeds steal the water and light that bulbs need. Weed often, but weed shallow. Onion roots sit close to the surface, and a deep hoe can cut them.
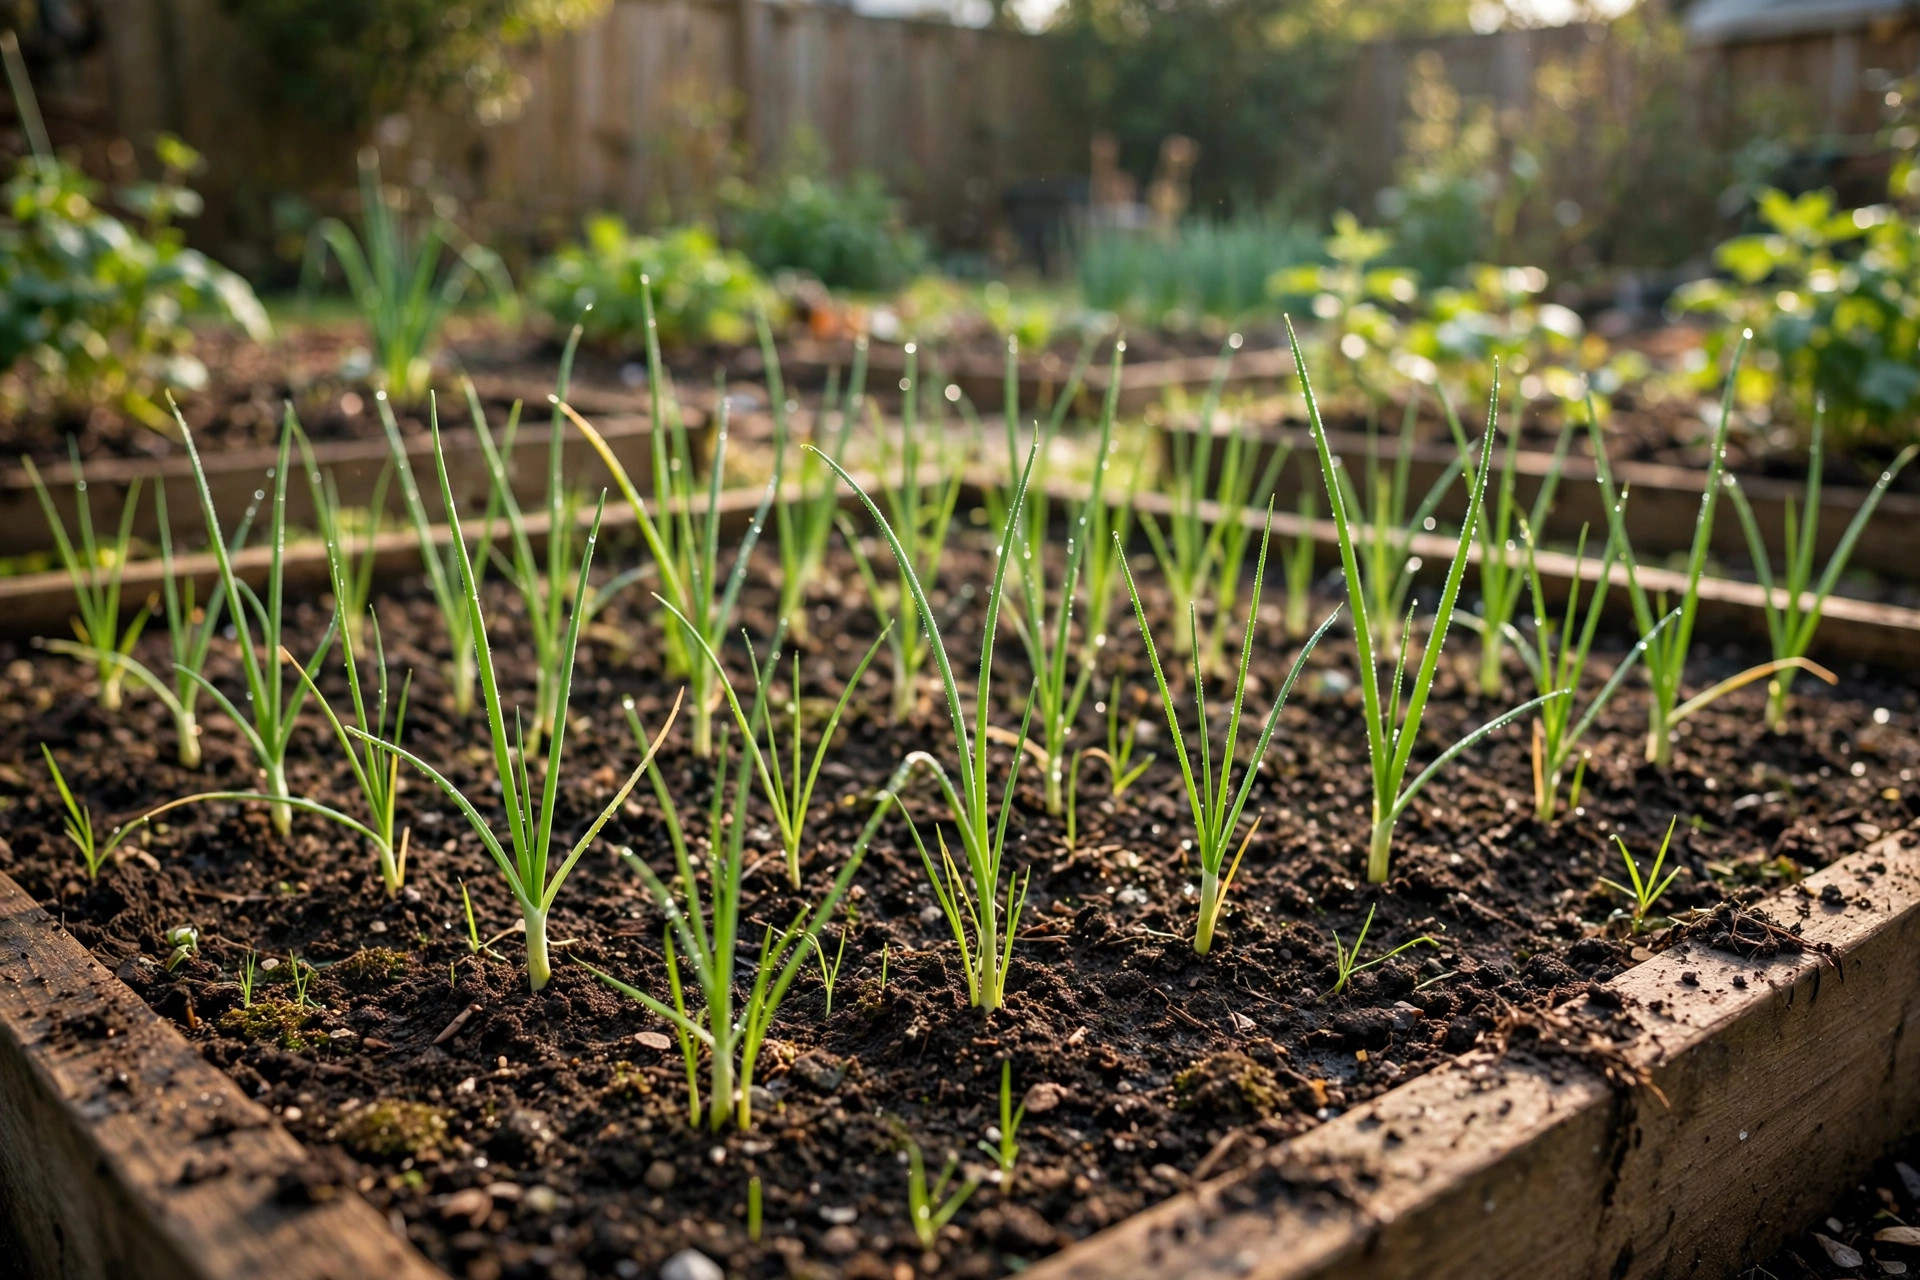
If you sowed thickly, thin the seedlings to stand four inches apart when they are a few inches tall. The pulled thinnings are not waste. They make fine green onions for the kitchen. Some gardeners sow extra on purpose just for this early harvest.
Common Problems and How to Fix Them
Onions are sturdy, but a few troubles appear.
Onion maggots. These small white larvae eat the roots and lower stems. Rotate your onion bed each year. Cover new plantings with floating row cover to keep the adult flies off. Remove and destroy infested plants at once.
Thrips. Tiny insects that rasp the leaves, leaving silver streaks. A strong spray of water knocks many off. Insecticidal soap works on heavy attacks.
Pink root. A soil fungus that turns roots pink and stunts the plants. It spreads in warm soil. Choose resistant varieties and rotate beds for three years between onion crops.
Bolting. A cold snap after transplanting can trick onions into flowering. The bulb stops growing once the flower stalk forms. Pull bolted onions and use them fresh. They will not store well.
For clear, tested advice on pest control and garden repairs, The Spruce and BobVila.com both publish practical home garden guides. Family Handyman also covers garden tools and bed building for do-it-yourself growers.
When and How to Harvest
Onions tell you when they are ready. The tops turn yellow and fall over on their own. When half the tops in the bed have fallen, stop watering. Wait one week. Then pull the bulbs on a dry day.
Lay the bulbs in a single layer in a warm, airy spot out of direct sun. A covered porch or a garage with the door open works well. Let them cure for two to three weeks. The necks will dry and tighten, and the outer skins will turn papery. Good curing is the secret to long storage.
Storing Your Harvest
Store only firm bulbs with dry, tight necks. Soft bulbs and thick-necked bulbs should be eaten first. Keep cured onions in mesh bags or braids in a cool, dark, dry place between 32 and 40 degrees Fahrenheit. A basement or an unheated garage suits them. Good storage varieties keep for six to eight months. Check the bags monthly and remove any that soften.
Sweet onions are the exception. They hold high water content and store poorly. Eat sweet types within two or three months, and keep them in the refrigerator.
Cost and Price
Growing onions from seed is one of the cheapest garden projects you can take on. A packet of seed costs two to five dollars and holds 200 to 500 seeds. A bag of seed starting mix costs about six dollars and fills several trays. A basic grow light setup costs 25 to 40 dollars but lasts for years and serves every seed you start.
Compare that with onion sets at five to eight dollars per bag of 80, or nursery transplants at similar prices. From seed, each bulb costs you a few cents. Even counting fertilizer and mulch, a full bed of onions often costs less than ten dollars in supplies. The main cost is your time, and most of that is waiting.
Safety Notes for the Home Gardener
Onion growing is safe work, but a few habits protect you and your garden.
Wash your hands after handling seed starting mix and fertilizer. Keep fertilizer and pest products locked away from children and pets. Read every label before you mix or spray anything. Wear gloves when you spread compost or work with sharp tools. Clean your tools after each use so soil-borne disease does not travel from bed to bed. Store onion bulbs away from potatoes, since each gives off gases that spoil the other.
Frequently Asked Questions
How long does onion seed take to germinate?
At 65 to 75 degrees Fahrenheit, onion seed sprouts in 7 to 10 days. Cooler soil slows germination to two or three weeks. Warmth matters more than light at this stage.
Can I sow onion seeds directly in the garden?
Yes, in regions with a long spring. Sow outdoors as soon as the soil can be worked, one half inch deep. Direct sowing works best for short-day types planted in fall or very early spring. Indoor starts give larger bulbs in short-season areas.
Why are my onion seedlings thin and floppy?
Thin seedlings usually mean too little light or too much heat. Move them closer to the lights and trim the tops back to three inches. The stems will thicken within a week or two.
How far apart should onion seedlings be planted?
Set transplants four to six inches apart in rows 12 inches apart. Closer spacing gives smaller bulbs for fresh eating. Wider spacing gives larger bulbs for storage.
Can I grow onions from seed in containers?
Yes. Use a pot at least 10 inches deep with drainage holes. Fill it with a light mix, plant seedlings four inches apart, and water often, since pots dry fast. Choose a compact or day-neutral variety for best results.
Do I need to fertilize onions grown from seed?
A light feeding helps. Mix a balanced fertilizer into the bed at planting time, then side-dress with nitrogen twice during early growth. Stop feeding once the bulbs begin to swell.
A Short Final Word
Knowing how to grow onions from seed opens a wide door. You gain more varieties, lower costs, and healthier plants than sets can offer. The work is slow but simple: sow early, give strong light, trim the tops, and plant out in good soil. Water steadily, weed often, and let the tops tell you when harvest has come. Follow these steps for one season, and you will wonder why you ever bought a bag of sets.
References
Bob Vila. (n.d.). Home improvement advice. https://www.bobvila.com Burpee. (n.d.). Seeds, plants, and gardening supplies. https://www.burpee.com Corona Tools. (n.d.). Garden and landscape tools. https://www.corona-tools.com Family Handyman. (n.d.). DIY home repair and maintenance. https://www.familyhandyman.com Fiskars. (n.d.). Garden and cutting tools. https://www.fiskars.com Gardener’s Supply Company. (n.d.). Gardening tools and supplies. https://www.gardeners.com Lowe’s. (n.d.). Home improvement products. https://www.lowes.com The Home Depot. (n.d.). Home improvement products. https://www.homedepot.com The Spruce. (n.d.). Home and garden advice. https://www.thespruce.com
Was this guide helpful?

About David Wilson
The My Garden US editorial team writes practical, in-depth home and garden guides for American homeowners — tested advice, no fluff.
You May Also Like
Garden Tool Set for Beginners Reviews
January 13, 2026 0 views
Drip Emitter Spacing for Vegetable Gardens: A Complete Guide
February 26, 2026 0 views
Finding the Best Garden Kneeler for Bad Knees
June 27, 2026 0 views