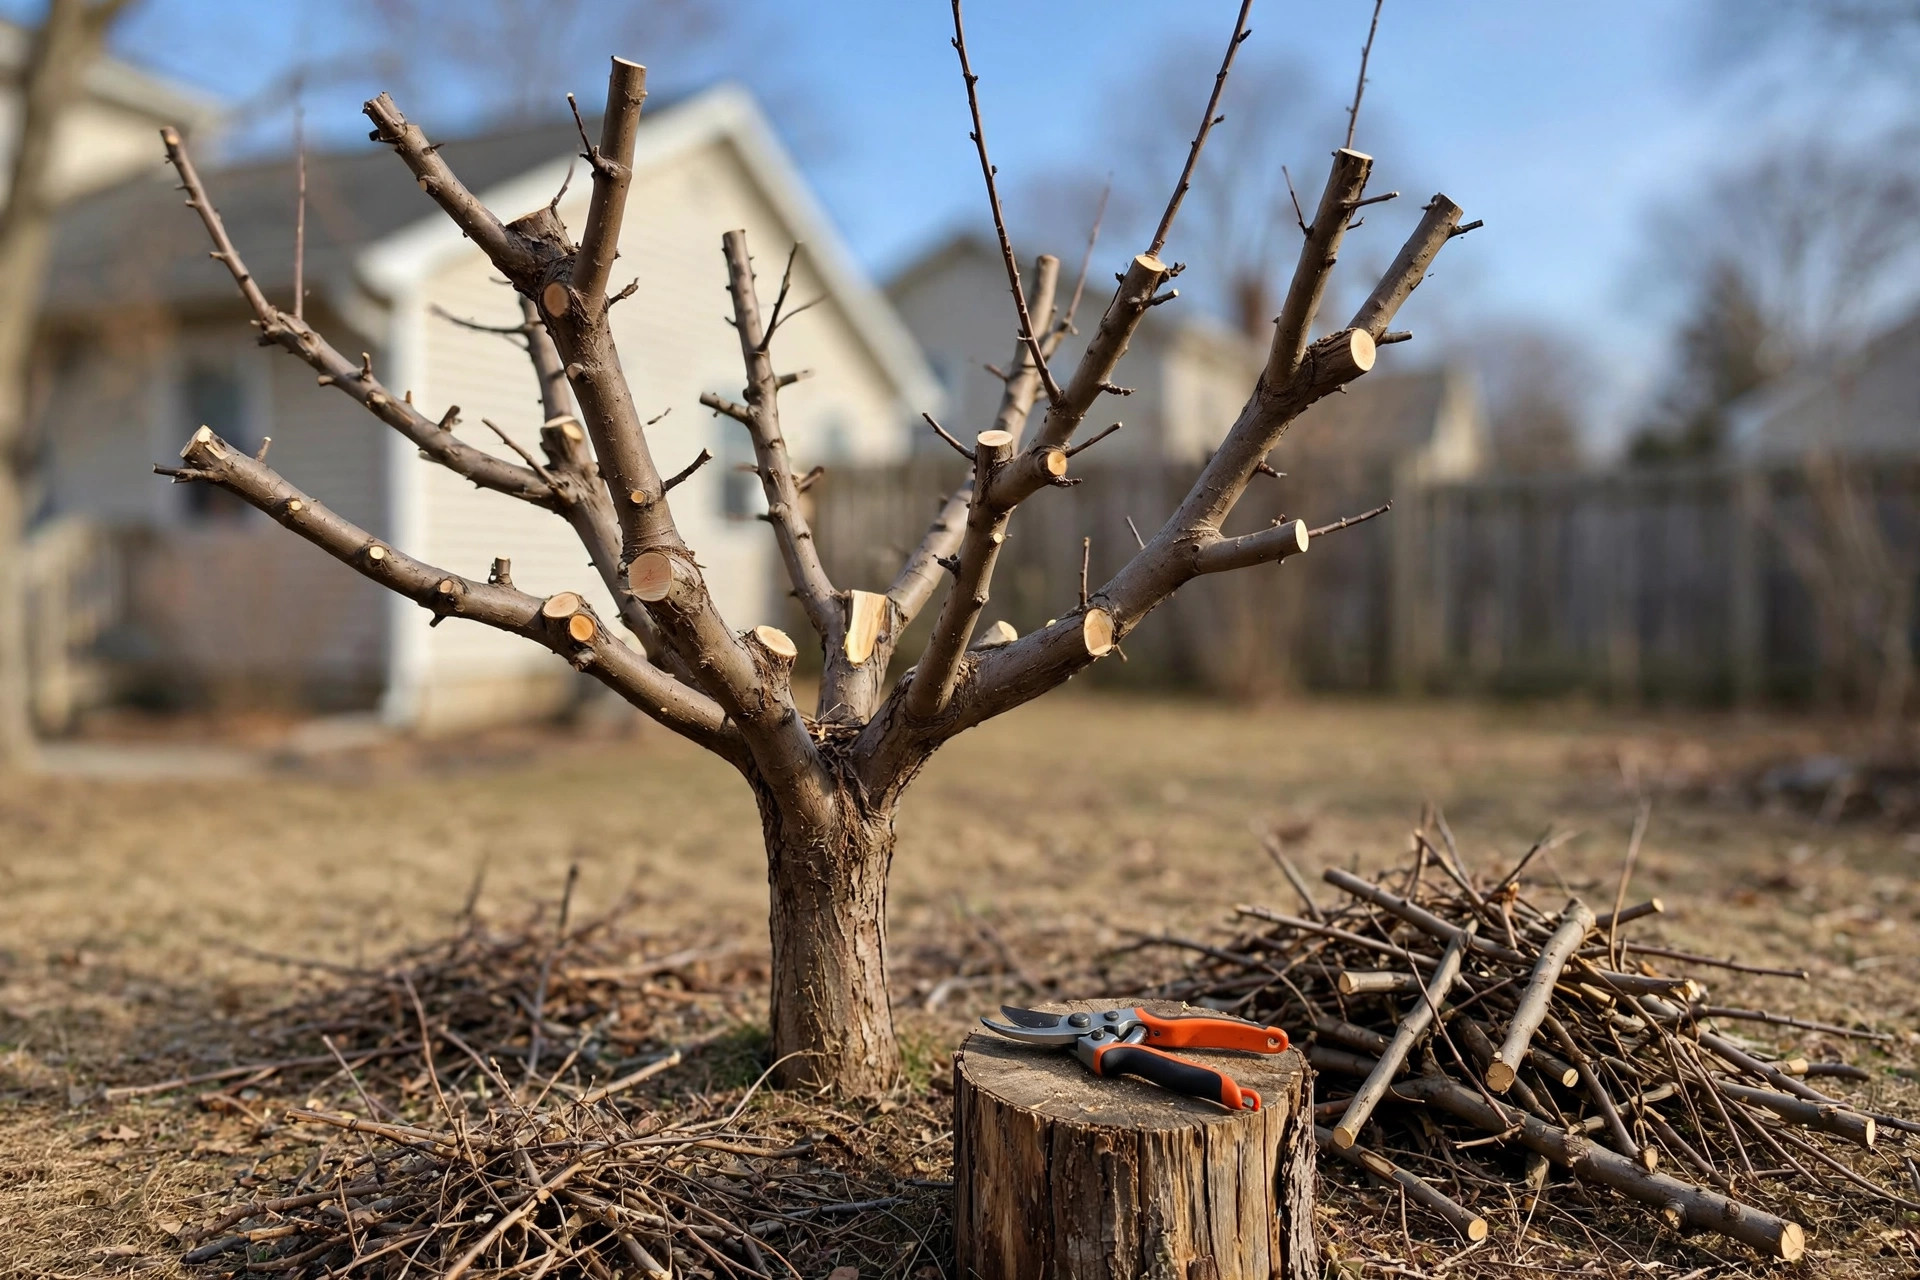
A new tree in the yard is a promise. It asks for little, and it gives much in return. But every fruit tree needs one hard lesson in its youth, and it is the lesson of the pruning shear. Learning how to prune fruit trees for beginners is simpler than it first appears. The work is slow. The rules are few. The reward is a strong tree that bears full, clean fruit for many years.
Most people put off the job because they fear hurting the tree. That fear is natural, and it is healthy in small amounts. A tree is tougher than it looks. A wrong cut heals. A missed year of pruning is far worse than a clumsy cut. This guide walks through the whole task in plain language, step by step, the way a neighbor might teach it across the fence.
Why Pruning Matters
A fruit tree left alone will still grow. That is the trouble. It grows wild. Branches crowd each other and rub in the wind. The center fills with crossing limbs, and light cannot reach the inner buds. Fruit forms only on the outer shell, where the sun touches. The inner wood becomes a dark, damp tangle where insects and rot settle in.
Pruning sets the tree in order. It opens the crown so light and air move through every limb. It keeps the tree at a height you can reach. A tree of fifteen feet gives a ladder job and a sore back. A tree kept to ten feet gives a full harvest from the ground. Pruning also directs the tree’s strength. A young tree wants to grow tall and fast. A pruned tree grows stout and wide, with firm limbs that can hold the weight of a heavy crop without splitting.
There is a quiet benefit too. A pruned tree ripens its fruit more evenly. Apples and peaches color better when the sun strikes them. The fruit is easier to pick, easier to check for worms, and easier to thin. Anyone who has climbed a neglected plum tree for a few sour fruits knows the difference.
The Right Time of Year: How to Prune Fruit Trees for Beginners
For most home orchards, late winter is the season to prune. The tree sleeps. No leaves hide the branch structure. Buds are still tight, so you can see exactly where to cut. In most parts of the United States, this means February or March, before the buds swell.
There are two reasons for winter pruning. First, the tree bleeds less sap and loses less stored food. Second, cuts heal fast when spring growth starts, and diseases are at rest in the cold. Stone fruits such as peaches, plums, and cherries are the one exception worth noting. Some growers prune them a little later, after bloom, to cut the risk of certain bark diseases. A quick note from your county extension office can confirm the best local timing.
Avoid heavy pruning in late summer and fall. Cuts made late in the year can start new growth that the winter will kill. Small clean-up cuts are fine at any time. Take off broken limbs when you see them. But save the real shaping work for winter.
Tools You Will Need
You do not need a shed full of gear. Three tools cover nearly every cut a beginner will make.
Hand pruners. This is the tool you will reach for most. A good bypass pruner makes clean cuts on stems up to about three quarters of an inch thick. The bypass style, with two curved blades passing each other like scissors, is the right choice for living wood. If you also keep roses, you may find our guide to best pruning shears for rose bushes useful for comparing models.
Loppers. Long-handled loppers give you the reach and leverage for branches from three quarters of an inch to about two inches thick. They save your shoulders and make straight cuts without tearing.
A pruning saw. For anything thicker than two inches, use a saw. A curved blade that cuts on the pull stroke is the easiest kind for a beginner to control. Before you buy, read about best pruning saw for thick branches to see which saws suit fruit-tree work.
Keep every blade clean and sharp. A dull blade crushes wood instead of cutting it, and crushed wood heals slowly. A quick wipe with rubbing alcohol between trees stops the spread of disease. Many gardeners at Fiskars keep their tools for decades with nothing more than a yearly sharpening and a drop of oil.
You will also want a pair of sturdy gloves and a small bottle of sealant if you prune in wet weather, though most experts now advise leaving cuts open to the air. For more on tool care, the Family Handyman site keeps a fine set of plain guides on sharpening and storage.
Types of Cuts: What You Can Remove
Every pruning cut you will make falls into one of a few simple kinds. Learn these, and the whole job becomes clear.
Dead, damaged, and diseased wood. This is the first cut and the easiest to judge. Dead limbs are brittle and snap. Damaged limbs are split or broken. Diseased limbs show cankers, odd colors, or withered bark. Remove them first, cutting back to sound, healthy wood.
Crossing and rubbing branches. When two branches cross, pick the weaker one and take it out. Rubbing bark wounds both limbs. In a windy summer those wounds grow and rot starts. The Corona Tools company reminds growers that clean spacing is the cheapest disease control a tree can get.
Water sprouts. These are the thin, straight shoots that grow straight up from older limbs. They crowd the tree and bear little fruit. Cut them off at their base during winter pruning.
Suckers. Suckers grow from the roots or the base of the trunk. They steal strength from the top of the tree. Pull or cut them away each year.
Crowded spurs. Fruit grows on short, knobby twigs called spurs. A cluster of spurs that has grown old and tangled can be thinned so the remaining ones get more light.
A Simple Method, Step by Step
Take your time. Walk around the tree first and look at it from every side. Decide what the tree should look like before you make the first cut.
Step one: set your shape. For apples and pears, most beginners do best with an open center, like a cup or a goblet. Three or four main limbs spread from the trunk, and the middle stays open to the sky. For peaches, the same open center works well. Leave the central leader on pears if you prefer the pyramid shape; it is a matter of habit more than law.
Step two: remove the bad wood. Take out everything dead, broken, or diseased. Then take out the water sprouts and suckers. This alone may be a third of the job, and the tree already looks better.
Step three: open the center. Cut away limbs that grow inward toward the middle of the tree. Then remove one of each crossing pair. Stand back often and look. It is better to cut too little than too much. You can always take more off next year.
Step four: shorten and balance. Shorten long, whip-like branches by a third to encourage them to branch out. Make each cut just above an outward-facing bud, so the new growth goes outward and not back into the crowd. Keep the limbs at roughly the same length all around the tree so the crown stays balanced. The gardening editors at The Spruce suggest holding your hand over the cut to picture where the new branch will grow, a trick every beginner should try.
Step five: thin the fruit. This step comes in spring, after the blossoms fall. A young tree will try to set more fruit than it can ripen. Thin the small fruits to one every six inches. The fruit that remains grows larger and sweeter, and the limbs do not break under the load.
As a rule of thumb, never remove more than a quarter of the tree in one year. A heavy haircut shocks the tree and causes a wild burst of water sprouts the next season. Patient, light pruning every year beats a hard pruning once a decade. If you want to practice your cutting hand on something less precious first, our notes on how to prune tomato plants properly make a good warm-up before you face the trees.
Cost and Price
Pruning costs little in money and more in time. A decent pair of bypass pruners runs about twenty to forty dollars. Loppers add another thirty to sixty. A good pruning saw costs roughly twenty-five to fifty dollars. Sharpening tools and gloves are a few dollars more. All told, a beginner can be fully equipped for under one hundred fifty dollars, and the tools last for years with simple care.
Compare that with hiring the work out. A professional arborist may charge one hundred fifty to three hundred dollars per tree for a standard pruning visit, and more for large or neglected trees. For a small home orchard of four or five trees, the tools pay for themselves in the first year. Independent testing groups like Consumer Reports regularly rate pruners and loppers, and their rankings are worth a look before you buy.
If you buy from a big garden center, stores such as Home Depot and Lowe’s stock starter kits in the pruning aisle each spring. A smaller nursery may give better advice for the same money, so it pays to ask.
Care and Upkeep
Pruning is a habit, not a single event. Mark it on the calendar for late winter each year, and the job gets easier every season. A tree pruned yearly needs only light touch-ups. A tree ignored for five years needs a rescue operation.
After each pruning session, clean up. Gather the cut branches and move them away from the tree. Piles of brush under the tree invite mice and shelter disease through the winter. Chips make fine mulch if your chipper handles them, or the brush can go to the curb for yard waste day.
Feed the tree in early spring with a balanced fertilizer if your soil test calls for it. Water deeply during dry spells in the first two years after planting. After that, most established fruit trees need water only in long droughts. Keep a ring of mulch around the base, a few inches deep and a few inches away from the trunk, to hold moisture and keep the mower away from the bark. The gardeners at Gardener’s Supply Company keep excellent notes on mulching, and the planting guides at Burpee cover feeding schedules for common fruit varieties.
Watch the tree through the summer. Note which limbs carry the most fruit and which stay bare. Those notes make next winter’s pruning smarter. Keep your tools clean between sessions, oil the moving parts, and hang them dry. A tool that is ready to hand gets used; a rusty tool in a damp corner does not.
Safety
Pruning is safe work if you respect two things: sharp blades and high limbs.
Wear gloves every time. Thick leather gloves stop most nicks. Wear eye protection when cutting overhead; a falling twig or a snap-back branch can scratch a cornea. Long sleeves protect your arms from rough bark. Sturdy boots keep you steady on soft ground.
Never cut above your head with a saw while standing on a ladder rung you cannot hold with one hand. If a limb is too high to reach safely from the ground with loppers, call a professional with the right equipment. Falls from ladders cause more pruning injuries than blades do. The safety pages at Bob Vila lay out ladder rules for home gardeners in plain terms worth reading before you climb.
Cut away from your body. Keep the free hand clear of the blade path. Work in daylight, and stop when you are tired. Most accidents happen at the end of a long session, when care slips. A tree can wait for tomorrow.
Frequently Asked Questions
How much can I cut off a fruit tree at once? For a healthy tree, never take more than a quarter of the living wood in one year. On an old, neglected tree, spread the restoration over two or three winters. The tree responds to small, steady changes far better than to one big shock.
My tree did not bear fruit this year. Will pruning help? It can, but fruiting has many causes. A young tree may simply be too young. Late frosts kill blossoms. Too much nitrogen fertilizer grows leaves at the cost of fruit. Pruning helps by letting light into the fruiting wood, and thinning the fruit set helps the rest ripen. Give the tree a full season after good pruning before you judge.
Should I paint or seal pruning cuts? No. Modern practice is to leave cuts open to the air. The tree seals its own wounds with callus tissue. Sealants trap moisture and slow healing. The one exception is fire blight on pears and apples, where some growers seal cuts during the growing season. In winter, leave every cut bare.
When should a beginner prune a peach tree? Prune peaches in late winter like other fruits, but some growers wait until after bloom in areas where bark diseases are common. Peaches also need harder annual thinning than apples. If in doubt, prune lightly and watch how the tree responds that summer.
What is the difference between thinning cuts and heading cuts? A thinning cut removes a whole branch back to its base or to a side limb. It opens the tree and lets in light. A heading cut shortens a branch partway, cutting just above a bud. It makes the branch bushier. Beginners use thinning cuts most, and heading cuts to shape young limbs.
Can I prune in summer at all? Light summer pruning is fine and even useful. Rub off water sprouts with your thumb while they are still soft. Cut back overly vigorous shoots to slow them down. Just save the heavy structural work for late winter, when the tree is asleep and its shape is easy to see.
A Final Word
Every good orchard started with a beginner holding a pair of shears and feeling unsure. The tree does not need perfection. It needs a clear shape, clean cuts, and a patient hand that comes back each year. Cut less than you think you should. Look more than you cut. The tree will teach you the rest, one winter at a time.
References
Bob Vila. (n.d.). Home improvement advice. https://www.bobvila.com Burpee. (n.d.). Seeds, plants, and gardening supplies. https://www.burpee.com Consumer Reports. (n.d.). Product reviews and ratings. https://www.consumerreports.org Corona Tools. (n.d.). Garden and landscape tools. https://www.corona-tools.com Family Handyman. (n.d.). DIY home repair and maintenance. https://www.familyhandyman.com Fiskars. (n.d.). Garden and cutting tools. https://www.fiskars.com Gardener’s Supply Company. (n.d.). Gardening tools and supplies. https://www.gardeners.com Lowe’s. (n.d.). Home improvement products. https://www.lowes.com The Home Depot. (n.d.). Home improvement products. https://www.homedepot.com The Spruce. (n.d.). Home and garden advice. https://www.thespruce.com
Was this guide helpful?

About Jennifer Lee
The My Garden US editorial team writes practical, in-depth home and garden guides for American homeowners — tested advice, no fluff.