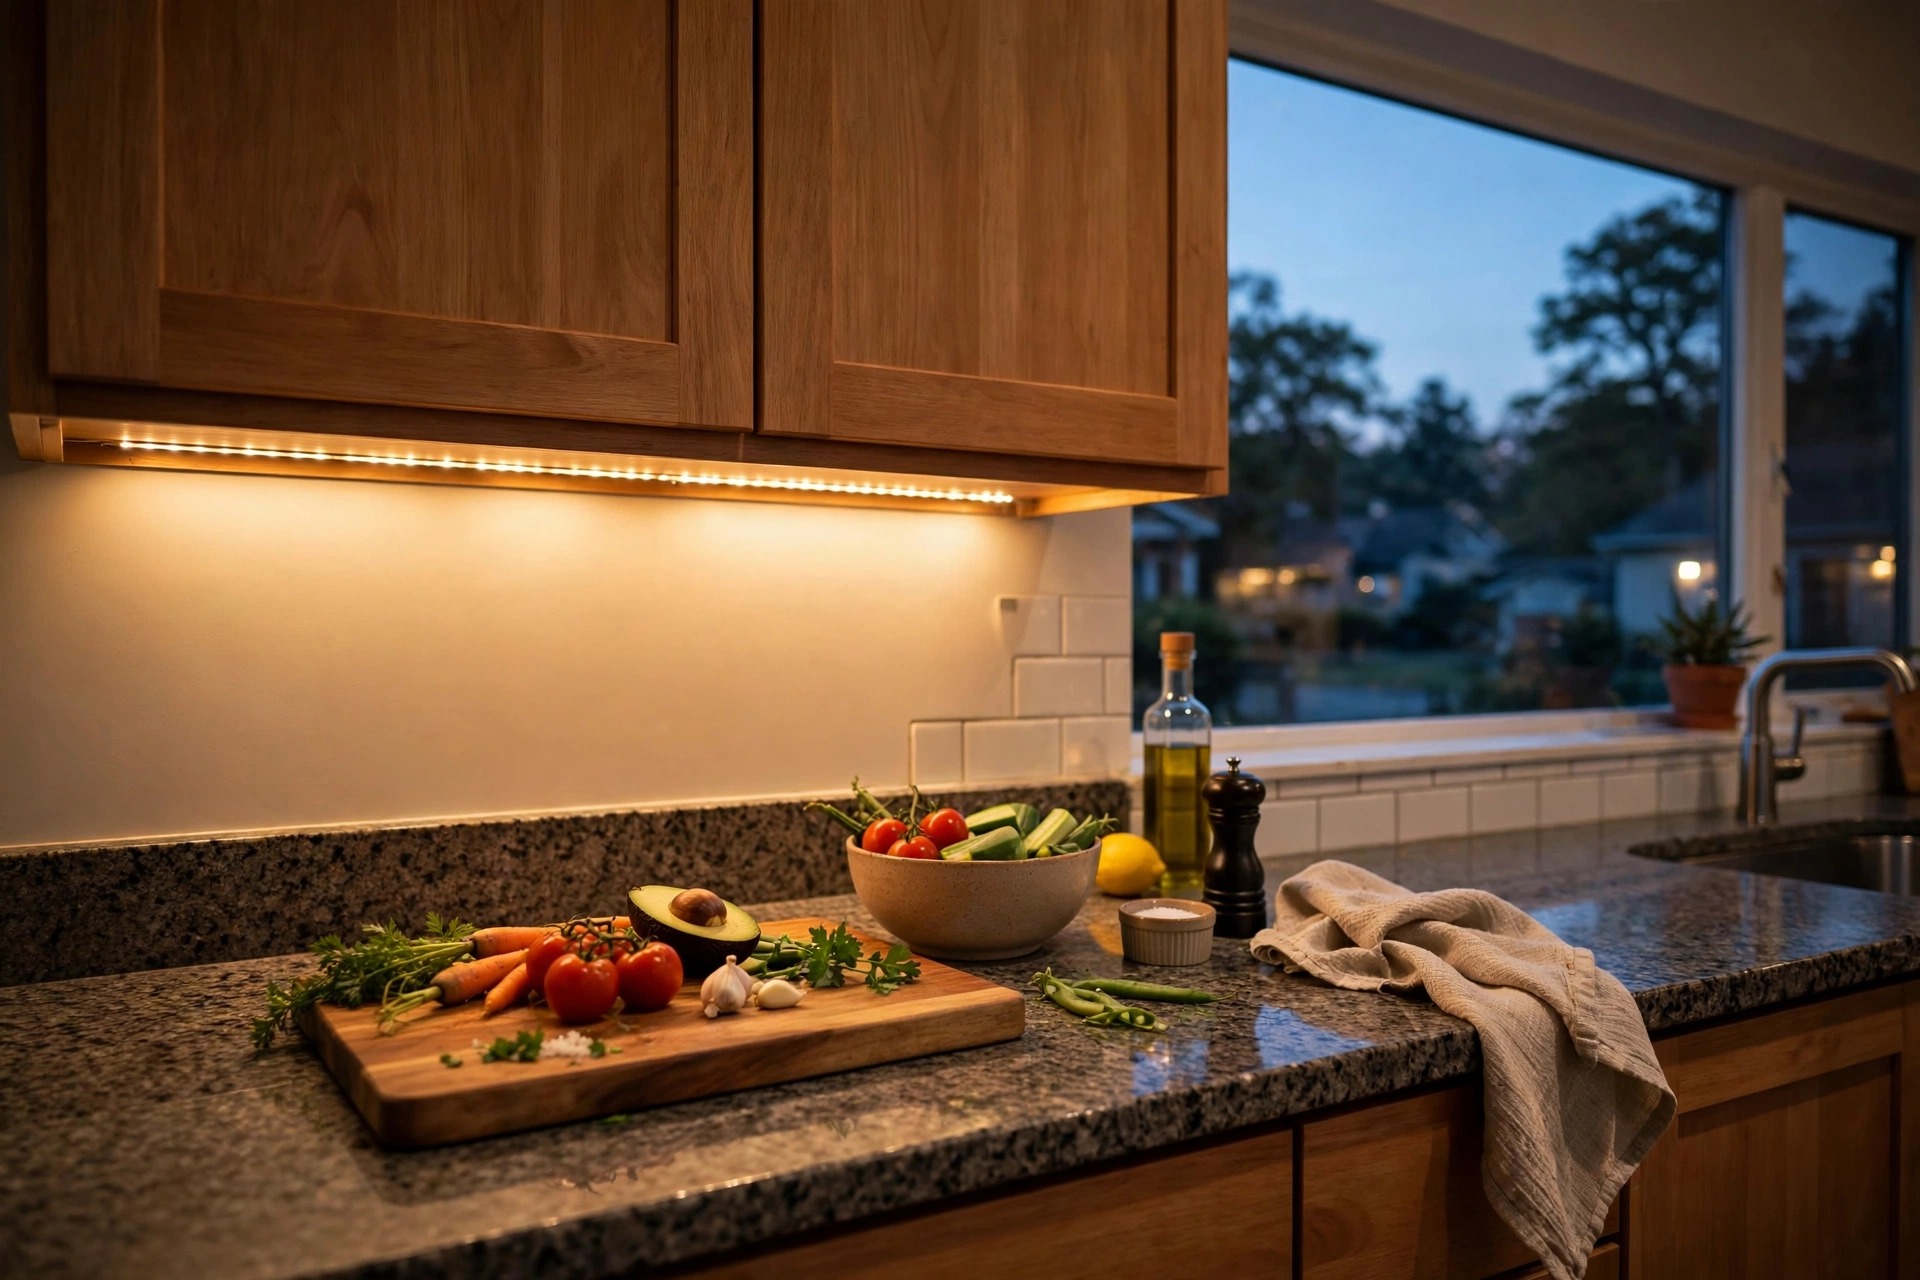

This under cabinet strips american homes guide was written for one plain reason. Kitchens in American homes are often too dark where it matters most. The overhead light sits high on the ceiling. The upper cabinets throw shade on the counter. Knife work, reading a recipe, and cleaning up all happen in that shadow. A small strip of light under each cabinet fixes the problem. It costs less than most people expect. It takes an afternoon to install. It changes the feel of the whole kitchen.
Under cabinet strips are narrow bars or tapes of light that mount on the underside of wall cabinets. Most use LED lights. They run on low power. They come in many lengths. Some plug into a wall outlet. Some wire into the house current. Some run on batteries. The choice sounds complex. It is not. Once you know the basic types and what to watch for, the right choice is easy.
Why Under Cabinet Strips Matter
Task light is the part of home lighting that most homes get wrong. A ceiling fixture lights the room. It does not light the work. The counter under a wall cabinet sits in a band of shade for most of the day. Homeowners respond by working under a dim patch or by moving everything to the island. Neither is good. Eye strain builds up. Cuts happen. Details get missed when wiping a counter or reading a label.
A strip under the cabinet puts light where the hands work. It adds a warm layer that makes the kitchen feel finished at night. Real estate agents have long known that a well lit kitchen photographs better and shows better. Buyers read brightness as care. A dark kitchen reads as dated. A few well placed strips can make a twenty year old kitchen look new after dark.
There is also a safety gain. Spills show up faster. Steps around the stove are clearer. Older adults, who need more light than young eyes to see the same detail, gain the most. Many families install these strips after a parent moves in. The light is cheap. The fall it prevents is not.
How to Choose the Right Strips: Under Cabinet Strips American Homes Guide
The right choice rests on a handful of plain facts. Start with what you need the light for, then match the strip to the job.
Light Color and Brightness
Light color is measured in kelvin. Low numbers look warm and amber. High numbers look cool and blue. Kitchens in American homes usually suit 2700K to 3000K. This is warm white. It matches most ceiling bulbs. It makes food look natural. Cool white at 4000K to 5000K looks harsh in a wood kitchen. It suits a modern steel and glass room better.
Brightness is measured in lumens. A strip for a cutting station needs more lumens than a strip meant only for evening mood. Look for strips rated at least 200 lumens per foot for task work. For simple accent light, half that is fine. Product pages list lumens. Read them. Guides on lighting basics explain these terms in plain words.
Power Source and Controls
Three power types cover the whole market.
Plug-in strips plug into a standard outlet. They are the easiest choice. The cord must reach an outlet, which may need a power strip behind the toaster. Many renters choose this type.
Hardwired strips connect to the house wiring through a junction box. They hide every cord. An electrician is wise for this job. Many homeowners use them in a remodel.
Battery strips stick on and run on AA or rechargeable cells. No cords at all. Batteries need swaps every few months. They suit a single cabinet or a test run before a bigger install.
Controls matter as much as power. A simple on-off switch works. A dimmer is better. Most cooking needs full light. Late night snacks do not. Motion sensors turn strips on when a hand nears. Timers shut them off. Pick the control you will actually use.
Types and Options
The market breaks into a few clear groups.
LED tape light is a thin flexible strip with small lights along its length. It cuts to size at marked points. It bends around corners. It is the most common choice for full runs of cabinets. It mounts with adhesive or with clips in an aluminum channel. The channel adds a clean look and helps the lights last longer by moving heat away.
LED light bars are rigid bars in fixed lengths. They give even light with no hot spots. Bars snap together in a row. They suit cabinets in standard widths.
Puck lights are small round disks. One puck lights a small circle. Three or four pucks can cover a counter. They are the classic choice for glass front cabinets where a bar would look wrong.
Fluorescent under cabinet fixtures still exist. They run cool and cheap. LED models beat them on life and color now. Few buyers choose fluorescent in new installs.
Color changing strips add a new option. RGB tape shifts through colors and white tones. A warm white setting suits daily cooking. A soft blue or amber glow suits a party or a late movie. These strips cost a little more and need an app or a small remote. They please families that like a mood light for the evening.
Smart strips link to a home hub or a voice helper. You speak a short command and the light turns on or dims. The setup takes some patience. The daily use is simple. Seniors and those with limited hand strength often like this type best.
For rooms beyond the kitchen, the same rules apply. A desk, a laundry room, or a bookshelf gains the same way. Guides on home office lighting show how task light lifts a work space. If you are lighting plants indoors instead of counters, read our page on indoor grow lights reviews buying guide usa for the different light rules plants need.
Cost and Price
Prices are kind. A basic LED tape kit of sixteen feet costs less than a dinner out. Name brands cost more and last longer. A full kitchen with quality bars or channel mounted tape, plus a dimmer, often lands in the low hundreds. Hardwired installs add the cost of an electrician.
Running cost is tiny. LEDs use little power. A full run of strips costs a few dollars a year to run. The federal ENERGY STAR program lists qualifying models that meet set marks for life and color. The Energy Department notes that LED light uses far less power than old bulbs and lasts many times longer. Retailers such as Home Depot and Lowe’s stock full ranges, so prices are easy to compare side by side.
Buy one test strip first. Mount it under one cabinet. Live with it for a week. Then buy the rest in the same brand and color. Mixed brands look patchy.
Care and Upkeep
Upkeep is small but real. Grease rises from the stove and settles on everything, strips included. Wipe the lens with a damp cloth every few months. A dry film cuts light by a surprising amount. Use no harsh cleaners on the lens. Mild dish soap and water is enough.
Dust the top of the cabinets too. A thick layer of dust can drift down onto the strip. A quick pass with a dry cloth each season keeps the light clear. If the strip sits in a channel, pull the lens cover off once a year and wipe inside. Grease hides there.
Check the dimmer and remote now and then. Buttons wear out. Batteries in remotes die. A strip that flickers may only need a new cell in the remote, not a new strip.
Check mounts once a year. Adhesive tape softens with heat and steam. A strip that droops onto the counter is a fire risk near a stove. Clips and channels hold better than tape alone. Replace any power cord that shows wear. Unplug a plug-in strip before cleaning its lens.
LED strips dim slowly with age. After five to ten years they may look weak. Replacing a tape run is simple. Keep the receipt and the brand name so the new strip matches the old color.
Safety
Light strips are low voltage in most cases. That does not make them risk free.
Keep strips away from water sources. A strip over the sink needs a damp rated model. Read the rating on the box. IP ratings tell you what the strip can face. An IP20 strip suits dry counters only. An IP65 strip takes splashes.
Do not trap cords under doors or rugs. Do not daisy chain more strips than the maker allows. Each kit lists a max run length. Past that point, the wire heats up.
Hardwired work means house current. Turn off the breaker. Test that the circuit is dead. If any step feels unclear, call an electrician. An hour of labor is cheaper than a shock.
Battery models need care too. Cheap cells leak. Use name brand cells or the rechargeable pack the maker sells. Recycle dead cells at a store drop box.
The Consumer Product Safety tradition of checking ratings and recalls applies here too: buy listed products from known makers and check for recalls before install.
Common Questions
Do under cabinet strips add value to a home? They add appeal, which often adds value. A bright kitchen shows well. Appraisers do not add a line for strips. Buyers do pay more for homes that feel cared for. Treat strips as a low cost upgrade with strong payback in daily use.
Can I install them myself? Plug-in and battery models, yes. The work needs a tape measure, a level, and basic care. Hardwired models should go to an electrician or to a handy homeowner who knows house wiring and local code. When in doubt, hire help.
What color temperature is best for a kitchen? Warm white at 2700K to 3000K suits most American kitchens. It matches warm ceiling bulbs and wood tones. Neutral 3500K suits white and gray kitchens. Cool white above 4000K suits task rooms and modern designs.
How long do LED under cabinet strips last? Good LED strips last 25,000 to 50,000 hours. At three hours a day, that is 20 years or more. Cheap strips fail sooner. Heat is the enemy. Mount in an aluminum channel for the longest life.
Do they work in rentals? Yes. Battery and plug-in strips leave no marks if mounted with removable adhesive or small clips. Keep the original parts. Remove the strips when you move. Landlords rarely object to better light.
Should the strips be on a dimmer? A dimmer is worth the small extra cost. Full light suits cooking and cleaning. Low light suits late evenings. Many kits include a hand wave dimmer. If you light outdoor paths instead of counters, our landscape spot lights texas homes usa page covers the outdoor rules, and our sensor porch lights texas homes usa page covers motion control ideas that work indoors too.
A Final Word
Under cabinet strips are one of the rare home upgrades that cost little, install fast, and please every day. Pick warm white. Size the brightness to the task. Mount with care. For brand choices and style ideas, browse the maker and lighting guides at Philips and Lamps Plus. Keep cords clear and water away. Live with a test strip before you buy the full run. The kitchen will look better, work better, and feel safer. That is all the reason a homeowner needs.
References
ENERGY STAR. (n.d.). Energy efficient products. https://www.energystar.gov Lamps Plus. (n.d.). Lighting and home decor. https://www.lampsplus.com Lowe’s. (n.d.). Home improvement products. https://www.lowes.com Lumens. (n.d.). Lighting and ceiling fans. https://www.lumens.com Philips. (n.d.). Lighting products. https://www.philips.com The Home Depot. (n.d.). Home improvement products. https://www.homedepot.com The Spruce. (n.d.). Home and garden advice. https://www.thespruce.com U.S. Consumer Product Safety Commission. (n.d.). Product safety information. https://www.cpsc.gov U.S. Department of Energy. (n.d.). Energy efficiency and renewable energy. https://www.energy.gov
Was this guide helpful?

About Michael Thompson
The My Garden US editorial team writes practical, in-depth home and garden guides for American homeowners — tested advice, no fluff.
You May Also Like
Under Cabinet Strips California Homes USA: A Plain Buying Guide
October 2, 2026 0 views
WiFi Smart Bulbs for California Homes: A Full Buyer’s Guide
July 10, 2026 0 views
Indoor Grow Lights: Where to Buy Them in the USA
August 7, 2026 0 views