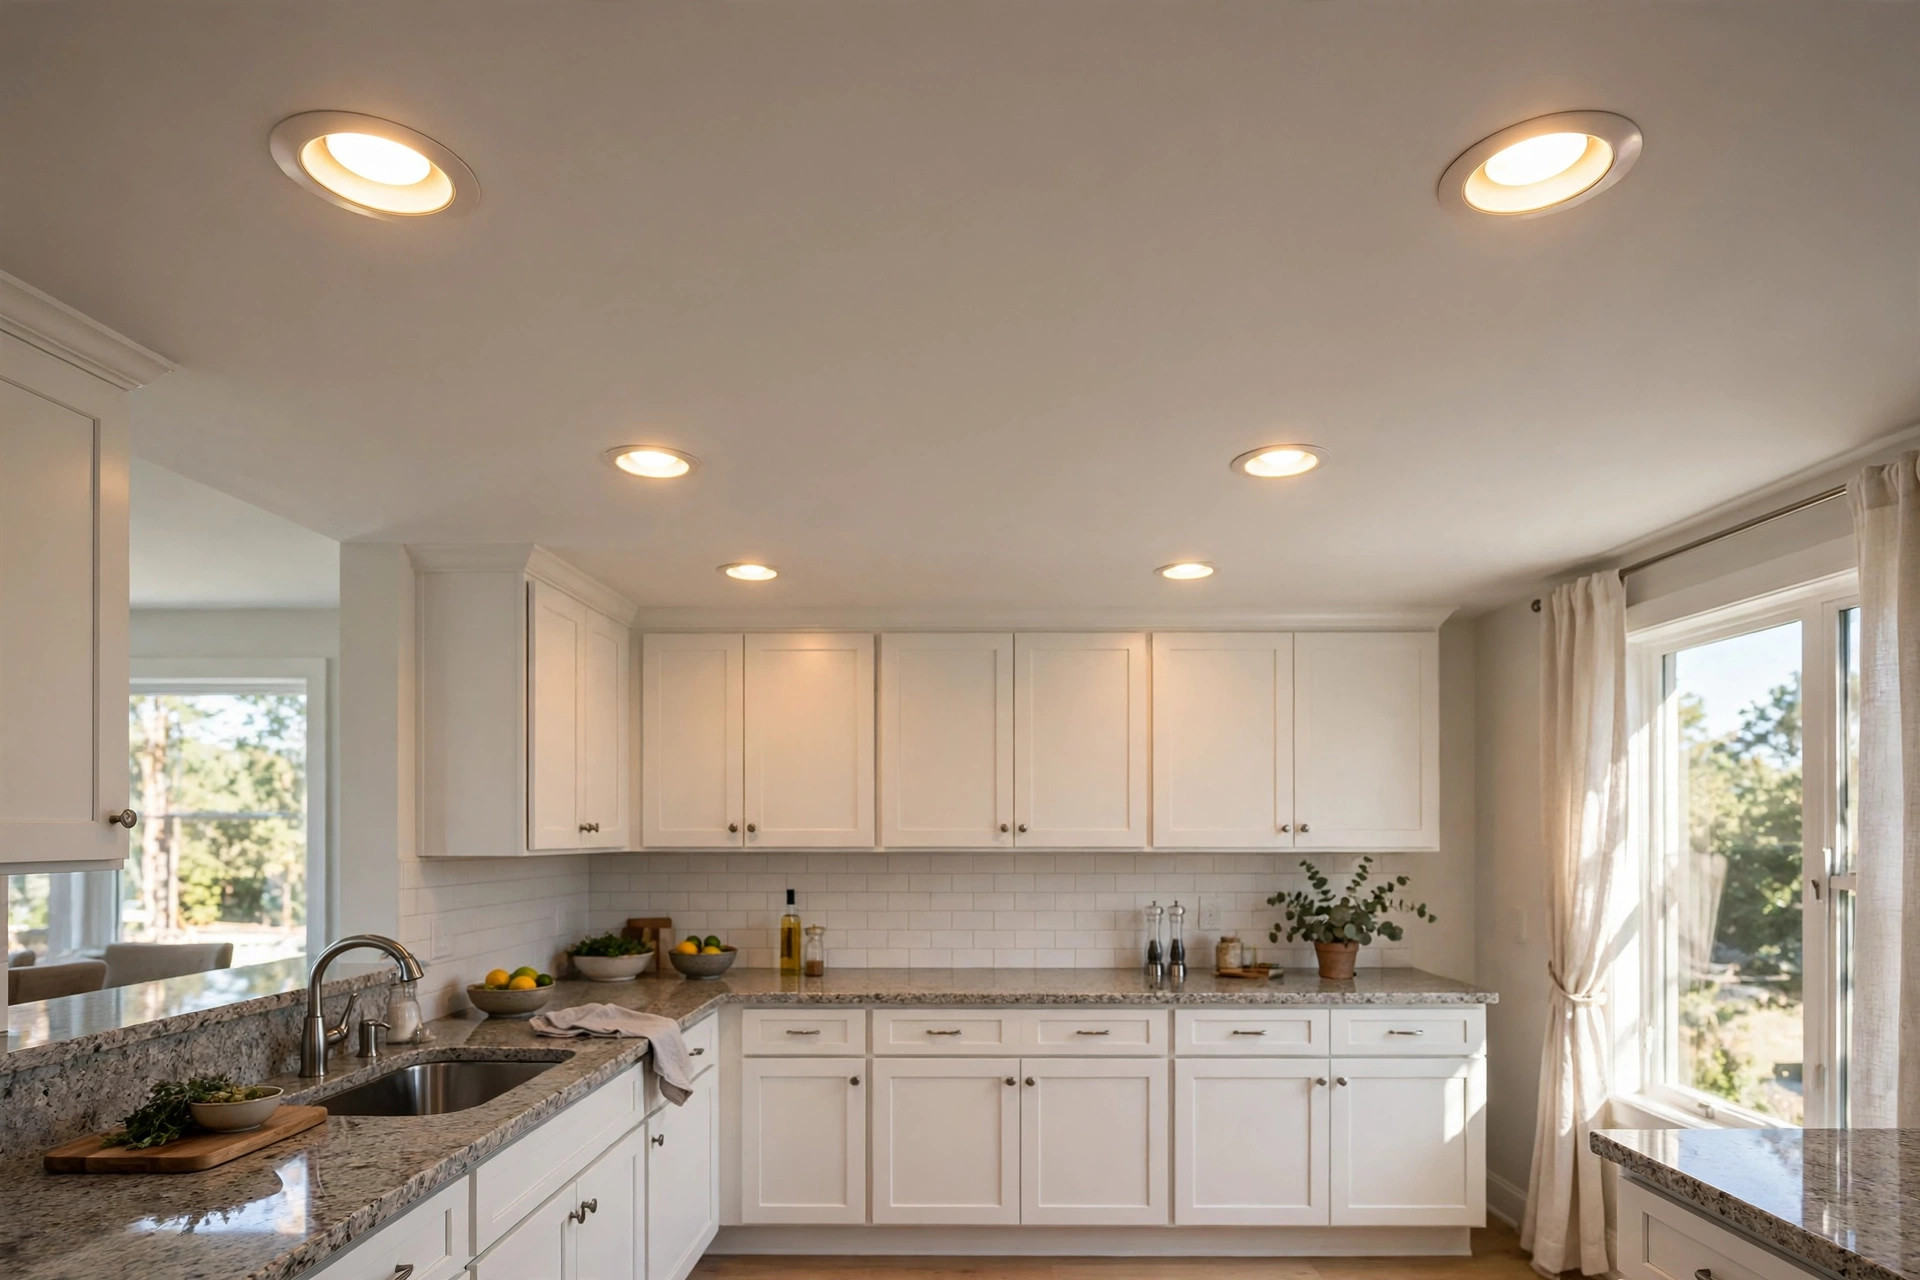

This led recessed lights installation guide usa is written for the ordinary home owner. Recessed lights sit flush with the ceiling. They give clean light without a hanging lamp or shade. Many homes in the United States use them in kitchens, living rooms, halls, and basements. This guide shows what they are, what you need, how to put them in, what they cost, and how to stay safe while you work.
Why Recessed Lights Matter
Recessed lights are also called can lights or down lights. The lamp sits inside the ceiling. Only a small trim ring shows at the surface. This makes the room feel larger. There is nothing to bump into. There is nothing to dust around.
LED versions use far less power than old incandescent cans. A 10-watt LED can give as much light as a 65-watt old bulb. That cuts the electric bill. LED lamps also last longer. Most makers claim 25,000 to 50,000 hours. In a normal home, that can mean 10 to 20 years of use.
Recessed lights also suit new homes and old ones. You can add them during a remodel. You can also add them in a finished room with a retrofit kit. This guide covers both kinds of jobs.
What Changes When You Switch to LED
Old recessed housings hold screw-in bulbs. LED retrofit kits fit into those same housings. You remove the old bulb and trim, then clip in the LED module. The result looks new. It uses less power. It makes less heat.
New construction LED kits are thin. They need only a small gap above the ceiling. They work with insulation nearby if they carry an IC rating. That rating is printed on the box.
What to Look For When You Choose LED Recessed Lights: Led Recessed Lights Installation Guide Usa
Not all kits are the same. A few terms matter. Learn them before you buy.
Size
Common sizes are 4 inch and 6 inch. The size tells the width of the opening in the ceiling. Four-inch lights suit halls and baths. Six-inch lights suit kitchens and living rooms. Pick one size for a room. Mixed sizes look odd.
Brightness and Color
Brightness is measured in lumens. A kitchen needs about 700 to 1,000 lumens per light. A hall needs less, about 400 to 600 lumens.
Color is measured in Kelvin. Warm white is 2700K. It feels like old bulbs. Bright white is 3500K to 4000K. Daylight is 5000K. Most home owners pick 2700K or 3000K for living areas. Kitchens often use 3500K or 4000K for a cleaner look. Many kits now let you choose the color with a small switch before you mount them.
IC Rating and Damp Rating
IC stands for insulation contact. An IC-rated kit can touch insulation safely. A non-IC kit needs space around it. If you cannot see above your ceiling, buy IC-rated kits. They cost only a little more.
Damp-rated kits suit baths and covered porches. Wet-rated kits suit open porches and showers. Check the box before you install a light in a bath.
Dimmable or Not
Many LED kits dim well. Some do not. The box must say “dimmable.” If you want dimmers, check that the kit works with your dimmer type. Old dimmers made for incandescent bulbs can make LEDs flicker. A dimmer made for LEDs solves this.
Tools and Materials You Will Need
Gather these before you start:
– LED recessed light kits (one per opening) – A stud finder – A tape measure and pencil – A drywall saw or hole saw of the right size – A wire stripper – Wire nuts – A non-contact voltage tester – Safety glasses and a dust mask – A stable ladder – A screwdriver
If you run new wire, you will also need electrical cable (usually 14/2 or 12/2 NM cable) and cable staples. If you only retrofit old housings, you need far less.
Step by Step: How to Install LED Recessed Lights
Step 1: Plan the Layout
Mark the ceiling with pencil. Space lights about 4 to 6 feet apart. Keep them at least 2 feet from walls so the light falls well. In a kitchen, line them up with the counters. Aim for even spacing. Do not place a light where a joist runs. Use a stud finder to check.
Step 2: Turn Off the Power
Go to the breaker box. Switch off the breaker for that room. Test the wires with a non-contact voltage tester before you touch anything. Tell others in the house to leave the breaker alone while you work.
Step 3: Cut the Openings
Trace the template from the kit box on the ceiling. Cut along the line with a drywall saw. Work slowly. Wear safety glasses and a dust mask. Drop a light into the hole to check the fit before you wire it.
Step 4: Run the Wiring
This step differs by job type.
New install: Run cable from the switch to the first light, then from light to light. Leave about 12 inches of cable at each opening. Staple the cable to joists where you can reach them.
Retrofit install: Most retrofit kits have a screw-in adapter. You screw it into the old socket. Then you connect the LED module with a plug. No new wiring is needed.
If you must add a new circuit or you are unsure about wiring, call a licensed electrician. That is the safe choice.
Step 5: Connect the Wires
Match black to black (hot), white to white (neutral), and bare copper to bare copper (ground). Twist wire nuts on tight. Tug each wire to be sure it holds. Tuck the wires into the junction box on the kit. Close the box cover.
Step 6: Mount the Light
Push the LED module up into the opening. Most kits have spring clips. They snap into place and hold the light flush. If the kit has a trim ring, press it on last.
Step 7: Restore Power and Test
Turn the breaker back on. Flip the switch. Check each light. If one does not light, turn the power off again and check its connections.
Types of LED Recessed Lights
New Construction Housings
These are metal cans mounted to joists before the ceiling goes up. They suit new builds and full remodels. They cost more to install because the ceiling must be open.
Retrofit Kits
These fit into existing cans. They are the easiest upgrade. You keep the old housing. You swap in the LED module and trim. Most home owners can do this in minutes per light.
Wafer or Canless Lights
These are thin disks with a remote junction box. They need only a round hole in the ceiling. No can is needed. They work well in finished rooms where you cannot open the ceiling. They also work in shallow ceilings.
Gimbal and Adjustable Kits
These let you tilt the lamp. They suit art walls and reading corners. They cost more than fixed kits.
Cost and Price in the USA
Prices vary by type and brand. A single LED retrofit kit costs about $10 to $30 at stores like Home Depot and Lowe’s. A wafer kit costs about $15 to $40. A full new-construction housing with LED trim costs about $20 to $50.
Labor is the larger cost. An electrician in the United States often charges $100 to $250 per light for a new install. A full room with six lights can run $600 to $1,500 with labor. Retrofit kits you install yourself cost only the price of the kits. Prices also rise when walls are closed and wire must be fished. Open ceilings during a remodel keep labor lower. Always get two or three quotes before you hire.
Energy cost is low. A 10-watt LED run 5 hours a day uses about 18 kWh a year. At 15 cents per kWh, that is under $3 a year per light. The ENERGY STAR site lists certified models that meet set efficiency rules.
Care and Upkeep
LED recessed lights need little care. Wipe the trim with a dry cloth once or twice a year. Do not spray cleaner into the lamp. Keep insulation off non-IC housings. Check now and then that trims sit flush. A trim that sags can let warm air leak into the attic.
If a light flickers, first check the dimmer. Replace an old dimmer with one made for LEDs. If the light still flickers, the kit may be faulty. Most kits carry a 3 to 5 year warranty. Keep your receipt.
LED lamps do not burn out like old bulbs. They fade slowly over many years. When light output drops by a third, it is time to replace the module.
Safety Rules You Must Follow
Work with power off. Test wires before you touch them. Use a sturdy ladder. Wear safety glasses when you cut drywall. Dust masks help too.
Keep insulation away from non-IC cans. Hot cans near insulation can start a fire. The U.S. Department of Energy notes that proper sealing of recessed lights also cuts energy loss into the attic.
In baths, use damp or wet rated kits. Water and plain kits do not mix. If a light sits above a shower, it must be wet rated.
Follow local electrical code. In many towns, new circuits and new switches need a permit and an inspection. When in doubt, hire a licensed electrician.
Where to Learn More
For buying advice on matching fixtures, see our kitchen track lighting buying guide, under cabinet strips buying guide, and indoor wall sconces buying guide. Retailers like Lumens and Lamps Plus carry wide ranges of recessed kits. Lighting guides at The Spruce explain beam spread and trim styles in plain terms. Philips publishes specs for its LED downlight lines.
FAQ
How many recessed lights do I need in a room?
A common rule is one light per 25 to 50 square feet. A 200 square foot kitchen might need 4 to 8 lights. Start with even spacing of 4 to 6 feet. Add more for dark corners or task areas like counters.
Can I install recessed lights without attic access?
Yes. Wafer or canless LED kits work from below. You cut a hole, pull wire to it, and push the kit in. You need a way to run wire, which is the hard part. A fish tape helps pull cable through closed ceilings.
Do LED recessed lights need a special dimmer?
Most do best with a dimmer made for LEDs. Old dimmers can cause flicker, buzz, or a small lit range. Check the kit box for a list of tested dimmers. Match the dimmer type to the kit.
How long do LED recessed lights last?
Makers rate them for 25,000 to 50,000 hours. At 5 hours a day, that is 13 to 27 years. Heat shortens life. Good airflow above the ceiling helps them last longer.
Can I put recessed lights in an insulated ceiling?
Yes, if the kit is IC rated. IC means the housing can touch insulation. Never pack insulation tight around a non-IC can. Read the label on the box before you buy.
Are recessed lights hard on the electric bill?
No. LED recessed lights are among the cheapest lights to run. Each one costs about $2 to $4 a year at normal use and normal rates. An old 65-watt can costs about five times more to run.
A Final Word
LED recessed lights are a sound upgrade for most American homes. They look clean. They last long. They cost little to run. A retrofit kit is a simple weekend job. A new install takes more skill, and an electrician is worth the fee when wiring must run through closed walls. Plan the layout, buy IC-rated dimmable kits, turn off the power, and work with care. The result is even light that serves the room for many years.
References
ENERGY STAR. (n.d.). Energy efficient products. https://www.energystar.gov Lamps Plus. (n.d.). Lighting and home decor. https://www.lampsplus.com Lowe’s. (n.d.). Home improvement products. https://www.lowes.com Lumens. (n.d.). Lighting and ceiling fans. https://www.lumens.com Philips. (n.d.). Lighting products. https://www.philips.com The Home Depot. (n.d.). Home improvement products. https://www.homedepot.com The Spruce. (n.d.). Home and garden advice. https://www.thespruce.com U.S. Department of Energy. (n.d.). Energy efficiency and renewable energy. https://www.energy.gov
Was this guide helpful?

About Jennifer Lee
The My Garden US editorial team writes practical, in-depth home and garden guides for American homeowners — tested advice, no fluff.
You May Also Like

Dining Room Chandeliers Where to Buy USA: A Plain Guide
March 9, 2026 0 views
Motion Flood Lights California Homes USA: A Guide to Safe Outdoor Light
January 3, 2026 0 views
Sensor Porch Lights Florida Homes USA: A Practical Buying Guide
March 5, 2026 0 views