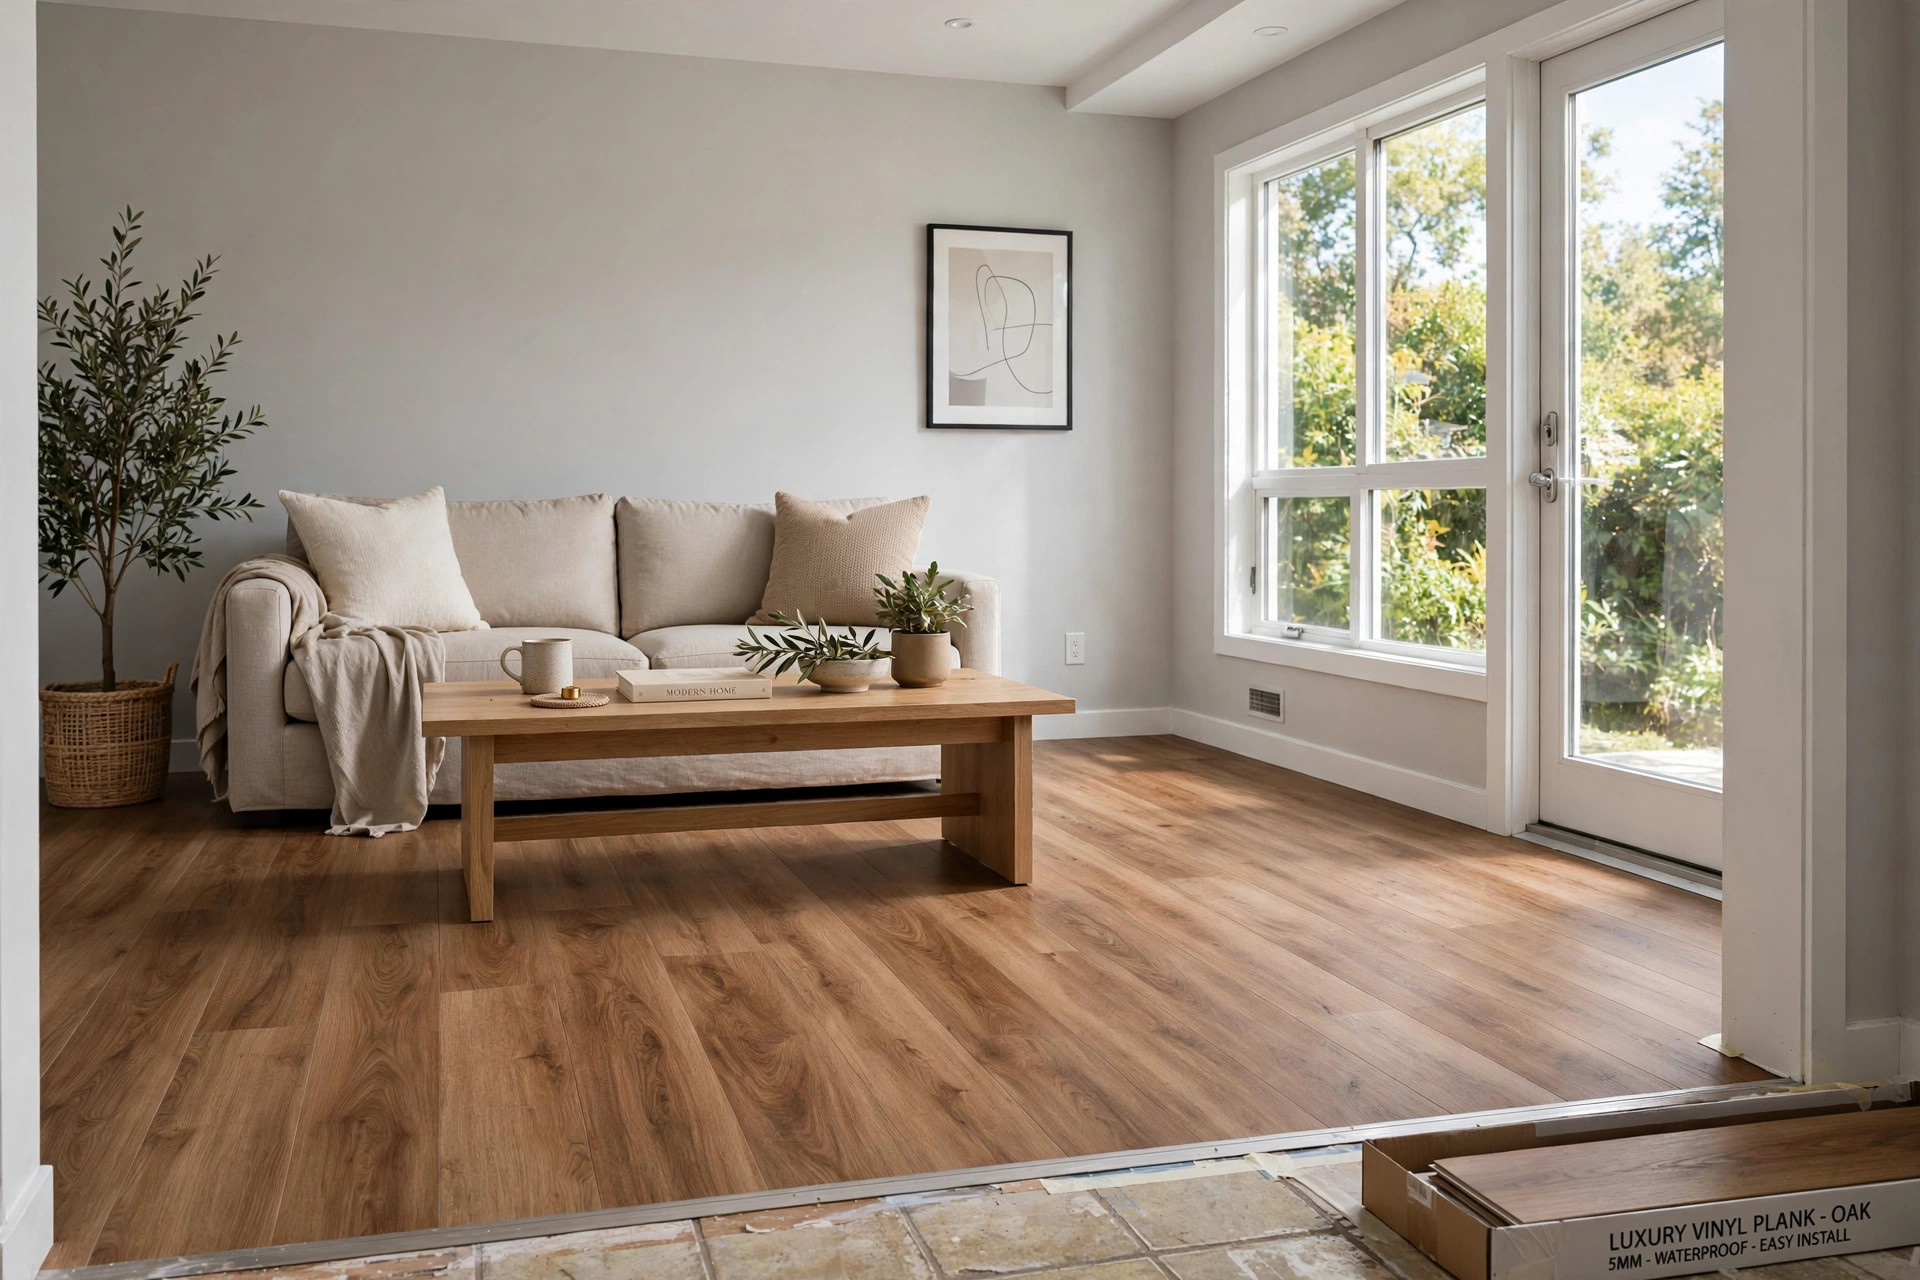

Installing vinyl plank over tile is one of the smartest ways to renew an old floor. Tile floors last a long time, but their style can age. Tearing tile out is loud, dusty, and costly. Laying vinyl plank on top skips that mess. This guide walks you through the full job in plain words. It covers when the job makes sense, what tools you need, each step in order, and what it costs across the United States.
Why Installing Vinyl Plank Over Tile Makes Sense
Old tile is often still strong under its surface. The glaze may be dated and the grout stained, but the base is hard and flat. That base makes a fine bed for vinyl plank. You save days of work by leaving the tile in place. You also avoid the cost of hauling broken tile to a dump.
Vinyl plank brings warmth that tile cannot give. Many products now look very close to real wood. They feel softer underfoot and hold less cold in winter. A kitchen or entry that felt hard and chilly can feel new with one change.
The job also fits many budgets. Vinyl plank is among the least costly hard floors you can buy. Most types are built to resist water, so they suit kitchens, baths, and laundry rooms. Readers who want to compare top brands may find our look at luxury vinyl plank flooring reviews useful before they buy.
What to Know Before You Begin: Installing Vinyl Plank Over Tile Guide Usa
Not every tile floor is a good base. A few checks now will save trouble later.
Check the Condition of the Tile
Walk the whole floor. Look for loose, cracked, or hollow tiles. Tap each one with the end of a broom handle. A hollow sound means the tile is not bonded well. Any tile that rocks or lifts must be re-set or removed. Small hairline cracks are fine if the tile does not move. Large cracks that shift under your foot are not fine.
Check for height changes too. Place a straight board across the floor in several spots. Gaps under the board should be small. Most vinyl plank makers allow a slope of only about three sixteenths of an inch over ten feet. More than that, and the plank joints may open or break over time.
Flatness Comes First
Tile floors are not always flat. Grout lines sit lower than the tile face. Deep grout lines can telegraph through thin vinyl and show as lines after a few months. The fix is simple. Fill the grout lines and low spots with a floor patch or self-leveling compound. Let it cure fully. Then the surface should feel like one sheet.
Cleanliness matters as much as flatness. Old wax, grease, and soap film can stop underlayment and adhesive from holding. Scrub the tile with a strong floor cleaner. Rinse well. Let the floor dry for a full day. Advice on proper subfloor prep can also be found in the guides at This Old House, which cover many kinds of floor work.
The Tools and Materials You Will Need
Gather everything before the first cut. A mid-job trip to the store costs time and breaks your rhythm.
You will need vinyl plank, underlayment if your plank needs it, floor patch compound, a tapping block, a pull bar, spacers, a utility knife with extra blades, a straightedge, a tape measure, a jigsaw for curves, a pencil, a rubber mallet, knee pads, and transition strips for doorways.
Buy ten percent more plank than your room measures. Cuts waste material, and a few boards may arrive with flaws. Keep one full spare box after the job. If a board is ever damaged, you will have a match.
Step by Step: How to Install Vinyl Plank Over Tile
Step 1: Clean and Prepare the Tile
Sweep the floor, then vacuum it with a hard floor tool. Scrub off grease near stoves and soap scum near tubs. Rinse with clean water and let it dry. Stick down any loose edge with tile adhesive and let it set.
Step 2: Fill the Grout Lines
Mix the floor patch as the bag directs. Trowel it into the grout lines and across low spots. Keep the layer thin. Let it cure for the time the maker states, often several hours. Sand any high spots lightly. Vacuum the dust. This step is what makes the new floor look smooth and professional.
Step 3: Lay Underlayment
Some vinyl planks come with a pad built in. If yours does not, roll out underlayment foam made for vinyl floors. Butt the edges close. Do not overlap them. Tape the seams with the tape the maker suggests. The underlayment softens foot noise and smooths tiny bumps.
Step 4: Lay the First Row
Set spacers along the wall to leave a quarter-inch gap. This gap lets the floor expand and shrink with the seasons. Start in the corner where you will see the longest full boards. Angle each board into the last one and press down until the joint locks. Many homeowners learn the locking method fast; the photo guides at The Spruce show the motion clearly.
Step 5: Cut and Fit Around Obstacles
Measure twice for every cut. Score the plank face with a utility knife, then snap it along the line. For round pipes and odd shapes, use a jigsaw. Leave the same quarter-inch gap around pipes and door frames. A pull bar helps seat the last board in each row tight.
Step 6: Add Trim and Transitions
Remove the spacers once the field is done. Cover the gap with baseboard or quarter-round molding. At doorways, fit a transition strip where the new floor meets the next room. Stand back and check the joints in good light. A tight floor has no gaps and no lifted edges.
Types of Vinyl Plank That Work Best Over Tile
Rigid core planks are the most common choice for this job. They have a stiff center layer that bridges small low spots. Within that group you will see two kinds. Stone plastic composite, called SPC, is very hard and holds up to heavy use. Wood plastic composite, called WPC, is a bit softer and warmer underfoot.
Thickness matters. A plank with a wear layer of at least twelve mil will stand up to pets and kids. For busy halls, look for twenty mil. Planks between four and eight millimeters thick in total hide small tile texture well. If you are weighing looks against wear, the review roundups at Consumer Reports test many brands side by side.
Click-lock planks suit most do-it-yourselfers. Glue-down planks give a firmer feel in large rooms, but they need a very flat base and more skill. Over tile, the click-lock type is the simpler and safer pick.
Cost and Price Guide
Prices vary by region, but the ranges below hold for most of the country in 2026.
Vinyl plank itself runs from about two to seven dollars per square foot. Budget lines sit near the low end. Thick rigid core lines with long warranties sit near the high end. Underlayment adds about fifty cents to one dollar per square foot if your plank needs it. Floor patch, spacers, and blades add roughly fifty to one hundred dollars for a whole job.
Tools you do not own can be rented or bought cheap. A tapping block and pull bar set costs under thirty dollars. A good jigsaw costs around one hundred dollars and serves many future jobs.
If you hire the work out, labor runs from about three to eight dollars per square foot in most states. Big cities cost more. Rural areas cost less. Doing it yourself on a two hundred square foot room often totals four hundred to one thousand dollars in materials. A pro job on the same room often runs one thousand to two thousand dollars. For context on what a fresh tile job costs by comparison, see our page on tile installation cost per square foot.
Care and Upkeep
Vinyl plank asks little of you, but a few habits will keep it looking new for years.
Sweep or vacuum often. Grit is the main enemy. Small stones and sand act like sandpaper under shoes. Place mats at every outside door. Lift furniture to move it; do not drag it. Felt pads under chair and table legs stop most scratches.
Mop with a damp mop, not a wet one. Use a cleaner made for vinyl floors. Skip steam mops. The heat can weaken the joints over time. Skip wax too. Modern vinyl has its own finish, and wax only dulls it. The care guides at Mohawk Flooring list cleaners that are safe for their products, and the same rules suit most brands.
Deal with spills fast. Vinyl resists water, but the joints are the weak point. Standing water that seeps into a joint can swell the core. Wipe up large spills the same day. In wet rooms, run the vent fan so damp air does not sit on the floor.
Safety Notes
A few cautions belong in every flooring job.
Wear a dust mask when you sand patch compound. Wear safety glasses when you cut plank. Knee pads save real pain on a full room. Keep the work area clear of cords that could trip you.
Check your home’s age. Tile and mastic laid before the 1980s can hold asbestos. If your floor is that old, do not sand or scrape it. Have a lab test a small sample first. The safe choice is to leave suspect tile fully covered and untouched, which this method does. The EPA site is not in this guide’s list, but testing firms in any state can run the check for a small fee.
Keep plank boxes out of direct sun while you work. Heat can warp the boards before they are laid. Let the plank sit in the room for forty-eight hours before you start. This step lets the material match the room’s heat and dampness so it will not shift later.
Frequently Asked Questions
Can you really lay vinyl plank right over tile? Yes, in most cases. The tile must be firm, bonded, and fairly flat. Loose tiles must be fixed. Deep grout lines must be filled. With that prep, vinyl plank performs well for many years.
Will the grout lines show through the new floor? They can if you skip the patching step. Thin vinyl will mirror deep grout lines over time. Filling the lines with floor patch solves the problem. Rigid core plank also hides small texture better than thin glue-down sheets.
Do I need to remove the toilet or vanity in a bath? You can cut around them, but the cleaner result comes from pulling the toilet and laying plank beneath it. Shut off the water, drain the tank, and set the toilet aside on a cloth. Replace the wax ring when you reset it. Vanities are often caulked down; many installers simply cut neatly around them.
How long does the job take? A small bath can be done in a day. A large open room often takes a weekend. Most of the time goes to prep: cleaning, patching, and curing. The planks themselves go down fast once the base is ready.
Is vinyl plank over tile good for basements? Often yes, since many vinyl planks resist moisture. But the slab under the tile must be dry. Test for dampness with a plastic sheet taped down for a day. If water beads under it, fix the moisture source first. Our guide to waterproof flooring for basements goes deeper on that choice.
Will this raise my floor height too much? Plank plus underlayment adds about a quarter to half an inch. That can affect door swing and transitions. Check door clearance before you start. You may need to trim a door bottom or use a low-profile transition strip.
A Final Word
Installing vinyl plank over tile is a project most homeowners can finish with basic tools and a free weekend. The secret is not in the planks. It is in the prep. Clean the tile well. Fix what moves. Fill the grout lines. Let everything cure. Do that work with care, and the new floor will lie flat, lock tight, and look fresh for years. Shop smart by comparing prices at big retailers like Home Depot and Lowe’s, check brand lines at Shaw Floors and LL Flooring, and read tile basics at Daltile when you want to understand the base you are covering. The step-by-step tips at Family Handyman can help if you hit a tricky cut along the way.
References
Consumer Reports. (n.d.). Product reviews and ratings. https://www.consumerreports.org Daltile. (n.d.). Ceramic and porcelain tile. https://www.daltile.com Family Handyman. (n.d.). DIY home repair and maintenance. https://www.familyhandyman.com LL Flooring. (n.d.). Hardwood, vinyl, and tile flooring. https://www.llflooring.com Lowe’s. (n.d.). Home improvement products. https://www.lowes.com Mohawk Flooring. (n.d.). Flooring products. https://www.mohawkflooring.com Shaw Floors. (n.d.). Flooring products. https://www.shawfloors.com The Home Depot. (n.d.). Home improvement products. https://www.homedepot.com The Spruce. (n.d.). Home and garden advice. https://www.thespruce.com This Old House. (n.d.). Home renovation guidance. https://www.thisoldhouse.com U.S. Environmental Protection Agency. (n.d.). Protecting human health and the environment. https://www.epa.gov
Was this guide helpful?

About Jennifer Lee
The My Garden US editorial team writes practical, in-depth home and garden guides for American homeowners — tested advice, no fluff.
You May Also Like

Tub to Shower Conversion Cost Calculator USA: A Plain 2026 Guide
April 2, 2026 0 views
Waterproof Vinyl Flooring for Kitchen Reviews: What Real Buyers Say
April 23, 2026 0 views
Tile Leveling System Reviews for DIYers USA: A Plain Guide to Flat, Even Floors
May 25, 2026 0 views