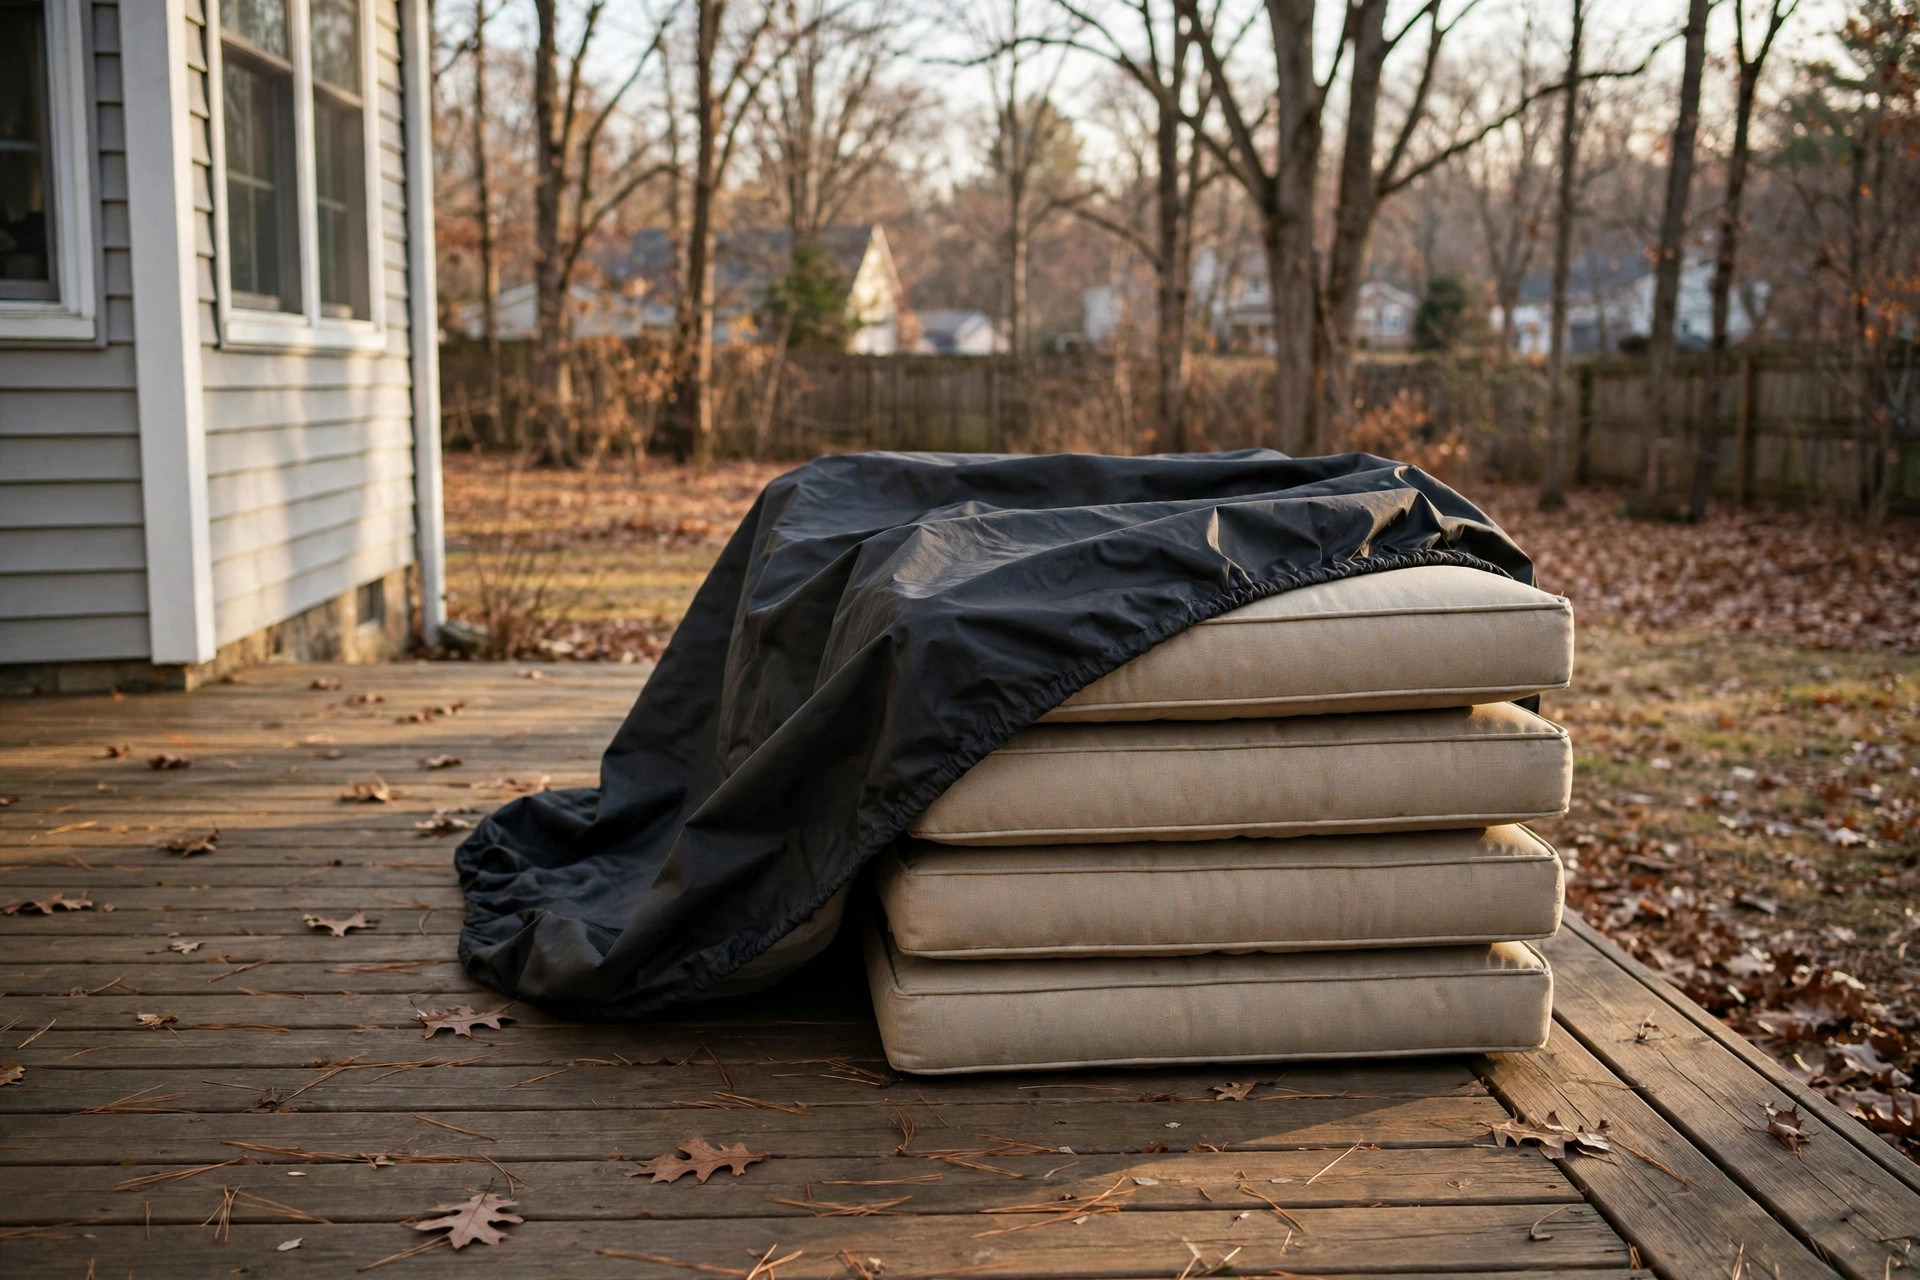

When the warm days of autumn fade, it is time to think about your patio. Learning how to winterize outdoor furniture cushions is one of the best things you can do for your yard. Winter weather can be hard on fabric. Snow, rain, and cold air can ruin cushions in a single season. Mold can grow. Foam can break down. Colors can fade.
The good news is that winterizing cushions is simple work. It takes a weekend afternoon and a few basic supplies. With the right steps, your cushions will come out of storage in the spring looking almost new. This guide will walk you through the full process, from cleaning to storage, in plain language.
Why Winterizing Your Cushions Matters
Outdoor cushions are built to handle sun and rain during the summer. They are not built to sit through months of winter. Freezing temperatures, damp air, and heavy snow can damage the fabric and the foam inside. A cushion left outside all winter may come back flat, musty, or torn.
Money is another reason. Good patio cushions cost a fair amount. Replacing a full set each spring can cost several hundred dollars. Winterizing is a small effort that protects a large purchase. It is the same logic behind caring for the rest of your patio set. As any guide on heavy duty patio covers will tell you, a little care in autumn saves a lot of cost in spring.
Cushions that are stored well also stay cleaner. Dust, pollen, and bird droppings gather over the winter. A stored cushion avoids all of that. When you open the storage box in May, the cushions will be ready to use with little work.
When to Start: Timing Your Winter Prep: How to Winterize Outdoor Furniture Cushions
Timing matters when you winterize. Most homeowners in cold regions should plan to do the work in late October or early November. The rule of thumb is simple: start before the first hard frost. Once night temperatures drop near freezing on a regular basis, the cushions should come off the furniture.
If you live in a mild climate, you may leave the cushions out longer. But even in the south, winter rain and damp air can cause mold. It is safer to store the cushions once daily use drops off. You do not need to rush. A calm Saturday with dry weather is ideal, because the cushions need to dry fully after cleaning.
Watch the forecast. Pick a stretch of two or three dry days. The cleaning step works best when the cushions can air dry in open air. Sunlight is a great helper. It kills mold spores and speeds up drying.
Step One: Clean Your Cushions Thoroughly
Cleaning is the heart of how to winterize outdoor furniture cushions. Dirt left on fabric over the winter can set into stains. Food crumbs and pollen can feed mold. Start with a full cleaning.
Shake and Vacuum First
Remove the cushions from the furniture. Take them to a clean spot on the lawn or driveway. Shake each cushion to knock off loose dirt. Then use a vacuum cleaner with a brush attachment to clean both sides. Pay attention to the seams and piping, where dust gathers. This first pass makes the wash much easier.
Wash With Soap and Water
Mix a bucket of warm water with a mild dish soap. Use about one tablespoon of soap per gallon of water. Avoid bleach and harsh cleaners, which can damage outdoor fabric. Scrub each cushion with a soft brush or sponge. Work the soap into the fabric in small circles. For a deeper guide to this step, see our article on how to clean outdoor furniture cushions.
Rinse with a garden hose. Make sure no soap remains in the fabric. Soap left behind can attract dirt and can irritate skin next season. If your cushion covers have zippers, you can take them off and machine wash them on a gentle cycle with cold water. Check the care tag first.
Treat Mold and Mildew
If you see black or green spots, treat them before storage. Mix one cup of white vinegar with one gallon of water. Sponge the mixture onto the spots and let it sit for fifteen minutes. Then scrub gently and rinse. Vinegar kills most mold without harming the fabric. For heavy mildew, a commercial outdoor fabric cleaner can help. Test any cleaner on a hidden spot first.
Step Two: Dry Them Completely
This step cannot be rushed. A cushion that goes into storage even slightly damp will grow mold. After washing, stand each cushion on its side. This lets water drain out of the foam. Press the cushions gently to push out extra water. Do not wring them, which can tear the fabric or break the foam.
Set the cushions in direct sun for at least one full day. Turn them every few hours. If the weather is cool, give them two days. Before you store anything, press your hand deep into the center of each cushion. If you feel any cool dampness, wait longer. The cushion is ready only when it feels warm and dry all the way through.
Some homeowners use a fan to speed drying. That works well in a garage. Keep the air moving and give the cushions space. Do not use a dryer or heater on high heat, which can shrink fabric and melt foam.
Step Three: Inspect and Repair
While the cushions dry, look them over. Winterizing is a good time to fix small problems. Check the seams for loose thread. Look for small tears in the fabric. Check zippers to see that they open and close smoothly.
Small tears can be fixed with outdoor fabric repair tape or a simple stitch with heavy thread. Replacing a broken zipper is cheap if you do it before storage. These small repairs take minutes now and save hours in spring. Note which cushions belong to which chairs. A small label on masking tape on the back of each cushion makes spring setup easy.
Step Four: Choose Your Storage Method
You have three main options for winter storage. The right choice depends on your space and your climate.
Indoor Storage
The best option is indoor storage in a dry room. A garage, basement, or shed works well. Stack the cushions upright on a shelf or a pallet so air can move around them. Do not stack them flat on a damp floor. Cover the stack with a clean sheet to keep dust off.
Keep the room above freezing if you can. Foam can survive the cold, but repeated freezing and thawing shortens its life. A basement that stays cool and dry is ideal. Avoid attics, which can swing between hot and cold.
Storage Boxes and Bags
If indoor shelf space is tight, use large storage boxes or bags. Deck boxes made of resin are a popular choice. They keep rain and pests out. Vacuum storage bags also work for small cushions. They cut the size down and keep moisture out.
Place a few silica gel packs or cedar blocks in each box. They absorb dampness and keep insects away. Do not use mothballs near fabric you will sit on. The smell is hard to remove. Wrap each cushion in a cotton sheet before boxing if you want extra protection.
Leaving Them Outside Under Covers
In mild climates, you can leave cushions outside under covers. This is the least safe option, but it works where winters are short and dry. Use heavy duty furniture covers that fit tight and have vents. Vents let moisture escape. Tie the covers down so wind cannot lift them.
Check the cushions once a month. If you find dampness, bring them inside at once. Even in mild zones, a surprise storm can soak through a loose cover. For more on this topic, read our guide to waterproof outdoor throw pillows and how different fills handle wet weather.
What to Look for in Winter Storage Covers and Bags
Not all covers are equal. When you shop for storage covers, look for thick woven fabric with a waterproof coating. The seams should be sealed or taped. Vents near the top let damp air out. Elastic hems or drawstrings keep the cover tight.
Measure your furniture before you buy. A cover that is too large will flap in the wind and let rain in under the edges. A cover that is too small will strain at the seams. Many shoppers find good options at large home stores and furniture retailers. Sites like IKEA and Wayfair carry a wide range of outdoor storage boxes and cushion bags in many sizes. Independent reviews at Consumer Reports can help you compare durability and water resistance before you buy.
For storage bags, choose bags made for outdoor cushions, not thin plastic. Thick vinyl or woven polypropylene bags hold up best. Clear bags let you see what is inside, which helps in spring. Label each bag with the chair name for quick setup.
Cost and Price: What Winterizing Will Run You
Winterizing cushions is one of the cheapest home chores you will do. The cleaning step costs almost nothing. You need dish soap, a brush, a bucket, and water. Most homes have these already. A bottle of white vinegar for mold treatment costs a dollar or two.
Storage supplies cost a bit more. Large storage bags run from five to twenty dollars each. A resin deck box large enough for a full cushion set can cost between one hundred and three hundred dollars. Heavy duty furniture covers range from twenty to eighty dollars per piece.
Compare that with the cost of replacing cushions. A single quality outdoor chair cushion often costs forty to eighty dollars. A full set of six can run well past three hundred dollars. The storage gear pays for itself in the first year if it saves one set from ruin.
Care and Upkeep Through the Winter
Your job is not done once the cushions are stored. Check on them once a month during the winter. Open the box or lift the cover. Smell for mustiness and feel for dampness. If you find a problem, act fast. Move damp cushions to a dry spot and let them air out.
Keep storage boxes off the ground. A pallet or a pair of boards under the box keeps flood water and ground dampness away. Make sure the lid seals tight. Clear snow off outdoor covers after each storm. Heavy snow can press covers against fabric and push moisture through.
If you stored cushions in an unheated garage, check them more often. Temperature swings cause condensation. A small fan running on a timer can keep the air moving and stop damp spots from forming.
Safety Notes
Keep these safety points in mind during the winterizing process. Never mix cleaning products. Bleach mixed with vinegar or ammonia creates dangerous fumes. Work outdoors or in a ventilated space when using commercial cleaners.
Lift cushions with care. Wet cushions are heavy, especially large bench cushions. Lift with your legs, not your back. If you use a ladder to reach stacked furniture or high shelves, have someone steady it.
Store cleaning chemicals out of the reach of children and pets. Rinse all soap from cushions before storage. Leftover soap can cause skin irritation when the family uses the patio again in spring.
When you set up in spring, inspect each cushion before use. Look for signs of pests. Mice sometimes nest in stored cushions. Check for droppings or chewed foam. If you find damage, clean the cushion again before anyone sits on it.
Frequently Asked Questions
Can I leave my outdoor cushions outside all winter?
In most regions, no. Winter rain, snow, and freezing temperatures damage fabric and foam. In warm, dry climates you may leave them out under tight, vented covers. Even then, monthly checks are wise.
Do I need to remove the foam before storing the cushions?
Usually not. Most outdoor cushions can be stored whole once they are clean and fully dry. If a cushion has a removable cover, washing the cover alone and drying the foam insert well is enough. Never store a foam insert that feels damp.
How do I keep mold from growing during storage?
Start with clean, bone-dry cushions. Store them in a dry place with moving air. Do not wrap them in airtight plastic for months, since trapped moisture feeds mold. Silica gel packs in the storage box help. Check the cushions once a month.
What is the best way to store cushions in a small apartment?
Vacuum storage bags are the answer for small spaces. They shrink cushions to a fraction of their size. Slide the flat bags under a bed or stand them in a closet. Choose a closet away from heat sources and pipes that might leak.
Should I treat the fabric with a water repellent before storage?
A fabric guard spray can add a layer of protection. Apply it after cleaning and drying, and let it cure fully before you pack the cushions away. It will not make a cushion waterproof, but it helps rain bead up in spring showers.
When should I bring the cushions back out in spring?
Wait until night temperatures stay above fifty degrees and the rainy season passes. Wash the patio furniture frames first, then set the cushions out. A quick vacuum and a rinse with the hose will freshen them after months in storage.
A Final Word
Knowing how to winterize outdoor furniture cushions is a skill that pays off every year. The steps are simple: clean, dry, repair, and store. Each step protects your cushions from the damage that winter brings. Your patio will thank you in the spring when the cushions come out fresh, firm, and ready for another season of use.
Set a date on the calendar for late autumn. Gather your soap, brushes, and storage bags. In one afternoon, you can put the whole patio to bed. That small habit will add years to the life of your cushions and save real money. Winter will come whether you are ready or not. Be ready.
References
IKEA. (n.d.). Outdoor furniture and storage. https://www.ikea.com Wayfair. (n.d.). Patio furniture and outdoor storage. https://www.wayfair.com Consumer Reports. (n.d.). Product reviews and buying guides. https://www.consumerreports.org
Was this guide helpful?

About Sarah Mitchell
The My Garden US editorial team writes practical, in-depth home and garden guides for American homeowners — tested advice, no fluff.
You May Also Like

Patio Umbrella for High Wind Areas: A Buyer’s Guide
January 6, 2026 0 views
Outdoor Console Table for Patio Reviews: A Plain Guide to Buying Well
July 29, 2026 0 views
The Best Swivel Patio Chairs Set of Two: A Buyer’s Guide
July 4, 2026 0 views