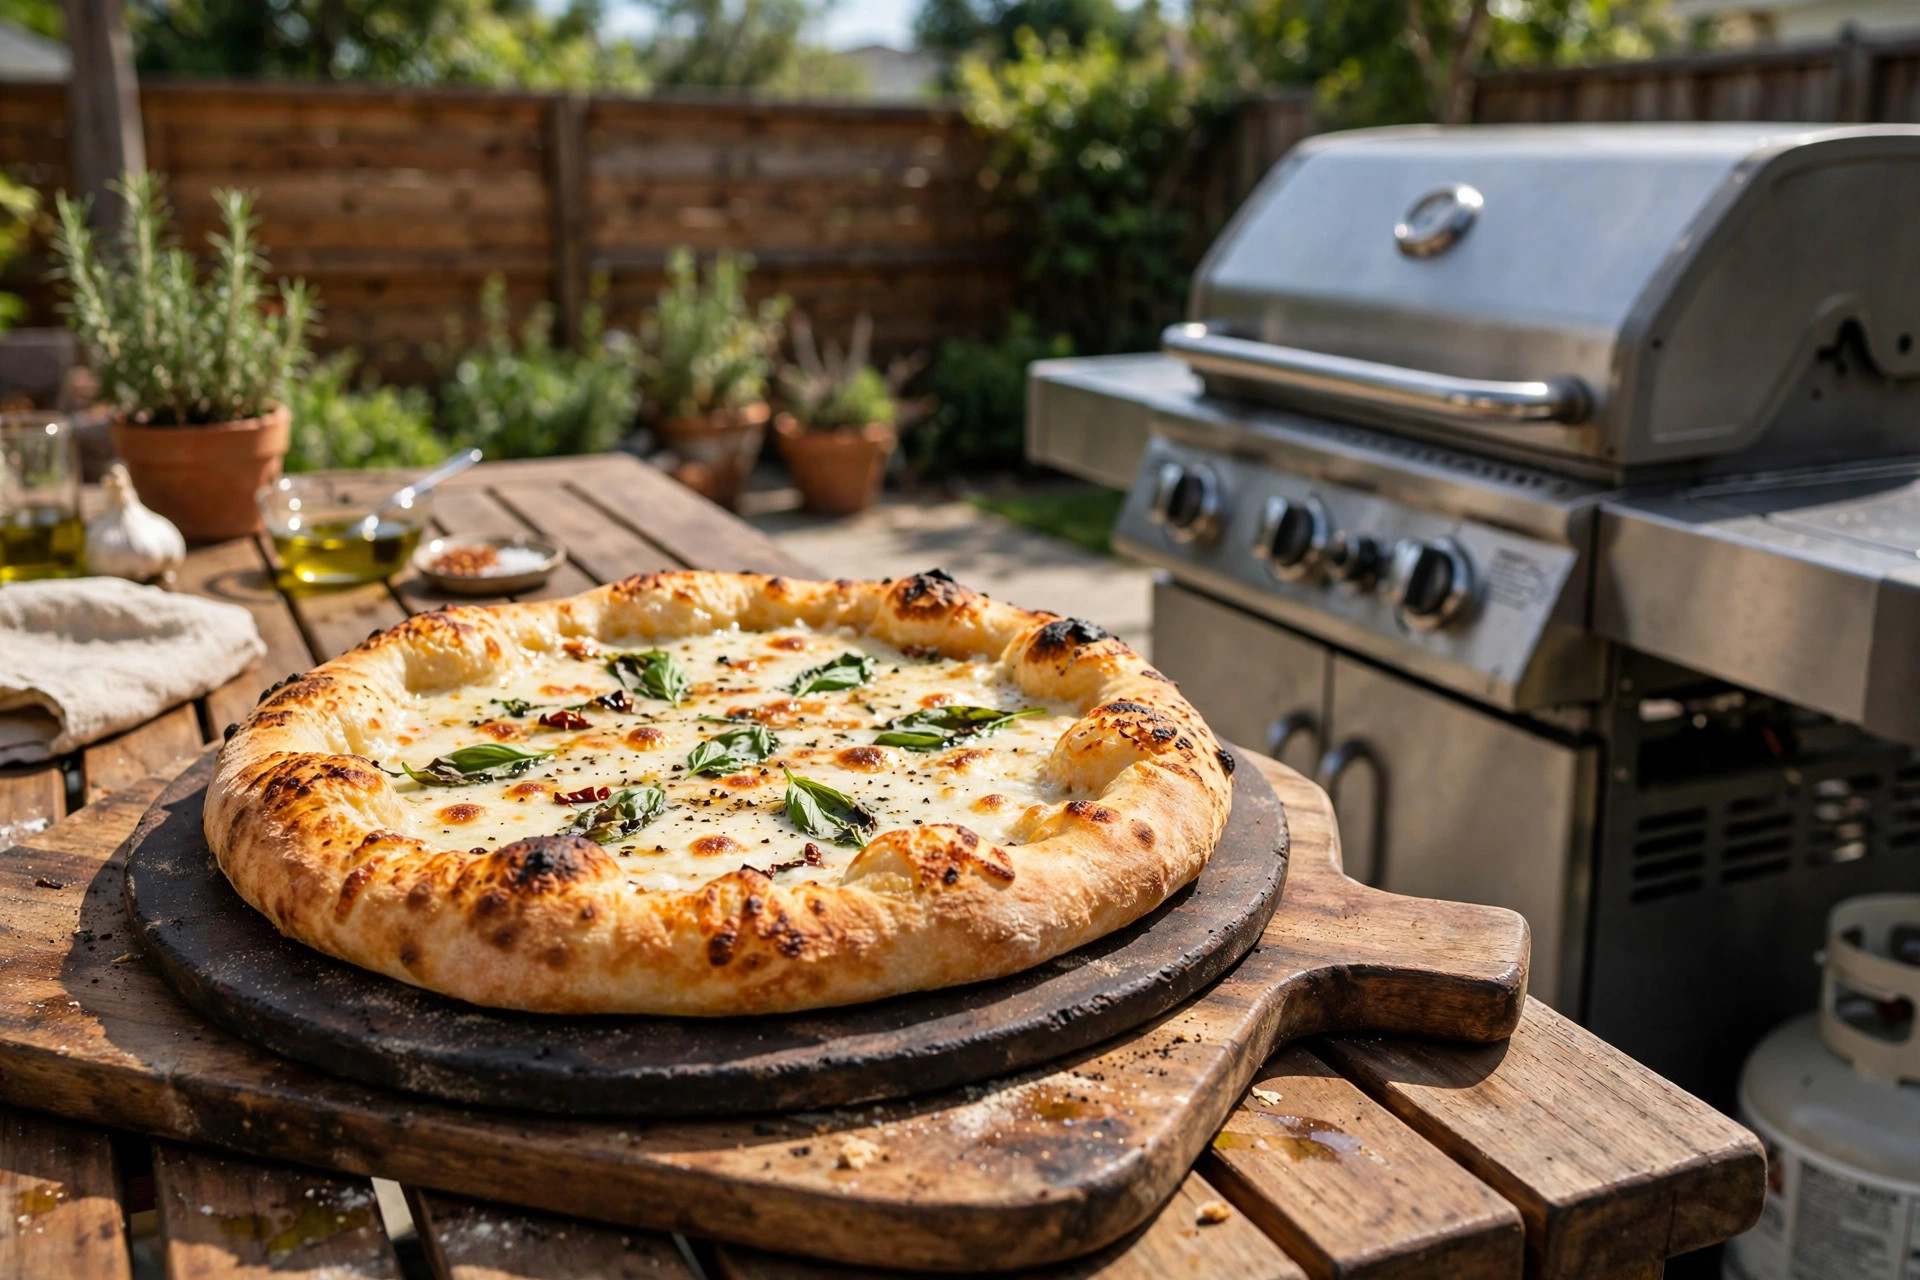
Many people love pizza but never think of their gas grill as a pizza oven. A hot grill can give you a crust that is crisp on the bottom and soft in the middle. If you know how to grill pizza on gas grill equipment the right way, you can make dinner in ten minutes. This guide walks you through every step, from the dough to the slice.
Why Grill Pizza at All
A gas grill gets much hotter than most kitchen ovens. That high heat is what pizza shops use to get a crisp crust. When you learn how to grill pizza on gas grill burners, you take advantage of that same heat at home.
Grilling pizza also keeps the heat outside. In summer, nobody wants a hot oven running for an hour. The grill warms the yard instead of the kitchen. Cleanup is simple too. A stone or steel pan catches most of the mess.
The flavor is different from oven-baked pizza. A gas grill gives the crust light char marks and a slight smoky taste. Friends and family notice the difference at once. Once you try it, the oven starts to feel like a backup plan.
What You Need Before You Start: How to Grill Pizza on Gas Grill
You do not need a lot of special gear. Most of it is already in a normal kitchen.
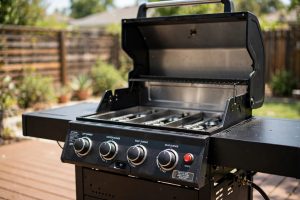
– A gas grill with at least two burners, three is better – A pizza stone, a steel pan, or a heavy cast iron skillet – A pizza peel or a flat baking sheet for moving the pie – Store-bought dough or homemade dough, one ball per pizza – Sauce, cheese, and toppings – Flour or cornmeal to keep the dough from sticking – Tongs, a grill brush, and an oven mitt or grill gloves
A pizza stone is the most common choice. It spreads the heat evenly and pulls moisture from the dough. If you do not own one, a steel pan works well. Even an upside-down cast iron skillet can serve the job. The key point is a hot, flat surface that holds heat.
A peel makes life easier, but a rimless baking sheet dusted with flour does the same work. Keep your toppings simple for the first few tries. Wet toppings like fresh tomato slices or too much sauce will make the middle soggy.
How to Grill Pizza on Gas Grill: The Full Method
Step 1: Heat the Grill
Preheat the grill for ten to fifteen minutes with the stone or pan inside. Put the stone on the grate, close the lid, and turn all burners to medium-high. You want the stone to read about 500 to 600 degrees. Many grills have a built-in thermometer on the lid. That reading is close enough for this purpose.
Step 2: Prepare the Dough
While the grill heats, stretch your dough on a floured surface. A twelve-inch round is a good size for a first pizza. Do not roll it paper-thin. A little thickness keeps the crust from tearing. Brush a thin layer of olive oil on both sides. This helps the crust brown and stops sticking.
Step 3: Set Up Two Heat Zones
Turn the center burners down or off and keep the outer burners on medium. This is called indirect heat. The hot stone cooks the bottom of the pizza. The trapped hot air under the closed lid cooks the top. This setup is the secret to an even bake without a burned bottom.
Step 4: Place the Pizza
Slide the pizza onto the hot stone with the peel. Work fast. Keep the lid open for as few seconds as you can. Close the lid right away. Heat escapes fast, and every second counts.
Step 5: Bake and Check
A pizza on a gas grill bakes in about seven to ten minutes. After four minutes, open the lid and check the bottom with the tongs. If one side is browning faster, turn the pizza with the peel. Close the lid again.
Step 6: Rest and Slice
When the cheese is bubbly and the crust is golden with a few dark spots, the pizza is done. Slide it off the stone onto a cutting board. Let it rest for two minutes. This lets the cheese settle and makes cleaner slices.
Direct Heat vs Indirect Heat
Some cooks grill the crust directly on the grate. This gives strong char marks and a bold flavor. The method works, but it is harder to control. The crust can burn before the cheese melts.
The indirect method is better for most people. The stone acts as a buffer between the flames and the dough. You get a crisp bottom and a fully melted top at the same time. If you are still learning how to grill pizza on gas grill setups, start with indirect heat every time.
You can combine the two methods. Some cooks grill the bare crust for one minute on direct heat, then move it to the stone, add toppings, and finish with the lid closed. This takes practice but gives great results.
Getting the Crust Right
The crust is the whole point of grilled pizza. A few small habits make a big difference.
Keep the dough cold until you are ready to stretch it. Cold dough is easier to handle and browns better. Do not load the pizza with sauce. Two or three spoonfuls spread thin is enough. Too much sauce steams the crust from above.
Pre-shredded cheese melts fine, but fresh mozzarella gives a creamier result. If you use fresh mozzarella, pat it dry with paper towels first. Dry cheese means a dry crust.
Let the stone heat fully. A lukewarm stone gives a pale, soft crust. Give the grill the full ten to fifteen minutes. Patience here is the cheapest way to improve your pizza.
Best Temperatures and Timing
Most gas grills do their best pizza work between 500 and 600 degrees. Below 450, the crust stays soft and pale. Above 650, the bottom burns before the top is ready. Many home grills have hot spots, so learn your own grill with a couple of test pizzas.
Thin crusts need seven to eight minutes. Thick crusts need ten to twelve. Stuffed or very thick pies may need the heat turned down a touch so the center cooks through. A grill thermometer helps, and guides from maker sites like Weber offer solid temperature advice for backyard cooking.
Wind matters more than most people expect. On a windy day, a gas grill loses heat fast. Keep the lid closed as much as you can. If the wind is strong, pick a sheltered spot for the grill.
Toppings That Work on the Grill
Grilled pizza loves simple toppings. Anything that cooks fast will do well.
– Pepperoni, cooked sausage, or sliced ham – Mushrooms, peppers, onions, and olives – Basil added after baking, not before – Thin slices of grilled chicken or steak – Barbecue sauce instead of tomato sauce for a change
Heavy, wet toppings are the enemy. A whole can of tomatoes or a pile of fresh spinach will waterlog the crust. Pre-cook vegetables that give off a lot of water, like mushrooms and zucchini. Slice meats thin so they heat through.
Cheese blends work well. A mix of mozzarella and provolone melts evenly and tastes rich. Sprinkle parmesan on top after baking for extra flavor. Less is more. A pizza with five toppings often tastes worse than a pizza with three.
Common Problems and Fixes
The bottom burns but the top is raw. Your heat is too high or the stone is too close to the burners. Turn the center burners off and use indirect heat. Raise the stone on a grate riser if your grill allows it.
The crust sticks to the stone. The stone was not hot enough, or the dough sat too long before baking. Dust the peel with flour or cornmeal. Move the pizza from peel to stone in one quick motion.
The dough tears when you move it. The dough is stretched too thin or it is too warm. Let it rest for five minutes and the gluten will relax. A small tear is not a disaster. Pinch it closed and keep going.
The pizza slides off the peel unevenly. Dust the peel more. Shake the peel gently before you carry it to the grill. If the pizza sticks to the peel, slide a thin spatula under it and add more flour.
Cost and Price
You can start grilling pizza for very little money. A basic round pizza stone costs less than thirty dollars at most home stores. A wooden peel costs about fifteen dollars. If you already own a gas grill, those two items are the whole extra cost.
Dough is cheap. A bag of store-bought dough costs three to four dollars and makes one large pizza. Flour, yeast, and salt cost even less if you make dough at home. A homemade pizza usually costs four to six dollars total. That is far less than delivery.
If you want better tools later, a pizza steel holds heat longer than a stone and costs around sixty dollars. Infrared thermometers help you read the stone temperature. They cost about twenty dollars. None of these are required. Start simple and add gear only if you grill pizza often.
For shoppers comparing outdoor cooking gear, review sites like Consumer Reports test grills and accessories side by side, which helps when picking a stone or a new grill.
Care and Upkeep
A pizza stone needs gentle care. Never wash it with soap. Soap soaks into the stone and flavors your next pizza. Scrape off burned bits with a brush or a plastic scraper. Let the stone cool in the grill. A hot stone dropped into cold water can crack.
Store the stone in a dry place. Moisture can damage it over time. If the stone develops dark stains, that is normal. Stains are seasoning, not dirt. They do not hurt the flavor.
Clean your grill grates before each pizza session. Old grease causes flare-ups and bitter smoke. A quick brush while the grill preheats is enough. Check your burner tubes once a season for blockages. Guides from Traeger and Napoleon cover routine grill maintenance that keeps heat even.
Safety on the Grill
Grilled pizza involves high heat and open flames. A few rules keep the cookout safe.
– Keep the grill at least three feet from the house, railings, and trees – Never leave a lit grill unattended – Keep a fire extinguisher or a bucket of water nearby – Use long gloves or mitts when reaching under the lid – Keep children and pets away from the hot grill – Let the stone cool before you touch or move it
Propane grills need care too. Check the hose for cracks before the season starts. If you smell gas, turn off the tank and the burners and step away. Safety pages from the hardware chains like Home Depot list basic propane rules worth reading once a year.
Grilled Pizza Styles to Try
Once the basic method feels easy, try new styles. A margherita with fresh basil tastes clean and bright on the grill. Barbecue chicken pizza with red onion is a crowd favorite. White pizza with garlic oil, ricotta, and spinach cooks well because there is no wet tomato sauce.
Dessert pizza is a fun surprise. Spread Nutella or cinnamon sugar on a grilled crust. Add sliced bananas or berries. Cook it for five minutes with the lid closed. Kids love it.
Breakfast pizza works too. Crack a few eggs on the pizza for the last three minutes of baking. The whites set and the yolks stay soft. Serve it hot with hot sauce on the side.
Recipe collections on sites like The Spruce Eats and AmazingRibs have tested grilled pizza recipes if you want to branch out from the basics.
FAQ
Can I use frozen pizza dough on the grill? Yes. Thaw it fully in the refrigerator first, then let it sit at room temperature for thirty minutes. Cold, stiff dough tears and bakes unevenly.
Do I need a pizza stone? No, but it helps a lot. A stone or steel gives you even heat and a crisp bottom. You can also grill the crust directly on clean, oiled grates. The stone method is easier for beginners.
What temperature should the grill be? Aim for 500 to 600 degrees. This range crisps the crust without burning it. Thicker pizzas do better at the lower end of that range.
Can I grill pizza on a two-burner grill? Yes. Heat both burners for preheat, then turn one down low or off to make an indirect zone. Put the stone over the cooler side and close the lid.
Why is my crust soggy in the middle? Too much sauce or wet toppings are the usual cause. Use less sauce, pat fresh mozzarella dry, and pre-cook watery vegetables. Make sure the stone is fully hot before the pizza goes on.
Can I make pizza on a charcoal grill? Yes, and many people prefer the smoky flavor. The method is the same, but charcoal is harder to control. Gas grills give steadier heat, which is why this guide focuses on them.
Final Word
Learning how to grill pizza on gas grill equipment takes one or two tries to master. The first pizza may be a little lopsided. That is fine. It will still taste better than most delivery pizza. Keep the heat high, keep the toppings light, and keep the lid closed. Good pizza is closer than you think, and it is sitting in your backyard right now.
For more ideas on outdoor cooking gear, many cooks compare options through Weber for grill basics, Char-Broil for budget models, Traeger for pellet grill insight, Napoleon for premium grills, and Big Green Egg for kamado cooking. Retail guides at Home Depot help with stones and tools, while The Spruce Eats and AmazingRibs offer tested recipes, and Consumer Reports rates gear independently. If you are curious about related gear, see our guides on outdoor pizza ovens, flat top grills, and gas grill cleaning.
References
AmazingRibs.com. (n.d.). Barbecue and grilling science. https://www.amazingribs.com Big Green Egg. (n.d.). Kamado grills and outdoor cooking. https://www.biggreenegg.com Char-Broil. (n.d.). Gas and charcoal grills. https://www.charbroil.com Consumer Reports. (n.d.). Product reviews and ratings. https://www.consumerreports.org Napoleon. (n.d.). Fireplaces, grills, and heating products. https://www.napoleon.com The Home Depot. (n.d.). Home improvement products. https://www.homedepot.com The Spruce Eats. (n.d.). Recipes and cooking guides. https://www.thespruceeats.com Traeger. (n.d.). Wood pellet grills. https://www.traeger.com Weber. (n.d.). Grills and outdoor cooking. https://www.weber.com
Was this guide helpful?

About Sarah Mitchell
The My Garden US editorial team writes practical, in-depth home and garden guides for American homeowners — tested advice, no fluff.