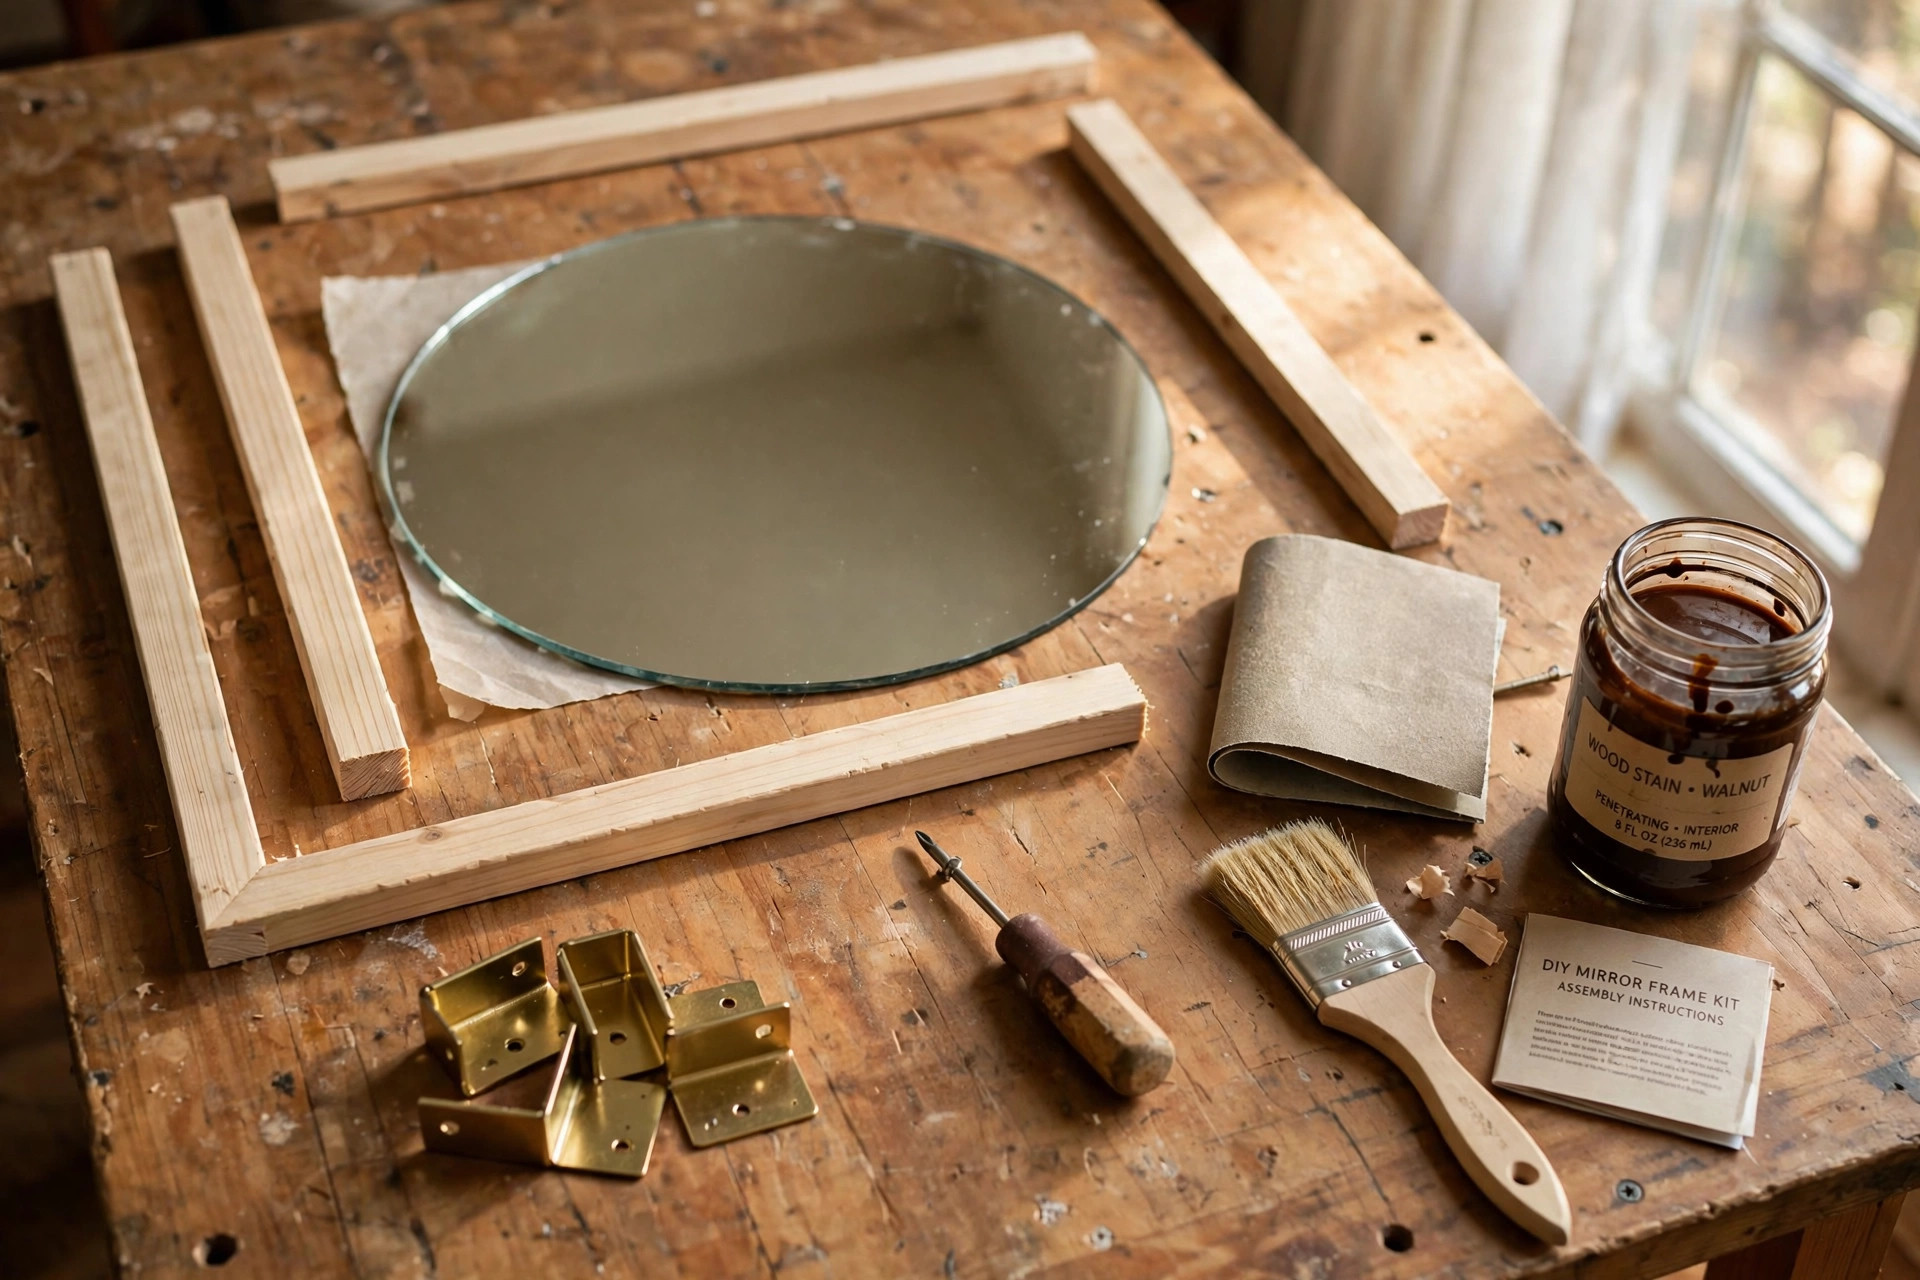

A diy mirror frame kit for home decor crafts is one of the simplest ways to add handmade charm to a home. The kit comes with a mirror, frame parts, and the hardware needed to put them together. You finish it in your own style. Many people use these kits to make gifts, to decorate a first apartment, or to refresh a tired room without spending much money.
This guide explains what a diy mirror frame kit for home decor crafts includes, how to choose one, how to use it, what it costs, and how to stay safe while you work. It is written for beginners who have never framed a mirror before.
Why a Mirror Frame Kit Matters
A bare mirror looks plain. A framed mirror looks finished. Store-bought framed mirrors can cost a lot. A kit lets you get the finished look at a small price. You also get to choose the color and style.
Making your own frame is a good first project. The steps are simple. You measure, you join the frame, you set the mirror in place, and you finish the surface. Most kits need only basic tools. The work teaches skills you can use on other home decor projects later.
Handmade frames also carry meaning. A mirror you framed yourself makes a thoughtful gift. A set of small framed mirrors can fill a bare hallway. Many crafters sell their finished mirrors at local fairs and small shops.
What to Look for When You Choose a Kit: Diy Mirror Frame Kit for Home Decor Crafts
Not all kits are the same. Read the box or product page before you buy. Here are the main points to check.
Frame Materials
Most kits use wood, composite board, or plastic. Wood frames look warm and take paint or stain well. Pine is common and light. Hardwood costs more but lasts longer. Composite board is smooth and cheap. It works fine with paint. Plastic frames are light and often come in bright colors. They suit bathrooms and kids’ rooms.
Check that the wood is straight and free of splits. Warped rails make crooked corners. If the kit comes unfinished, you get to paint or stain it yourself. Some kits come pre-finished in white, black, or wood tones. Pre-finished kits save time but offer less choice.
Mirror Size and Shape
Kits come in round, square, and rectangle shapes. Round mirrors suit small spaces and entryways. Square and rectangle mirrors fit well over dressers and mantels. Check the mirror size before you order. Make sure it fits the wall space you have in mind.
Look at the mirror quality too. A good kit uses glass with a clear, true reflection. Cheap mirrors can show a wavy image. The back of the mirror should have a smooth silver coating with no dark spots.
Tools Included
Many kits include the mirror, frame rails, corner brackets or glue, hanging hardware, and sandpaper. Some kits add wood filler, a small brush, or a hanging template. Check the list of what is in the box. If glue or screws are not included, buy them before you start. For help picking supplies, the guides at Michaels explain what each basic craft tool does.
Types of DIY Mirror Frame Kits
There are several common types. Each one suits a different skill level and style.
Basic wood frame kits. These include four wood rails, a mirror, and corner hardware. You join the corners, set in the mirror, and finish the wood. They suit beginners.
Mosaic and tile kits. These kits give you a plain frame base plus small tiles, beads, or stones. You glue the pieces onto the frame in your own pattern. They take more time but give a rich look.
Paint-ready kits. The frame comes pre-sanded and primed. You add your paint color and a top coat. These are good for people who want to match a room color exactly.
Rustic and farmhouse kits. The wood has a rough or distressed finish. These kits often include rope, twine, or metal accents. They suit country and farmhouse style rooms.
Kids’ craft kits. These have light frames and safe, easy decorations like stickers or foam shapes. Adult help is still needed for the mirror itself.
If you plan to add details with a hot glue gun, choose a frame with a flat, wide face. It gives the glue a good surface to hold. A best hot glue gun for craft projects home style tool makes this kind of decoration much easier.
Cost and Price Ranges
A diy mirror frame kit for home decor crafts is an affordable project. Small kits for mirrors under 12 inches often cost between 15 and 30 dollars. Medium kits for mirrors up to 24 inches run from 30 to 60 dollars. Large kits can cost 60 to 120 dollars or more.
Finish supplies add to the cost. Paint, stain, brushes, and top coat may add 10 to 25 dollars if you do not already own them. Mosaic kits often cost more because of the tiles and grout.
Watch for sales at craft stores. The weekly ads at Home Depot and other large stores often include craft supplies at good prices. Buying during a sale can cut the total cost by a third.
Remember to count your time as well. A simple kit takes one to two hours. A mosaic frame can take a full weekend. Plan the project when you have free time.
How to Use a DIY Mirror Frame Kit
Work on a clean, flat table. Cover it with newspaper or a drop cloth. Lay out all the parts and read the instructions first.
Step 1: Check the parts. Count the rails, the mirror, the hardware, and any extras. Make sure nothing is broken.
Step 2: Join the frame. Fit the rails together at the corners. Most kits use corner brackets, pre-cut slots, or wood glue with clamps. Check that the corners are square. A simple square tool or even a book corner can help. Tips from Family Handyman on joining small frames apply well here.
Step 3: Sand the wood. Use the included sandpaper to smooth the frame. Sand with the grain of the wood. Wipe off the dust with a damp cloth. Let it dry.
Step 4: Fill gaps. If the corner joints have small gaps, press in a little wood filler. Let it dry, then sand it smooth.
Step 5: Finish the surface. Paint or stain the frame. Apply thin coats. Let each coat dry before adding the next. Two thin coats look better than one thick coat. A clear top coat protects the finish.
Step 6: Set the mirror. Place the mirror into the frame from the back. Use the clips, tabs, or backing board from the kit to hold it in place. Make sure the mirror sits flat and does not rock.
Step 7: Add hanging hardware. Attach the wire, D-rings, or sawtooth hanger that came with the kit. Center it so the mirror hangs level.
Step 8: Hang and enjoy. Choose a spot with good light. A mirror near a window doubles the daylight in a room. Use wall anchors if the mirror is heavy. The hanging guides at Lowe’s show which anchors suit different wall types.
Some crafters add extra decoration after the basic build. Burned designs, added trim, or painted patterns can make the frame unique. A best wood burning kit for diy crafts works well on plain wood frames. Wall-hanging crafts often pair nicely with framed mirrors, so a macrame cord kit for wall hanging diy project can share the same wall space.
Care and Upkeep
A framed mirror needs little care. Dust the frame with a soft cloth once a month. Clean the glass with a damp microfiber cloth. Avoid harsh sprays on painted or stained frames. They can dull the finish.
Keep mirrors out of direct sun where you can. Long sun exposure can fade paint and dry out wood. In a bathroom, good airflow helps. Steam can loosen glue and warp wood over time. The care tips at The Spruce cover wood frame upkeep in detail.
Check the hanging hardware once a year. Wire can stretch. Screws can loosen. A quick check takes one minute and prevents a fall.
If the finish gets chipped, touch it up with leftover paint. Keep a small jar of the paint you used. It makes repairs fast and exact.
Safety Tips
Mirrors are glass. Handle them with care. Wear gloves when you set the mirror into the frame. The edges can be sharp even when they look smooth.
Work in a ventilated area when you paint or stain. Fumes build up fast in a closed room. Open a window or work in a garage with the door open. Keep paint and stain away from heat and open flame.
Use tools as directed. A drill or saw can hurt you if you rush. Clamp the frame before you drill. Keep fingers clear of the bit. Unplug power tools when you change parts.
Clean up broken glass at once. Sweep up large pieces. Pick up small shards with a damp paper towel. Put glass in a rigid container, not a thin bag. The home safety notes at This Old House remind readers to keep first aid supplies near any glass project.
Keep small parts away from young children. Screws and clips are choking hazards. Adult help is a must for the glass steps in any kids’ kit.
Frequently Asked Questions
How long does it take to finish a diy mirror frame kit for home decor crafts? A simple wood frame kit takes one to two hours of active work, plus drying time for paint or stain. Mosaic or decorated frames can take several hours spread over two days. Read the kit instructions for the exact drying times of the included materials.
Do I need woodworking skills to use one of these kits? No. These kits are made for beginners. The rails are pre-cut. The hardware is simple. If you can use sandpaper, a screwdriver, and a paintbrush, you can finish the project. The step-by-step format suits first-time crafters.
Can I paint the frame any color I want? Yes, if the kit comes unfinished or paint-ready. Use acrylic craft paint or latex paint for indoor mirrors. For a bathroom mirror, choose a paint made for damp areas. Always seal painted wood with a clear top coat for longer life.
What is the best way to hang a heavy framed mirror? Use the right anchor for your wall type. Drywall needs toggle bolts or rated wall anchors for heavy mirrors. Studs hold the most weight. Hang the mirror from two points when you can. It stays level and puts less stress on the wire. Reviews and buying guides at Bob Vila can help you pick rated hardware.
Where can I buy a diy mirror frame kit for home decor crafts? Craft stores carry them in the frame and home decor aisles. Large home improvement stores stock basic kits too. Online shops offer the widest range of sizes and styles. Dick Blick’s art supply guides list many frame and craft basics sold through major retailers.
Can I use the finished mirror in a bathroom? Yes, but choose your finish with care. Use paint and top coat rated for damp areas. Seal the back of the frame. Hang the mirror where it gets airflow, not right next to the shower. Wipe off steam after hot showers to protect the frame.
Final Word
A diy mirror frame kit for home decor crafts turns a plain mirror into a personal piece. The cost is low. The skills are simple. The result fits your home and your taste. Start with a small kit to learn the steps. Then try a larger frame, a mosaic design, or a matching set for one room. With basic care, your framed mirror will look good for many years.
References
Blick Art Materials. (n.d.). Art and craft supplies. https://www.dickblick.com Bob Vila. (n.d.). Home improvement advice. https://www.bobvila.com Family Handyman. (n.d.). DIY home repair and maintenance. https://www.familyhandyman.com JOANN. (n.d.). Fabric and craft supplies. https://www.joann.com Lowe’s. (n.d.). Home improvement products. https://www.lowes.com Michaels. (n.d.). Arts and crafts supplies. https://www.michaels.com The Home Depot. (n.d.). Home improvement products. https://www.homedepot.com The Spruce. (n.d.). Home and garden advice. https://www.thespruce.com This Old House. (n.d.). Home renovation guidance. https://www.thisoldhouse.com
Was this guide helpful?

About Jennifer Lee
The My Garden US editorial team writes practical, in-depth home and garden guides for American homeowners — tested advice, no fluff.
You May Also Like
DIY String Art Kit for Wall Decor Beginners: A Complete Guide
June 1, 2026 0 views
A Practical Guide to the DIY Bird Feeder Kit for Backyard Crafts USA
May 30, 2026 0 views
Best Watercolor Set for Travel Painting Art: A Plain Guide for Painters on the Move
September 5, 2026 0 views