
A Steadier Way to Stitch
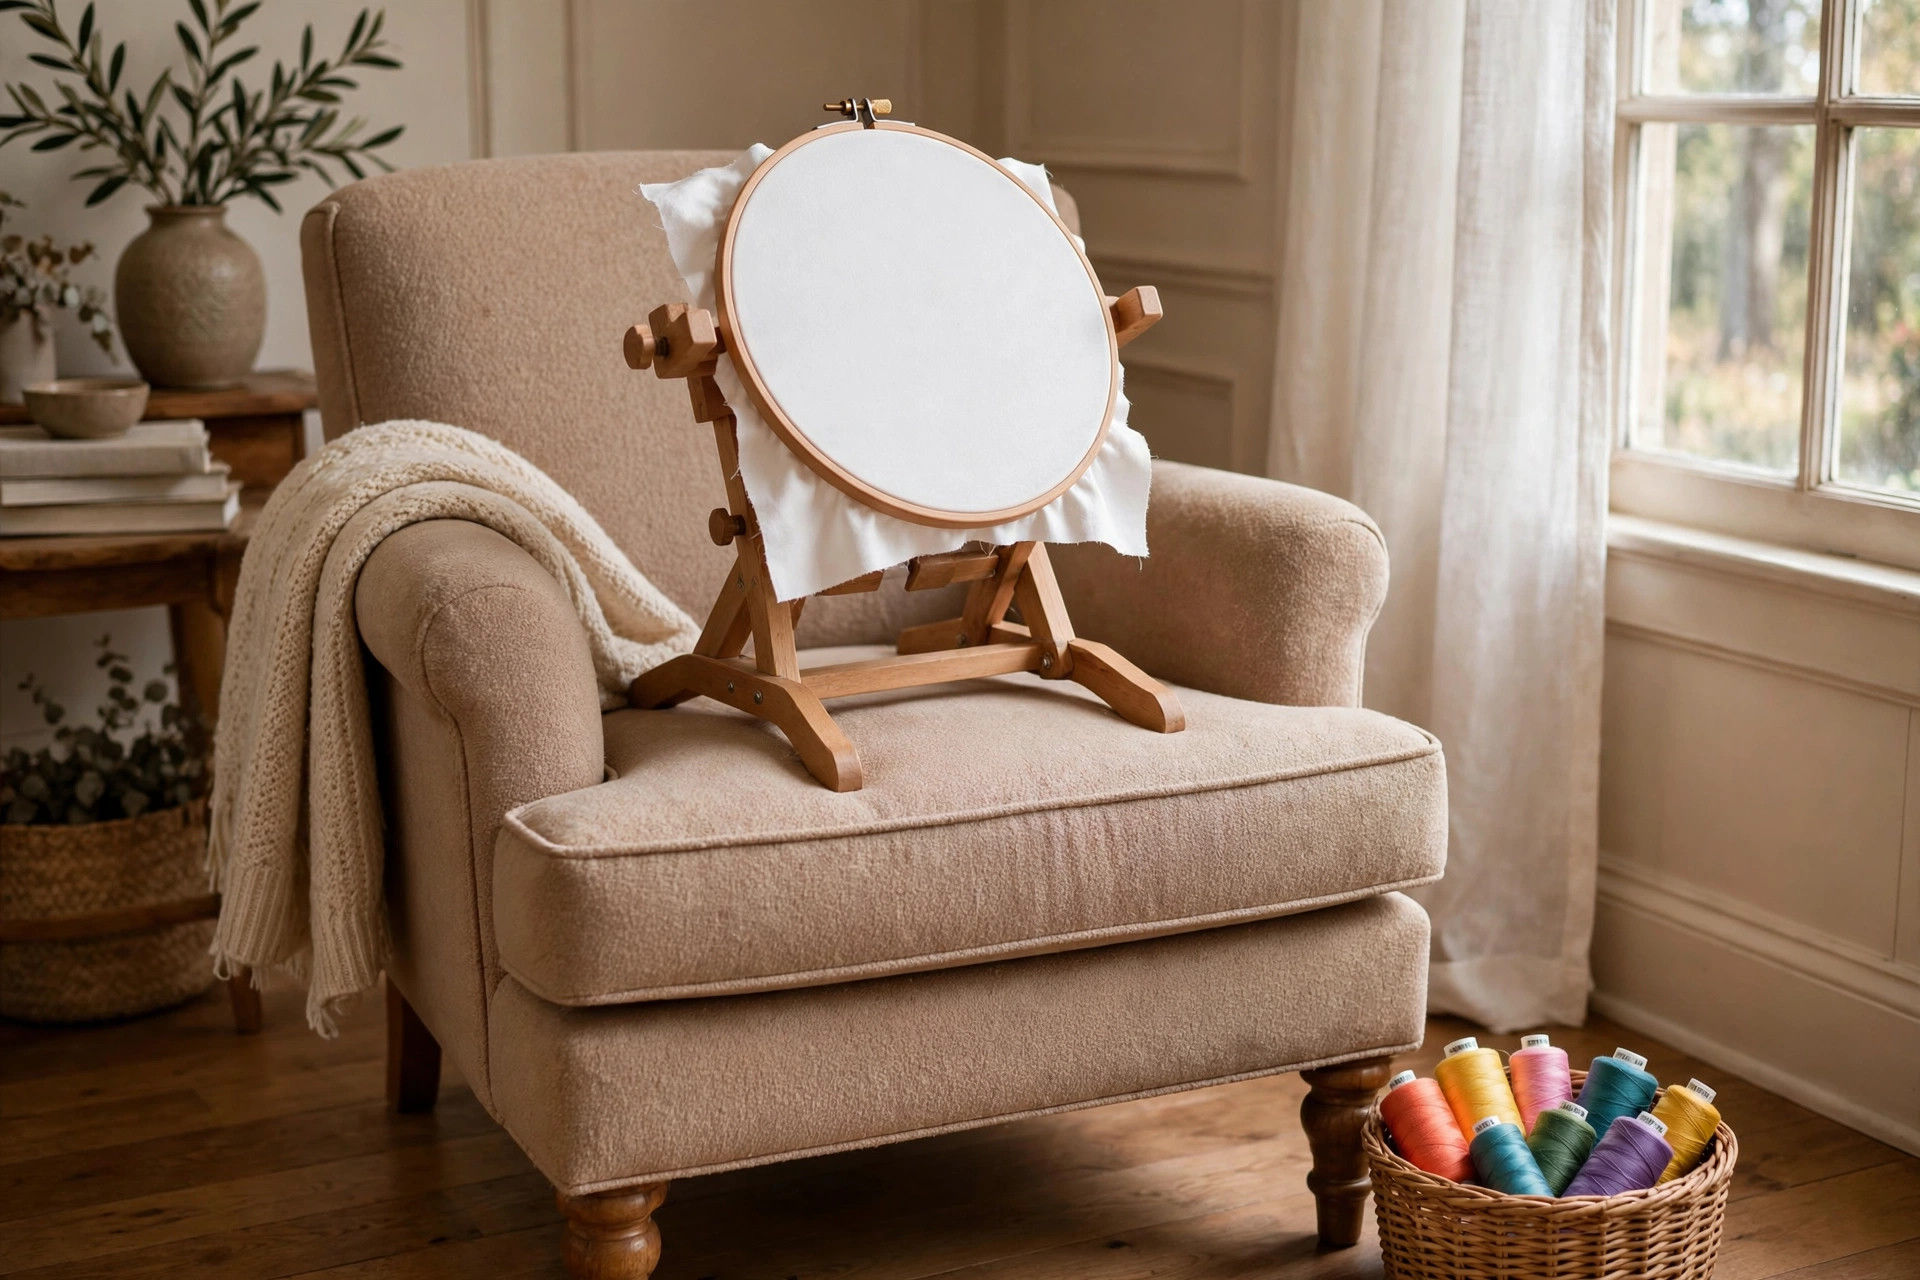
The best embroidery hoop stand for lap stitching is one that holds your hoop firm at the right height while you work from a chair or a sofa. Many stitchers start with the hoop in their hands. After an hour, their fingers ache and their neck bends low. A stand changes this. It takes the weight of the hoop. It keeps the fabric flat and taut. It leaves both hands free to push the needle through and pull it back in one smooth motion.
Lap stands come in many forms. Some are simple frames that rest across the legs. Others sit on the floor beside the chair and rise on a tall arm. A few clamp to a table edge. Each style suits a different room and a different body. The right choice depends on where you stitch, how large your hoop is, and how much you want to spend. This guide walks through each point in plain terms so you can choose with confidence.
Why a Lap Stand Matters: Best Embroidery Hoop Stand for Lap Stitching
Stitching in the hand works well for small pieces. When the work grows larger or the sessions grow longer, a stand earns its place. The first gain is comfort. With the hoop held for you, your shoulders drop. Your wrists stay straight. Your neck stays up because the stand brings the fabric to your eyes instead of forcing your eyes down to the fabric.
The second gain is even tension. A hoop held in one hand shifts a little with every stitch. A hoop locked in a stand stays put. The fabric stays drum tight. Your stitches come out even in length and neat in line.
The third gain is speed. Two free hands let you use the old stabbing rhythm. One hand works the front of the cloth. The other works the back. This is the way the old workrooms did it. It is faster than the one-handed method and easier on the joints.
What to Look For
A good stand has five traits. Check each one before you buy.
Firm grip. The stand must hold the hoop without slipping. Look for padded jaws or a wide clamp that bites the wood of the hoop. Shake the floor model in the shop. If it wobbles there, it will wobble at home.
Easy adjustment. You will want to change the angle and the height. A stand with a single wing nut is better than one with four small knobs. Fewer parts mean fewer things to lose.
Right size for your hoop. Most stands take hoops from four to twelve inches. If you work on large frames for samplers or tablecloths, check the largest width the jaws will open. A stand that fits a six inch hoop may not fit a ten inch frame.
Stable base. Lap frames rest on your thighs. Floor stands rest on the rug. In both cases the base should sit flat and feel solid. Light stands tip when the cat leans on them.
Smooth surfaces. Run your hand over the stand. There should be no rough edges or sharp screws that can snag thread or scratch the wood of your chair.
Types of Lap Stands
There are four common styles. Each has its friends.
Lap frames. These rest across the legs like a small tray. They are light and cheap. They fold flat for storage. They suit small to medium hoops. They are less steady for large heavy frames because the legs move as you breathe.
Floor stands. These rise from a base on the floor. They hold big frames with ease. The best floor stands swing aside when you want to reach your tea. They cost more and need a corner of floor space. Many stitchers who sew for hours each day choose this style.
Clamp stands. These fasten to the edge of a table. They are very steady. They are good for craft rooms with a work table. They cannot be used on a sofa arm or in a lap chair.
Sit-on stands. These have a flat base that slides under your leg or under a cushion. Your own weight holds them down. They are a middle road between lap frames and floor stands. They travel well in a tote bag.
Wood stands look fine and feel warm in the hand. Metal stands take more abuse and adjust with less effort. Plastic stands cost the least and weigh the least, though they may crack if dropped.
Combination models. A few stands serve two roles. A lap frame may bolt onto a floor base when you want more height. A sit-on stand may come with a clamp for the table. These two in one models cost a bit more than single role stands, but they suit stitchers who work in different rooms. If your stitching moves from the sofa to the craft room by the week, a combination model can save you the cost of a second stand.
Cost and Price
Stands run from a few dollars to well over a hundred. A basic wooden lap frame often costs between fifteen and thirty dollars. Sit-on stands range from twenty five to sixty. Floor stands start near forty for simple models and climb past one hundred fifty for heavy oak or steel frames with ball joints.
Price tracks with build quality. Cheap stands use thin wood and small screws. They loosen with time. Mid range stands use thicker stock and brass fittings. They last for years of daily use. Top of the line stands feel like furniture. They carry a lifetime of frames without complaint.
You do not need the dearest model to stitch well. A sound mid range stand beats a flimsy expensive one. Read the reviews. Ask the clerk at your local craft store what holds up best for daily stitchers. Many shops keep a floor sample you can try before you pay.
A thrifty stitcher can also watch the sale bins at fabric shops or the craft aisle of big hardware stores, and check craft roundups for seasonal buying advice. Stands turn up in clearance sales after the winter season ends. Second hand frames appear in charity shops and online auction sites for a few dollars. Check the joints before you carry one home.
Care and Upkeep
A stand asks for little care. Keep it dry. Wood swells in damp rooms and shrinks in hot ones. If the shop where you store it runs humid, a light rub of wax on the wood keeps the joints smooth.
Tighten the wing nuts by hand only. A wrench will strip the threads. When a screw grows loose, a drop of white glue on the thread steadies it. Let the glue dry before you use the stand.
Wipe the jaws clean now and then. Thread lint and dust build up where the hoop sits. A damp cloth does the work. Dry the spot right after. Simple DIY repair guides cover this same kind of wooden joinery care in plain steps.
If the finish on a wooden stand dulls, rub in a little boiled linseed oil with a soft rag. Work in thin coats. Let each coat dry overnight. This old trick from woodworking guides keeps the stand smooth and pleasant to the touch.
Store the stand where it will not be kicked. Fold it flat if it folds. A floor stand can stand in a closet corner. Keep the small knobs and bolts in a little bag tied to the stand so they never wander.
Safety in the Craft Room
A stand is safe when used with care. Set a floor stand so the legs do not block the walking path. A foot caught on a leg sends the frame flying and the needles with it.
Keep needles in a pin cushion or a closed case, never loose on the chair. When you rise, lift the hoop from the stand first. This keeps the needle from catching your sleeve.
Good light matters as much as a good stand. A lamp placed to the left of your work keeps shadows off the fabric. The energy saving guides sold in many shops remind us that a bright daylight bulb shows true thread colors better than a yellow lamp.
Children and pets love a moving stand. Teach young ones to ask before they touch the frame. Many family safety sheets from the Consumer Product Safety Commission warn that small craft parts can be a choking hazard for small children, so keep needles and tiny fittings out of reach.
Pairing Your Stand With the Right Tools
A stand is one piece of the craft kit. Sharp fabric scissors keep your cutting clean, and a good pair of fabric scissors for sewing and quilting is worth the small price. Your thread box, thimble, and needle case should sit within arm’s reach so you do not have to stand to fetch them.
Stitchers who make their own pieces often branch into related crafts. A basic set of jewelry pliers for wire wrapping opens the door to hand made clasps and findings for your finished work. Those who like to build their own frames and cases may enjoy a leather crafting tools kit for beginners for making needle rolls and tool wraps to match the stand.
A small tray or basket beside the chair holds all of this. Keep the tray on the same side each day. Your hands will learn where each tool lies, and your stitching will flow without pause.
FAQ
Will a lap stand fit my large oval frame? Most lap frames take round hoops up to about ten inches. Oval frames and large rectangular frames need a floor stand with wide jaws. Measure your frame before you shop and carry the number with you.
Is a floor stand better than a lap stand? It depends on your chair and your habits. Floor stands are steadier and suit long sessions. Lap stands are cheaper, lighter, and travel well. Many stitchers own one of each and pick by the day.
Can I use a stand with a quilting hoop? Yes, if the jaws open wide enough. Quilting hoops are deep and heavy. A sturdy floor stand handles them best. A light lap frame may tip under the weight.
How do I stop the hoop from slipping in the jaws? Wrap a thin strip of cotton round the hoop where the jaws grip. This adds friction without harming the wood. Tighten the wing nut only as far as hand pressure allows.
What should a beginner buy first? A simple sit-on stand in the twenty to forty dollar range is a safe first buy. It teaches you what height and angle suit your body. Later you can step up to a floor stand if you stitch often.
Do stands work for left handed stitchers? Yes. Most stands turn a full circle. Set the angle so the working hand has the clear side. A few cheap models favor the right hand, so check the display model in the shop.
A Short Final Word
The best embroidery hoop stand for lap stitching is the one that fits your hoop, your chair, and your pocket. It holds the fabric steady. It frees your hands. It lets you stitch longer with less ache. Start with the five traits above. Try a floor model when you can. Keep the stand clean and the joints snug, and it will serve you for many winters of work. The old hands knew a truth that still holds: a steady frame makes a steady hand.
References
Amazon. (n.d.). Online shopping. https://www.amazon.com Bob Vila. (n.d.). Home improvement advice. https://www.bobvila.com Family Handyman. (n.d.). DIY home repair and maintenance. https://www.familyhandyman.com JOANN. (n.d.). Fabric and craft supplies. https://www.joann.com Michaels. (n.d.). Arts and crafts supplies. https://www.michaels.com The Home Depot. (n.d.). Home improvement products. https://www.homedepot.com This Old House. (n.d.). Home renovation guidance. https://www.thisoldhouse.com U.S. Consumer Product Safety Commission. (n.d.). Product safety information. https://www.cpsc.gov
Was this guide helpful?

About Lisa Anderson
The My Garden US editorial team writes practical, in-depth home and garden guides for American homeowners — tested advice, no fluff.
You May Also Like
Pom Pom Maker Kit for Yarn Crafts Kids: A Simple Guide for Parents
May 27, 2026 0 views
Best Embroidery Starter Kit with Hoop Patterns: A Plain Guide for Beginners
September 17, 2026 0 views
Weaving Loom Kit for Beginners Wall Art: A Complete Guide
March 7, 2026 0 views