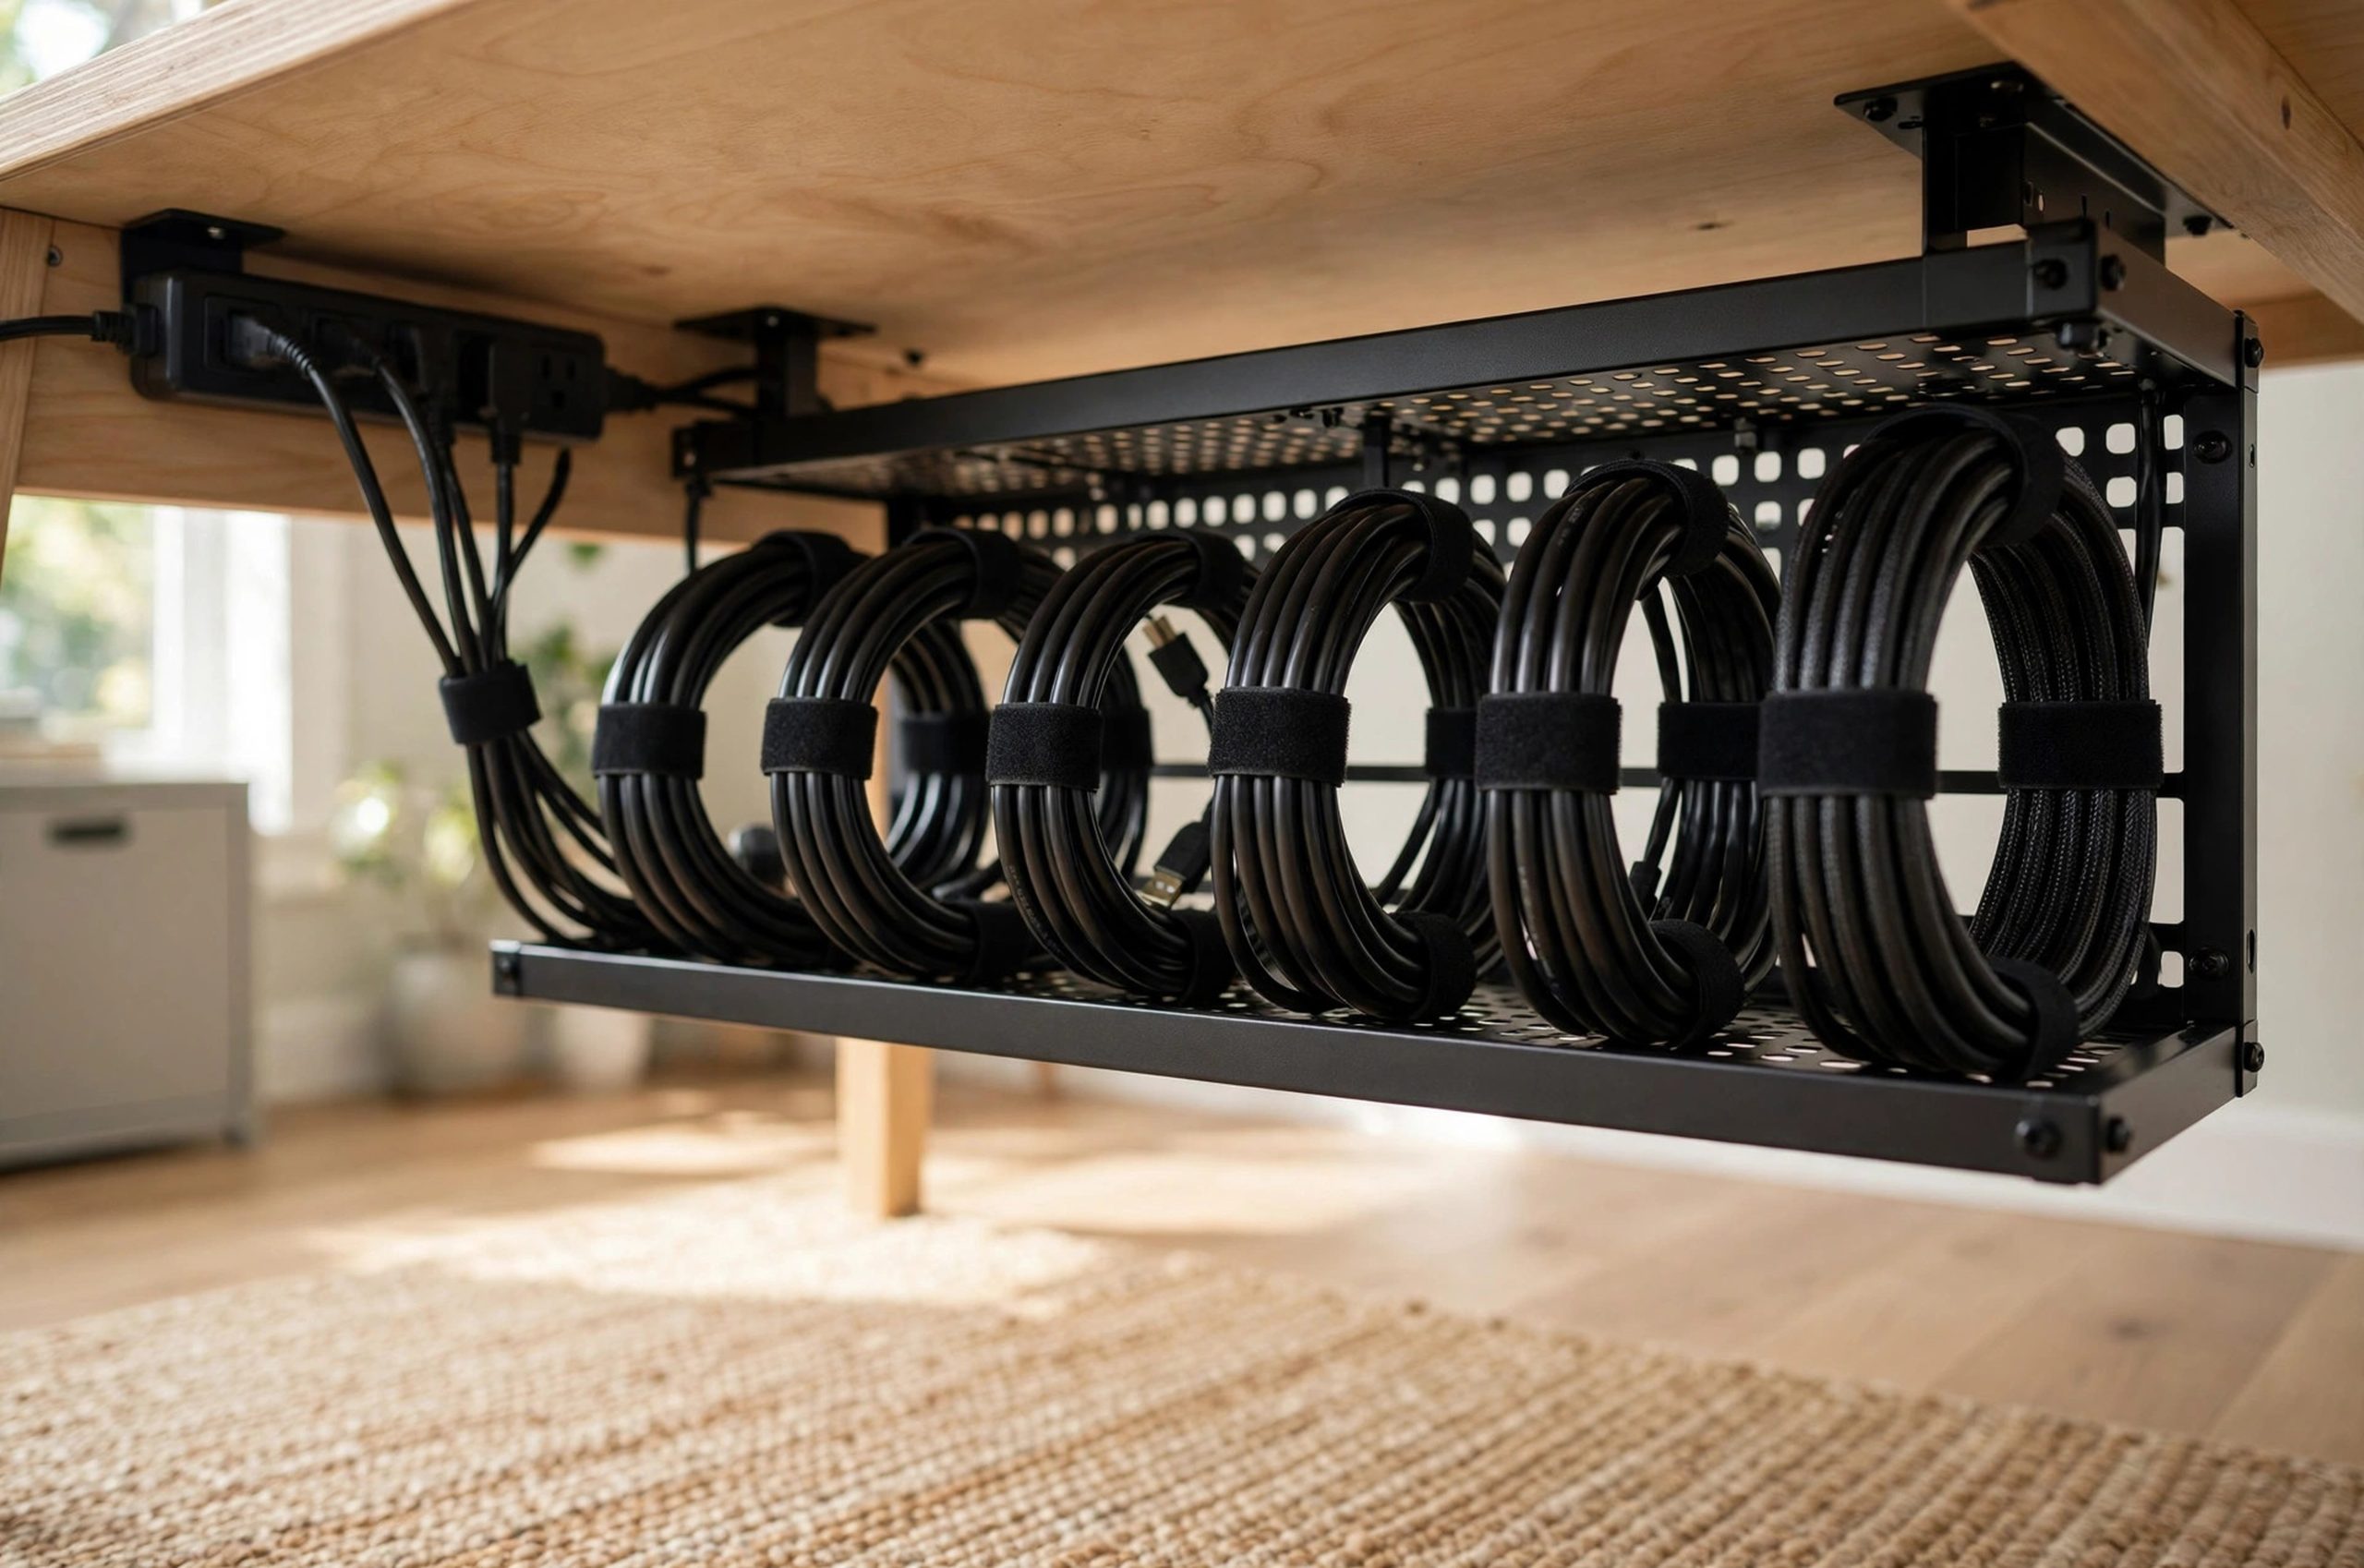
Your monitor goes black in the middle of a deadline. You crawl under the desk and face a dozen identical black cables. Which one feeds the monitor? Which one is the charger? You start unplugging at random and make everything worse. Labeling desk cables for painless troubleshooting ends this nightmare. A labeled cable tells you exactly what it does before you touch it. Ten minutes of labeling today saves hours of frustrated guessing later. Here is what to know about labeling desk cables before you start.
Table of Contents
Table of Contents
- Labeling Desk Cables: Why Labels Beat Memory Every Time
- The Golden Rule: Label Both Ends
- Pick Your Labeling Method
- What to Write on Each Label
- Label Before You Bundle
- Group Cables by Type Before You Tie Them
- Build a Simple Cable Map
- Troubleshooting With Labels: The New Workflow
- Frequently Asked Questions
- How many cables should I label?
- Will labels damage my cables?
- What about cables inside walls or desks I cannot reach?
- Should I label chargers in a drawer too?
- Conclusion
- References
Labeling Desk Cables: Why Labels Beat Memory Every Time
When it comes to labeling desk cables, getting the details right makes all the difference.


Many homeowners find that labeling desk cables is easier than they expected once they know the basics.
Nobody remembers their cable layout. You set up the desk, everything works, and the details fade within a week. Then comes the day you add a second monitor, move the desk, or troubleshoot a dead device, and you are tracing cables by hand in the dark.
Labels turn guessing into reading. A tag that says "Main Monitor DP" or "Laptop Charger 65W" answers the question instantly. Cord Theory's cable labeling guide puts it simply: label both ends of every cable, and reconnecting devices after a move or an upgrade becomes fast instead of frustrating. When something breaks, the first thing you check is cables, and labels make that check take seconds.
The Golden Rule: Label Both Ends
Many homeowners find that labeling desk cables is easier than they expected once they know the basics.
The key to labeling desk cables is choosing the right approach for your space and budget.
A label on only one end is half a system. The end at the device tells you what the cable feeds. The end at the power strip or computer tells you where it plugs in. Label both, and you can work from either side of the desk.
This matters most for lookalike cables. USB-C cables are the worst offenders: the connectors look identical, but one carries charging power, another carries display signal, and a third does both at different speeds. CLOOP's cord management guide advises labeling USB-C cables by job, such as laptop charging, display, or phone charging, and keeping any printed wattage marks visible so the cable matches the task.
Pick Your Labeling Method
The key to labeling desk cables is choosing the right approach for your space and budget.
With a little planning, labeling desk cables can fit even a busy schedule.
You do not need special gear. Any of these work:
Wrap-around marker flags. Small self-laminating tags that wrap around the cable with a write-on area. They stay put, stay readable, and peel off cleanly when you repurpose a cable. The best all-around choice.
Printed label tape. A handheld label maker prints crisp, durable tags. Wrap the tape around the cable like a flag so the text stays readable. This pairs well with a label maker for filing you may already own for the office.
Masking tape and a marker. The free option. Write the device name on a small piece of tape and wrap it near each end. It will not win beauty contests, but it works. Replace it if it gets grimy.
Color-coded bands. Colored tape or Velcro ties mark cable types at a glance: red for power, blue for display, green for USB. Color works as a fast first sort, with written labels as the detail layer. Tom's Guide recommends color-coded labels to tell power, HDMI, and USB apart without tracing each cable.
Bread-clip tags. For a zero-cost start, write on a plastic bread clip and clip it to the cable near each end. Surprisingly effective for a drawer of chargers.
What to Write on Each Label
With a little planning, labeling desk cables can fit even a busy schedule.
Before you start, it helps to understand how labeling desk cables works in real homes.
Keep it short and consistent. A good label answers two questions: what device, and what job. Use this format:
- Device name: "Monitor 2", "Laptop Dock", "Printer"
- Cable job: "Power", "DP", "HDMI", "USB-C Data", "Charger 65W"
So a full label reads "Monitor 2 - DP" or "Laptop Dock - Power". Two to four words is the sweet spot. Long sentences get tiny and unreadable. Use the same abbreviations everywhere: if one label says "DP" and another says "DisplayPort cable for second screen", you have no system.
Add the wattage on charging cables when it matters. A 65-watt laptop charger and a 20-watt phone charger look the same but are not interchangeable. That one detail prevents slow-charging mysteries.
Label Before You Bundle
Before you start, it helps to understand how labeling desk cables works in real homes.
A good plan for labeling desk cables saves time, money, and frustration.
Order of operations matters. Label every cable before it goes into a tray, sleeve, or bundle. Once cables are zip-tied together inside a channel, adding labels means undoing all your work. Cord Theory's podcast desk guide warns about exactly this: if you use a cable organizer or channel, label the cables before placing them inside, so future maintenance never requires tracing every cable through the whole bundle.
The full routine for a clean desk:
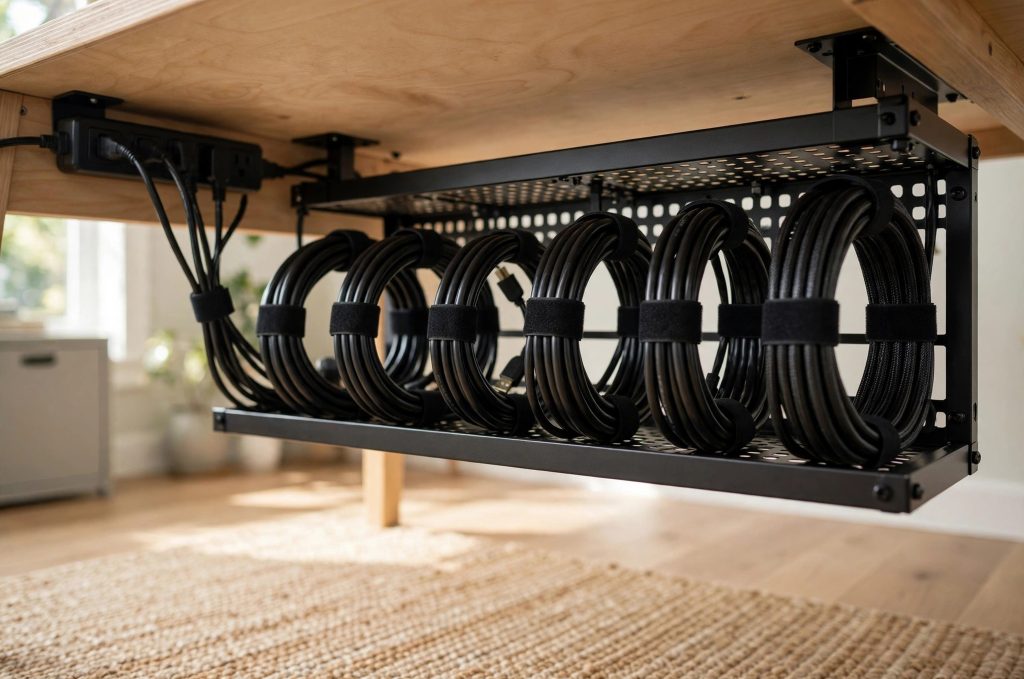
1. Unplug everything and lay the cables out. 2. Toss or store the cables you do not need. 3. Label both ends of every keeper. 4. Route each cable to its destination. 5. Bundle cables that travel the same path with reusable Velcro ties. 6. Mount the power strip and tuck the slack into a tray. If you are buying a new desk anyway, a desk with built-in power outlets puts the power where the cables are and skips the under-desk strip entirely.
Tidy Workspace Lab lists labeling alongside grouping similar cables and keeping runs short as the core best practices for any desk. The Linux Code's desk wiring guide adds a smart detail: tag the hardware device name, the unique function, and the plug purpose (power, video, USB) on each label.
Group Cables by Type Before You Tie Them
A good plan for labeling desk cables saves time, money, and frustration.
Labels work best on top of a sensible layout. Bundle power cords separately from data and video cables. Power cables can introduce interference into sensitive signal cables, so cross them at right angles if they must cross, and keep power runs leading away from HDMI and DisplayPort lines.
Group by destination too. All the cables heading to the monitor arm travel together. All the charging cables heading to the desk edge travel together. When you need to unplug one device, you open one bundle, read the labels, and pull the right cable on the first try.
Use Velcro ties instead of plastic zip ties for anything you might change. Zip ties must be cut off, and cutting near cable jackets is how cables get nicked. Velcro opens and closes forever. Conflingo's cable management tricks recommends VELCRO-style reusable ties for exactly this reason, and notes that a full desk cleanup takes about thirty minutes.
Build a Simple Cable Map
For most people, labeling desk cables comes down to a few smart choices.
For complex setups, draw a one-page map. It does not need to be pretty. List each device, what it plugs into, and which port. Tape the map inside the desk drawer or save a photo of it on your phone.
This pays off when you are troubleshooting by phone with tech support, or when someone else needs to fix your setup while you are away. A map plus labels means anyone can follow the system. Closet World's office organization guide applies the same thinking to whole rooms: when everything has a labeled home before it becomes a pile, the space stays manageable.
Troubleshooting With Labels: The New Workflow
If you are new to labeling desk cables, start with the simplest option and build from there.
Here is what a cable problem looks like with a labeled desk:
1. The monitor goes dark. You check the label at the power strip: "Monitor 1 - Power". It is seated firmly. 2. You check the other end at the monitor. Also firm. 3. You check the display cable: "Monitor 1 - DP". You reseat it at both labeled ends. Picture returns.
Three minutes, no guessing, no unplugging the wrong thing. Without labels, the same problem means tracing every cable by hand, unplugging candidates, and hoping. Multiply that by every future move, upgrade, and cleaning session, and the ten minutes of labeling pays for itself many times over.
Keep a few blank labels and a marker in the desk drawer. Every time you add a cable, label it on the spot. The system only works if it stays current, and "later" is where unlabeled cables come from.
Frequently Asked Questions
When it comes to labeling desk cables, getting the details right makes all the difference.
How many cables should I label?
All of them. Power, video, USB, audio, network: every cable gets both ends labeled. The cables you skip are the ones that confuse you later. A full desk usually has ten to twenty cables, and labeling all of them takes about ten minutes.
Will labels damage my cables?
No, if you use the right kind. Wrap-around flags, label tape, Velcro ties, and masking tape all come off cleanly. Avoid anything with aggressive adhesive applied directly to the cable jacket, and never use zip ties so tight they kink the wire.
What about cables inside walls or desks I cannot reach?
Label both visible ends anyway, and add the cable to your map with a note about where it runs. If you ever open that wall or move that desk, the map tells you what is in there.
Should I label chargers in a drawer too?
Yes. A drawer of identical black chargers is a classic time-waster. A small flag on each one with the device name and wattage turns the drawer from a mystery box into a menu. Pair this habit with cable clips on the desk edge so active charging cables never slide behind the desk.
Conclusion
Many homeowners find that labeling desk cables is easier than they expected once they know the basics.
Labeling desk cables for painless troubleshooting is the cheapest upgrade in home offices. Label both ends. Keep the text short and consistent. Label before you bundle. Group by type, tie with Velcro, and keep a simple map.
Do it once, maintain it in seconds, and never crawl under the desk to play cable roulette again. Your future self, mid-deadline with a dark monitor, will be very glad you spent those ten minutes. Once you try it, labeling desk cables gets easier each time.
References
- The Linux Code. (n.d.). Managing a tangle of technology: How to organize cables for your computer desk. https://thelinuxcode.com/manage-wires-and-cables-computer-desk-setup/
- Tom's Guide. (n.d.). 7 tips and tools to achieve the ultimate cable-free desk setup. https://www.tomsguide.com/computing/7-tips-and-tools-to-achieve-the-ultimate-cable-free-desk-setup
- Cord Theory. (n.d.). Podcast desk cable management: 11 easy organization tips. https://cordtheory.com/podcast-desk-cable-management/
- Conflingo. (n.d.). Easy cable management tricks for a tidy desk setup. https://www.conflingo.com/forum/tips-and-tricks/easy-cable-management-tricks-for-a-tidy-desk-setup
- Tidy Workspace Lab. (n.d.). Ultimate guide to desk cable management: Organize and conceal cords effectively. https://tidyworkspacelab.com/desk-cable-management
- CLOOP. (n.d.). Cord management ideas for desks, chargers and travel. https://www.cloopband.com/blogs/blog/cord-management-made-easy-genius-tips-and-top-products-for-managing-your-cables
- Cord Theory. (n.d.). Labeling PC cables for easy troubleshooting guide: Expert tips. https://cordtheory.com/labeling-pc-cables-for-easy-troubleshooting-guide/
- Closet World. (n.d.). Home office organization: Built-in storage that works. https://www.closetworld.com/blog/home-office-organization-built-in-storage
Was this guide helpful?

About My Garden US
The My Garden US editorial team writes practical, in-depth home and garden guides for American homeowners — tested advice, no fluff.
You May Also Like

A Home Office Chair Mat for Carpet Protection: A Plain Guide
July 24, 2026 2 views
Home Office Monitor Riser with Drawer Storage: A Complete Buyer Guide
April 2, 2026 3 views
Small Standing Desk for Laptop Only Use: A Practical Guide
March 17, 2026 2 views