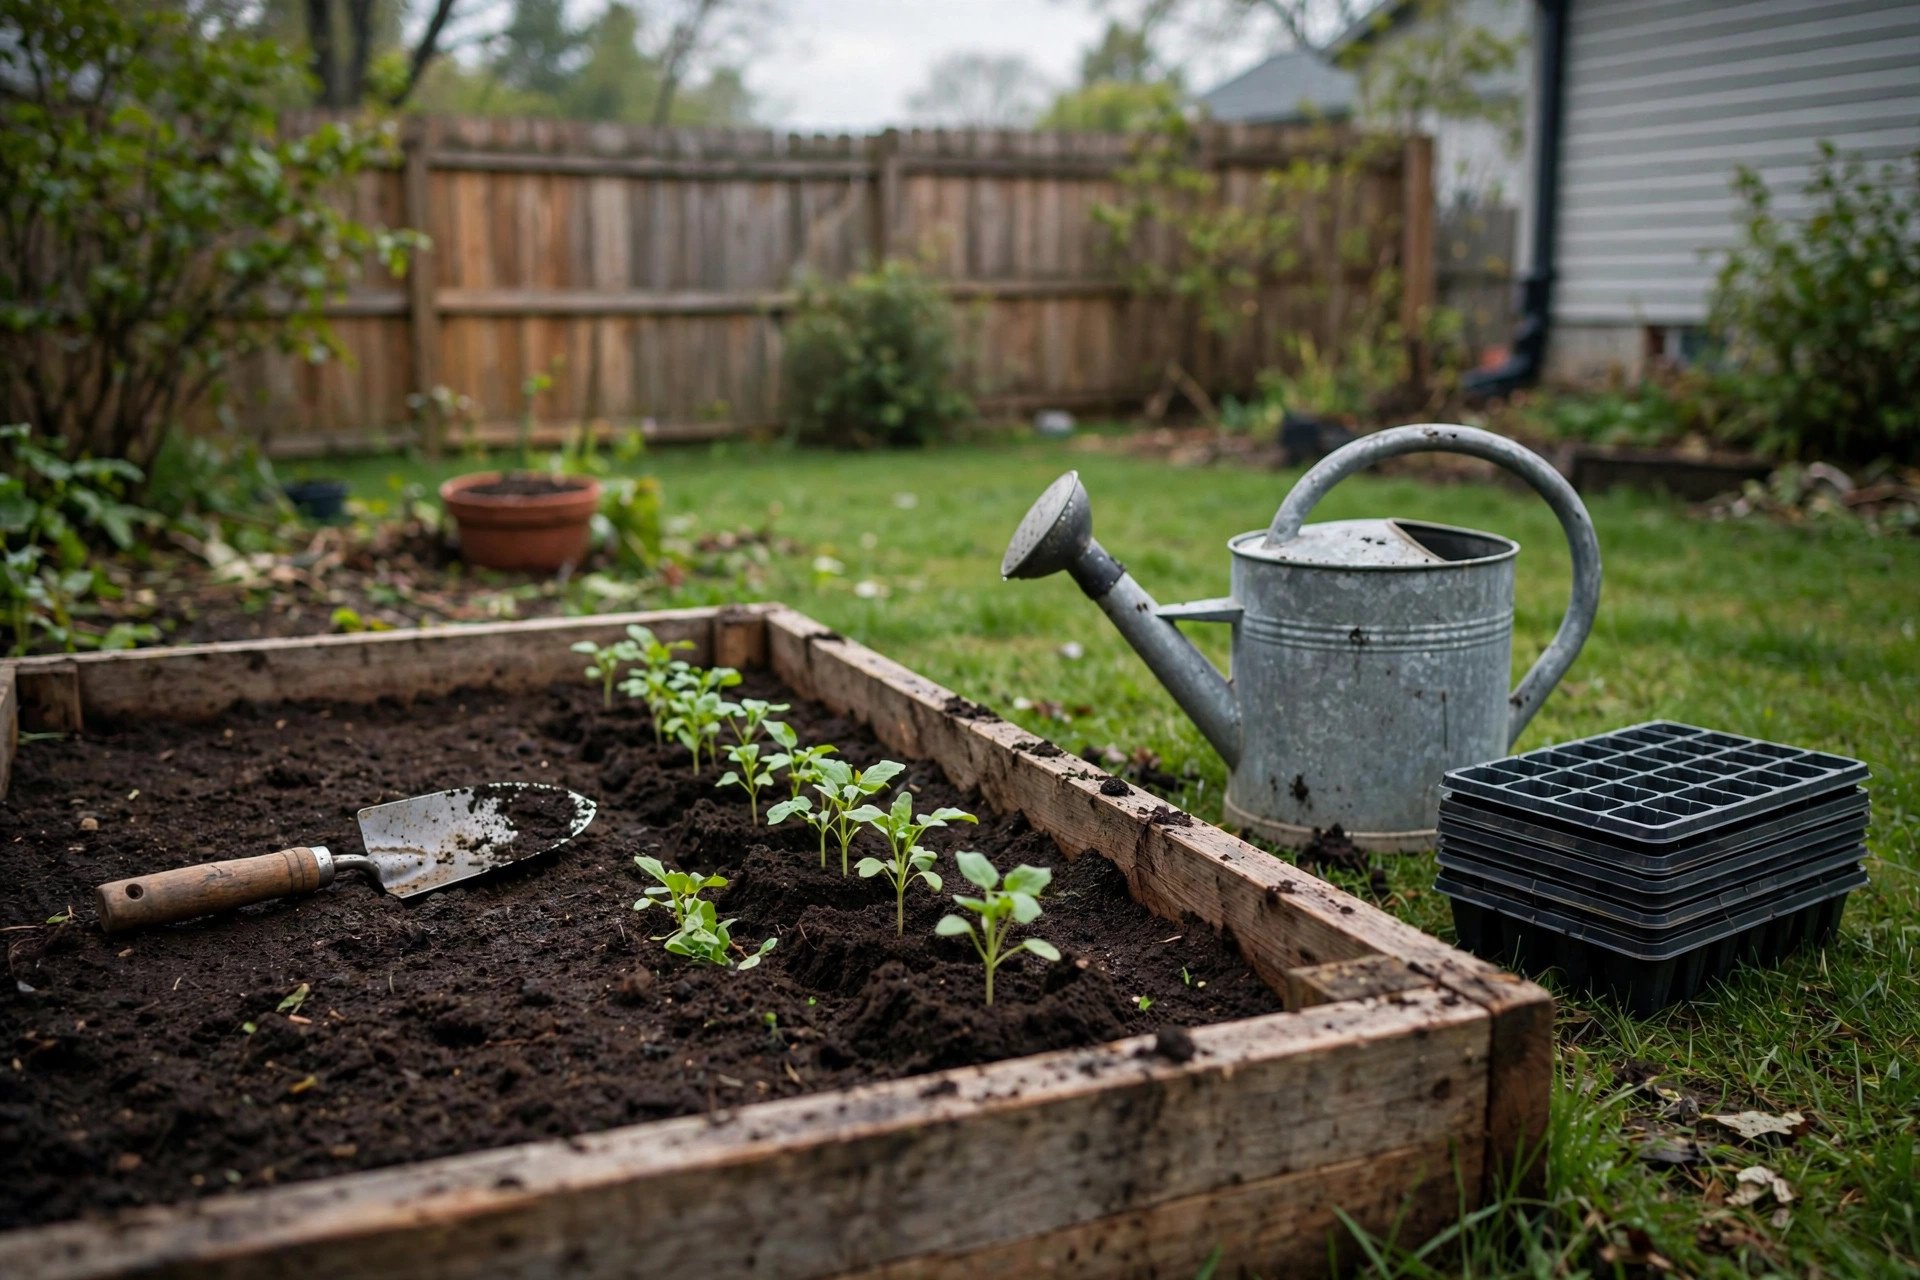
Moving seedlings from their indoor pots to the open garden is one of the most important days in a growing season. The plants are small and tender. The weather outside is rough compared to the warm windowsill where they began. When gardeners learn how to transplant seedlings outdoors safely, they give each plant the best chance to grow into a strong, healthy adult.
A seedling grown indoors lives a sheltered life. The garden is different. Sun is stronger. Wind is harsher. Nights are colder. Every year, new gardeners lose many young plants on transplant day. Most of these losses come from a few common mistakes: planting too early, skipping the hardening-off period, or damaging the roots during the move. All of these can be avoided with plain, careful steps.
This guide walks through the whole process. It covers when to plant, how to prepare both the plants and the bed, the tools that make the work easier, and how to care for transplants in the first two weeks.
Why Timing Matters More Than Anything
The single biggest cause of dead transplants is cold. Warm-season plants such as tomatoes, peppers, basil, cucumbers, and squash cannot stand frost. If the night temperature falls to freezing, the water inside their cells turns to ice and the plant dies. Even temperatures just above freezing can shock them badly. They stop growing for a week or more. Some never recover.
Cool-season plants are tougher. Broccoli, cabbage, kale, lettuce, spinach, and peas can go out two to four weeks before the last expected frost date. But even these plants dislike a hard freeze in their first week outside.
Find your local last frost date. Plan warm-season transplants for one to two weeks after that date. Soil temperature matters as much as air temperature. Most warm-season crops want soil above 60 degrees Fahrenheit. A simple soil thermometer costs little and removes all guesswork. Cold soil keeps roots from taking up water, and the plant may sit still for days.
Watch the weather forecast as well. Transplant on a cloudy day or late in the afternoon if you can. Full hot sun on the first day adds stress. A calm, overcast morning is the kindest setting a young plant can get.
Hardening Off: The Step You Must Not Skip: How to Transplant Seedlings Outdoors Safely
Hardening off is the slow process of getting indoor plants used to outdoor conditions. It takes seven to ten days. Gardeners who skip this step often lose half their transplants. The plants simply collapse from windburn and sunburn within a day or two.
Start by setting the trays outside in a sheltered, shady spot for one or two hours on the first day. Each day, add an hour or two of time outside. Move them into dappled sun by day three or four. By the end of the week, they should stand full sun most of the day and stay out through a mild night.
Wind is part of the training. A gentle breeze makes stems thicker and stronger. If the weather is wild, wait. Hail, driving rain, and strong cold wind will batter small plants. There is no harm in holding the trays indoors an extra day during a storm. The goal is a steady, gradual change, not a shock.
Reduce watering slightly during hardening off, but never let the cells go fully dry. Slightly firmer, slower growth at this stage builds a tougher plant.
What You Will Need
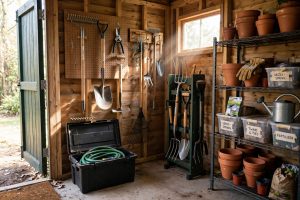
Good tools make transplant day faster and gentler on the plants. You do not need much. A short list covers the work.
A hand trowel is the main digging tool. Look for one with a strong, one-piece handle and a deep, narrow blade, such as the hand tools from Corona. A hori-hori knife, the Japanese gardening knife, is even better for cutting clean holes and slicing root balls. A watering can with a soft rose head lets you water new transplants without blasting soil away from the roots. A dibble or dibber makes neat, even planting holes for small starts.
A garden kneeler saves your knees and back during a long planting session. A wheelbarrow or garden cart helps you carry flats of seedlings, bags of compost, and tools to the bed in one trip.
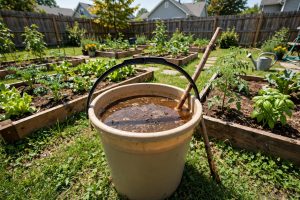
Keep a small bucket of water nearby. Setting each root ball in the bucket for a minute before planting helps dry cells soak up water fully. Have mulch ready too. A two-inch layer of straw, shredded leaves, or bark mulch around new transplants holds soil moisture and keeps the soil temperature steady.
Before the season starts, give your tools some care. Clean blades and a light coat of oil stop rust and make cleaner cuts. A short guide on how to sharpen garden tools properly will show you how to keep edges ready for clean work.
Preparing the Bed
Healthy soil is the foundation of a safe transplant. Work the bed a week or two before planting day if the soil is workable. It should crumble in your hand, not stick together in a wet ball. Digging wet soil ruins its structure.
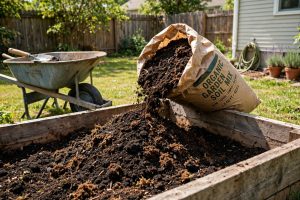
Mix two to three inches of finished compost into the top six inches of soil. Compost feeds the soil life that young roots depend on. If you garden in raised beds, a good raised bed soil mix gives transplants loose, rich ground to root into quickly.
Test the soil pH if you have never done it. Most vegetables grow best between 6.0 and 7.0. A low-cost test kit from the garden center gives a reading in minutes.
Water the bed deeply the day before planting. Moist soil is easier to dig and gives roots instant contact with water.
How to Transplant Seedlings Outdoors Safely, Step by Step
Work in the morning or late afternoon. Handle the plants as little as possible.
First, water the seedlings in their cells about an hour before the move. Moist potting mix holds together around the roots. Dry mix falls apart and tears fine roots.
Second, dig each hole a little deeper and wider than the root ball. Tomatoes can be buried deeper than they stood in the pot; they grow new roots along a buried stem. Most other crops should sit at the same depth they grew in the cell.
Third, slide the plant out of its container. Squeeze the sides of a plastic cell gently, then tip the plant out into your hand. Never pull a seedling by its stem. If roots circle the bottom of the pot, tease them loose with your fingers so they grow outward instead of around in a knot.
Fourth, set the root ball in the hole. Fill soil back around it and press gently but firmly. You want good contact between the root ball and the surrounding soil, with no air pockets. Air pockets dry out roots.
Fifth, water each plant well right after planting. Use a soft stream. The goal is to settle the soil around the roots, not to flood the bed. A gentle watering can with a rose head is ideal for this.
Sixth, mulch around the plants, keeping it an inch or two away from the stems to prevent rot. If a cold night threatens, cover the transplants with row cover fabric, buckets, or cardboard boxes before dark. Remove covers in the morning so the plants get light.
Choosing the Right Spot
Different crops want different conditions, and matching the plant to the spot is part of planting safely.
Most vegetables need six to eight hours of direct sun. Watch your yard for a full day before the season starts and note which areas get sun and shade. Afternoon shade in very hot climates can help tender transplants.
Good drainage is just as important as sun. Seedling roots rot in standing water. If your ground stays soggy after rain, build a raised bed or plant on a low mound. Raised beds warm up faster in spring, which helps warm-season crops.
Give each plant the space its seed packet calls for. Crowded plants fight for light and air, and poor air flow invites disease. Rotate your crops from year to year. Do not plant tomatoes, peppers, or potatoes where they grew last season, since many soil diseases build up when the same family grows in the same spot.
Cost and Price
Transplanting is one of the cheapest parts of gardening. Most of the cost goes to seeds, potting mix, and a few tools that last for years.
A packet of vegetable seeds costs a few dollars. A bag of seed-starting mix costs under ten dollars. Cell trays are cheap, and sturdy ones can be washed and reused for several seasons.
Basic hand tools are a one-time purchase. A good hand trowel, a watering can, and a garden kneeler together often cost less than fifty dollars at a home center. Prices at stores like The Home Depot and Lowe’s are easy to compare, and spring sales bring them lower.
Compost is the other main cost. A bag of bagged compost runs a few dollars, while a home compost pile costs nothing but time. Mulch can be free if you use fallen leaves or grass clippings from your own yard.
Compared with buying nursery transplants, which often cost several dollars per plant, growing your own starts saves real money. A single tray of tomato seedlings grown from a three-dollar seed packet replaces more than a hundred dollars of store-bought plants.
Care and Upkeep in the First Two Weeks
The first two weeks after transplanting decide whether the plant thrives or struggles. Roots are still small and cannot reach far for water.
Water often but not too much. The top inch of soil should stay lightly moist. Water in the morning so leaves dry before night. Wet leaves overnight invite fungal disease.
Watch for cutworms. These gray caterpillars hide in the soil by day and chew through young stems at night. A simple cardboard collar pushed an inch into the soil around each stem stops them.
Hold off on fertilizer for the first week or two. Fresh transplants do not need feeding, and strong fertilizer can burn tender roots. After the plants show new growth, a half-strength liquid feed every two weeks keeps them moving.
Weed gently by hand near young plants. Pull weeds when the soil is moist so they come out easily with their roots. If growth stalls during a cold snap, be patient. Plants often sit still for a few days and then take off when warmth returns.
Safety
Garden work is safe when a few simple rules are followed.
Wear gloves. Soil can hold sharp bits, thorns, and bacteria. A wide-brimmed hat and sunscreen protect your skin during midday work.
Lift with care. Bags of compost and soil are heavy. Bend your knees and keep the load close to your body. Better yet, split bags into a wheelbarrow and make two lighter trips.
Read every product label. Fertilizers, pest controls, and soil amendments all carry directions for safe use. Wash your hands after handling them.
Check the weather before a long session. Lightning, extreme heat, and hail are real hazards. Take water with you on hot days and rest in the shade. Store sharp tools in a shed or garage, out of reach of children.
FAQ
How long should I harden off seedlings before transplanting? Seven to ten days is the standard. Start with an hour or two of sheltered outdoor time and add more each day. By the end of the period, the plants should handle full sun and a mild night outside.
Can I transplant seedlings on a sunny day? It is better to choose a cloudy day or plant late in the afternoon. If you must plant in sun, water well and shade the plants with row cover for the first day or two.
What is the best soil temperature for transplanting tomatoes? Tomatoes want soil at or above 60 degrees Fahrenheit. Use a soil thermometer pushed three inches deep. Cold soil slows root growth and can stunt the plant for weeks even if the air feels warm.
Should I fertilize right after transplanting? No. Wait until you see new growth, usually one to two weeks. Then use a half-strength liquid fertilizer.
Why are my transplants wilting after planting? The most common cause is dry root balls or air pockets around the roots. Water deeply right after planting and press the soil firmly around each plant. If wilting continues for more than two days, check for cutworms or stem damage.
Can I transplant seedlings that have become root-bound? Yes, in most cases. Gently tease the circling roots apart with your fingers before planting. If the root ball is a solid mass, make two or three shallow vertical cuts in it with a clean knife so new roots grow outward.
A Final Word
Learning how to transplant seedlings outdoors safely is mostly a matter of patience. Harden the plants off. Wait for warm soil. Handle the roots gently. Water well. These habits turn a risky day into a routine one.
If you are new to growing from seed, start with a forgiving crop like beans or squash, and read a guide on how to start seeds indoors before the season begins. Each year the process gets easier.
For more help choosing gear, the buying guides at Consumer Reports test garden tools for real-world durability, and the project ideas at Family Handyman and Bob Vila cover beds and season extenders. Seed sources like Burpee offer variety and advice, while The Spruce keeps a large library of plain how-to articles for every step of the garden year.
References
Bob Vila. (n.d.). Home improvement advice. https://www.bobvila.com Burpee. (n.d.). Seeds, plants, and gardening supplies. https://www.burpee.com Consumer Reports. (n.d.). Product reviews and ratings. https://www.consumerreports.org Corona Tools. (n.d.). Garden and landscape tools. https://www.corona-tools.com Family Handyman. (n.d.). DIY home repair and maintenance. https://www.familyhandyman.com Fiskars. (n.d.). Garden and cutting tools. https://www.fiskars.com Gardener’s Supply Company. (n.d.). Gardening tools and supplies. https://www.gardeners.com Lowe’s. (n.d.). Home improvement products. https://www.lowes.com The Home Depot. (n.d.). Home improvement products. https://www.homedepot.com The Spruce. (n.d.). Home and garden advice. https://www.thespruce.com
Was this guide helpful?

About Michael Thompson
The My Garden US editorial team writes practical, in-depth home and garden guides for American homeowners — tested advice, no fluff.