Many home cooks know how to grill chicken thighs with crispy skin in theory, but the skin still comes out soft or chewy. The chicken tastes fine, yet the skin never crackles. This guide fixes that. It explains each step in plain language, from buying the meat to pulling it off the grill. The method works on gas grills, charcoal grills, pellet grills, and kamado cookers. Follow the steps, and you will serve thighs that are juicy inside and crisp outside.
Why Crispy Skin Is Worth the Effort
Skin is the part of the thigh that takes the most heat. When it crisps, it adds texture and flavor that plain meat cannot give. Crisp skin also acts as a small shield. It protects the meat from the direct blast of heat, so the thigh stays moist while the outside turns golden.
There is another reason to learn this skill. Thighs are forgiving. They have more fat and dark meat than breasts, so they do not dry out as fast. A small mistake in timing still gives a good result. That makes thighs the best cut to practice on. Once you learn how to grill chicken thighs with crispy skin, the same rules help with wings, drumsticks, and even whole birds.
What to Look for When You Buy Thighs: How to Grill Chicken Thighs Crispy Skin
Start at the store. Choose thighs with skin on and bone in. Boneless skinless thighs are fine for other dishes, but they cannot give you crispy skin. Bone-in thighs hold their shape and cook more evenly.
Look for skin that covers the whole thigh. Torn or missing skin means less crisp surface and more chance of flare-ups. The meat should be pink and firm, with no off smell. Avoid packs with large pools of liquid. That extra liquid is moisture you will have to remove later.
Fresh thighs are best, but frozen thighs work if you thaw them fully. Move them to the refrigerator a day ahead. Never thaw chicken at room temperature. A full thaw gives even cooking from edge to center.
How Many to Buy
Plan on two thighs per adult. Each thigh weighs about six ounces before cooking. For a family of four, buy about three pounds. It is better to buy a little extra. Leftover grilled thighs reheat well and taste good cold in salads.
How to Prepare the Thighs
Preparation is where most people lose the crisp. The skin must be dry before it touches the grill. Water turns to steam, and steam fights browning. Follow these steps one hour before you cook.
First, rinse is not needed. Old advice told cooks to rinse chicken, but modern food safety guidance says to skip it. Rinsing spreads drops of raw chicken juice across the sink and counter. The heat of the grill kills germs on the meat itself.
Pat each thigh dry with paper towels. Press firmly on both sides. Take a second towel and dry the skin side again. This one step matters more than any spice.
Second, salt the skin well. Salt draws out the last traces of moisture and helps the skin tighten. Use plain kosher salt or fine sea salt. Let the thighs rest uncovered in the refrigerator for at least one hour. Four hours is better. The cold dry air of the fridge does part of your work for you.
Third, add seasoning just before grilling. A light coat of oil helps, but use only a thin layer. Heavy oil drips and causes flare-ups. Black pepper, garlic powder, and paprika are enough. Paprika adds color that reads as crispness. Keep sauces off the skin until after the grill. Sugary sauces burn and turn bitter.
The Secret Most People Skip
Score the skin. Use a sharp knife to make three shallow cuts across the skin side, just through the skin, not deep into the meat. These cuts let fat render out and heat reach the skin from the edges. The result is skin that crackles instead of turning rubbery.
Types of Grills That Work
Almost any grill can give crispy skin. The grill matters less than the method. Here are the common types and what to know about each.
Gas grills are the easiest to control. You turn a knob and the heat stays steady. Two or three burners let you build the two-zone setup described below. Reviews and buying guides at places like Weber and Char-Broil explain burner layouts for popular models.
Charcoal grills give the deepest flavor. The smoke and hot coals add taste that gas cannot match. The trade-off is attention. You must move coals and watch vents. Many pit masters learn crispy-skin methods on charcoal because the high direct heat is ideal for the final crisping step.
Pellet grills cook with wood pellets and a fan. They hold a steady temperature for hours, which is wonderful for low and slow cooking. For skin, run the grill hot at the end, or finish the thighs over direct flame if your model allows it. Traeger and similar makers publish temperature guides that help.
Kamado cookers, like the ones from Big Green Egg, hold heat with thick ceramic walls. They can run very hot, which makes short crisping easy. Use the indirect plate for the first stage and remove it for the final sear.
If your grill has cast iron grates, read our guide on /how-to-season-cast-iron-grill-grates/ before you start. Clean, seasoned grates keep skin from sticking and tearing.
Step by Step: The Two-Zone Method
The two-zone fire is the heart of this whole guide. It means one side of the grill is hot and one side is cooler. You cook the thighs gently on the cool side first, then crisp them on the hot side last. This order is the secret. Skin cooked slow first renders its fat. Then a blast of heat turns that rendered skin into crackling.
Step 1: Set Up the Grill
For a gas grill, turn one or two burners to medium-high and leave the rest off. Aim for 400 to 425 degrees on the hot side. For charcoal, pile the coals on one side and leave the other side empty. Close the lid and let the grill preheat for ten minutes. Hot grates keep skin from sticking.
Clean the grates while they heat. A stiff brush removes old food that would glue itself to fresh skin. A clean grate is part of learning how to grill chicken thighs with crispy skin, not an extra.
Step 2: Cook Indirect First
Place the thighs skin side up on the cool side of the grill. Close the lid. Let them cook for 20 to 25 minutes. Do not move them. Do not press them. The lid traps heat and cooks the meat through while the fat under the skin slowly melts away.
After 20 minutes, check the temperature with an instant-read thermometer. Push the probe into the thickest part without touching bone. You want 150 to 160 degrees at this stage. A good wireless grilling thermometer lets you watch this without opening the lid again and again.
Step 3: Crisp Over Direct Heat
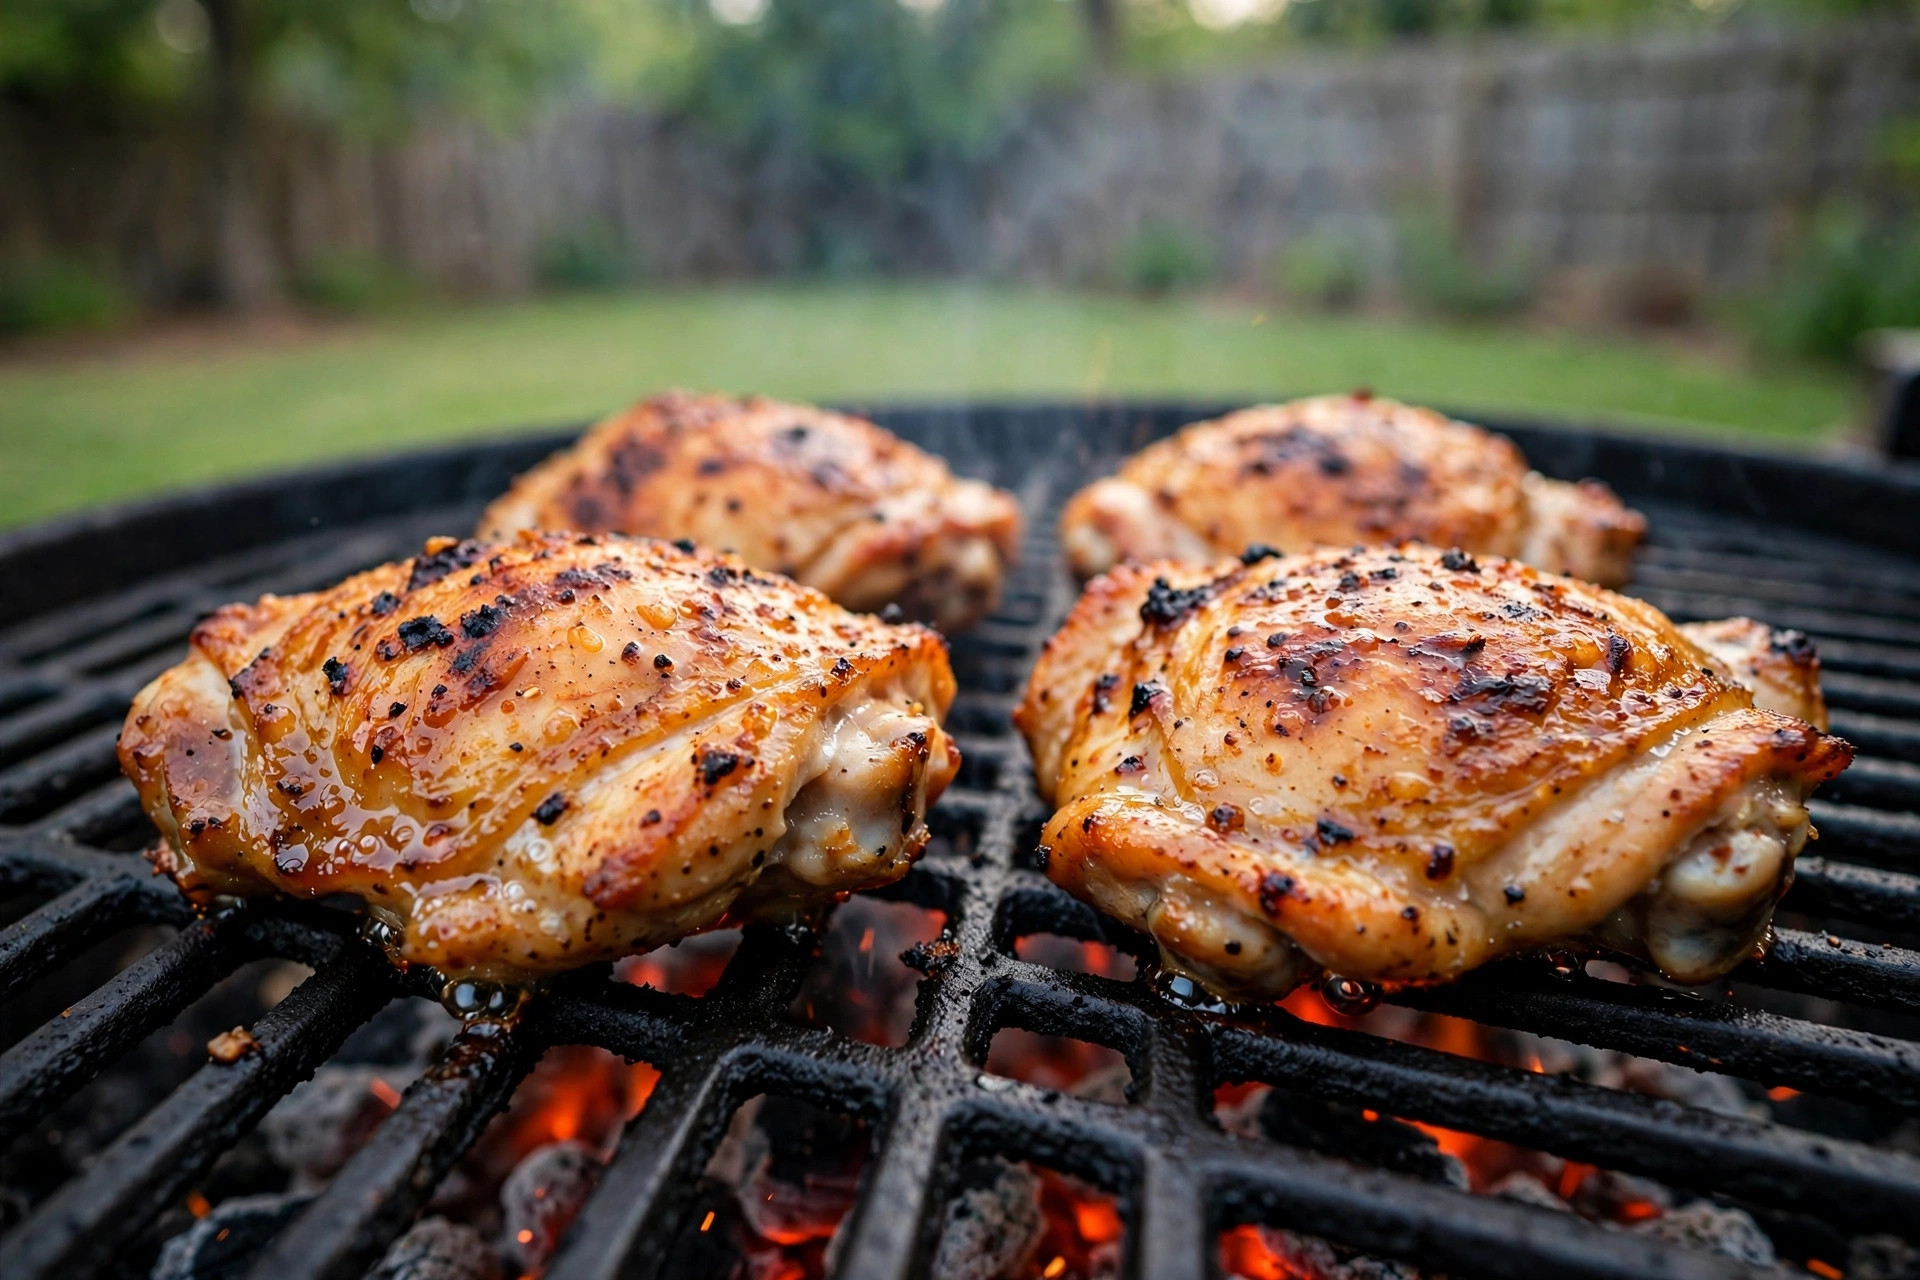
Move the thighs skin side down onto the hot side of the grill. Close the lid for two minutes, then open and look. The skin should be turning golden and making small sizzling sounds. Leave them two to four more minutes, watching closely. Skin goes from golden to burnt fast.
If flames flare up from dripping fat, move the thigh to the cool side for a minute, then bring it back. Never leave crisping skin alone. This stage needs your eyes.
Step 4: Rest and Serve
Pull the thighs when the thickest part reads 175 to 185 degrees. Dark meat is safe at 165, but it tastes better a little higher. The extra heat melts the connective tissue and keeps the meat juicy.
Rest the thighs on a warm plate for five minutes. The juices settle back into the meat. Cut too soon and they run out onto the plate. Serve with the skin side up so it stays crisp on the way to the table.
Cost and Price
Grilling chicken thighs with crispy skin is one of the cheapest ways to feed a crowd well. In most American stores, bone-in skin-on thighs cost between 80 cents and 1.50 dollars per pound. A three-pound pack feeds four adults for under five dollars.
Seasoning costs almost nothing. Salt, pepper, garlic powder, and paprika are pantry staples. A thin coat of cooking oil adds a few cents. Charcoal or gas for one cook costs one to two dollars. A bag of charcoal and a full propane tank each cover many cooks, so the fuel cost per meal stays low.
Compare that to boneless breasts, which often cost twice as much per pound and dry out faster. Thighs give better flavor for less money. If you are shopping for a new grill, buying guides from Consumer Reports and The Home Depot compare prices across fuel types.
Care and Upkeep of Your Grill
Crispy skin work puts extra grease on your grill. Clean it after every cook and the next cook starts right.
While the grates are still warm, brush them hard with a grill brush. Burned grease comes off warm metal much easier than cold. For a deeper clean, our walkthrough on /how-to-clean-gas-grill-burners-properly/ covers burners, drip trays, and grease cups.
Empty the grease tray often. Old grease is the main cause of dangerous flare-ups. Once a month, check the burners on a gas grill for clogs. Spiders and debris love burner tubes. A blocked burner cooks unevenly and can cause yellow, sooty flames.
Cover the grill when it cools. A cover costs little and doubles the life of the grill. Rain and sun break down metal and knobs over time. A covered grill also stays cleaner, which means less scrubbing before your next round of thighs.
Safety
Hot grills and raw chicken demand respect. Keep these rules in mind.
Wash your hands with soap after touching raw chicken and before touching anything else. Use one cutting board and one set of tongs for raw meat, and a clean set for cooked meat. Never put cooked thighs back on the plate that held them raw.
Keep a spray bottle of water near the grill for small flare-ups. For a real grease fire, close the lid and turn off the burners or close the vents. Never use water on a large grease fire. The amazing ribs site and The Spruce Eats both carry clear guides on safe grilling practice worth reading before your first cook.
Cook chicken to a safe internal temperature. The safe mark is 165 degrees in the thickest part. For thighs, 175 to 185 tastes better and is still fully safe. When in doubt, trust the thermometer, not the color. Pink near the bone can fool the eye, but a thermometer does not lie.
Keep children and pets away from the hot grill. Set up the grill on flat ground, away from the house, deck railings, and low tree branches. Ten feet of clear space is the common rule.
Grill makers like Napoleon and Broil King include safety checklists in their manuals. Read yours once. It takes ten minutes and prevents most common accidents.
Frequently Asked Questions
Why does my chicken skin come out rubbery?
Rubbery skin almost always means too much moisture or too little heat at the end. Pat the skin very dry, salt it, and rest it uncovered in the fridge. Then make sure the final crisping happens over true direct heat. Skin finished on the cool side never crisps.
Should I grill thighs skin side up or skin side down first?
Start skin side up on the indirect side. This renders fat without burning. Finish skin side down over direct heat for the crisp. Reversing the order burns the skin before the meat cooks through.
Can I get crispy skin on a pellet grill?
Yes. Cook the thighs at 350 to 375 degrees until nearly done, then raise the grill as hot as it goes for the final crisp. If your pellet grill has a direct-flame option, use it for the last few minutes. Guides from Traeger show how to sear on different models.
Do I need to brine chicken thighs?
No. Thighs are naturally juicy and do not need a brine. The dry salt rest in the refrigerator does the important work. A wet brine adds moisture, which is the opposite of what crisp skin needs.
How do I keep the skin from sticking to the grates?
Three things: hot clean grates, a thin coat of oil on the skin, and patience. Let the skin set for two minutes before you try to move it. It releases on its own when it is ready. Tearing happens when you force it early.
Can I use frozen thighs in a hurry?
Only if you thaw them fully first. Grilling from frozen cooks the outside long before the inside is safe, and wet thawing in the microwave leaves the skin soggy. Plan one day ahead and thaw in the refrigerator.
A Final Word
Learning how to grill chicken thighs with crispy skin comes down to three habits: dry the skin, cook it gentle first, and crisp it hot last. Buy skin-on bone-in thighs, give them an hour or more uncovered in the fridge, and use a two-zone fire. Check the temperature, rest the meat, and serve the skin side up. Do this a few times and it becomes second nature. Your grill will thank you, and so will everyone at the table.
References
AmazingRibs.com. (n.d.). Barbecue and grilling science. https://www.amazingribs.com Big Green Egg. (n.d.). Kamado grills and outdoor cooking. https://www.biggreenegg.com Broil King. (n.d.). Gas and charcoal grills. https://www.broilkingbbq.com Char-Broil. (n.d.). Gas and charcoal grills. https://www.charbroil.com Consumer Reports. (n.d.). Product reviews and ratings. https://www.consumerreports.org Napoleon. (n.d.). Fireplaces, grills, and heating products. https://www.napoleon.com The Home Depot. (n.d.). Home improvement products. https://www.homedepot.com The Spruce Eats. (n.d.). Recipes and cooking guides. https://www.thespruceeats.com Traeger. (n.d.). Wood pellet grills. https://www.traeger.com Weber. (n.d.). Grills and outdoor cooking. https://www.weber.com
Was this guide helpful?

About Jennifer Lee
The My Garden US editorial team writes practical, in-depth home and garden guides for American homeowners — tested advice, no fluff.