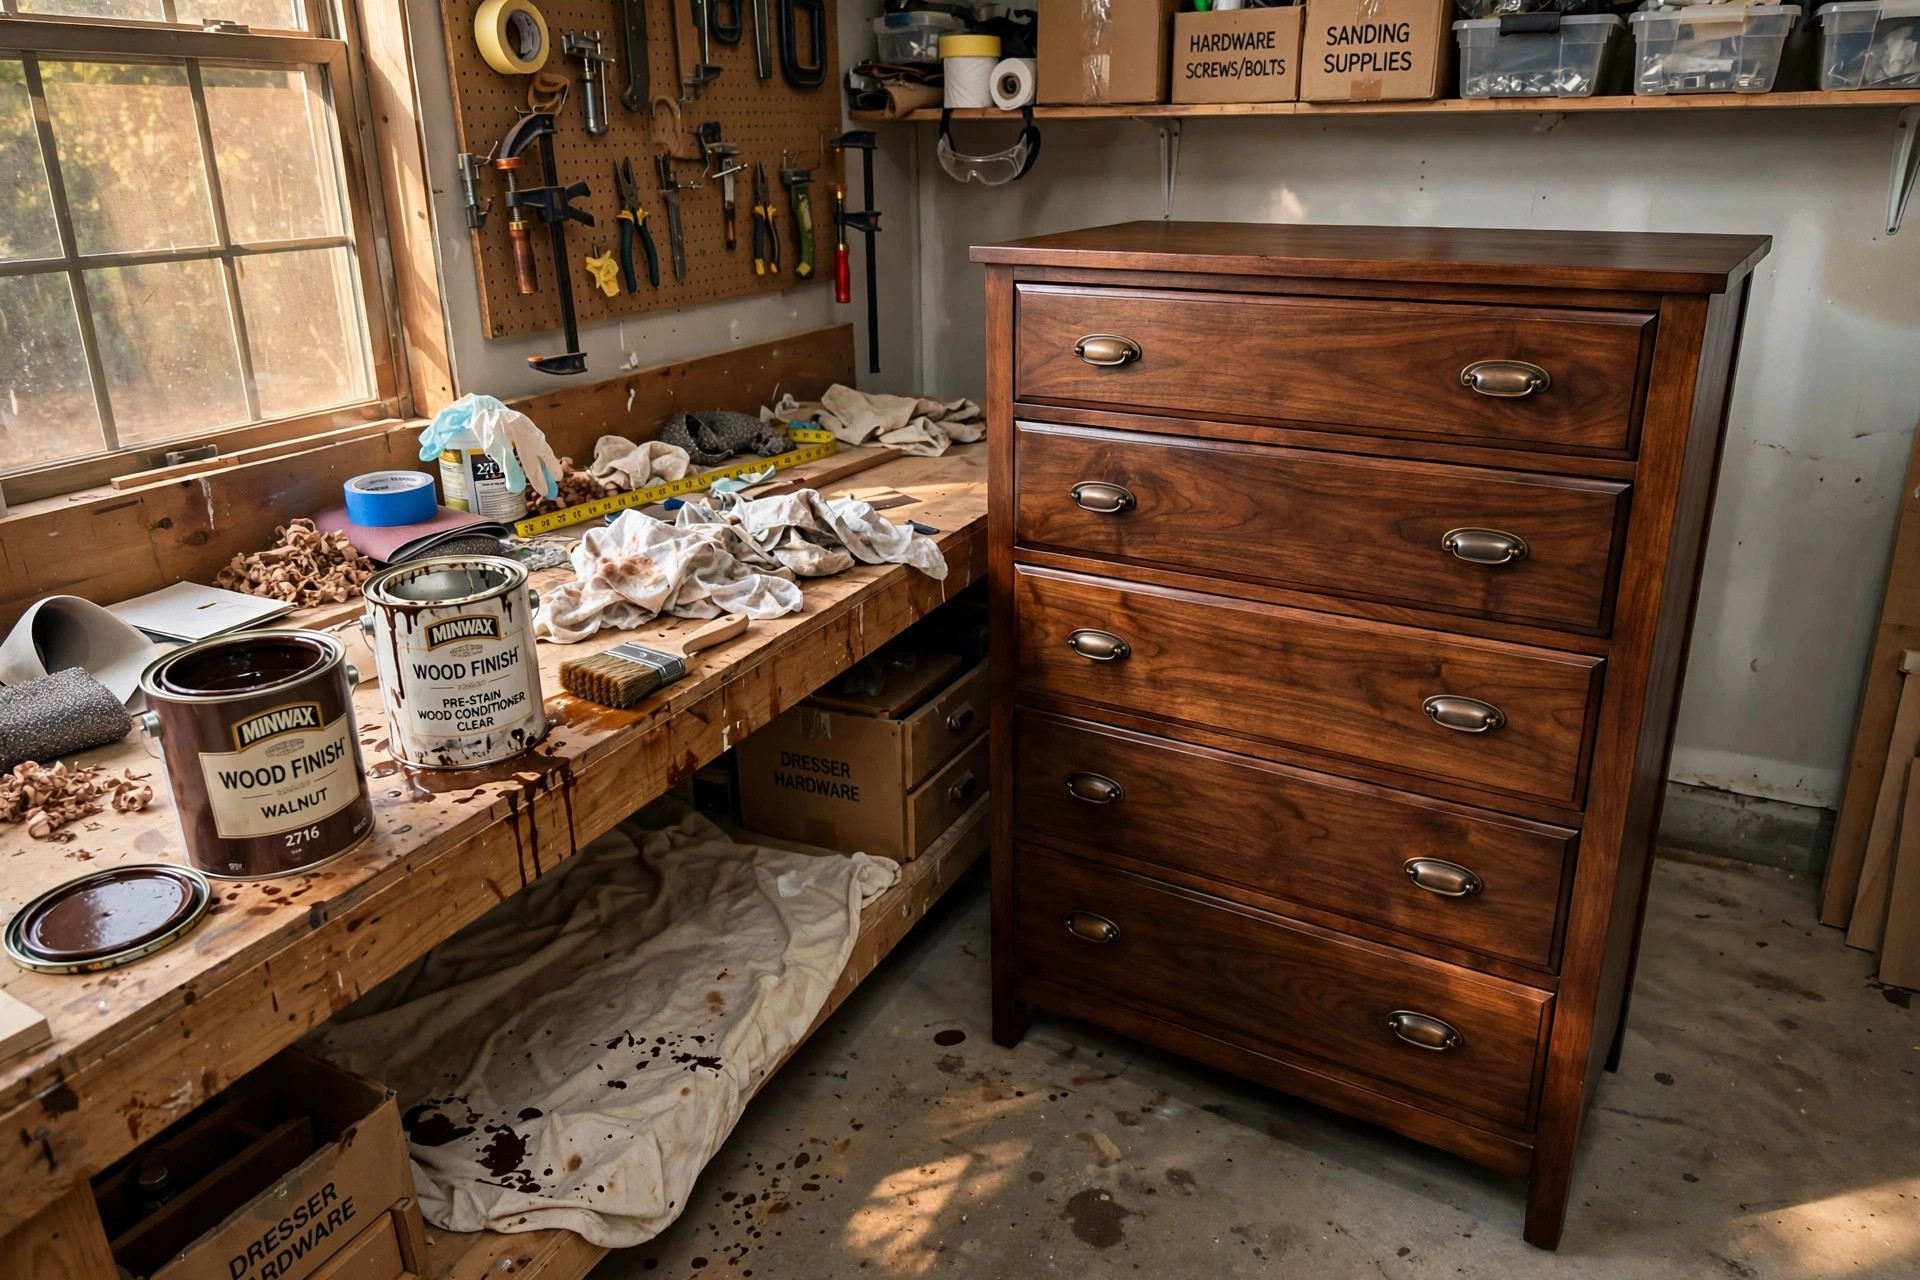

A good coat of stain can turn a tired old table into the pride of the room. That is why finding the best wood stain for DIY furniture refinishing matters so much. A well-chosen stain brings out the grain, hides years of wear, and gives a piece a warm, finished look. The wrong stain, by contrast, can leave blotches, streaks, and regret.
This guide walks through the whole process. It explains why stain choice matters, what to look for on the label, the main types of stain on the shelf, and what each type costs. It also covers safety and care, answers the questions most asked by home refinishers, and points to trusted sources for further reading.
Why the Best Wood Stain for DIY Furniture Refinishing Matters
Furniture is built to last. A solid wood dresser or table can serve for decades, and the frame is often still sound long after the finish has worn thin. Refinishing costs a fraction of buying new, and a fresh stain is the heart of the job.
Stain does more than add color. It gives the wood depth, so the grain shows instead of looking flat. A quality stain also helps the topcoat, whether polyurethane or wax, grip the surface and last longer.
Taking time to choose well is the cheapest insurance against a ruined weekend.
What to Look for When You Choose a Stain: Best Wood Stain for Diy Furniture Refinishing
The label on a can of stain carries a lot of information. Learn to read it before you buy.
Base type. Stains come as oil-based, water-based, gel, or combination products. Oil-based stains are the classic choice. They dry slowly, which gives you time to work, and they give rich, deep color. Water-based stains dry fast, clean up with soap and water, and have low odor. Gel stains are thick, like pudding, and sit on the surface rather than soaking in. Combination stain-and-finish products save a step but offer less control.
Wood type. Soft woods like pine soak up stain unevenly and can turn blotchy. Hardwoods like oak and maple take stain more evenly. Many makers sell pre-stain conditioner made for soft woods. If you are refinishing pine, plan to use it.
Color and tone. Stains are sold in names like golden oak, walnut, mahogany, and ebony. Always test on a hidden spot or a scrap of the same wood.
Dry time. Oil-based stains often need six to eight hours between coats and a full day before topcoat. Water-based stains may be ready in one to two hours. Plan your project around the dry time, especially if the piece must go back into use soon.
Indoor use. If the piece will live inside the house, look for low odor and low fumes. Water-based stains are the kindest choice for indoor work. For tips on setting up a safe craft space, see guides from the Family Handyman.
Coverage. A quart of stain covers about 100 to 125 square feet with one coat. A single dresser may need only a pint, while a large table set may need a quart. Buying too much is wasteful, but running out mid-coat is worse.
Types of Wood Stain for Furniture Refinishing
Oil-Based Stains
Oil-based stains are the old standby. They are made of colorant, usually pigment, mixed in a petroleum or plant-oil carrier. They soak deep into the wood and give a warm, traditional look.
Pros: long working time, rich color, wide range of tones, proven track record. Cons: strong fumes, long dry time, clean-up needs mineral spirits.
For a first refinishing job on hardwood furniture, oil-based stain is often the safest bet. Work in a well-ventilated area, apply with the grain, and wipe off the excess after a few minutes.
Water-Based Stains
Water-based stains use water as the carrier and modern dyes or pigments for color. They have grown much better over the years and are now a serious choice.
Pros: low odor, fast drying, soap-and-water clean-up, easy to layer colors. Cons: can raise the grain of soft woods, short working time, lap marks if you work slowly.
If you are working inside an apartment or a small shop, water-based stain makes the job much pleasanter. The editors at This Old House often note that good ventilation still matters even with low-odor products.
Gel Stains
Gel stain is thick and does not flow. You wipe it on like a thin paste. Because it sits on the surface, it works well on woods that stain unevenly and on veneer that might soak through with liquid stain.
Pros: excellent control, no drips, good for vertical surfaces, works over some old finishes. Cons: hides some grain detail, needs a steady hand, longer dry time than liquid water-based stains.
Gel stain is popular for refinishing kitchen cabinets and for updating furniture without full stripping. A steady, even wipe is the key.
Stain and Finish Combinations
Some products combine stain and polyurethane in one can. They promise color and protection in one coat. They work best on bare wood that takes stain evenly.
Pros: fewer steps, faster project, built-in protection. Cons: hard to fix mistakes, less control of color, can look uneven on old or mixed woods.
For a small side table or a picture frame, a combination product may be fine. For a fine antique or a large dining table, use separate stain and topcoat.
Natural and Dye Stains
Some refinishers prefer aniline dyes or plant-based stains. Dyes give clear, bright color that shows the grain. Natural oil finishes, like tung oil or linseed oil, darken the wood gently while keeping it looking close to nature.
These are more of a craft choice than a quick fix. If you enjoy the craft side of woodwork, shops like Michaels and JOANN carry a wide range of finishing supplies and project guides.
Cost and Price of Wood Stains
Wood stain is one of the least costly parts of a refinishing project. Prices run roughly as follows:
– Small sample or half-pint cans: 4 to 8 dollars – Quart of oil-based or water-based stain: 10 to 18 dollars – Quart of gel stain: 14 to 22 dollars – Combination stain and finish: 12 to 20 dollars per quart – Pre-stain conditioner: 8 to 12 dollars per quart – Brushes, rags, sandpaper, mineral spirits: 15 to 30 dollars total
For one dresser or table, expect to spend 30 to 60 dollars in total for stain and supplies. The biggest cost is your time. A full strip, sand, stain, and topcoat job on a medium dresser takes a full weekend for most home workers.
Buying a small test can first is wise. Many stores sell half-pints and sample sizes. Test colors on the back of a drawer or an unseen edge before you commit to a full can.
Price should not be the only guide. The cheapest stain on the shelf may be thin or poorly mixed, which means more coats and more work. A mid-priced stain from a known maker is usually the best value. For broader craft budgets and project planning, Bob Vila offers practical cost breakdowns for home projects.
How to Apply Stain: A Simple Step-by-Step
1. Prepare the piece. Remove old finish with stripper or sandpaper. Sand with the grain, moving from coarse to fine grit. Wipe off all dust with a tack cloth. 2. Condition soft woods. If the wood is pine or another soft wood, apply pre-stain conditioner and let it set as the label directs. 3. Test the color. Brush stain on a hidden area. Let it dry. Check the color in daylight before you go further. 4. Apply the stain. Brush or wipe stain on with the grain. Work in manageable sections. Let it sit three to five minutes, then wipe off the excess with a clean rag. The longer it sits, the darker the color. 5. Let it dry. Give the full dry time on the label. Oil-based stains need patience. Do not rush this step. 6. Apply a second coat if needed. A second thin coat deepens the color. Most furniture needs only one or two coats. 7. Topcoat. After the stain is fully dry, apply polyurethane, varnish, or wax for protection. Two or three thin coats are better than one thick one.
Stir the can gently before and during use, but do not shake it. Shaking makes bubbles that can mark the finish.
Care and Upkeep of Stained Furniture
A stained and topcoated piece needs little care, but a few habits will keep it looking good for years.
– Dust with a soft, dry cloth. Damp cloths are fine for spills, but do not leave water standing. – Keep the piece out of direct sun when you can. Sunlight fades stain over time. – Use coasters and felt pads under lamps and dishes. Heat and moisture rings are the most common damage. – Re-wax or refresh the topcoat every few years on heavily used pieces like dining tables. – For scratches, a touch-up marker in a matching tone can hide small marks between full refinishings.
If you later want to change the color, you can sand back and restain. Good furniture can be refinished many times over its life. That is one reason solid wood pieces are worth the effort.
Safety First
Wood stains contain solvents and chemicals that deserve respect. Work safely and the job stays pleasant.
– Work in a well-ventilated area. Open windows or work in a garage with the door up. – Wear gloves. Oil-based stains are hard to wash off skin and some dyes stain hands for days. – Wear a mask or respirator when sanding or when using oil-based products in an enclosed space. – Keep rags safe. Oil-soaked rags can catch fire by themselves. Spread used rags flat to dry outdoors, or soak them in water and seal them in a metal can before trash day. – Keep stains away from heat and open flame. Oil-based products are flammable. – Store cans sealed, upright, and out of reach of children and pets.
The paint and craft aisles at The Home Depot and Lowe’s carry safety gear alongside stains, so you can buy gloves, masks, and drop cloths in the same trip.
Choosing Between Stain and Paint
Some furniture projects call for stain, and some call for paint. How do you choose?
Choose stain when the wood has attractive grain you want to show. Oak, walnut, cherry, and mahogany all look best stained. Choose stain when you want a classic, natural look that fits with other wood furniture.
Choose paint when the wood is plain, damaged, or made of mixed materials. Paint hides flaws that stain would show. A good milk or chalk paint can give a fine finish on a piece that would look dull under stain. For ideas on painted finishes, look at the guide to best chalk paint for furniture DIY projects.
Many refinishers mix the two: stain the top of a table for a rich wood look and paint the legs or base for contrast. There is no rule against it, and the result can be striking.
FAQ
What is the easiest wood stain for a beginner?
A water-based stain or a gel stain is easiest for most beginners. Water-based stains clean up with soap and water and dry fast. Gel stains give great control and do not drip. Oil-based stains give rich color but need more care with fumes and dry time.
Can I stain over an old finish without stripping?
Gel stains can sometimes go over a cleaned and lightly scuffed old finish, but results vary. Liquid stains need bare wood to soak in. For the best and most even result, strip or sand to bare wood first. Skipping this step is the most common cause of a blotchy finish.
How do I avoid blotchy stain on pine?
Use a pre-stain conditioner made for soft woods, and consider a gel stain, which sits on the surface instead of soaking in unevenly. Sand evenly, with the grain, and wipe off excess stain promptly. Test on a hidden spot first.
How long does wood stain take to dry?
Water-based stains often dry in one to two hours. Oil-based stains need six to eight hours between coats and a full day before a topcoat. Gel stains fall in between. Always follow the dry time on the label and give extra time in damp or cold weather.
Do I need a topcoat over stain?
Yes, in most cases. Stain adds color but little protection. A topcoat of polyurethane, varnish, or wax protects against water, heat, and wear. The only common exception is a combination stain-and-finish product, which includes its own protection.
What tools do I need for a small refinishing project?
Sandpaper in several grits, a tack cloth, stain brushes or clean rags, gloves, a drop cloth, mineral spirits for oil-based stains, and a topcoat. Many home workers also keep a best hot glue gun for craft projects home and a DIY birdhouse kit for kids woodworking USA on hand for small repairs and practice pieces before they tackle fine furniture.
A Short Final Word
The best wood stain for DIY furniture refinishing is the one that fits your wood, your skill, and your workspace. For most home refinishers, a mid-priced oil-based or gel stain from a trusted maker is the right start. Test the color first, work with the grain, give it full dry time, and finish with a good topcoat. Your old furniture will thank you with years of service and a look that no flat-pack piece can match.
See Blick Art Materials for more detail.
References
Blick Art Materials. (n.d.). Art and craft supplies. https://www.dickblick.com Bob Vila. (n.d.). Home improvement advice. https://www.bobvila.com Family Handyman. (n.d.). DIY home repair and maintenance. https://www.familyhandyman.com JOANN. (n.d.). Fabric and craft supplies. https://www.joann.com Lowe’s. (n.d.). Home improvement products. https://www.lowes.com Michaels. (n.d.). Arts and crafts supplies. https://www.michaels.com The Home Depot. (n.d.). Home improvement products. https://www.homedepot.com This Old House. (n.d.). Home renovation guidance. https://www.thisoldhouse.com
Was this guide helpful?

About Jennifer Lee
The My Garden US editorial team writes practical, in-depth home and garden guides for American homeowners — tested advice, no fluff.
You May Also Like

Best Craft Paint Brushes Set for Acrylics: A Simple Guide for Buyers
January 20, 2026 0 views
Leather Cord for Jewelry Making Crafts Bulk: A Plain Buying Guide
March 24, 2026 0 views
The Best Beginner Sewing Machine for Home Crafts
May 28, 2026 0 views