
Every American home owner knows the sound. A step in the hall at night brings a sharp squeak from the floor. Another step brings a second one. The good news is that learning how to fix squeaky hardwood floors USA residents can rely on is simpler than most people think. A squeak is almost never a sign of a ruined floor. It is usually a small gap or a loose board rubbing against a nail or a beam. This guide explains why floors squeak, what tools to use, how to choose the right repair method, what the work costs, how to keep floors quiet, and how to stay safe while you work.
Why Hardwood Floors Squeak
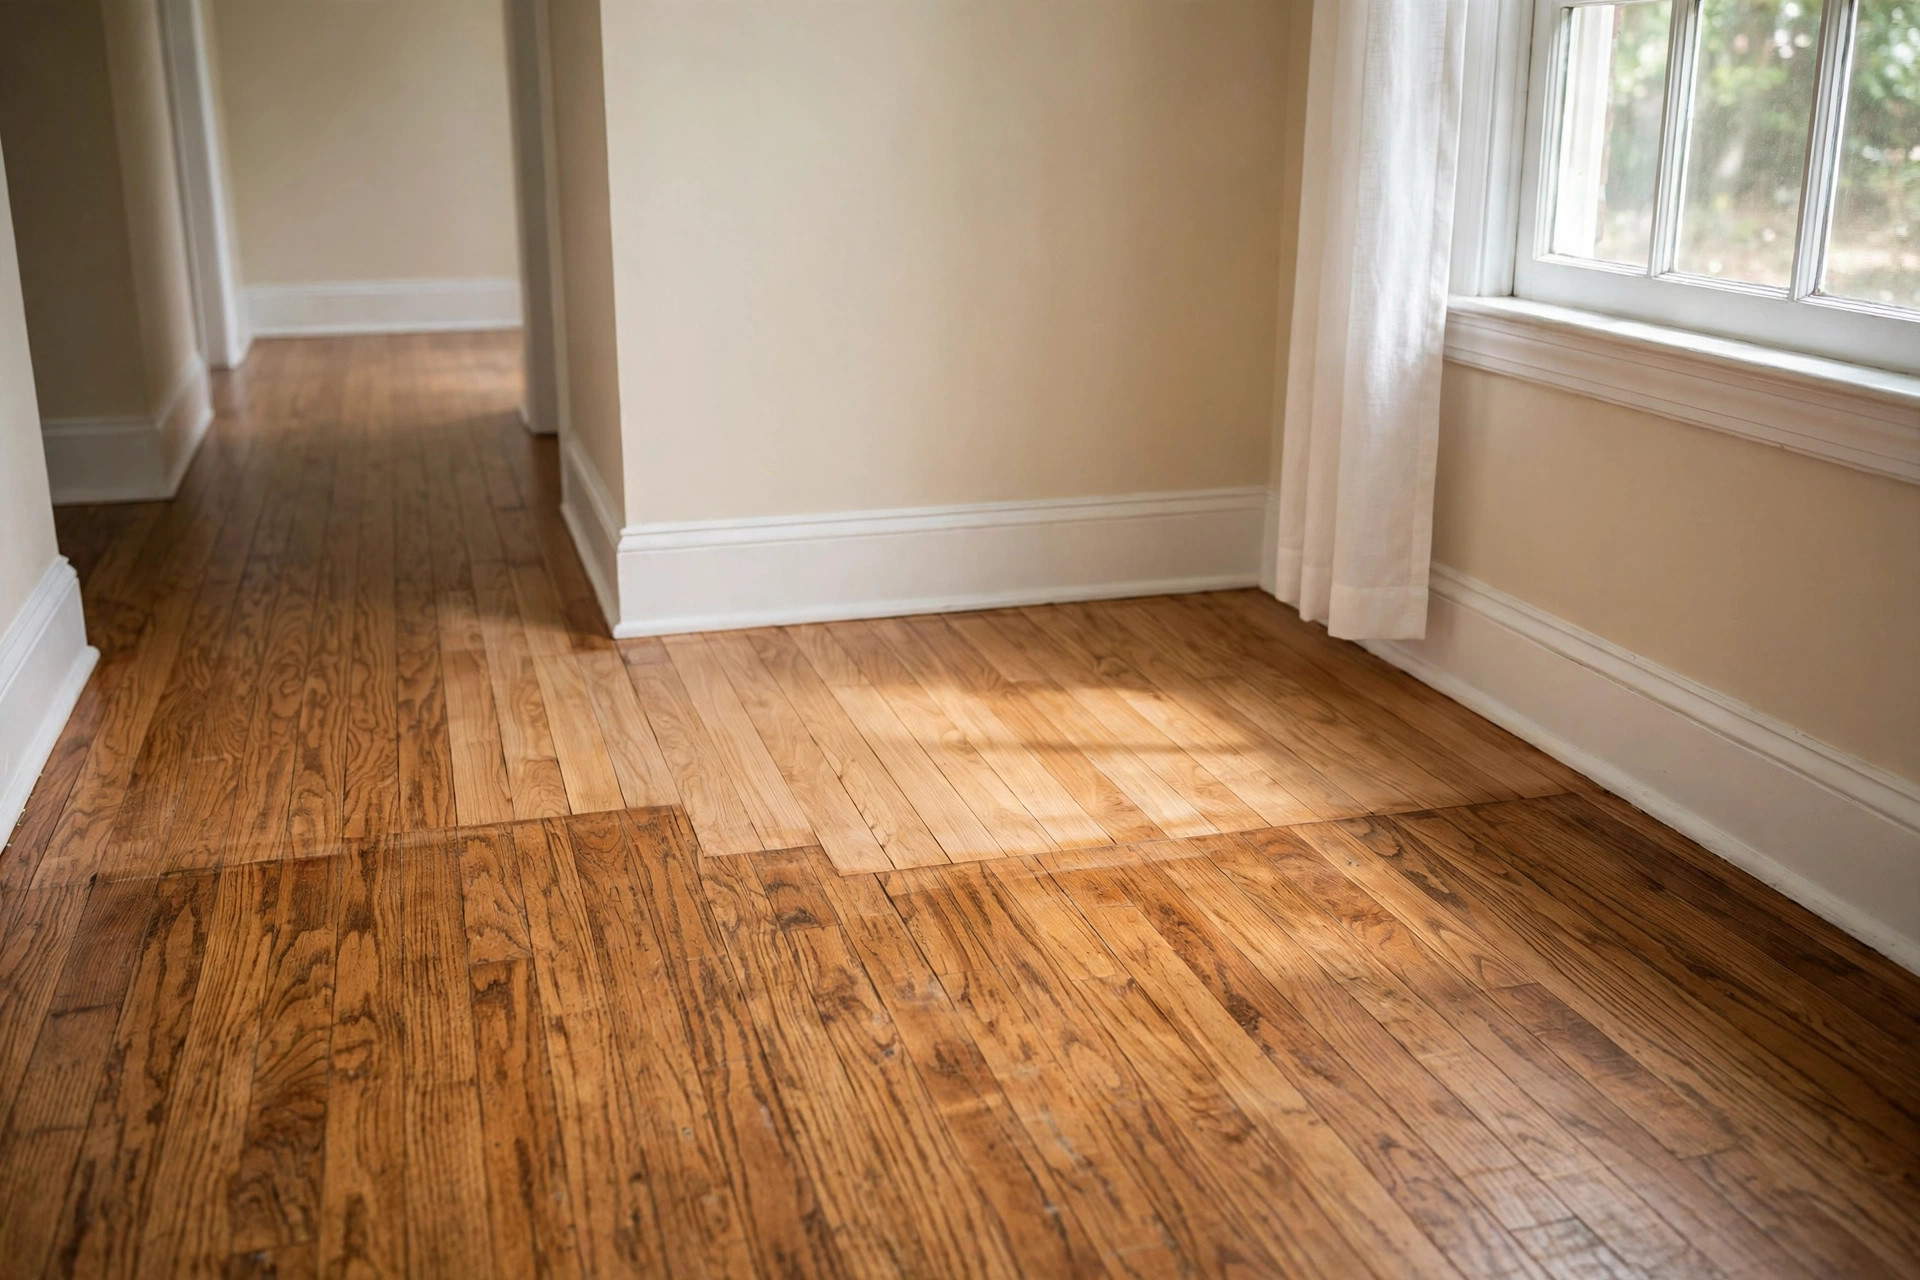
A hardwood floor is a system. Boards sit on top of a subfloor. The subfloor sits on joists. Nails or staples hold the boards down. Over time the wood dries and shrinks. A tiny gap opens between the board and the subfloor. When a foot presses down, the board moves a fraction of an inch. It rubs against the nail or against the next board. That rub is the squeak.
Climate plays a large role. In much of the United States, homes run heat in winter and air conditioning in summer. Heat dries the air. Dry air pulls moisture from wood. Wood shrinks as it dries. Small gaps appear. In summer, humidity returns and the gaps may close. That is why a floor can squeak in January and stay silent in July. Sources such as The Spruce offer broad background on how wood behaves in changing indoor air.
Age is a second cause. Older floors were often nailed by hand, and nails loosen with decades of foot traffic. A floor from the 1950s is more likely to squeak than a floor from 2015. Settlement of the house is a third cause. When a home shifts, joists can sag a little and boards that once sat flat now bridge a small hollow.
None of this means the floor is weak. A squeak is a sound problem, not a strength problem. But ignoring it lets small movement grow. Loose boards wear their nail holes wider and gaps widen. Fixing the first squeak early is the cheapest path to a quiet floor.
What to Look For Before You Begin: How to Fix Squeaky Hardwood Floors Usa
Walk the floor slowly and mark every squeak with painter tape. Step in a grid pattern so no spot is missed. Press hard on each mark. This simple survey tells you where to work and keeps you from chasing ghosts.
Next, decide whether you can reach the floor from below. A basement or crawl space with an open ceiling is the best case. From below you can see the joists and the subfloor, and watch the boards move as someone walks above. If the ceiling below is finished, you must work from above. The method changes, but the repair is just as sound.
Check the finish of the floor. A thick factory finish may hide the gaps between boards. A worn finish may let you see the cracks. Neither condition stops the repair.
Gather a few facts about the floor itself. Is it solid hardwood or engineered wood? Solid boards can take a screw from above without harm. Engineered floors have a thin top layer, so a screw must stop short of breaking through. You can read more about floor construction at LL Flooring and Shaw Floors.
How to Choose the Right Repair Method
Three paths exist. Each suits a different situation. Pick the one that matches your access and your floor.
First, the from-below method. This is the cleanest repair. It leaves the top of the floor untouched. It works when you have an open ceiling under the squeak. You drive shims or screws from below to close the gap between the subfloor and the joist, or between the board and the subfloor.
Second, the from-above method. This is the common repair in homes with finished ceilings below. You drive a special screw through the face of the board into the joist or subfloor. The screw head snaps off below the surface. A tiny hole remains, which you fill with wax or filler. From standing height the repair is invisible.
Third, the powder or lubricant method. This is a light fix for light squeaks. You work powdered graphite or talc into the cracks between boards. The powder cuts the friction that makes the sound. It is fast and cheap, but it does not last as long as screws.
A practical guide to floor problems, including squeaks, can be found at This Old House. For product comparisons, Family Handyman and Bob Vila both publish repair rundowns that readers find useful.
Tools and Materials You Will Need
Most squeak repairs use tools already in an American home. A short list covers nearly every case.
You will need painter tape, a helper to walk the floor, a stud finder, a drill with a small bit, and a screwdriver. For the from-below method, add wood shims and short wood screws, or a tube of construction adhesive. For the from-above method, add a squeak-repair screw kit. These kits are sold at major retailers such as The Home Depot and Lowe’s. The kits include a jig that sets the depth and a set of scored screws that snap off cleanly.
For the powder method, you need powdered graphite or talc and a soft brush. For touch-up, keep wood filler or wax sticks that match the floor color, plus a soft cloth. A shop vacuum helps clean dust from cracks before you work. A review of the best vacuum for hardwood floors reviews usa shows which models pick up dust without scratching the finish.
Step by Step: Fixing Squeaks From Below
Work from below when the ceiling is open. The steps are plain.
First, have a helper walk the floor above while you watch from below. Look for the subfloor moving away from a joist. You will see a hairline gap open and close with each step. Mark the joist with chalk.
Second, cut a wood shim to a short length and coat it lightly with carpenter glue. Tap it gently into the gap between the joist and the subfloor. Do not drive it hard. A shim forced too deep will lift the subfloor and make a hump in the floor above.
Third, if the gap is between the board and the subfloor, drive a short screw up through the subfloor into the board. Measure the thickness first. A screw that breaks through the top ruins the finish.
Fourth, for a long squeaky run along one joist, run a bead of construction adhesive along the joint where the subfloor meets the joist. Press a wood block, called a cleat, against the subfloor next to the joist and screw the cleat to the joist. The cleat pulls the subfloor tight.
Test the floor from above after each repair. Move to the next mark only when the first is silent.
Step by Step: Fixing Squeaks From Above
Work from above when the ceiling below is finished. The steps take a little more care.
First, find the joist under the squeak with a stud finder. Mark its center line on the floor with painter tape. Screws must land in the joist or at least in the subfloor.
Second, set the jig from a squeak-repair kit on the board over the joist. Drill the pilot hole through the jig. The jig controls the depth so the screw stops at the right point.
Third, drive the scored screw through the hole into the joist. When the screw is set, rock the driver sideways. The head snaps off at the score line, a fraction of an inch below the wood surface.
Fourth, fill the small hole with wax or filler matched to the floor. Rub it smooth with a soft cloth. Step back and look. The repair should be hard to spot.
Repeat for each marked squeak. Space screws six to eight inches apart along a bad run.
If the squeak comes from boards rubbing each other at a seam, try the powder method first. Brush powdered graphite into the crack, walk on it to work it down, and wipe the surface clean.
Types of Squeaks and What They Mean
Not every squeak is the same. Knowing the type helps you pick the fix.
A board-to-subfloor squeak sounds like a sharp tick with each step. It comes from one spot. Screws from below or above cure it.
A joist-to-subfloor squeak sounds deeper and may run along a line. It often spans several feet. Shims or a cleat with adhesive cure it.
A board-to-board squeak sounds like a soft creak. It comes from the seams. Powdered graphite or talc usually quiets it. In dry winter months, a small humidifier can also help, since wood swells slightly and closes the seams.
A subfloor panel squeak sounds like a groan over a wide area. It may mean the subfloor panels were not glued to the joists when the house was built. Screws from below into each panel edge give the best result.
Cost and Price Guide
Fixing squeaks is one of the cheapest home repairs. The powder method costs only a few dollars for a tube of graphite. A squeak-repair screw kit costs about fifteen to thirty dollars and covers a whole house of squeaks. A box of shims, a tube of construction adhesive, and a handful of screws cost under twenty dollars.
Labor is where the numbers move. A handyman in most American cities charges by the hour. A typical visit of two to three hours can silence a dozen squeaks, and the total often falls between one hundred and three hundred dollars. For comparison, a refinishing hardwood floors cost calculator shows that sanding and refinishing a room runs many times that amount. And a full new floor is larger still, as the hardwood floor installation cost near me search results make clear.
Do it yourself and the cost is only materials and an afternoon. Call a pro when the squeaks are many, when you cannot find the cause, or when the floor has other damage such as cupping or deep scratches.
If the floor is near the end of its life, weigh repair against replacement. Retailers like Mohawk Flooring and Daltile list product lines that help owners compare the price of living with an old floor against starting fresh.
Care and Upkeep for Quiet Floors
A quiet floor stays quiet with small habits. Keep indoor humidity between thirty and fifty percent through the year. A whole-house humidifier on the furnace helps in dry climates.
Clean the floor with methods made for wood. A damp mop, not a wet one. Standing water swells boards and weakens glue. Vacuum with a hard-floor setting so the beater bar does not strike the wood.
Place felt pads under chair legs and heavy furniture. Pads cut the point loads that loosen boards over time. Use rugs in high-traffic paths. A rug spreads the load of a hundred steps a day across many boards instead of a few.
Do not wait for a dozen squeaks to pile up. Fix each one when it appears and the job stays small.
Safety Tips
Squeak repair is low risk, but a few rules keep it that way.
Wear safety glasses when drilling overhead from below. Dust and small chips fall straight down. Wear a dust mask when sanding filler or brushing powder into cracks.
Turn off power to any circuit that runs under the floor before you drive screws from below. A screw through a wire is a serious hazard. Use a stud finder with wire detection.
In a crawl space, wear a headlamp, gloves, and knee pads. Watch for nails sticking down through the subfloor. Tell someone you are under the house before you go in.
From above, drill with a sharp bit and a steady hand. A dull bit wanders and scars the finish.
Keep powdered graphite away from light carpets and fabrics. It stains. Lay a drop cloth around the work area and wipe the floor clean when done.
If you smell gas, see standing water, or find mold under the floor, stop. Those are bigger problems than a squeak. Call the right professional for each.
Frequently Asked Questions
Will the squeak come back after I fix it?
A proper screw or shim repair usually holds for many years. Powder fixes may need a repeat each dry season. Keep humidity steady and the odds of a return fall sharply.
Can I fix a squeak in an engineered wood floor?
Yes. The method is the same, but screw length matters more. The top wood layer is thin. Measure the total thickness and choose a screw that stops inside the board.
Do I need to pull up the boards?
No. Almost every squeak can be fixed without removing a single board. Pulling boards is a last resort for severe damage. Screws, shims, and adhesive handle the rest.
Why does my floor only squeak in winter?
Dry winter air shrinks the wood and opens small gaps. When summer humidity returns, the gaps close and the squeak fades. A humidifier set to hold thirty to forty percent humidity often ends seasonal squeaks.
Can a squeak mean structural damage?
Rarely. Most squeaks are friction between sound parts. But a squeak paired with a soft or springy spot, a visible dip, or a water stain deserves a closer look. A contractor should inspect it.
How long does a full-house squeak repair take?
An afternoon. Marking the squeaks takes about thirty minutes. Each screw or shim repair takes five to ten minutes. A home with fifteen squeaks is usually done in three to four hours.
A Short Final Word
A squeaky floor is a small problem with a plain fix. Mark the spots. Choose the method that fits your access. Drive the screw or tap the shim. Test each repair before you move on. The reward is a quiet house, night after night.
References
Bob Vila. (n.d.). Home improvement advice. https://www.bobvila.com Daltile. (n.d.). Ceramic and porcelain tile. https://www.daltile.com Family Handyman. (n.d.). DIY home repair and maintenance. https://www.familyhandyman.com LL Flooring. (n.d.). Hardwood, vinyl, and tile flooring. https://www.llflooring.com Lowe’s. (n.d.). Home improvement products. https://www.lowes.com Mohawk Flooring. (n.d.). Flooring products. https://www.mohawkflooring.com Shaw Floors. (n.d.). Flooring products. https://www.shawfloors.com The Home Depot. (n.d.). Home improvement products. https://www.homedepot.com The Spruce. (n.d.). Home and garden advice. https://www.thespruce.com This Old House. (n.d.). Home renovation guidance. https://www.thisoldhouse.com
Was this guide helpful?

About Sarah Mitchell
The My Garden US editorial team writes practical, in-depth home and garden guides for American homeowners — tested advice, no fluff.
You May Also Like

Machine Washable Runner for Hallway: A Simple Guide
August 24, 2026 0 views
Best Wood Look Tile Brands USA 2026: A Buyer’s Guide to Realistic Wood-Look Tile
February 17, 2026 0 views
Handmade Subway Tile for Kitchen Reviews USA
July 27, 2026 0 views