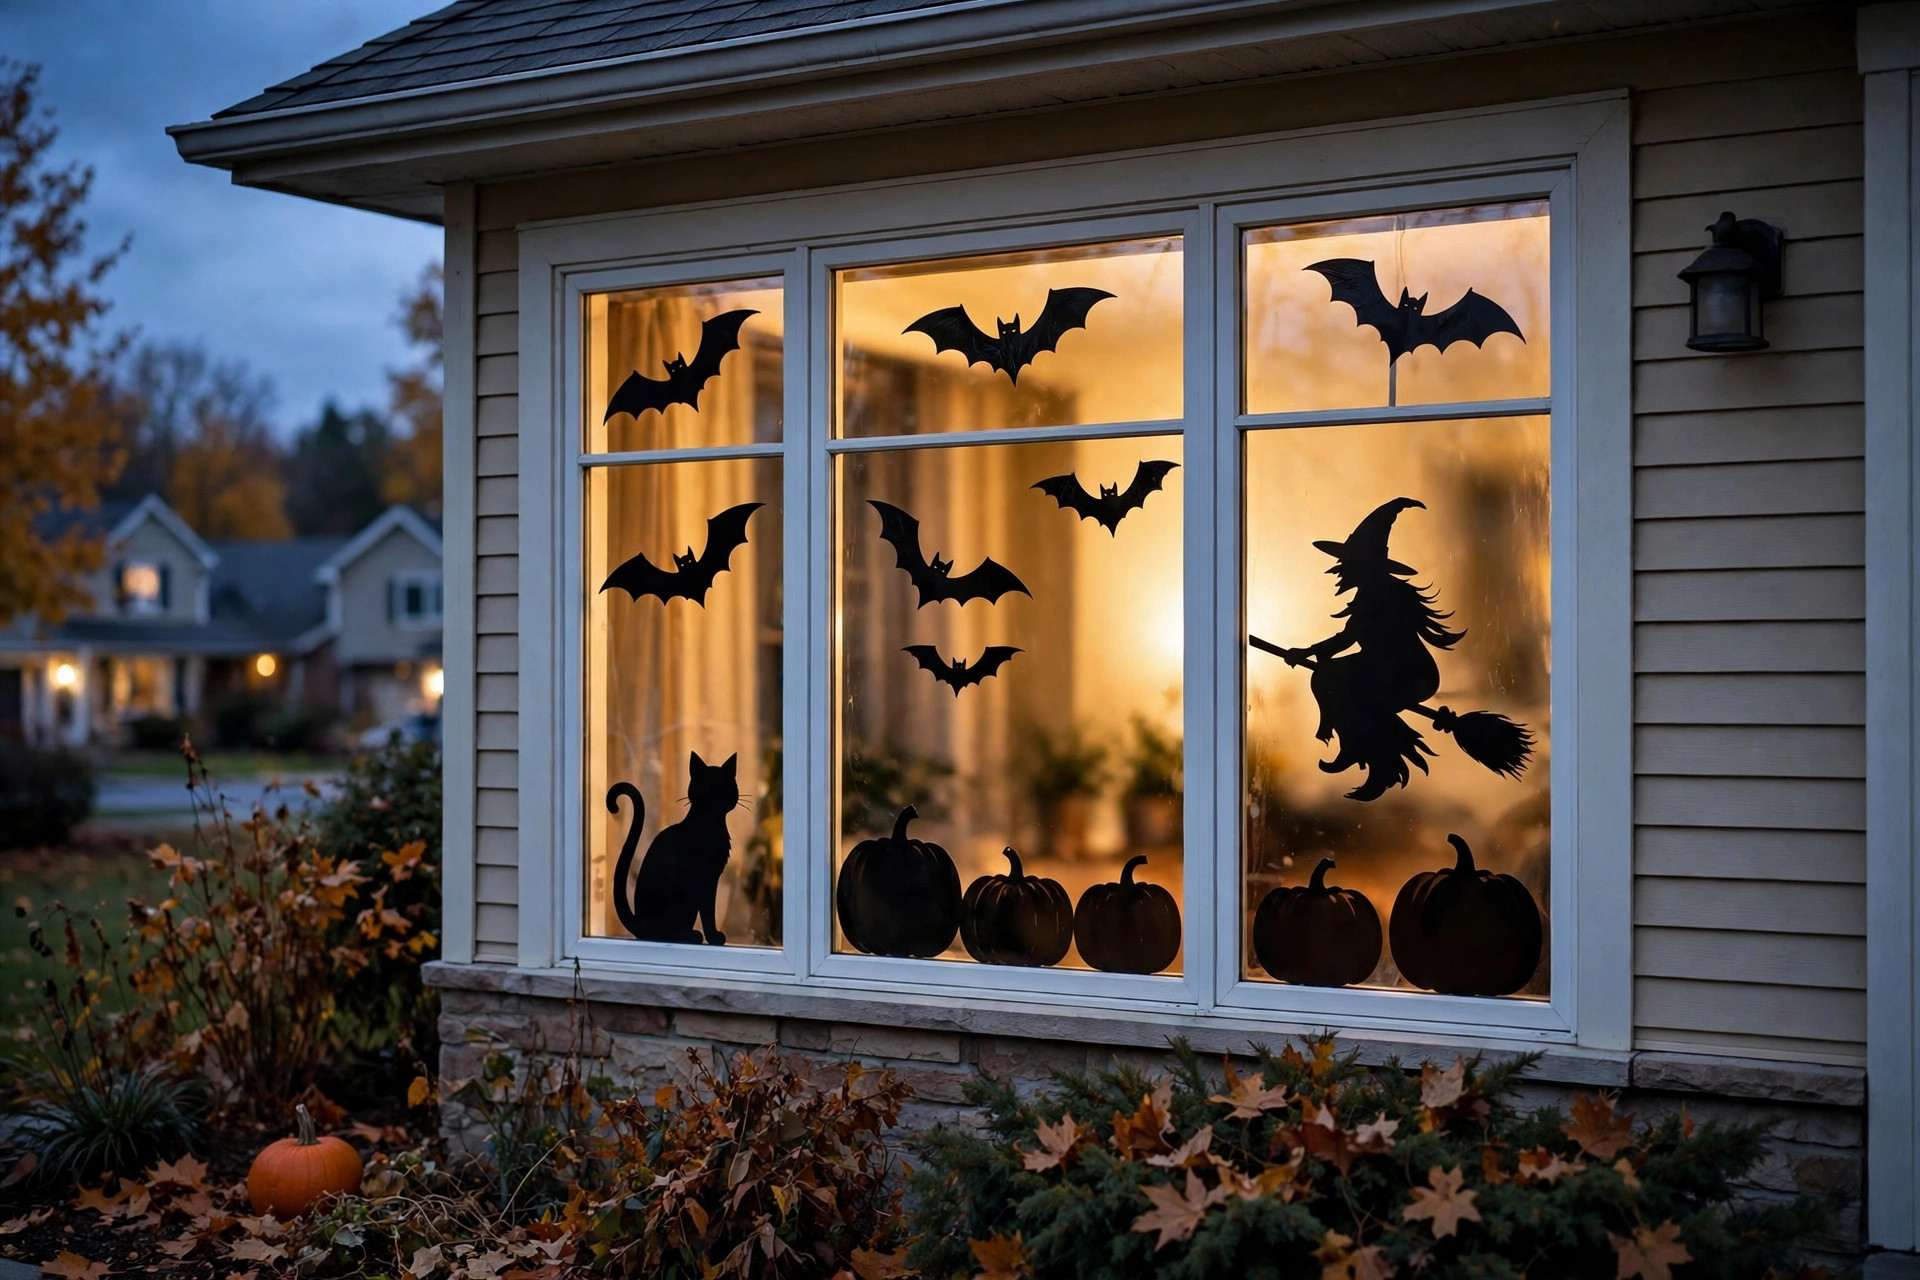
Few decorations change a house as fast as halloween window clings for spooky home decor. They cost little. They take minutes to put up. And they work from both sides of the glass, so they please the family inside and the trick-or-treaters outside. This guide explains what window clings are, how to choose them, how to apply them without bubbles or residue, and how to store them for next year.
What Halloween Window Clings Are
A window cling is a thin sheet of vinyl that sticks to glass with static or with a light layer of water. It has no glue. The word “cling” describes exactly what it does. You press it against a clean pane of glass, and it holds. When the season ends, you peel it away and wash the window.
Manufacturers print the designs in bright inks. Common subjects are black cats, ghosts, witches, pumpkins, bats, haunted houses, and skulls. Some sheets glow in the dark. Some are printed on both sides so the picture reads correctly from inside and from the street. Others are single-sided and mirror when seen from the other side.
Most clings come in sheets about the size of a sheet of paper. A package holds between six and thirty pieces, depending on the brand. Prices run from a few dollars for a basic set to about twenty dollars for large scenic packs with layered pieces.
Why They Matter for a Spooky Home: Halloween Window Clings for Spooky Home Decor
Windows are the eyes of a house. On Halloween night, a lit window catches every eye on the street. A bare window behind a porch display looks empty. A window with clings ties the whole scene together.
Clings also solve a practical problem. Many families cannot nail signs to the wall of a rented apartment. Window clings need no tools and no ladder. A person can decorate a whole front window in less time than it takes to brew coffee.
They are kind to the budget as well. A family that spends fifty dollars on pumpkins and lights can finish the look with three or four dollars of clings. When the holiday ends, the clings peel off and the glass looks as it did before. There is no damage to the paint, the siding, or the frame.
How to Choose the Right Clings
Start with the glass itself. Measure the window. A big picture window can hold a large scene, such as a haunted house with a full moon. A small bathroom window suits two or three small pieces, such as bats in flight. Buy packs sized to the space. Too many small pieces on a big window look scattered. Too few pieces on a small window look bare.
Next, pick a style. Some households favor cute and friendly designs: smiling pumpkins, round ghosts, grinning cats. These suit families with small children. Other households favor darker scenes: tombstones, skeletal hands, eerie silhouettes. These suit older teens and adults who enjoy a fright. Many sheets mix the two moods, which gives the buyer room to choose on the night.
Check whether the clings are one-sided or two-sided. A one-sided cling shows its mirror image from the other side of the glass. Words printed on a one-sided cling read backward from the street. Two-sided clings cost more, but they read correctly in both directions. For front windows, the two-sided kind is worth the extra dollar or two.
Glow-in-the-dark clings deserve a look as well. They charge in daylight and give off a soft green light after dark. They do not replace a porch light, but they add depth to the scene. Place them where they get some daytime sun.
Finally, read the package. The label should name the material and confirm that no adhesive is used. True static clings leave no residue. Avoid any product that mentions glue or permanent stick, since those are decals, not clings.
Step-by-Step: Applying Window Clings
Clean glass is the secret. A cling applied over dust or grease will bubble and fall within days. The steps below take about fifteen minutes for an average window.
1. Wash the glass. Mix warm water with a few drops of dish soap. Wipe the pane with a sponge. Rinse with plain water. Dry with a lint-free towel.
2. Mist the pane lightly. Fill a spray bottle with clean water. Give the glass two or three light mists. The film of water lets you slide the cling into place and pushes out air as you press.
3. Peel and place. Separate one cling from its backing sheet. Hold it by the edges. Lay it on the wet glass. Move it gently until it sits where you want it.
4. Smooth from the center. Use a soft cloth or a rubber squeegee. Start at the middle of the cling and push outward toward the edges. Work slowly. Push the water and air bubbles out from under the vinyl.
5. Repeat the scene. Add the remaining pieces one by one, stepping back now and then to check the balance. Keep a small gap between large pieces so the scene does not look crowded.
6. Let it set. Leave the window alone for an hour while the water film dries and the cling settles tight.
If a cling lifts at a corner, wet the glass under it and press again. If a bubble will not move, lift the nearest edge, let the air out, and smooth it again. The material forgives mistakes. You can peel and re-place a cling many times in one sitting.
Tip: Plan the Scene on Paper First
Lay the clings on the floor in the order you plan to use them. Rearrange until the layout pleases you. This dry run takes five minutes and saves you from peeling pieces off the glass again and again.
Popular Types and Design Options
The market offers more designs each year. The sections below describe the main groups so you can shop with a clear head.
Classic Silhouettes
Black silhouettes remain the most popular choice. Bats, cats, owls, and witches cut in solid black read well against daylight and glow sharply when the house light shines from behind them at night. They suit almost any home style, from a farmhouse to a brick ranch.
Layered Scenes
Layered packs include a background piece, such as a haunted house or a moonlit sky, plus smaller pieces that overlap it. The result looks like a painted mural. These packs take more time to arrange, but they give the most dramatic effect per dollar.
Words and Banners
Use them at the top or bottom of the window so they frame the picture pieces. Check that the words face the street if you want passersby to read them.
Glow in the Dark
These charge in daylight and glow at night. They work best on windows that get afternoon sun, but a bright porch light can wash out the glow, so save them for windows you leave dark.
Day-of-the-Dead and Harvest Designs
Not every family observes Halloween in the same way. Some households decorate for the whole autumn season with pumpkins, leaves, and harvest scenes, then add darker pieces on the night itself. Many brands sell mixed packs that serve both purposes, which is kind to the budget.
For other ways to dress the front of the house in autumn, see our guide to best outdoor fall decorations for front porch USA.
Cost and Price Guide
The price of clings is modest, but it helps to know the ranges. A single sheet of small static clings from a dollar store can cost as little as one dollar. It will hold for the season, though the colors may be plain.
A mid-range pack from a craft retailer costs between five and twelve dollars. These packs hold twelve to thirty pieces with sharper printing and better static hold. Brands sold by large craft stores such as Michaels and JOANN fall in this range.
Large scenic sets from home improvement retailers such as The Home Depot or Lowe’s run between ten and twenty-five dollars. These sets cover wide windows and include layered backgrounds.
Specialty glow-in-the-dark sets cost a few dollars more than plain sets of the same size. Value packs with hundreds of pieces look cheap at first glance, but many of the pieces are tiny fillers. Count the large, usable pieces before you judge the price.
A fair rule: plan to spend about ten dollars per large window for a full, finished look. Most families decorate two or three windows, so a total budget of twenty to thirty dollars covers the whole house.
Care, Upkeep, and Storage
Clings ask for little care during the season. If a piece sags after a hard rain or a humid week, peel it off, mist the glass, and reapply it. If the window sweats on cold nights, wipe the glass dry in the morning and press any loose edges back down.
Keep the clings out of reach of very young children, since small vinyl shapes can tear if a child pulls them. When the holiday ends, take the clings down within a week or two. Long winter sun can bake the ink and weaken the static hold, which makes them harder to store well.
Storage decides whether clings survive to next year. The method is simple:
1. Peel each cling off the glass slowly, starting at a corner. 2. Rinse each piece in cool water with a drop of soap if it is dirty. Pat dry. 3. Lay the clings flat on the original backing sheets or on wax paper. Never stack them face to face, or they may stick to each other. 4. Slide the sheets into a large envelope or a folder. Store the folder flat in a cool, dry drawer.
Stored this way, good clings last three to five seasons. Throw away any piece that has cracked, curled hard, or lost its cling. A torn cling never sits well, and a fresh pack costs less than the frustration of fighting with old vinyl.
Safety Notes
Window clings are among the safest decorations a family can use. They add no cords, no candles, and no weight to the porch. Still, a few points deserve attention.
Do not cover the full window with clings if that window is part of a fire escape route. Bedrooms need a clear path out. Keep the lower half of a bedroom window free, or use only small pieces near the top. The Consumer Product Safety Commission reminds households each fall to keep escape routes clear of all decorations.
Avoid sharp metal scrapers when cleaning glass that holds clings. A razor blade will cut the vinyl and may scratch the pane. A plastic squeegee and a soft cloth are all you need.
If you use glow-in-the-dark clings, note that the glow comes from a pigment in the vinyl, not from a battery or bulb. It is safe to handle. Teach children to leave the pieces on the glass rather than peel them for play.
When you shop online, buy from stores you know. Large retailers such as Target and Wayfair carry seasonal packs with clear product details. Style sites such as The Spruce and HGTV publish tested Halloween decor ideas each year, and lifestyle sites like Country Living offer classic styling guidance.
Frequently Asked Questions
How long do Halloween window clings last on the glass?
A quality static cling holds for four to six weeks indoors or on a sheltered window. Direct sun, heavy rain, and heat shorten the hold. If a corner lifts, mist the glass and press it back down. The cling will usually re-grip.
Will window clings damage my windows or leave residue?
True static clings leave no residue because they use no glue. The glass may look a little foggy where the cling sat, but a normal wash clears it. Problems come from products that contain adhesive. Read the label and buy only clings that promise a glue-free hold.
Can I use window clings on a car window?
Yes, but only on side windows, never on the windshield or the driver’s view. Many families decorate the rear side windows of the family car for school pickup lines and trunk-or-treat events. The clings remove from auto glass the same way they remove from home glass.
Do window clings work on mirrors or tile?
They work on any smooth, clean, non-porous surface. Bathroom mirrors, glass shower doors, and glossy tiles all hold clings well. Rough paint, wood, and fabric do not hold them. Test one small piece before you commit to a full design.
How do I remove window clings without tearing them?
Start at one corner and peel slowly back at a low angle. Keep the sheet close to the glass as you pull. Rushing causes tears. If a piece resists, wet the glass at its edge and wait a minute. Warm indoor air also loosens a stubborn cling.
Can window clings be reused next Halloween?
Yes. Rinse, dry, and store them flat on backing sheets or wax paper as described above. Most clings survive three to five seasons. Replace any piece that has curled, cracked, or lost its grip.
A Short Final Word
Halloween window clings for spooky home decor prove that a decoration does not need to be big or costly to work well. A few dollars of vinyl and fifteen careful minutes give a house a finished, festive face for the season. Choose a style that fits your home, plan the layout before you stick anything down, and store the pieces flat for next year. And once the spooky season passes, many of these same windows can carry a new look for winter — see our guide to best Christmas outdoor projector with remote timer for ideas that follow naturally after Halloween. Decorating the windows is a habit worth keeping all year, as our Easter bunny wreath for front door spring guide shows for the spring season.
References
Country Living. (n.d.). Country home and lifestyle. https://www.countryliving.com HGTV. (n.d.). Home and garden ideas. https://www.hgtv.com JOANN. (n.d.). Fabric and craft supplies. https://www.joann.com Lowe’s. (n.d.). Home improvement products. https://www.lowes.com Michaels. (n.d.). Arts and crafts supplies. https://www.michaels.com Target. (n.d.). Retail store. https://www.target.com The Home Depot. (n.d.). Home improvement products. https://www.homedepot.com The Spruce. (n.d.). Home and garden advice. https://www.thespruce.com U.S. Consumer Product Safety Commission. (n.d.). Product safety information. https://www.cpsc.gov Wayfair. (n.d.). Furniture and home goods. https://www.wayfair.com
Was this guide helpful?

About Jennifer Lee
The My Garden US editorial team writes practical, in-depth home and garden guides for American homeowners — tested advice, no fluff.