
Introduction
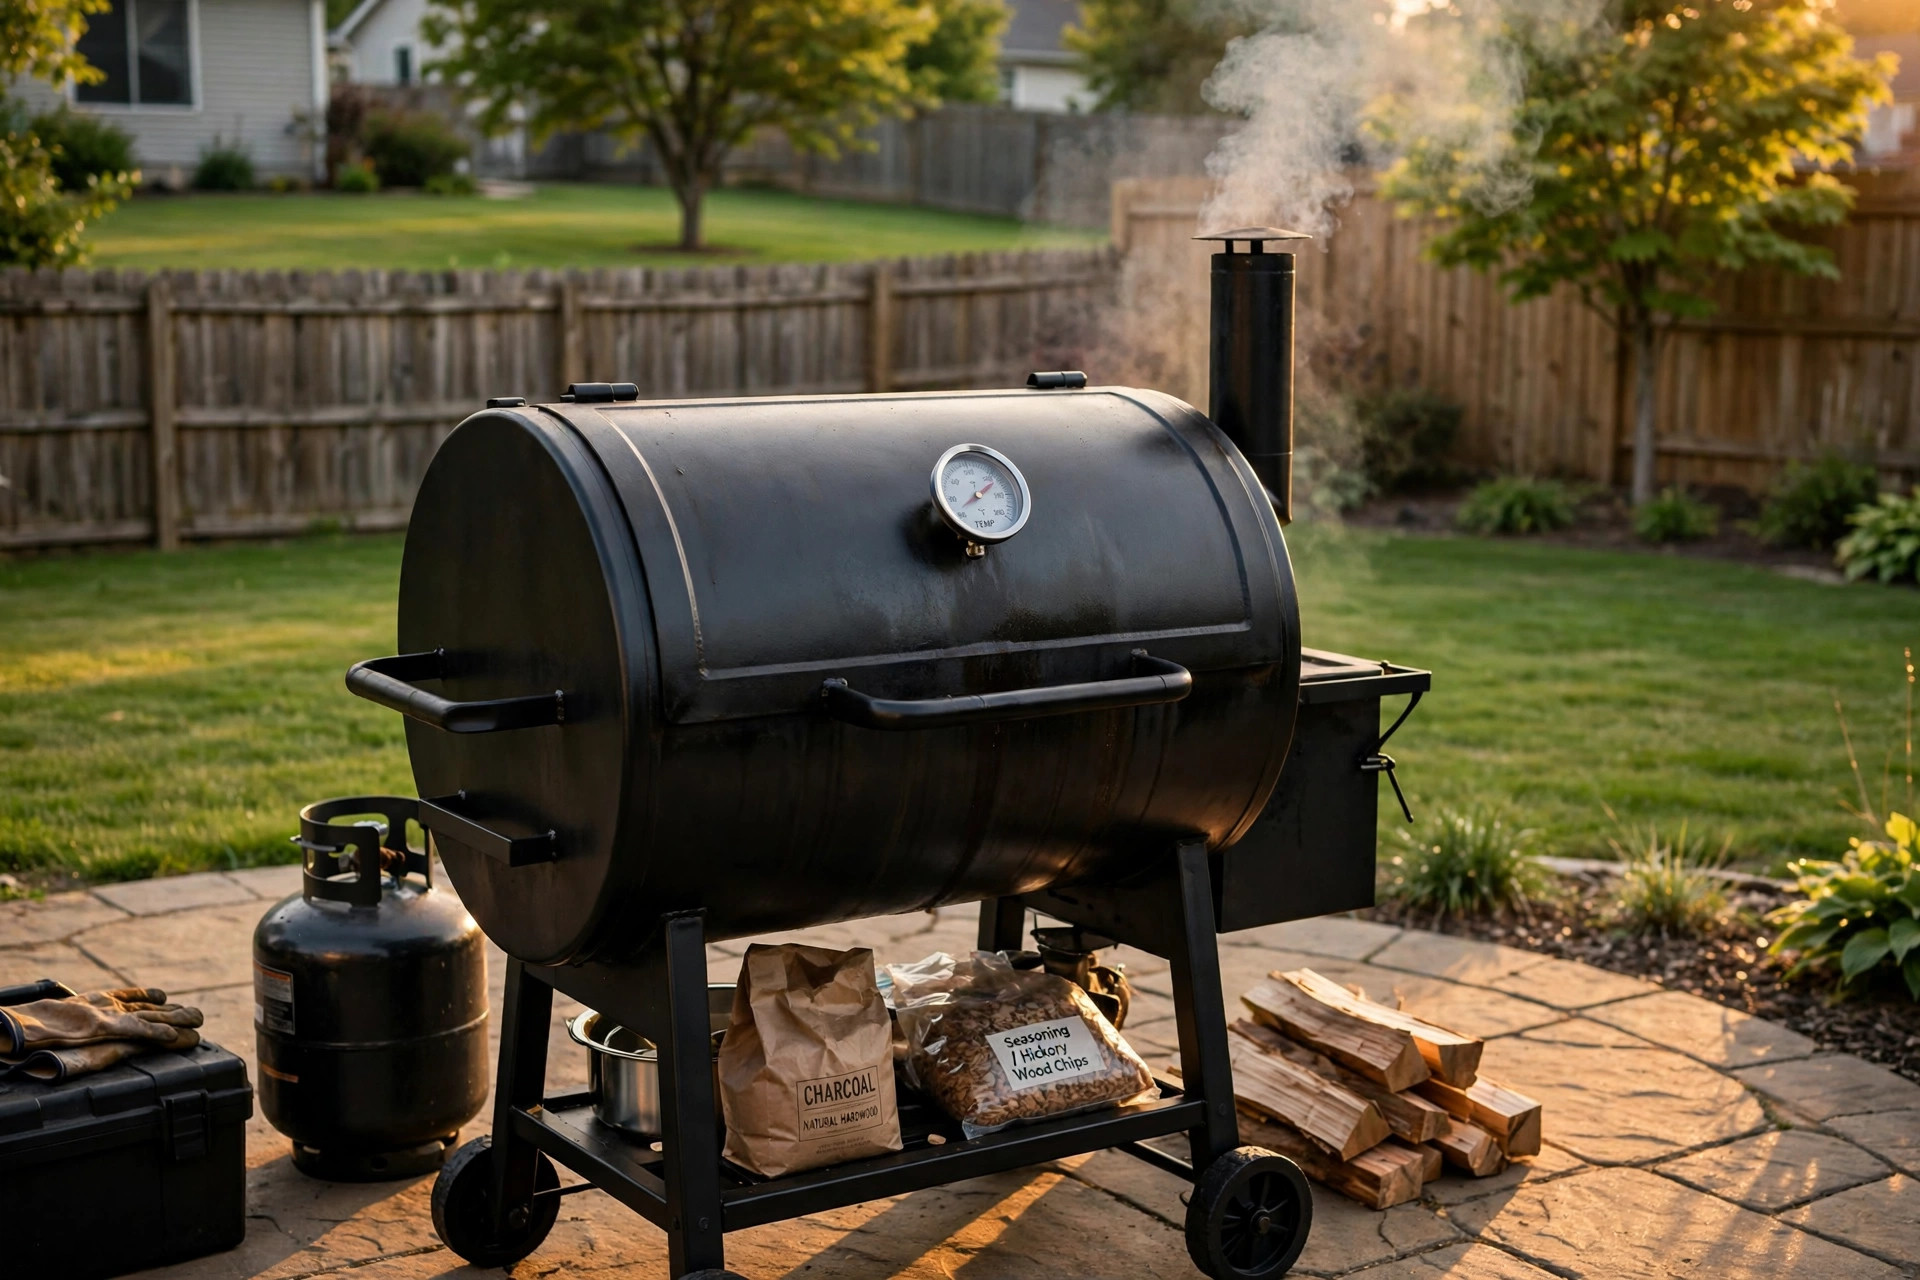
A new smoker looks ready to cook the day you bring it home. It is not. The steel inside carries oil from the factory. It carries dust from the box. It may carry paint fumes and packing grease. If you put food in right away, that residue can land on your meat. It can give the smoke an odd taste too. This guide explains how to season new smoker before use in plain words. Seasoning means heating the empty smoker after coating the inside with oil. The heat burns off factory residue. The oil bakes into a dark, hard layer. That layer guards the steel against rust. It also keeps food from sticking to the grates. The whole job takes three to five hours. Most of that time is waiting while the smoker runs hot and empty. This article walks through each step. It covers offset smokers, pellet grills, electric smokers, kamado cookers, and bullet smokers. It also covers cost, upkeep, and safety. By the end, your new smoker will be clean, cured, and ready for its first real cook.
Why Seasoning Matters: How to Season New Smoker Before Use
A smoker is not a toaster. You cannot switch it on and start cooking. New steel needs care first. Factories coat metal with oil so it does not rust in the warehouse. They use machine grease on moving parts. The inside of the firebox may hold dust and small metal chips. None of this belongs near food.
Seasoning solves three problems at once. First, it burns off the factory coatings and loose material. A hot empty burn turns oil and grease into harmless smoke that leaves the stack. Second, it seals the steel. Third, it settles the smoker. New metal moves a little when it heats for the first time. Joints, lids, and doors expand and find their fit. A slow seasoning burn lets this happen before food is inside.
Skipping this step has real costs. Food cooked in a raw smoker can taste like chemicals. Factory grease can drip onto the meat. Unsealed steel rusts faster, and rust shortens the life of the smoker. If you are new to this craft, a best smoker for beginners under 300 guide can help you pick a unit that is easy to season and easy to run.
What You Will Need
Gather your supplies before you light the fire. You will need a stiff brush or a ball of crumpled aluminum foil for scrubbing. You will need mild dish soap, warm water, and clean rags or paper towels. You will need high-heat cooking oil, such as canola oil, vegetable oil, or peanut oil. A spray bottle for the oil is useful but not required. You will need fuel that matches your smoker: charcoal, wood splits, wood pellets, or simply an outlet for an electric unit. A chimney starter helps with charcoal smokers. Heat-safe gloves keep your hands safe. A reliable thermometer matters too, because the gauge built into the lid can read far off the true grate temperature. The buying guides at Consumer Reports can help you pick an accurate one.
Avoid low-smoke-point fats like butter or olive oil. They burn before they can form a good layer. Skip aerosol cooking sprays. Many contain additives that leave a gummy coat instead of a hard one. Plain bottled oil works best.
How to Season a New Smoker Step by Step
Step 1: Wash the Inside
Start cold. Take out the grates, the water pan, and any heat shields. Wash each piece in warm, soapy water. Scrub off the sticky factory oil. Rinse well and set the pieces aside to dry. Now wipe the inside walls of the cooking chamber with a damp cloth. You do not need soap inside the chamber. You only need to lift the loose dust. Leave the outside of the smoker alone unless the manual says otherwise. Some paints cure better when the unit runs hot, so do not scrub the exterior with harsh cleaners.
Step 2: Dry and Inspect
Let every part air dry, or towel it dry. Look closely at the inside. Check for loose screws, bent grates, and packing foam stuck in corners. Pull out any foam or paper you find. Check the firebox for metal chips. Brush them out. Look at the gasket around the lid. It should sit flat. Open and close the lid a few times. It should move freely. This inspection takes ten minutes. It can save you from a ruined cook later.
Step 3: Oil the Inside Surfaces
Put the dry grates back in the smoker. Now coat the inside. Rub or spray a thin layer of oil over the grates, the inside walls, and the inside of the lid. Thin is the key word. A heavy coat turns sticky and never hardens. Wipe the oil on with a rag, then wipe most of it off again. The surface should look wet but not dripping. Some cooks also oil the outside of the firebox, since that area takes the worst heat. Follow your manual here. When in doubt, keep oil on bare metal only.
Step 4: Heat the Smoker
Build your fire or start your unit. Aim for 250 to 275 degrees Fahrenheit at the grate. Hold that heat for two to three hours. Do not rush. A slow climb lets the oil bond to the steel. Watch the smoke from the stack. At first it may look dark or smell sharp. That is the factory residue burning off. After an hour or two, the smoke should turn thin and pale. If your gauge reads low, trust your own thermometer and adjust the vents or the fuel. Gas-assist units from makers like Broil King heat fast, so watch the needle closely during the first hour.
Step 5: Add Wood and Let It Smoke
After the first hour, add a few chunks of mild wood. Oak, hickory, or apple all work well, and the wood-smoke primers at AmazingRibs explain how each wood shapes flavor. You are not cooking food, so you do not need much. A little wood leaves a thin smoke flavor in the fresh seasoning layer. It also stains the inside walls a pleasant amber color. Let the smoker run at 250 to 275 degrees for one to two more hours. Add fuel as needed to hold the heat steady. Resist the urge to open the lid often. Every peek drops the temperature and adds time.
Step 6: Cool Down and Wipe
Let the fire die. Close the vents and let the smoker cool on its own. Do not pour water inside to speed things up. Cold water on hot steel can warp thin metal. Once the unit is cool enough to touch, open the lid. Wipe the grates with a dry rag to remove loose ash. Your smoker is now seasoned and ready for food.
Seasoning by Smoker Type
The basic method above works for all smokers, but each type has its own small details. Maker guides from Weber and Napoleon give model-specific burn-in steps that are worth reading alongside this guide.
Offset Smokers
Offset smokers burn wood or charcoal in a side firebox. Season both chambers. Oil the inside of the firebox as well as the cooking chamber. Run the seasoning burn a little hotter, near 300 degrees, because offsets lose heat through their long bodies. Watch the firebox paint. It may smoke and smell as it cures. That is normal. A best offset smoker under 500 dollars article can point you to thick-steel models that hold heat well and season evenly. Thin offsets work too, but they need more fuel and more care.
Pellet Grills
Pellet grills feed wood pellets by auger. Follow the maker’s burn-in steps if they give them. Traeger publishes a clear burn-in routine for its pellet grills, and most other makers follow a similar pattern. Most makers ask for a 30 to 60 minute burn at high heat, around 350 degrees, before the first cook. This burns off factory oil from the auger tube and the fire pot. Oil the grates lightly before the burn-in. Pellet units are easy to season, but they also need steady upkeep. Our pellet grill maintenance tips for beginners guide covers cleaning the fire pot and the grease tray after seasoning.
Electric Smokers
Electric smokers are the simplest to season. Wash and oil the inside as described above. Fill the water pan halfway. Set the unit to 275 degrees and let it run empty for three hours. Add a small handful of wood chips in the chip tray during the last hour for smoke flavor. Keep the vent open. Electric models do not produce much draft, so open vents matter even more.
Kamado Cookers
Kamado cookers use thick ceramic walls. They need a gentler start. Do not run a kamado above 350 degrees during seasoning. High heat can crack a new ceramic shell that has not settled. Kamado makers such as Big Green Egg advise a gentle first burn for their ceramic cookers. Oil the grates and the inside of the dome lightly. Run the cooker at 250 degrees for two hours with the vents barely open. Add a few wood chunks for flavor. The ceramic holds heat so well that seasoning takes less fuel than any other type.
Bullet and Vertical Smokers
Bullet smokers stack a fire pan, a water pan, and grates in one tall body. Oil all three levels. Fill the water pan before the burn. Water keeps the heat gentle and stops the seasoning from scorching. Run at 250 degrees for three hours. These small smokers season fast because the heat stays close to the metal.
Cost and Price
Seasoning a new smoker costs very little. You need oil, fuel, and a few hours. A bottle of canola oil costs a few dollars and covers many seasonings. Charcoal for one seasoning burn costs about five to ten dollars. Wood chunks from The Home Depot cost a few dollars more. Pellet grill owners may burn through a few pounds of pellets, worth about five dollars. Electric smokers use only a small amount of power. All told, most owners spend under twenty dollars to season a new smoker. The real cost is time. Plan for half a day, and stay near the smoker while it runs.
Care and Upkeep
Seasoning is not a one-time job. It is the start of a habit. After each cook, brush the grates while they are still warm. Empty the ash from the firebox before it draws moisture. Wipe the inside walls with a dry rag once a month. A light coat of oil after a deep clean keeps the layer strong.
Do not scrub the inside walls down to bare metal. That dark layer is doing good work. If rust spots appear, scrub only the spot, oil it, and run a short hot burn to reseal it. Cover the smoker between cooks.
Grease management matters too. Clean the grease tray or drain on pellet grills and cabinet smokers. Built-up grease can catch fire. The grill-care guides at The Spruce Eats show how to deep-clean each smoker type without stripping the seasoning. A clean smoker is a safe smoker, and it seasons more evenly with every cook.
Safety
A seasoning burn involves fire, hot metal, and smoke. Place the smoker on a flat, non-flammable surface, away from the house, the fence, and low branches. Keep children and pets away from the hot unit. Wear heat-safe gloves when you touch the lid or the vents. Have a fire extinguisher or a bucket of sand nearby, just in case.
Never season a smoker in a garage or under a low roof. The first burn gives off fumes from factory coatings. Those fumes need open air to clear. Let the smoker cool fully before you cover it or move it. Hot steel and a tight cover can melt fabric or start a smolder.
Frequently Asked Questions
How long does it take to season a new smoker? Plan for three to five hours. That includes washing, oiling, a two to three hour hot burn, and cooling. Small electric and bullet smokers finish faster. Large offsets take longer because they need more time to heat through.
Do I need to season a new smoker more than once? One good seasoning is enough to start cooking. The layer grows stronger with each cook. If the inside looks dry or rust spots show, run another short seasoning burn.
What oil is best for seasoning a smoker? Use a high-heat oil such as canola, vegetable, or peanut oil. These oils bond well to steel at smoking temperatures. Avoid butter and olive oil. They burn at low heat and leave a bitter coat. Skip spray cans with additives.
Can I season a smoker with food inside? No. The first burn is for the smoker, not the food. Factory oil and paint fumes come off in the early smoke. Food added too soon can pick up those flavors. Season empty, then cook.
Why does my new smoker smell bad during seasoning? The smell comes from factory oil, grease, and paint curing. It is normal and it fades. The smell should turn from sharp and chemical to mild wood smoke within an hour or two.
Should I season the outside of the smoker? Oil the bare metal of the firebox if your manual allows it. Do not oil painted surfaces unless the maker says to. Most painted exteriors cure on their own during the first hot burn. A cover and dry storage protect the outside better than oil.
A Short Final Word
Learning how to season new smoker before use is the first skill of a good pitmaster. It takes one afternoon, a little oil, and some patience. In return you get a clean cooker, a rust-resistant surface, and food that tastes like smoke instead of chemicals. Season it well, keep it covered, and it will serve you for many years.
References
AmazingRibs.com. (n.d.). Barbecue and grilling science. https://www.amazingribs.com Big Green Egg. (n.d.). Kamado grills and outdoor cooking. https://www.biggreenegg.com Broil King. (n.d.). Gas and charcoal grills. https://www.broilkingbbq.com Consumer Reports. (n.d.). Product reviews and ratings. https://www.consumerreports.org Napoleon. (n.d.). Fireplaces, grills, and heating products. https://www.napoleon.com The Home Depot. (n.d.). Home improvement products. https://www.homedepot.com The Spruce Eats. (n.d.). Recipes and cooking guides. https://www.thespruceeats.com Traeger. (n.d.). Wood pellet grills. https://www.traeger.com Weber. (n.d.). Grills and outdoor cooking. https://www.weber.com
Was this guide helpful?

About Jennifer Lee
The My Garden US editorial team writes practical, in-depth home and garden guides for American homeowners — tested advice, no fluff.
You May Also Like
How to Smoke Lamb on Charcoal Grill: A Simple Step-by-Step Guide
September 21, 2026 0 views
Best Electric Grill for Apartment Balcony: A Practical Guide
May 25, 2026 0 views
The Best BBQ for Super Bowl Party: A Complete Guide
April 17, 2026 0 views