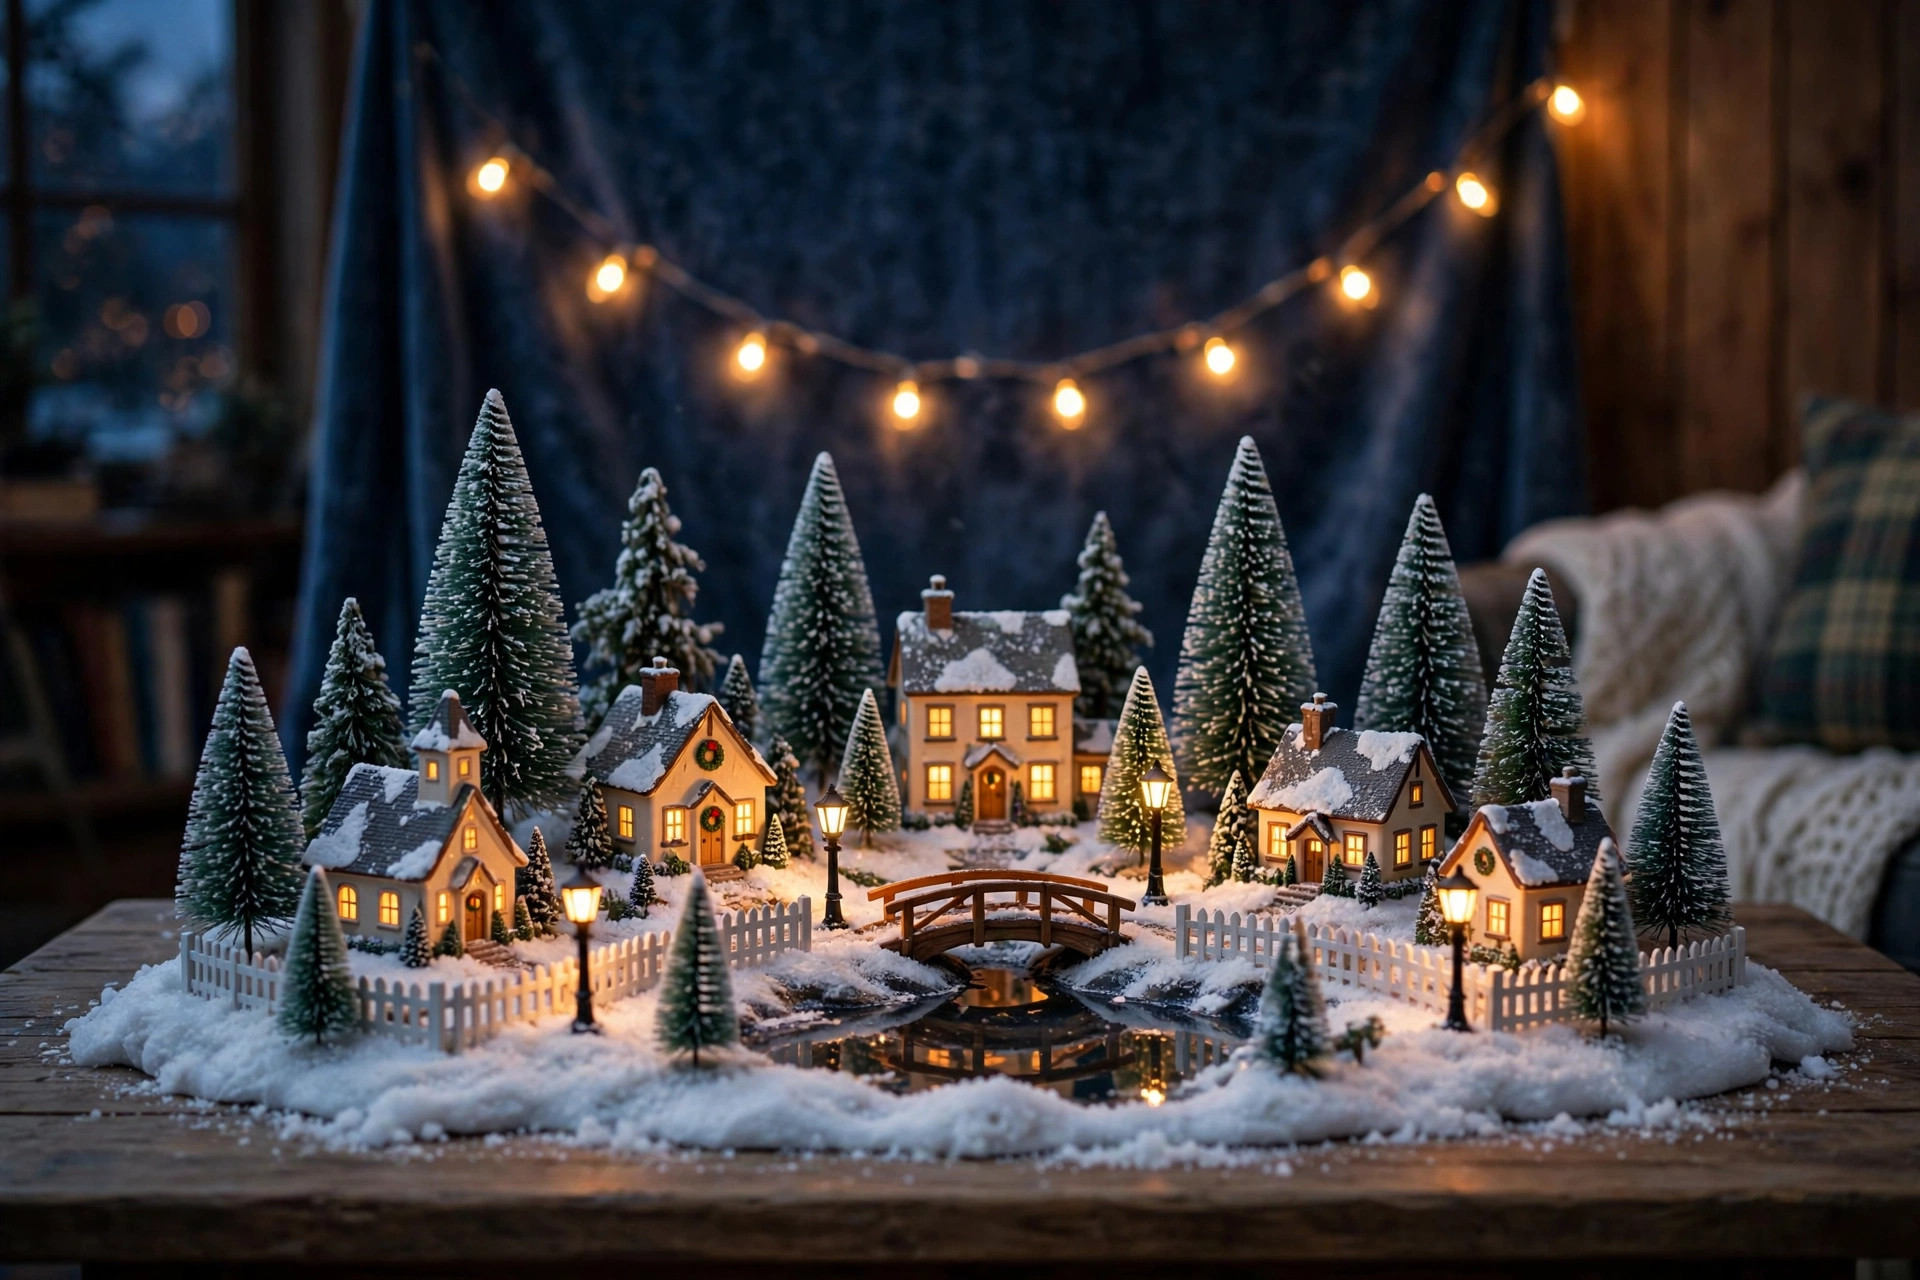

The best Christmas village accessories for display setup are the small pieces that turn a row of houses into a living town. The houses are only the start. The streets, the lamps, the trees, the snow, and the power cords decide whether the display looks real or falls flat. Many families buy the houses first and feel lost when the scene looks thin. The right accessories fix that. This guide walks through every part of a good display, from the base to the last street lamp. It covers what to buy, what to skip, what it costs, and how to keep it safe around children and pets.
Why Accessories Matter More Than the Houses
A Christmas village is a stage. The houses are the actors. The accessories build the stage. Without them, the houses stand like boxes on a table. With them, a visitor sees a street, a square, a hillside, and a pond.
Accessories also control the mood. Warm light from a street lamp makes a corner feel busy and alive. A small flocked tree beside a church makes the church look taller and more important. Snow on the roof line softens hard edges and hides cord gaps.
There is a practical side too. Good accessories hide wires. They lift houses to different heights so the display has depth. They keep light bulbs from showing as bare points of glare. A display built only from houses often looks flat because every roof sits at the same height and every wall shows its base. Risers, platforms, and snow blankets solve that in minutes.
Collectors also know that accessories hold value over time. Rare houses come and go from makers such as Department 56 and Lemax. Small pieces like lamp posts and fences fit any village, any maker, and any year. They get used every season.
How to Choose: What to Look For: Best Christmas Village Accessories for Display Setup
Start with scale. Most American villages use one of two scales. Department 56 houses and Lemax Spooky Town pieces run near O scale. Village figures sold as accessories match that scale. Before buying, check the height of your houses. A house that stands eight inches tall needs figures about three inches tall. Figures much larger or smaller will look wrong at first glance.
Next, check the power type. Older accessories use small incandescent bulbs on a shared cord. Newer ones use LED lights and run on batteries or USB power. LED runs cool and uses little power. Incandescent bulbs give a warm glow that some collectors prefer, but they get hot and burn out faster. For safety and ease, LED is the better pick for most homes. If you already own older corded pieces, plan how the cords will reach one outlet.
Material matters for durability. Resin is the most common. It holds fine detail and survives drops from table height most of the time. Ceramic chips more easily. Plastic is light and cheap, good for large snow bases but poor for close-up pieces. For anything a child might touch, resin or sturdy plastic is the smart choice.
Look at the finish. Good pieces have painted faces, doors, and window frames with clear lines. Cheap pieces blur these lines. In a village lit from inside, the cutouts matter. Windows should be cut or painted so light passes through. Solid black windows kill the night effect that makes a village special.
Finally, plan the base before the small pieces. The base decides the layout. A snow blanket on a plywood board is the classic choice. It is cheap, light, and easy to cut around cords. Foam board from a craft store cuts even easier and holds pins for trees. Many families build two or three boards, each holding one neighborhood, and join them on the mantel or table.
Types and Options for a Full Display Setup
Lighted houses and shops. These are the core of the display. A good setup mixes tall and short buildings. Churches, town halls, and mills work as anchor pieces at the back. Small cottages and shops fill the middle and front. Related ideas appear in christmas village houses for mantel display usa, which pairs well with the accessory choices below.
Street lamps and lanterns. Lamps are the fastest way to add life. A row of warm lamps along a path draws the eye through the scene. Battery LED lamps avoid cords entirely. Corded lamps can share one power strip hidden under the snow. Place lamps in pairs at street corners.
Trees and shrubs. Bottle-brush trees are the classic pick. They are cheap, they look snowy when dusted with flocking, and they fill gaps between houses. Sizes from two to twelve inches cover every need. Larger village trees with built-in lights act as centerpieces. A cluster of three trees at different heights beside an anchor house gives the eye a place to rest.
Fences, walls, and gates. Short resin or plastic fences mark yards and keep the scene organized. A fence between the sidewalk and the church lawn looks tidy and real. Stone walls made from foam or resin add a farm feel near barns and mills.
Figures and people. Carolers, skaters, shoppers, and horse-drawn sleighs tell the story of the town. Keep the number small. Ten to fifteen figures are enough for a large display. Too many figures crowd the streets and make the town look busy in a bad way. Place figures in groups of two or three, as if they are talking or walking together.
Bridges, ponds, and skating scenes. A small mirror or blue plastic sheet under cotton snow reads as a frozen pond. A short bridge over it becomes a natural photo spot. Some collectors add a tiny ice-skating rink piece with fixed skaters. These water features break up rows of houses and give the layout variety.
Snow, ground cover, and roads. Snow blankets form the base. White cotton batting stretches thin over uneven ground. Roads can be cut from gray felt, printed paper, or purchased village road pieces with painted crosswalks. Keep roads narrow. Wide roads make houses look small.
Backdrop and sky. A simple dark blue fabric behind the display makes lit windows pop. Some families hang small stars or string lights on the wall behind the mantel. The backdrop matters most after dark, when the room lights are low and the village glows.
For the ground around the village, garlands tie the display into the rest of the room. See christmas garland for staircase and mantel usa for ideas that frame the display from above.
Cost and Price: What to Expect
A small starter setup costs less than most people think. A snow blanket, a bag of bottle-brush trees, a set of six lamp posts, and a dozen figures can be bought for forty to eighty dollars at craft stores. Add two or three lighted houses at twenty to forty dollars each, and a full small village sits under two hundred dollars.
A medium display with six to ten houses, corded lighting, and a pond scene runs two hundred to five hundred dollars. Most of this cost sits in the houses. Accessories themselves stay cheap. A single bottle-brush tree costs two to five dollars. A resin fence section costs five to ten dollars.
Large collector displays grow over years. Dedicated collectors buy one or two new houses each season and add accessories as needed. Smart collectors spend the accessory money first, because accessories make old houses look new. A fresh snow base, new lamp posts, and a new bridge can make a ten-year-old display feel fresh for under fifty dollars.
Watch the power costs too. A dozen corded LED houses draw very little power, often under fifty watts total. Incandescent sets draw more and run hotter. Battery pieces add the cost of batteries each year. Rechargeable batteries pay for themselves by the second season.
Shop after Christmas for the best prices. Craft stores and big retailers clear village stock in January at discounts of fifty to seventy-five percent. Serious collectors buy next year’s accessories in January and store them with the houses.
Care and Upkeep Through the Seasons
Packing matters more than cleaning. Most damage happens in storage, not on display. Wrap each house in paper or bubble wrap. Small accessories go into zip bags or small boxes with soft packing. Label every bag so next December is easy.
Dust is the main enemy during display season. A soft brush or a can of air cleans houses and trees without touching paint. Do not use water on flocked trees or cotton snow. Flocking clumps when wet and never looks the same again.
Test every light before building the display. Nothing is worse than finishing the layout and finding a dead house. Plug in each piece in October, replace bulbs, and charge or replace batteries. LED strings last for years, but their power adapters can fail. Keep one spare adapter for corded sets.
Store everything in a dry place. Attics get hot in summer and cold in winter. Heat warps plastic trees and loosens glue on resin. A closet or a dry basement is better. Cotton snow and felt roads can pick up smells in damp basements, so add a dry box or store them in sealed bags.
Check cords once a year. Old incandescent cords crack with age. A cracked cord near cotton snow is a fire risk. Replace any cord that feels stiff or shows bare wire. Modern LED sets with cool-running adapters are far safer, and many collectors upgrade old cords rather than retire old houses.
For tabletop trees that sit beside the village, best christmas village tree for tabletop display covers size and lighting choices that match common village scales.
Safety Around Children, Pets, and Heat
Christmas villages attract small hands and curious pets. Plan for that before the display goes up. Place the display high enough that toddlers cannot reach it, or use a low table behind a baby gate. Small figures and fences are choking hazards. Keep pieces larger than a golf ball in the front rows if children visit.
Pets cause different problems. Cats love batting small trees off tables. Dogs knock displays with wagging tails. A display on a sturdy table against a wall survives better than one on a wobbly card table in the open. Some families spray bitter apple on the table legs to keep cats from climbing. Keep all cords behind the display where pets cannot chew them.
Heat is the quiet risk. Old incandescent bulbs run hot enough to scorch cotton batting over a long evening. Never let cotton snow touch a bare bulb. LED pieces stay cool and are the safe choice near cotton, felt, and paper roads.
General holiday safety guidance from the U.S. Consumer Product Safety Commission covers lights, cords, and decoration hazards and is worth a read before the season starts.
Frequently Asked Questions
How many accessories do I need for a first display? For a first display with three to five houses, buy one snow blanket, six to ten trees, four lamp posts, one short fence, and six to ten figures. That is enough to fill the scene without crowding it.
Should I mix brands like Department 56 and Lemax? Yes, with care. The scales are close enough that houses mix well. Keep figures and accessories at one consistent scale. Paint styles differ between makers, but at arm’s length in warm light, mixed villages look fine and often more interesting.
Battery, USB, or corded power? Battery pieces are the easiest to place because there are no cords to hide. They need new batteries each season. Corded LED pieces run all season with no battery cost, but the cords need hiding under snow. USB-powered pieces are a good middle ground if the display sits near an outlet. Many collectors mix all three.
How do I hide all the cords? Run cords to the back of the display first, then cover them with snow blanket. Use one power strip behind the village and plug everything into it. For cords that must cross open ground, lay them flat and cover them with a felt road or a fence line. Tape cords to the board underneath with painter’s tape so they do not shift.
Can I build a village on a mantel? Yes. Mantels are a classic spot. Use a foam board cut to the mantel depth as the base. Keep the display shallow, with tall houses at the back against the wall and short pieces at the front edge. Secure the board so it cannot slide.
Where do I buy village accessories? Craft chains carry the widest range in season. Michaels stocks houses, trees, lamps, and figures from October through December, plus clearance sales in January. Big home stores like Home Depot and Lowe’s carry outdoor-safe village lighting and display tables. Online, Wayfair lists full village sets year-round.
A Short Final Word
The best Christmas village accessories for display setup are not the most expensive ones. They are the ones that give your town light, height, and story. Start with a good base, add trees and lamps, place a few figures with care, and hide the cords. Each December, add one new piece. That is the whole point of a Christmas village: a town that comes alive for one month a year, and the accessories are what wake it up.
Guides from The Spruce and HGTV offer yearly roundups of new village pieces, while Country Living features real-home displays.
References
Country Living. (n.d.). Country home and lifestyle. https://www.countryliving.com HGTV. (n.d.). Home and garden ideas. https://www.hgtv.com Lowe’s. (n.d.). Home improvement products. https://www.lowes.com Michaels. (n.d.). Arts and crafts supplies. https://www.michaels.com The Home Depot. (n.d.). Home improvement products. https://www.homedepot.com The Spruce. (n.d.). Home and garden advice. https://www.thespruce.com U.S. Consumer Product Safety Commission. (n.d.). Product safety information. https://www.cpsc.gov Wayfair. (n.d.). Furniture and home goods. https://www.wayfair.com
Was this guide helpful?

About Michael Thompson
The My Garden US editorial team writes practical, in-depth home and garden guides for American homeowners — tested advice, no fluff.
You May Also Like

Spring Garden Flag for Easter and Floral Welcome
January 1, 2026 0 views
Halloween Garland for Mantel with Bats and Pumpkins
July 30, 2026 0 views
Fall Acorn Decor for Table and Mantel in American Homes
April 17, 2026 0 views